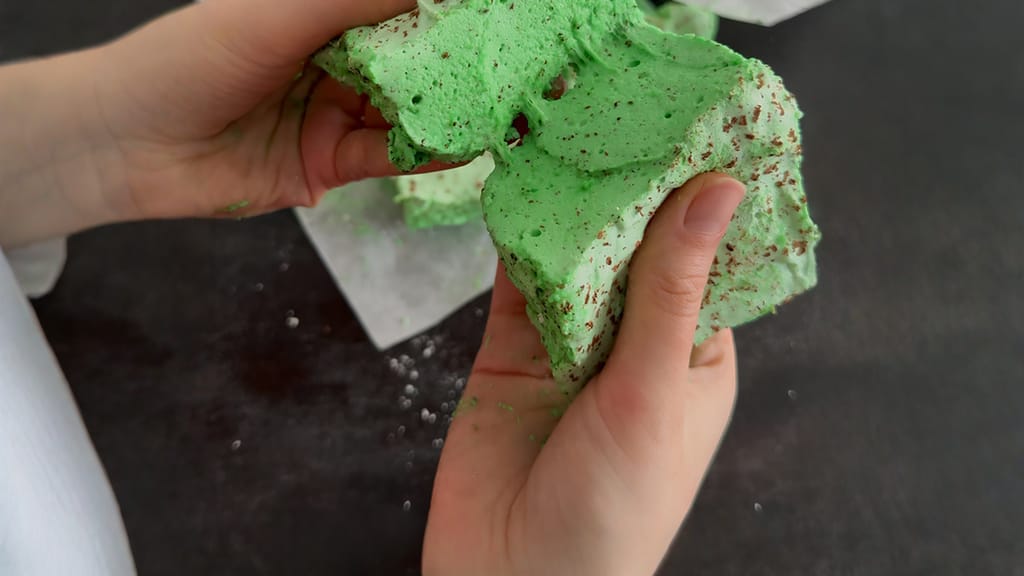
Homemade mint chocolate marshmallows
How to Make Marshmallows at Home: Gelatine, 115–118°C Syrup & Serious Whipping
Updated Oct 4, 2026
How do you make marshmallows at home? Dissolve soaked gelatine, cook sugar with glucose syrup to 115–118°C (239–244°F), pour the hot syrup into the gelatine and whip for 8–12 minutes until the mixture turns white, triples in volume and cools to lukewarm. Then spread it into a tin, let it set overnight, cut it into pieces and coat in a sugar-and-starch mix. Homemade marshmallows are softer and more fragrant than store-bought ones – and the one thing you really need to watch is the syrup temperature.
Marshmallows are a foam made from sugar syrup, held together by gelatine. That's really all they need to be – vanilla, fruit or chocolate are just flavour add-ons.
Here's the basic ratio for a 20 × 20 cm tin (makes roughly 36 cubes at 3 cm each):
Gelatine: 20 g powdered gelatine (ordinary supermarket gelatine is fine, ideally 200 Bloom if the manufacturer states it)
Cold water for soaking the gelatine: 90–100 ml
Granulated sugar: 400 g
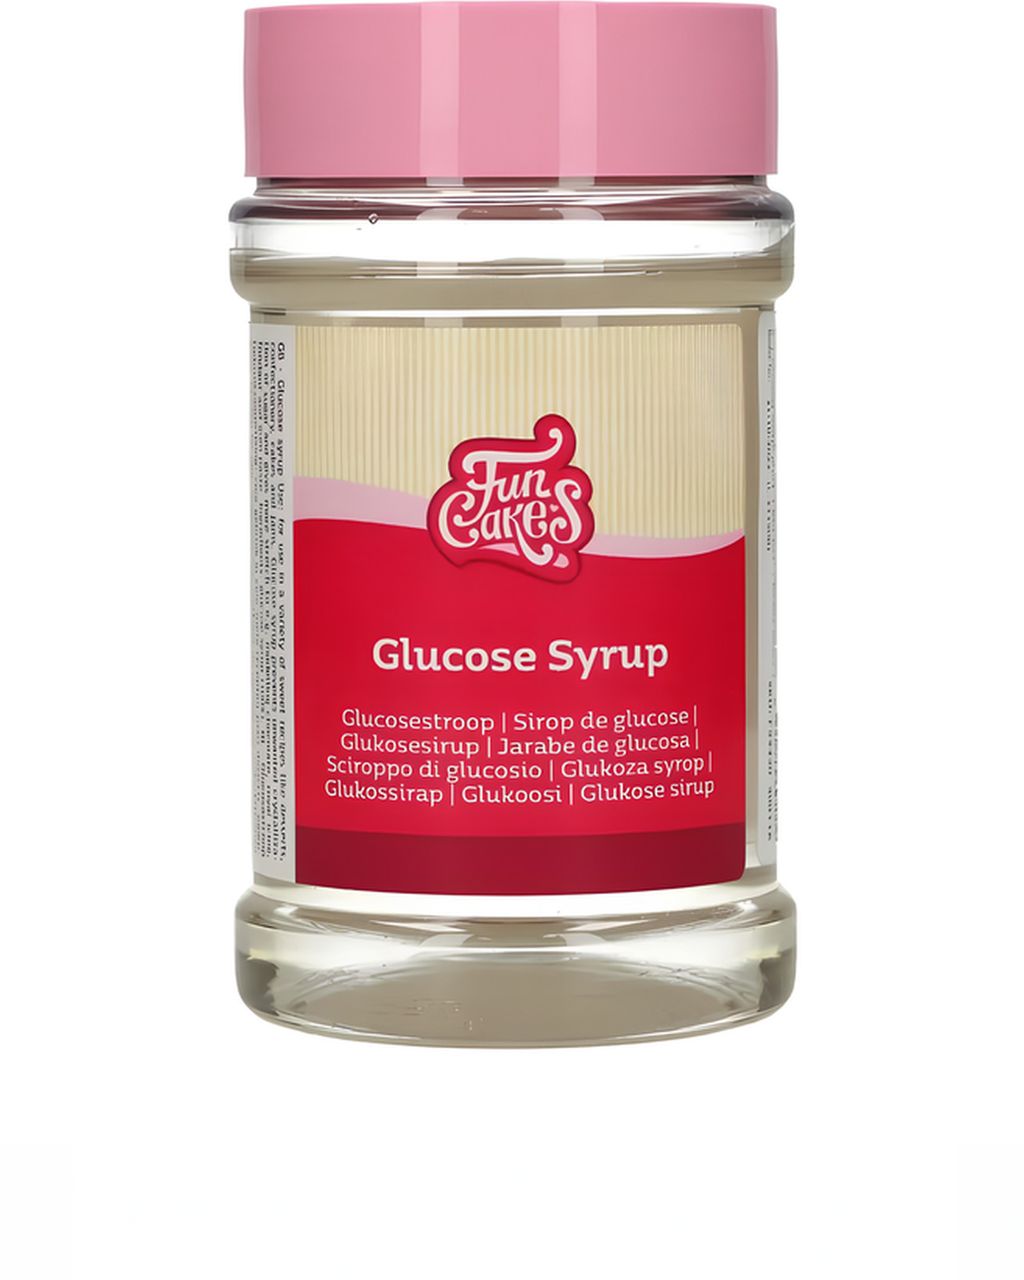
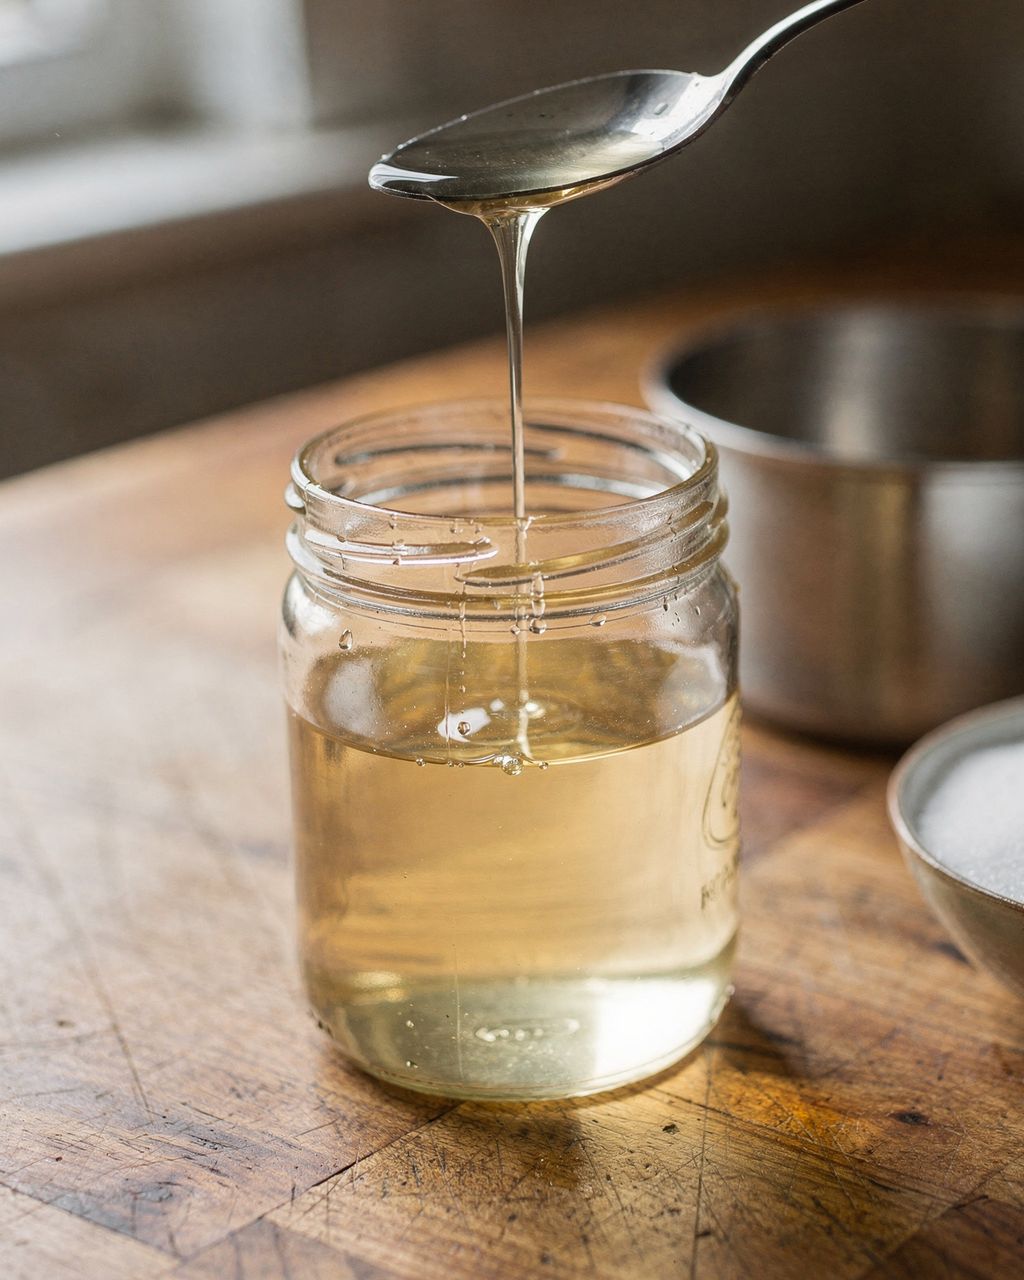
Glucose syrup: 150 g
Water for the syrup: 100 ml
Salt: a pinch
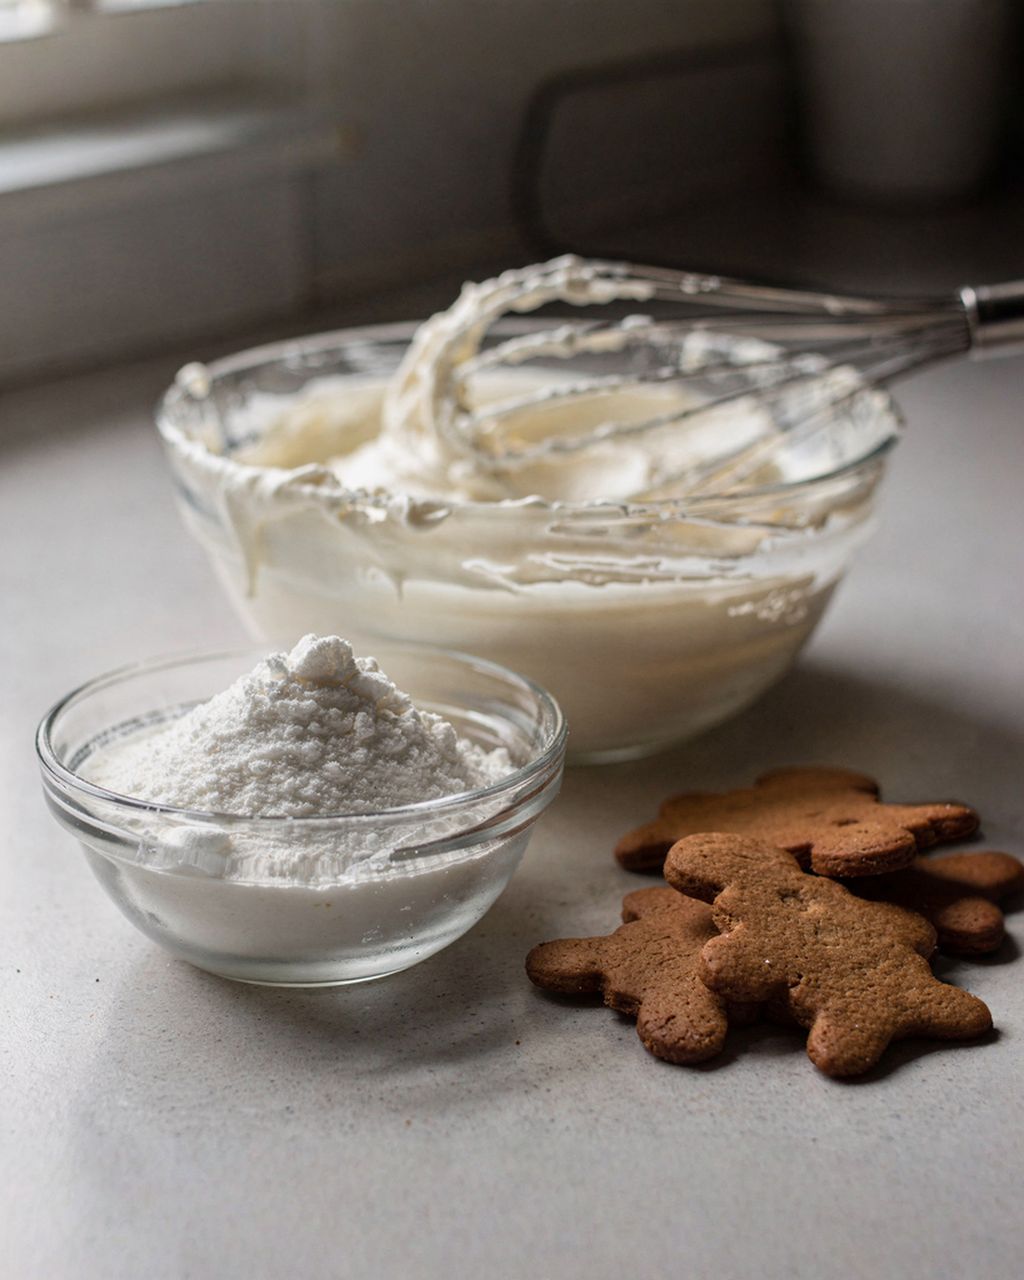
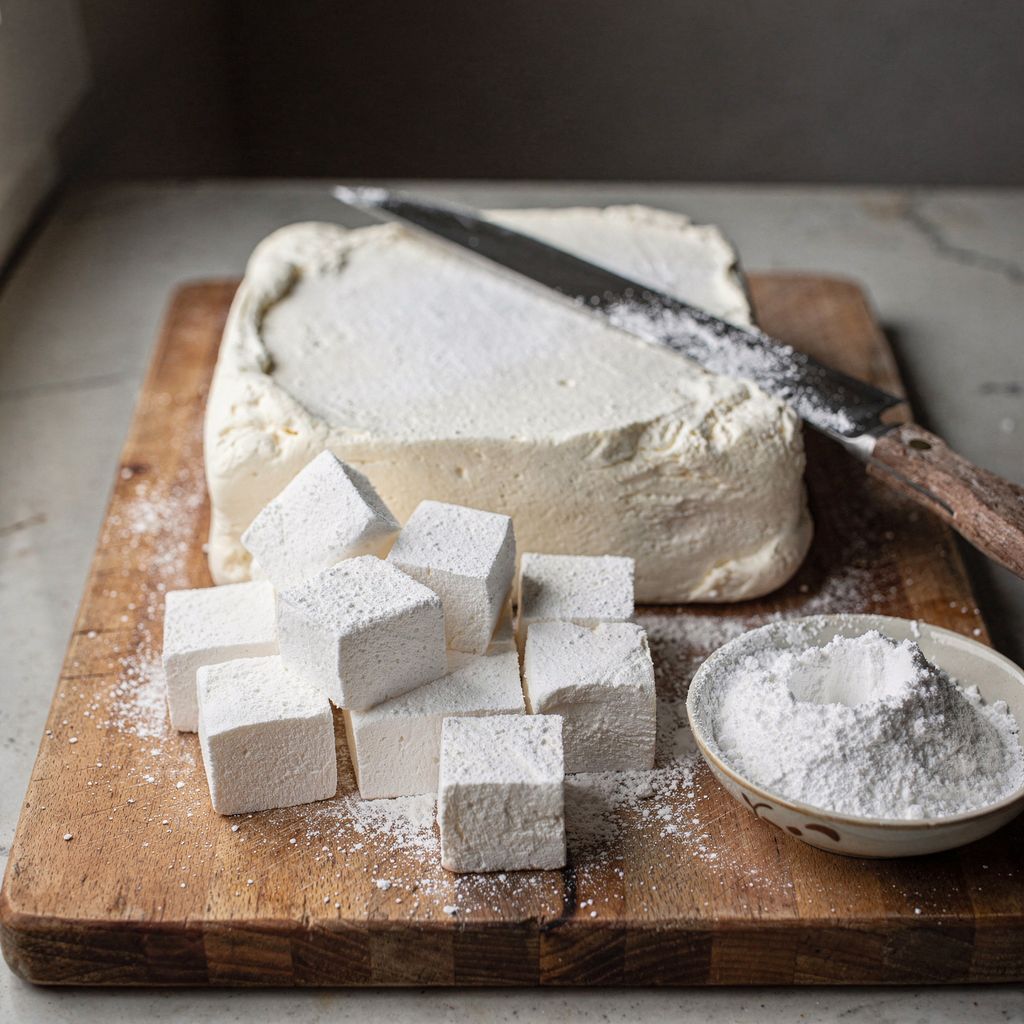
Coating mix: icing sugar and cornflour or potato starch in a 1:1 ratio, 30–40 g each (60–80 g total)
Every ingredient has a job to do. Sugar provides sweetness and body, glucose syrup prevents crystallisation and keeps the marshmallows soft and springy, and gelatine forms the network that holds the air bubbles in place. The starch in the coating draws moisture off the surface so the cubes don't stick together.
If you want a specific flavoured recipe from start to finish, go for a tried-and-tested one – you'll find some further down the article.
You make homemade marshmallows in six steps: soak the gelatine, prepare the tin, cook the syrup, whip the mixture, spread it out and let it set, then cut and coat.
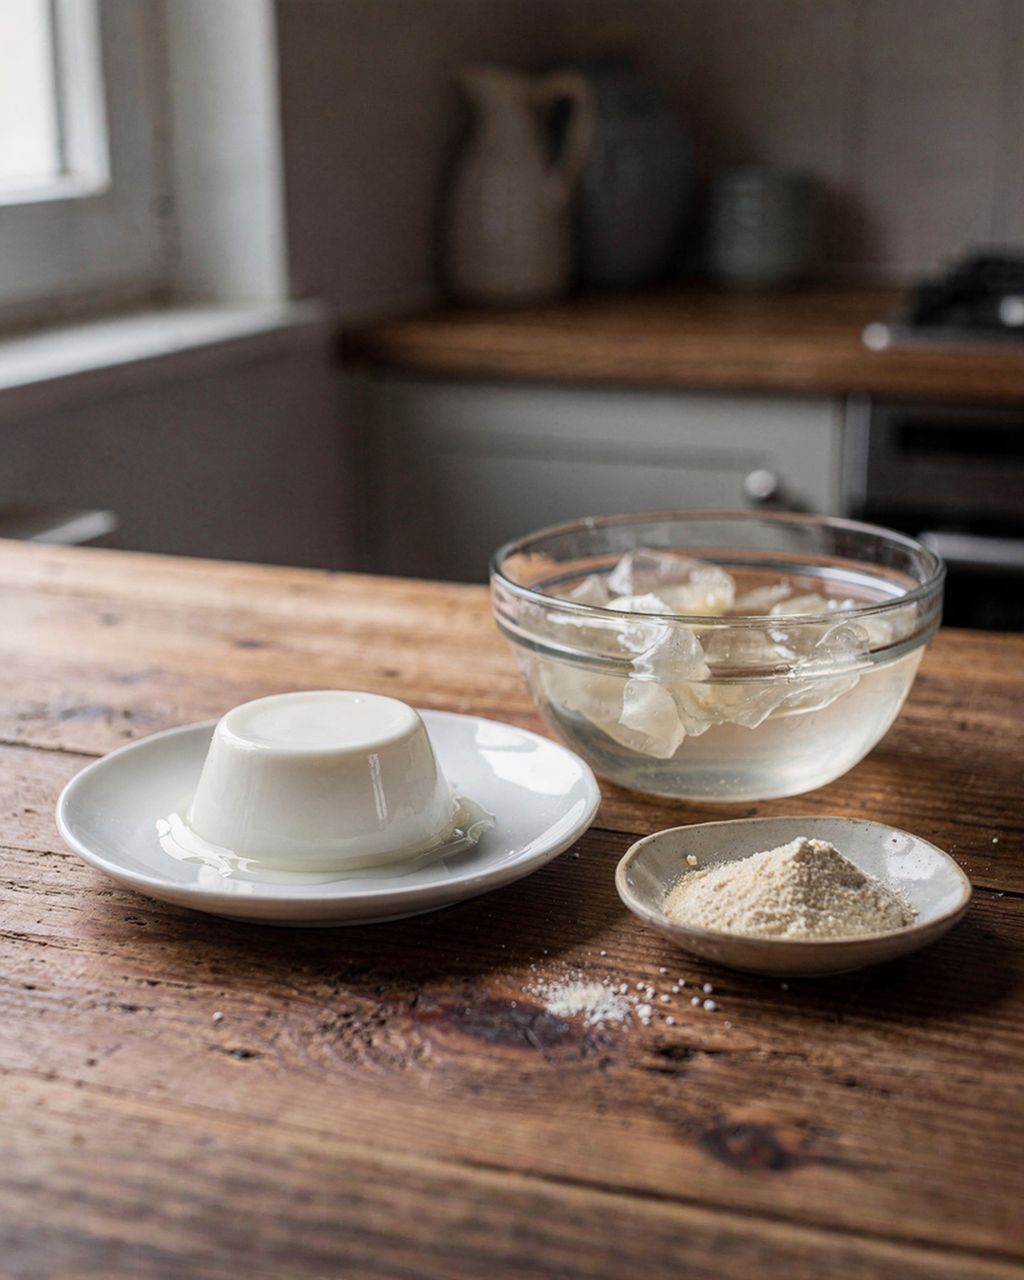
Soak the gelatine. Stir the powder into cold water directly in the stand mixer bowl and let it swell for 10 minutes. It has to be cold water – in warm water the gelatine dissolves unevenly and forms lumps.
Prepare the tin. Line it with baking paper, grease lightly with a neutral oil and dust with the coating mix. There won't be time for this once whipping starts.
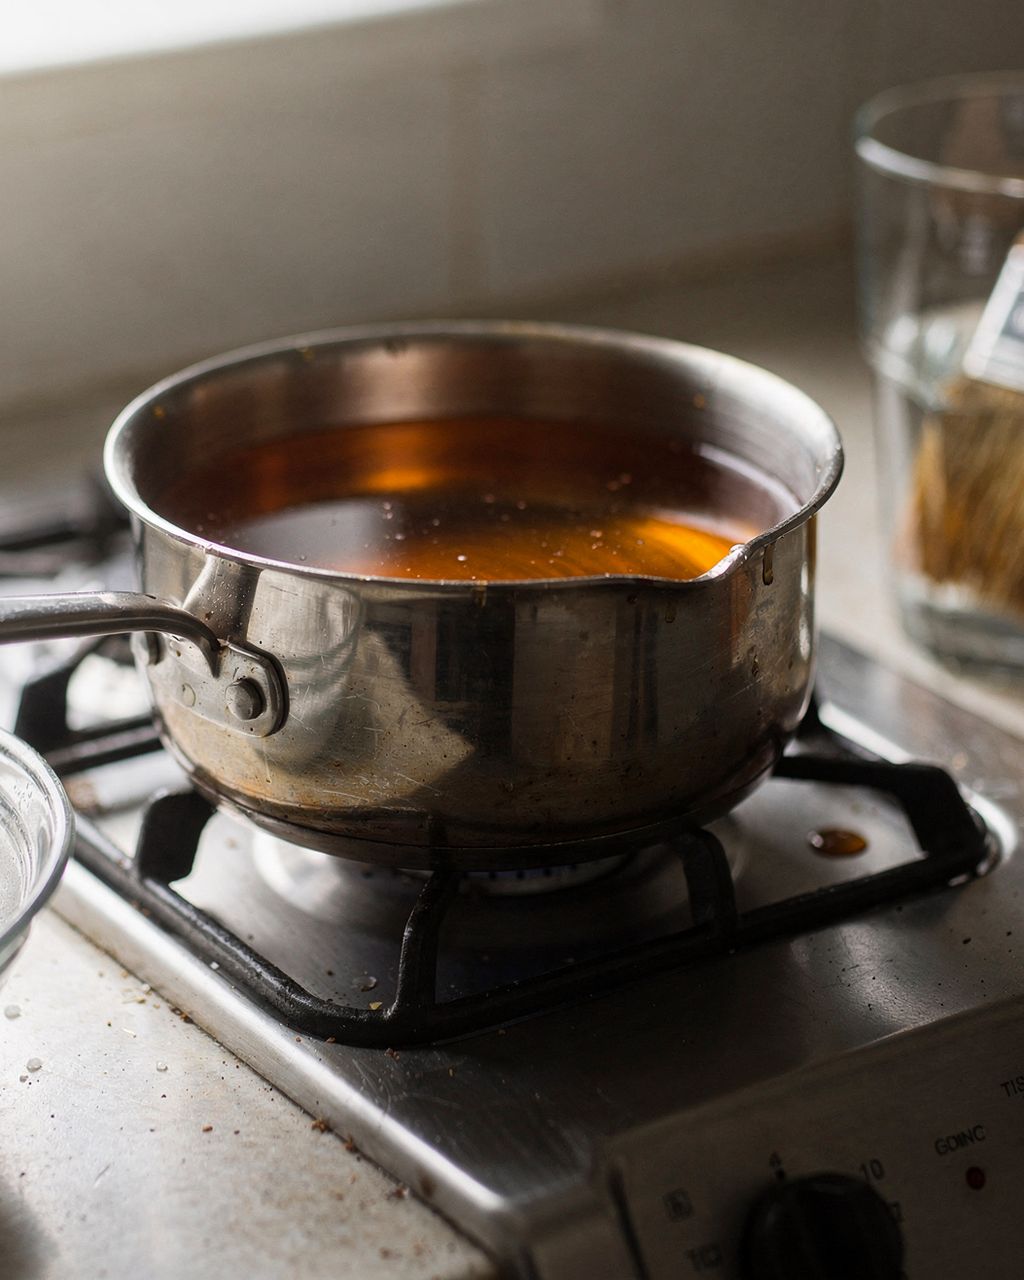
Cook the syrup. Put the sugar, glucose syrup, water and salt in a saucepan, stir, bring to the boil, and from that point on don't stir. Cook to 115–118°C (239–244°F) on a thermometer.
Whip. Start the mixer on low speed and pour the hot syrup in a thin stream down the side of the bowl (not onto the whisk, or it will splatter and set on the sides). Then turn the speed up to maximum and whip for 8–12 minutes.
Spread and let set. Quickly transfer the mixture into the tin with an oiled spatula, smooth the top, and leave it uncovered for 6–12 hours at room temperature. Don't refrigerate – it picks up moisture there.
Cut and coat. Turn the block out onto a dusted board, cut with a sharp knife or pizza wheel (dust the blade with the coating mix or brush it with oil), and coat every cube on all sides, including the cut edges.
Cook marshmallow syrup to 115–118°C (239–244°F), which spans the top of the soft-ball stage into the start of the firm-ball stage. The temperature determines how much water stays in the syrup, and with it, the texture:
115°C (239°F) – softer, fluffier marshmallows, easier to cut
116–117°C (241–243°F) – a reliable middle ground that holds its shape well
118°C (244°F) – firmer, springier, holds up better for toasting over a fire
above 120°C (248°F) – the mixture sets fast, even in the bowl, and turns out rubbery
A digital probe thermometer is the most reliable option. Without one, try this test: drop a little syrup into a glass of ice water and roll it between your fingers into a ball. The ball holds its shape but can still be pressed between your fingers; by 118°C (244°F) it's already firm. If it melts away or flattens straight away, keep cooking – the syrup is still under 115°C (239°F) and the marshmallows won't set.
Why not stir while it boils: a spoon spreads sugar crystals around the sides of the pan, and those crystals can trigger crystallisation of the whole syrup. Glucose syrup greatly reduces that risk, but not stirring is a cheap extra safeguard. You can brush any crystals off the sides with a pastry brush dipped in water.
The marshmallow mixture is whipped enough when it's snow-white, glossy, has roughly tripled in volume, and the bowl feels only lukewarm to the touch (around 35–40°C/95–104°F). It should fall from the whisk in a thick ribbon that briefly holds its shape on the surface.
Under-whipped mixture looks more translucent and runny, sets dense once firm, and may separate out a layer of syrup at the bottom.
Over-whipped mixture starts setting while still in the bowl and pulls into strands. It's hard to spread and the surface stays bumpy – though it's still fine to eat.
Add any flavouring (vanilla extract, vanilla seeds, flavouring essence) in the last minute of whipping. A hand mixer works too, just expect 12–15 minutes and a tired arm.
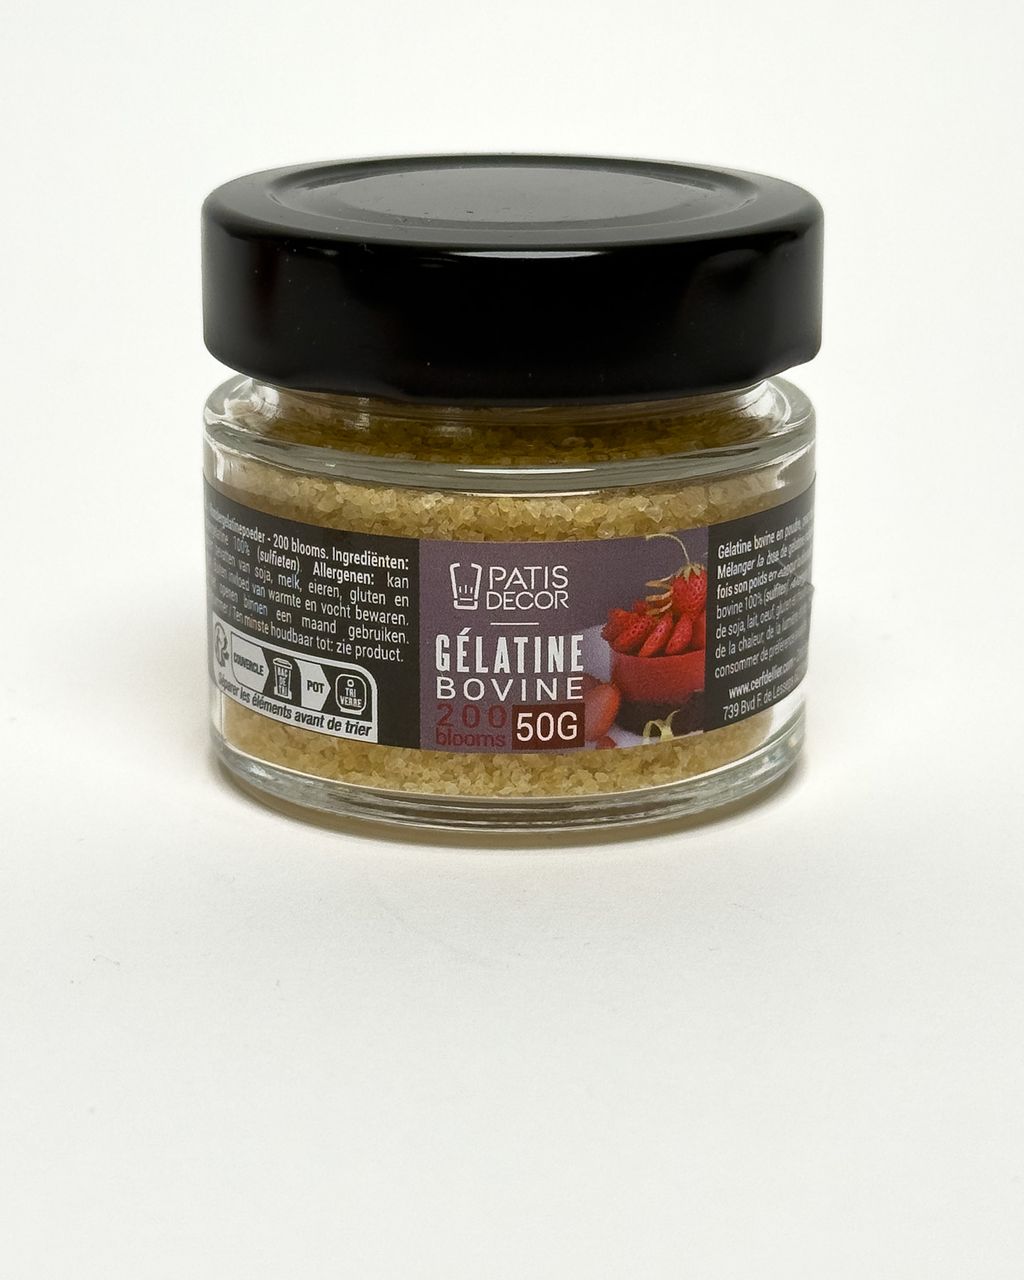
Ordinary powdered supermarket gelatine is all you need for marshmallows – just mix it straight into water in the bowl, and it's easy to measure out by the gram. Whether it's beef or pork gelatine makes no difference to the result.
If you're buying gelatine from a baking supplier where the manufacturer lists a Bloom number, go for 200 Bloom. The Bloom number indicates gel strength: the higher it is, the firmer the gel from the same amount. So use less gelatine at a higher Bloom, and more at a lower one.
Leaf gelatine works too – just soak it separately in cold water, squeeze it out, and melt it over low heat or in the microwave. Leaves vary in weight and Bloom depending on the brand, so always weigh them rather than counting sheets.
Two rules apply to any gelatine: never boil it (boiling destroys its setting power), and never mix it with raw pineapple, kiwi, papaya or mango – their enzymes break down the gelatine network and the mixture won't set. For fruit marshmallows, use a purée that's been briefly cooked. You'll find other setting ingredients among gelling agents and binders, and if you want to skip gelatine altogether, read up on what to use instead of gelatine.
When homemade marshmallows don't turn out right, it's almost always down to one of four things: the syrup (temperature, crystallisation), the gelatine (amount, fruit enzymes), the whipping, or moisture.
Won't set, stay gooey: too little gelatine, gelatine that's been boiled, syrup undercooked (below 115°C/239°F), or fruit with active enzymes.
Rubbery and tough: syrup overcooked past 120°C (248°F), or too much gelatine.
Dense, no air: too little whipping time, or syrup poured in all at once so the mixture never got the chance to aerate.
Syrup layer at the bottom: the mixture was poured into the tin under-whipped and still too hot.
Crystals in the mixture: the syrup crystallised, usually from stirring while it boiled or from sugar crystals on the pan's sides.
Sticky and "sweating": humid air and not enough coating mix. Sugar draws moisture from the air, which is why marshmallows belong in a sealed container, not the fridge.
You can flavour homemade marshmallows three ways: with a flavouring added at the end of whipping, with fruit replacing part of the water, or through the coating; colour them with gel food colouring.
Flavouring: vanilla – the seeds from one pod, or 1–2 teaspoons of vanilla extract per basic batch; mint, citrus, coffee – a few drops of essence or finely grated zest added at the end of whipping.
Fruit: replace part of the water used to soak the gelatine with cooked and cooled fruit purée (for example 60 ml purée + 30 ml water). Acidic fruit weakens the gel slightly, so aim for the higher end of the range, 117–118°C (243–244°F).
Coating: mix cocoa, freeze-dried fruit powder or toasted coconut into the icing sugar and starch. Or dip the cubes in melted chocolate.
Colour: gel food colouring, added drop by drop at the end of whipping. Liquid colourings will thin out the mixture.
There's also a French version called guimauve, which has whipped egg white folded into the mixture. It's lighter and fluffier, but doesn't keep as long. You can use dried egg white instead of fresh – it's pasteurised and more stable.
Once you've got the basics down, try some flavoured versions from tried-and-tested recipes – and put any leftover marshmallows to use in a no-bake dessert.
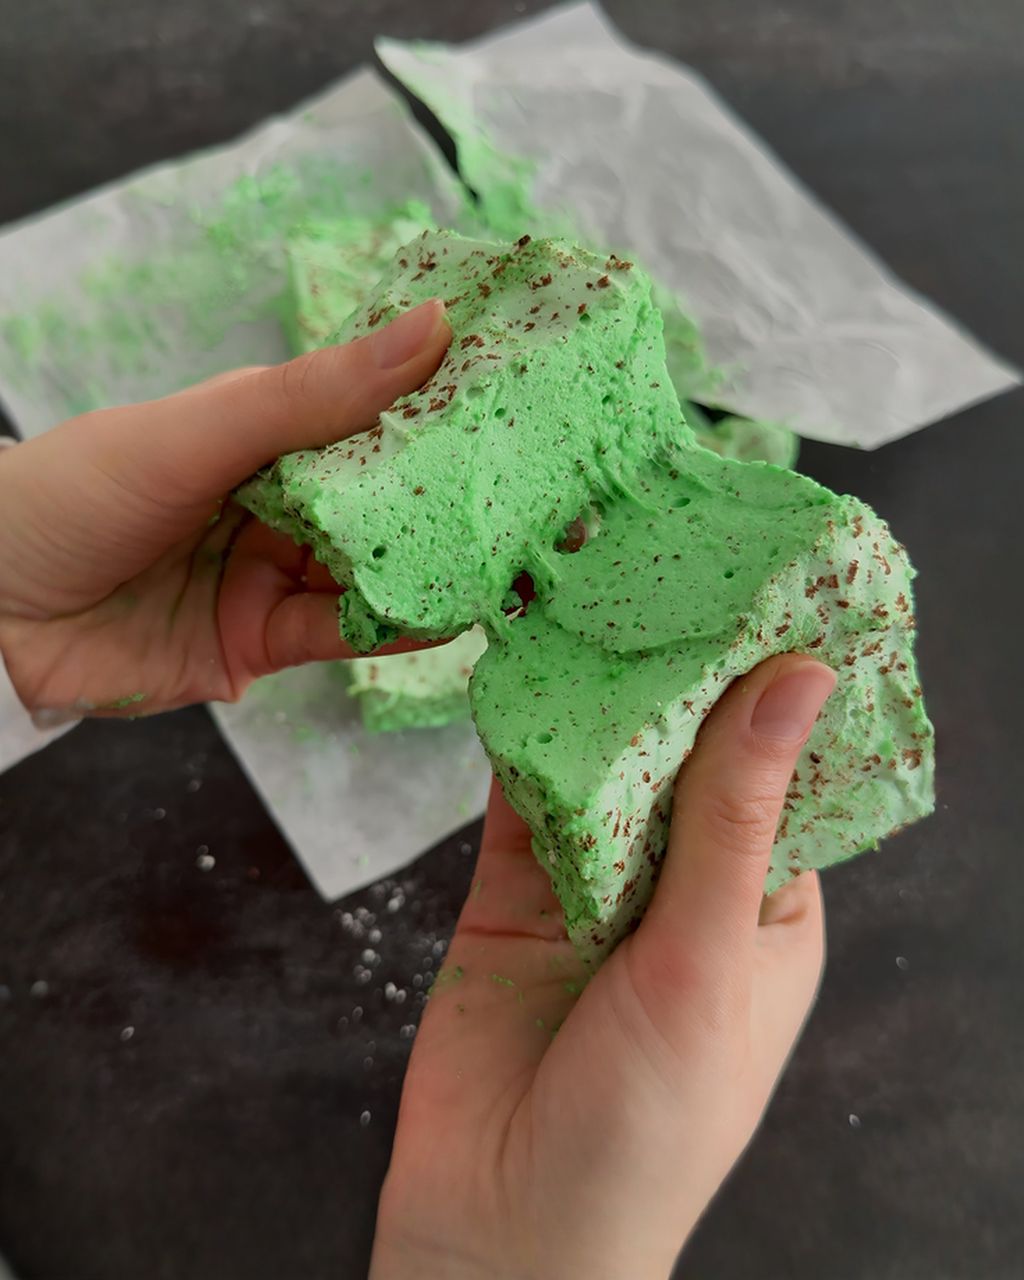
Homemade mint chocolate marshmallows
Homemade mint marshmallows with chocolate
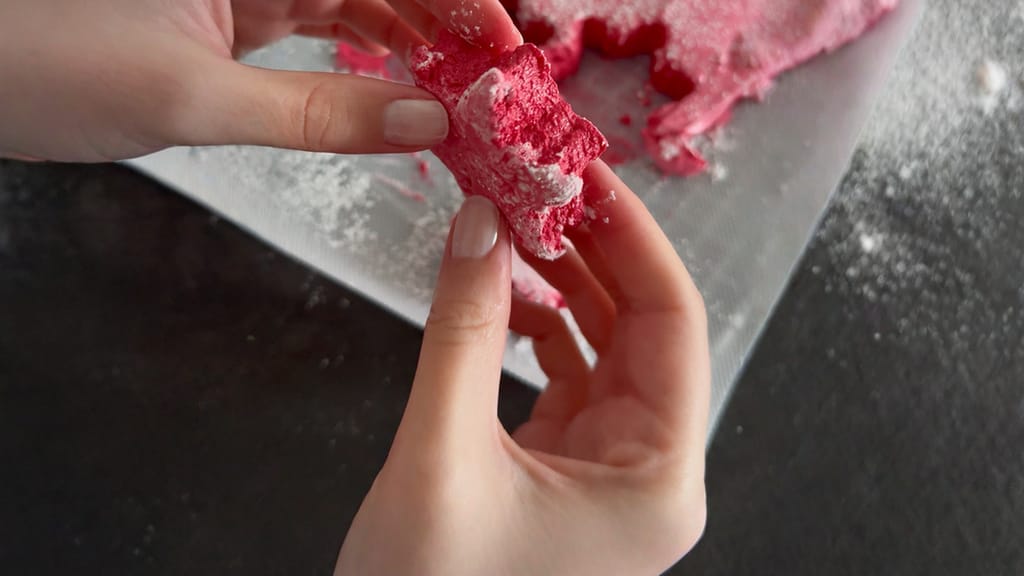
Homemade cherry marshmallows
Homemade cherry marshmallows
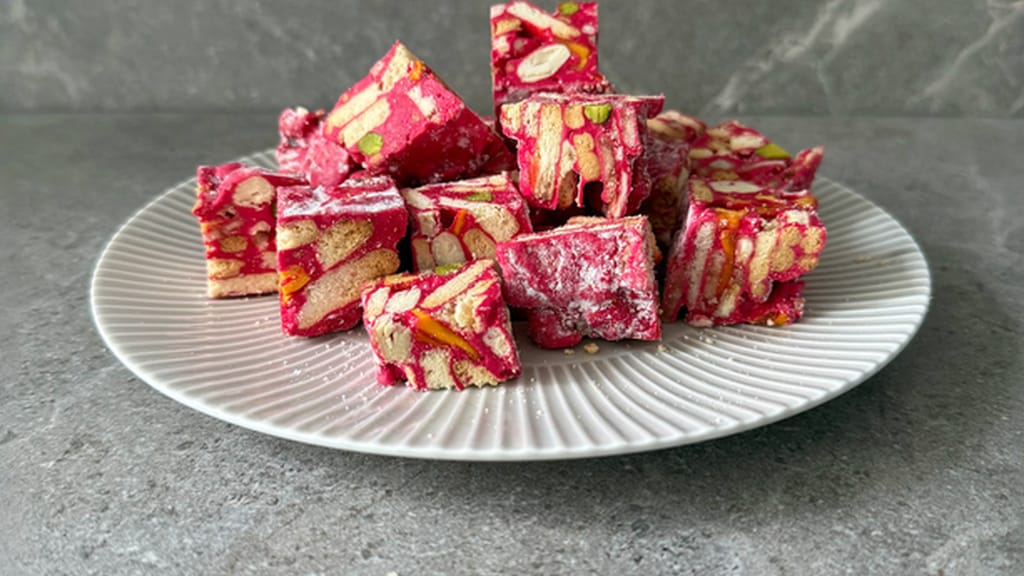
Snowflake crisps – no-bake asian marshmallow cookie bars
Snowflake Crisps: no-bake marshmallow cookies
Yes, you can swap the glucose syrup for the same amount of invert sugar or light honey. Invert sugar behaves most similarly; honey gives the marshmallows a distinct flavour and a slightly tan colour, and you'll need to watch the syrup more closely since it scorches faster. Using just sugar and water also works, but the risk of crystallisation goes up and the marshmallows dry out sooner.
Yes, gelatine-free marshmallows are possible, most often made from aquafaba stabilised with agar, though they turn out more brittle and less springy. Aquafaba (the liquid from cooked chickpeas) is whipped with syrup, and that kind of foam tends to melt over a flame rather than toast nicely. The classic marshmallow texture really relies on gelatine.
Stored in a sealed container at room temperature and well coated in a mix of icing sugar and starch, homemade marshmallows keep for roughly 1–2 weeks. Don't put them in the fridge – they turn damp and sticky there. For longer storage, freeze them layered between sheets of baking paper, and they'll keep for about 2–3 months.
Yes, homemade marshmallows toast just like store-bought ones, except they melt faster over a flame, so hold them a bit further from the fire. For toasting, cook the syrup toward the higher end, around 118°C (244°F), and cut larger cubes, at least 4 cm, so they hold firmly on a skewer.
Yes: pipe or spoon the mixture into silicone moulds, or pipe it with a piping bag onto a dusted tray, right after whipping while it's still warm and workable. Dust the moulds with the coating mix beforehand, and only unmould once fully set, after at least 6 hours.
One recipe worth heating the oven for, one tip, and one deal from the shop. Nothing else.