The best honey gingerbread cookies
Gingerbread Star Tree: How to Stack, Glue and Decorate It
Updated Oct 15, 2026
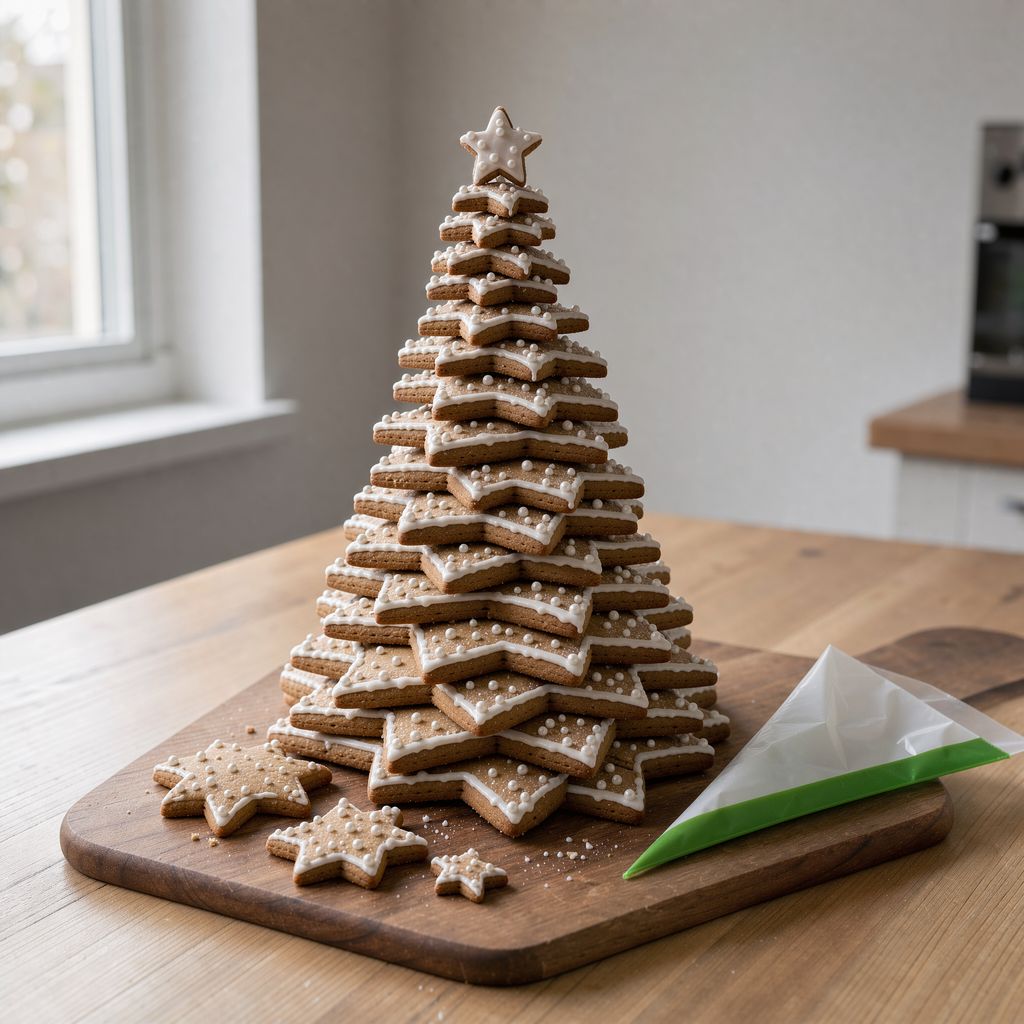
You build a gingerbread star tree from 8–10 gingerbread stars, from largest to smallest. Rotate each one by half a point and glue them together with thick royal icing. You can do it all in one afternoon, and it hardens overnight. What matters most is that the stars are flat and the same thickness, and that your icing "glue" is stiff enough. For decorating, all you need is a thinner icing for the "snow", a few sprinkles and a pinch of glitter.
For a tree about 8–12 cm tall, you need 8–10 stars in a range of sizes from about 13 cm down to 4 cm, plus one small star on top for the tip. Store-bought cutter sets often include seven stars from 13 to 4 cm (roughly 13 / 11.5 / 9.5 / 8.5 / 6.5 / 5 / 4 cm), along with small round cutters for spacers.
Large stars (10–13 cm) form the base and carry the weight of the whole tree. The set only has seven sizes, so feel free to bake the two largest twice. That gets you to 8–10 tiers and gives the tree a wider, steadier base.
Medium stars (6–9 cm) make up the body of the tree. A difference of about 1–2 cm between neighboring sizes gives a nice, smooth cone.
Small stars (3–5 cm) and the tip. These are the most fragile and bake the fastest.
Spacers (optional): rounds 2–3 cm in diameter cut from the same dough. Put them between the stars to make the tree taller and airier.
No set? One cutter and paper templates will do. Trace the star, then enlarge or reduce it on a photocopier in steps of 10–15%, and cut the shapes out with a knife. For more Christmas baking in general, our collection of Christmas cookies will come in handy too.
Use a classic rolled honey gingerbread dough and roll it out to 4–5 mm, the same thickness all over. Thinner stars break under the weight, while thicker ones are heavy and the tree topples. You'll find a tried-and-true dough in the recipe for the best honey gingerbread cookies.
Roll between two guide strips or rolling-pin guides of 4–5 mm. It's the easiest way to get an even thickness.
Bake by size, each on its own tray. At 170–180 °C (340–355 °F), small stars are done in 6–8 minutes and large ones in 10–12. On a single tray, the small ones would burn before the large ones finished baking.
Want a tree on a skewer? Before baking, cut a hole in the center of each star with a straw (about 6–8 mm). Once they're baked, you can't drill it out.
Flatten any puffed-up star as soon as it comes out. Press it with a flat board or the bottom of a baking tray while it's still warm and pliable. Once cold, it will crack.
Let the stars cool completely and, ideally, rest for a day. For why gingerbread is leavened with baking soda rather than baking powder, see the article on baking soda in gingerbread. To learn how to bake gingerbread cookies that last when hung and don't crack, read the article on gingerbread tree ornaments.
The best honey gingerbread cookies
Best honey gingerbread cookies – dough for the stars of a gingerbread tree
You have four options: homemade royal icing, ready-made royal icing mix, caramel and melted chocolate – stiff royal icing holds best. Once dry, it sets as hard as cement, it's snow white, and it suits the gingerbread flavor too. Here's how the four options differ:
Homemade royal icing (1 egg white to about 200–250 g icing sugar, plus a few drops of lemon juice). It costs very little. But you have to fine-tune the consistency yourself, and it's harder to store with raw egg white. The method is in the recipe for royal icing for cookies.
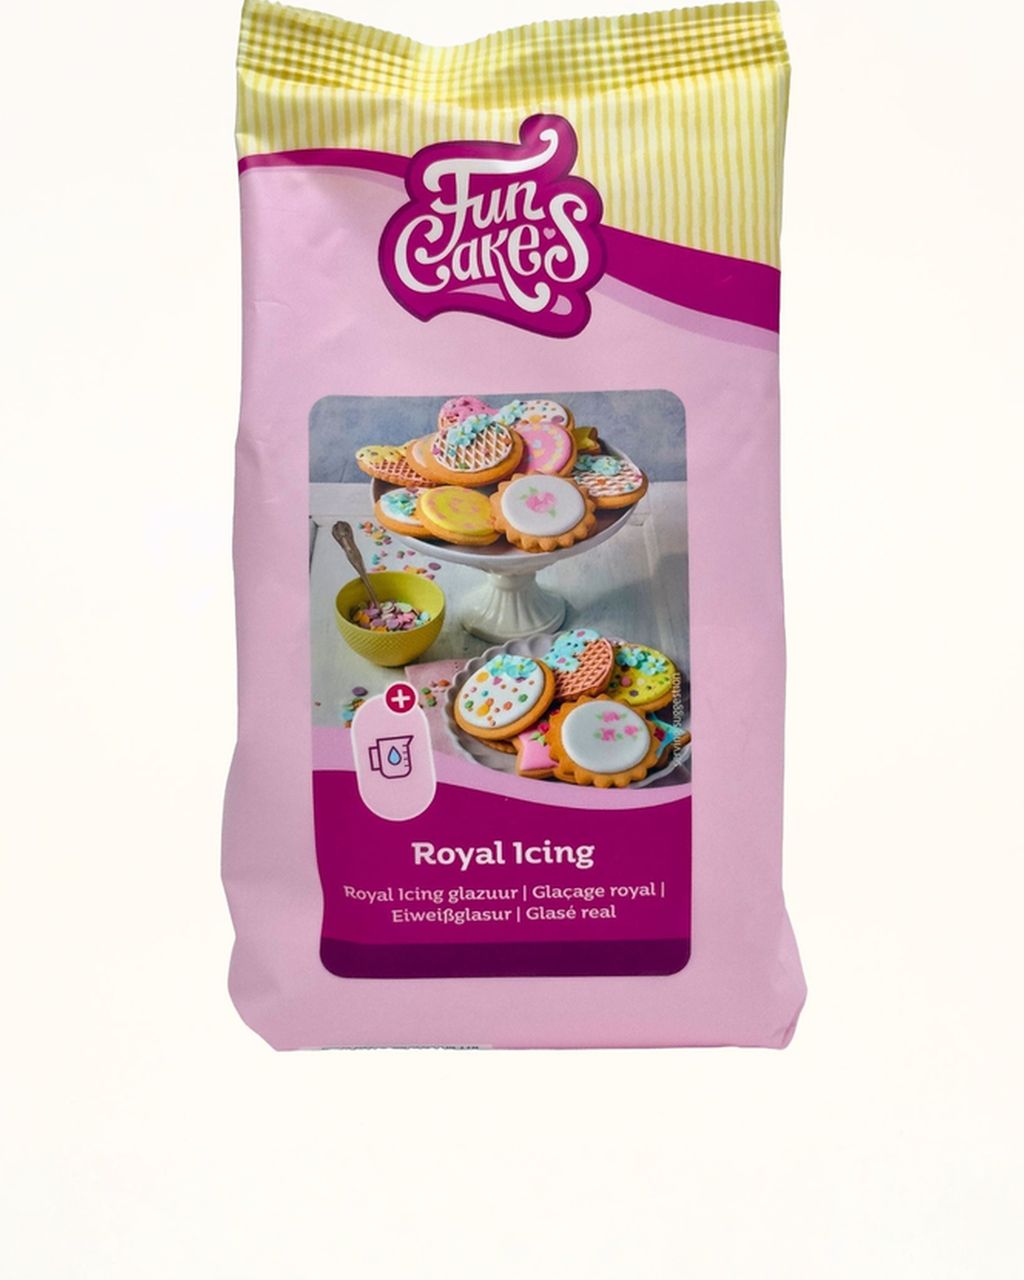
Ready-made royal icing mix, such as FunCakes royal icing, is simply mixed with water. The consistency comes out the same every time, it tolerates imprecise measuring of the water, and you don't have to worry about raw eggs. It costs more than egg white and sugar, but it's less hassle.
Caramel (melted sugar) glues instantly and very firmly. But it's over 150 °C (300 °F), it's easy to burn yourself, and it's brown, so you'll see it on the edges. It's not suitable for stars you want to look snowy.
Melted chocolate tastes great, but in a warm living room it softens and the tree can slowly slide. It only suits a cooler room.
For gluing, you need icing that's stiff as toothpaste: the peak you pull up with a spoon must not bend over. You'll find more on consistencies and gluing in the guide to the gingerbread house: template, assembly and decorating.
Royal icing for christmas cookies: the base for flawless decorating
Royal icing for cookies – glue and snow for a gingerbread tree
Stack the stars from largest to smallest and rotate each by half a point. On a five-pointed star, that's about 36°. The points alternate, so from the side the tree looks like a real branching fir.
Prepare the base, meaning the board or plate the tree will stay on. Once it's finished, it's hard to move.
Set down the largest star and put a dollop of icing about the size of a hazelnut in the center, along with a round spacer if you're using one.
Place the next star on top, rotated by half a point, and press down gently. Check from above that it's centered.
After every 3–4 tiers, take a 15–20 minute break so the lower joints can set. If you build it all in one go, the wet icing squashes out under the weight and the tree leans.
Add the tip on top. Stand a small star upright and stick it into a dollop of icing, or slide it onto the end of the skewer.
The skewer version is sturdier and good for younger children who want to build with you. The version without a skewer looks cleaner because no skewer shows, and it breaks apart tier by tier when you eat it. Before moving or decorating, let the tree dry for at least 2 hours, ideally overnight.
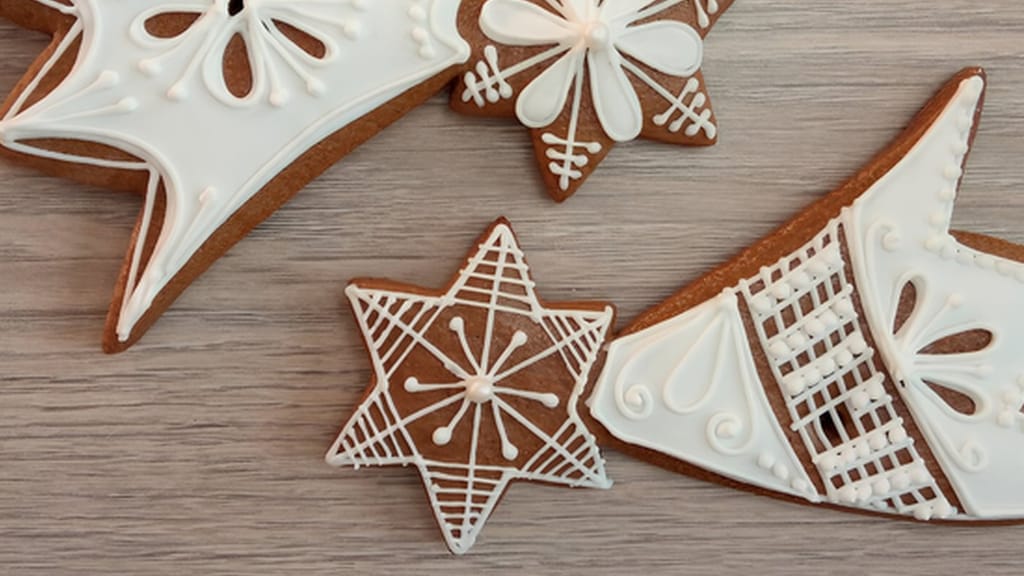
The classic is a "snowy" tree: drip thinner icing along the edges of the points so it runs down like snow, and stick sprinkles into the wet icing as ornaments. Finish by dusting it with glitter or icing sugar.
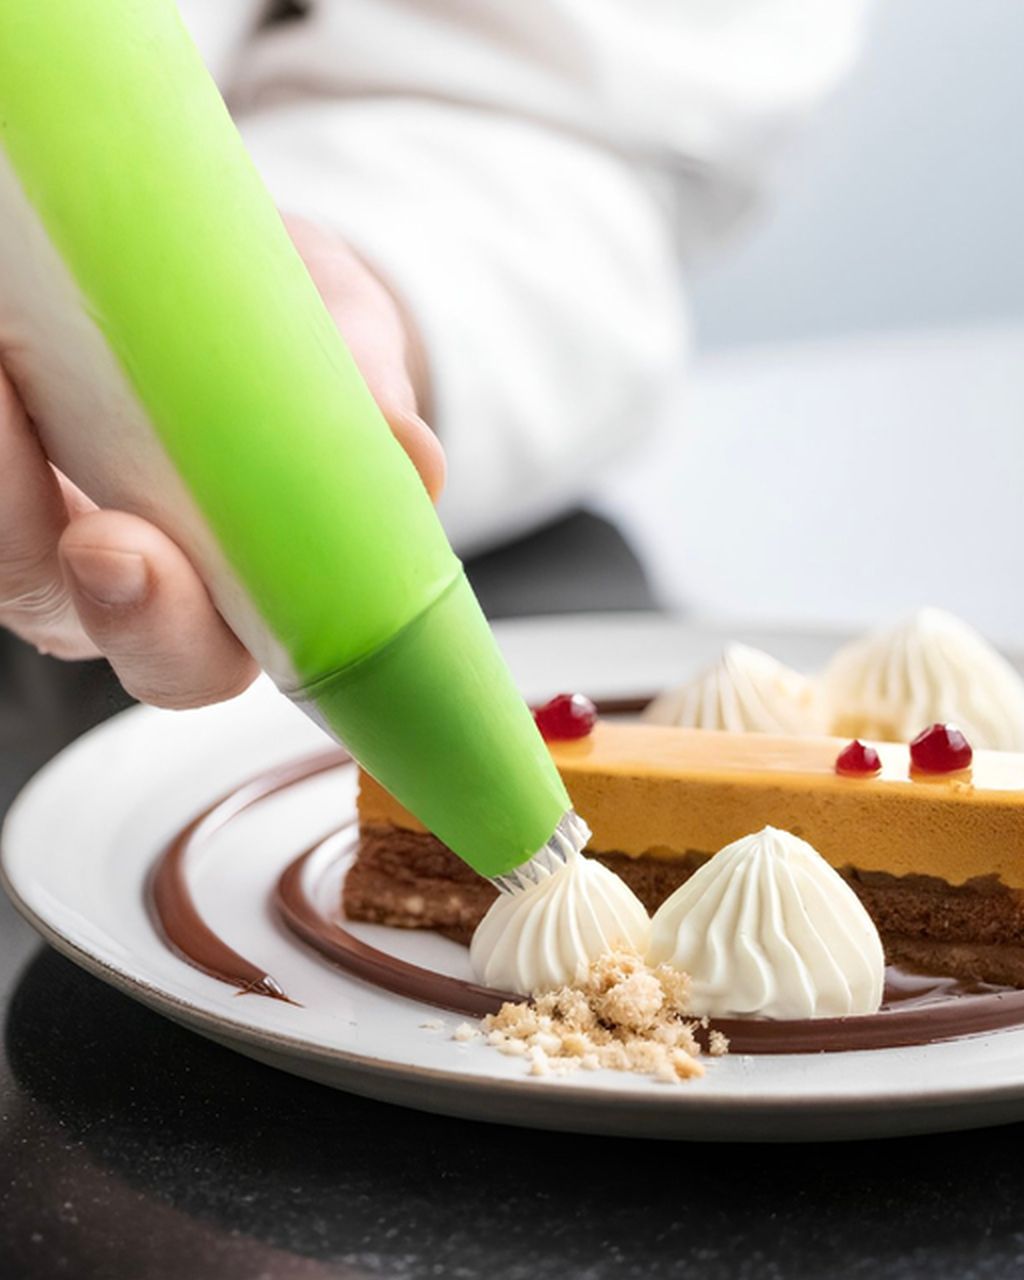
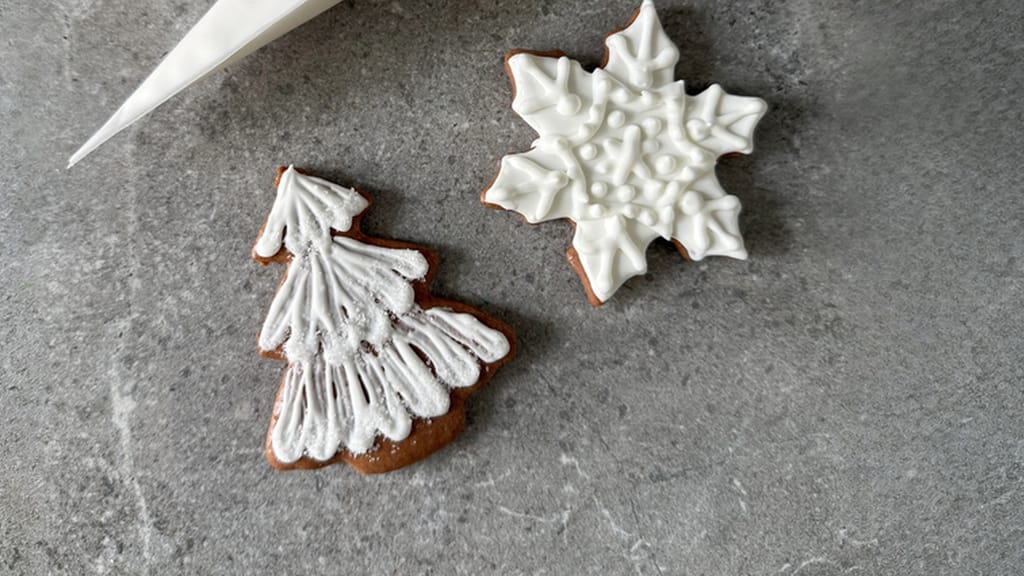
Snow on the points: thin the icing with drops of water until the trail left by a spoon disappears in 10–15 seconds. Fill a small bag, such as a One Way 30 × 17 cm, snip the tip to 2–3 mm and pipe along the edges of the points. A small disposable bag is easier to control in your hand than a large one, and you don't have to wash it. A parchment paper cone works too, and costs nothing, but it lasts less time for longer decorating sessions.
Ornaments: push balls and sprinkles (for example Happy Sprinkles) into the icing right away, while it's wet. After 5 minutes they won't stick. If you want sprinkles in your own color, see how to color sugar with gel food coloring.
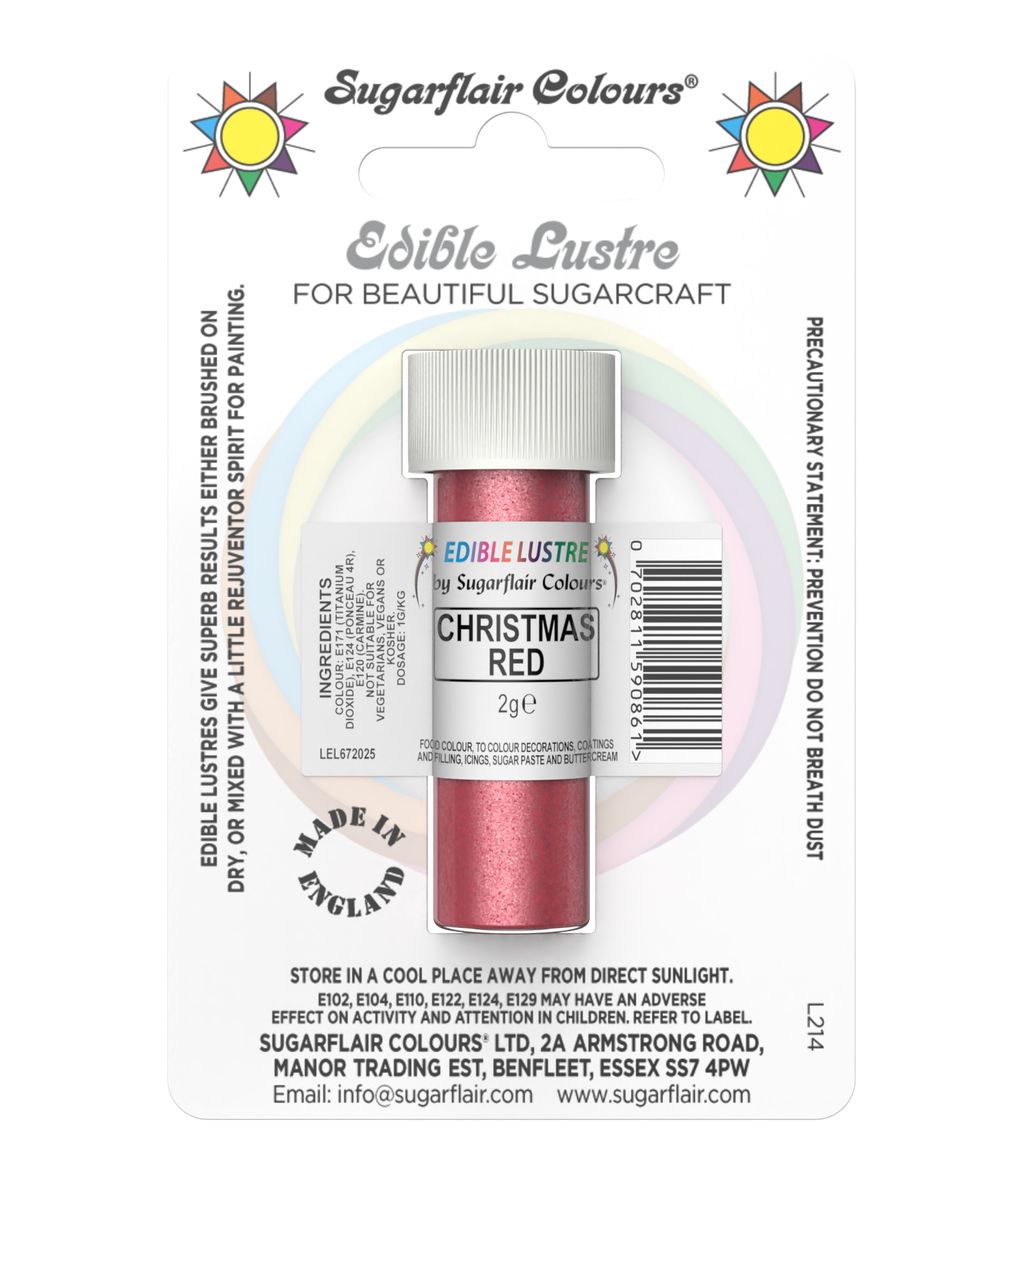
Glitter: apply edible glitter dust, such as Sugarflair in Christmas red, to dry icing with a soft, dry brush, or gently blow it from a spoon onto wet icing. A few pinches are enough, otherwise the tree looks plastic. Dusting with icing sugar through a sieve works for free. It gives a matte "freshly fallen snow" look, but it can't compete with glitter.
Gold or silver tip: brush the small star with icing and coat it in glitter before placing it, so the dust doesn't fall onto the finished tree.
Decorate only once the tree is standing and the icing has dried. If you decorate the stars beforehand, the decorations snap off during stacking and the icing in the center would smear.
You can build a gingerbread star tree 2–3 weeks before Christmas. The royal icing firms it up and the gingerbread holds well. It will last even longer as a decoration, but it's best eaten within 3–4 weeks. Keep it away from radiators and damp, for example loosely covered with a bag.
Yes, the whole gingerbread star tree is edible if you glued it with royal icing and decorated it only with edible glitter. It's easiest to break apart from the top down, tier by tier. If there's a skewer inside, remove it first. Older gingerbread can be harder, but it softens in a day in a box with a slice of apple.
Wait at least 24 hours after gluing before moving a gingerbread star tree. Transport it on the board it's standing on, in a box only slightly bigger than the board. Fill any gaps with crumpled paper. A tree built on a skewer travels much better than one that's simply stacked.
Replace the egg white with aquafaba (the liquid from cooked chickpeas), using about 30 ml for every 200–250 g of icing sugar. The icing is then egg-free, though it dries a little slower and stays slightly softer. For gluing, make it on the thicker side.
Straighten a leaning gingerbread tree right away, before the icing sets. On the shorter side, put a little more icing under the star and prop it up with a glass for a few minutes. If it has already set, loosen the upper tiers with a knife and stack them again. The bottom usually holds.
One recipe worth heating the oven for, one tip, and one deal from the shop. Nothing else.