Light and airy génoise sponge cake
Entremet: How to Make a Layered French Dessert at Home
Updated Nov 15, 2026
Entremet is a layered French dessert built from a base (most often dacquoise), crémeux, a fruit insert, mousse and a mirror glaze, and it follows one rule: you build it upside down, freeze it rock hard and only then glaze it. A single slice gives you crunchy, silky, fresh and airy in one bite, all under a glossy shine. It looks like it came from a Paris pâtisserie, yet you can make it at home without pro equipment. All you need is an 18 cm ring, acetate strip, a thermometer and a freezer. It's not a quick bake, so plan on two days, most of which the freezer does for you. Here you'll find the quantities for every layer, a timeline, the method from insert to glaze and the mistakes to avoid.
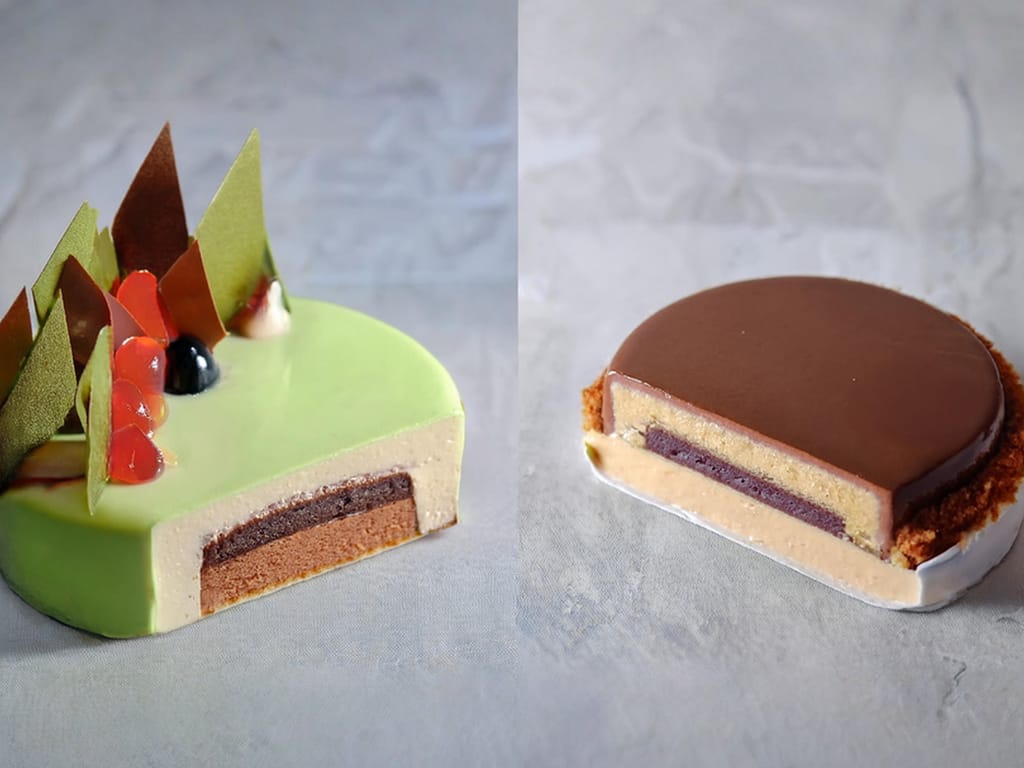
An entremet is a multi-layered French dessert that brings several textures together in a single bite: a base, a crunchy layer, a creamy crémeux, a fruit jelly and a light mousse, all enclosed in mousse and covered with a glossy glaze. It's not just cream on a cake base; it's a carefully thought-out structure in which every layer has its job: one crunches, another is silky, a third is fresh and tart.
The name comes from the French entre mets, meaning "between courses". According to food historians, in the Middle Ages it wasn't a dessert at all but often a savory dish or even a theatrical spectacle with which the host entertained guests between the courses of a feast. From the early 20th century the word has been used almost exclusively for sweet dishes served at the end of a meal, and today's layered dessert evolved from those.
A modern entremet is built upside down in a mold or ring and set by freezing. That's exactly why it slices so cleanly and has the mirror-smooth surface that a mirror glaze needs to sit on.
Seasonal baking plans, tested recipes and kitchen tricks that save you time. Unsubscribe in one click.
A classic entremet has six components, from the bottom up: a base (most often dacquoise), a crunchy layer, a creamy crémeux, a fruit gel insert, a mousse as the main outer layer, and a mirror glaze. Not every one has to appear every time – the crunchy layer is optional – but the whole point is contrast: soft against crisp, sweet against tart, dense against airy.
Base – the firm bottom that holds the structure up (almond dacquoise, génoise sponge or joconde), 1–1.5 cm (about ½ inch)
Crunchy layer – a thin, crisp layer for textural contrast, 3–5 mm
Crémeux – a denser cream in the middle, usually chocolate or vanilla
Fruit gel (insert) – a bright, tart counterpoint to the sweetness, around 7 mm
Mousse – the airy outer layer that gives the entremet its shape and makes up most of the volume
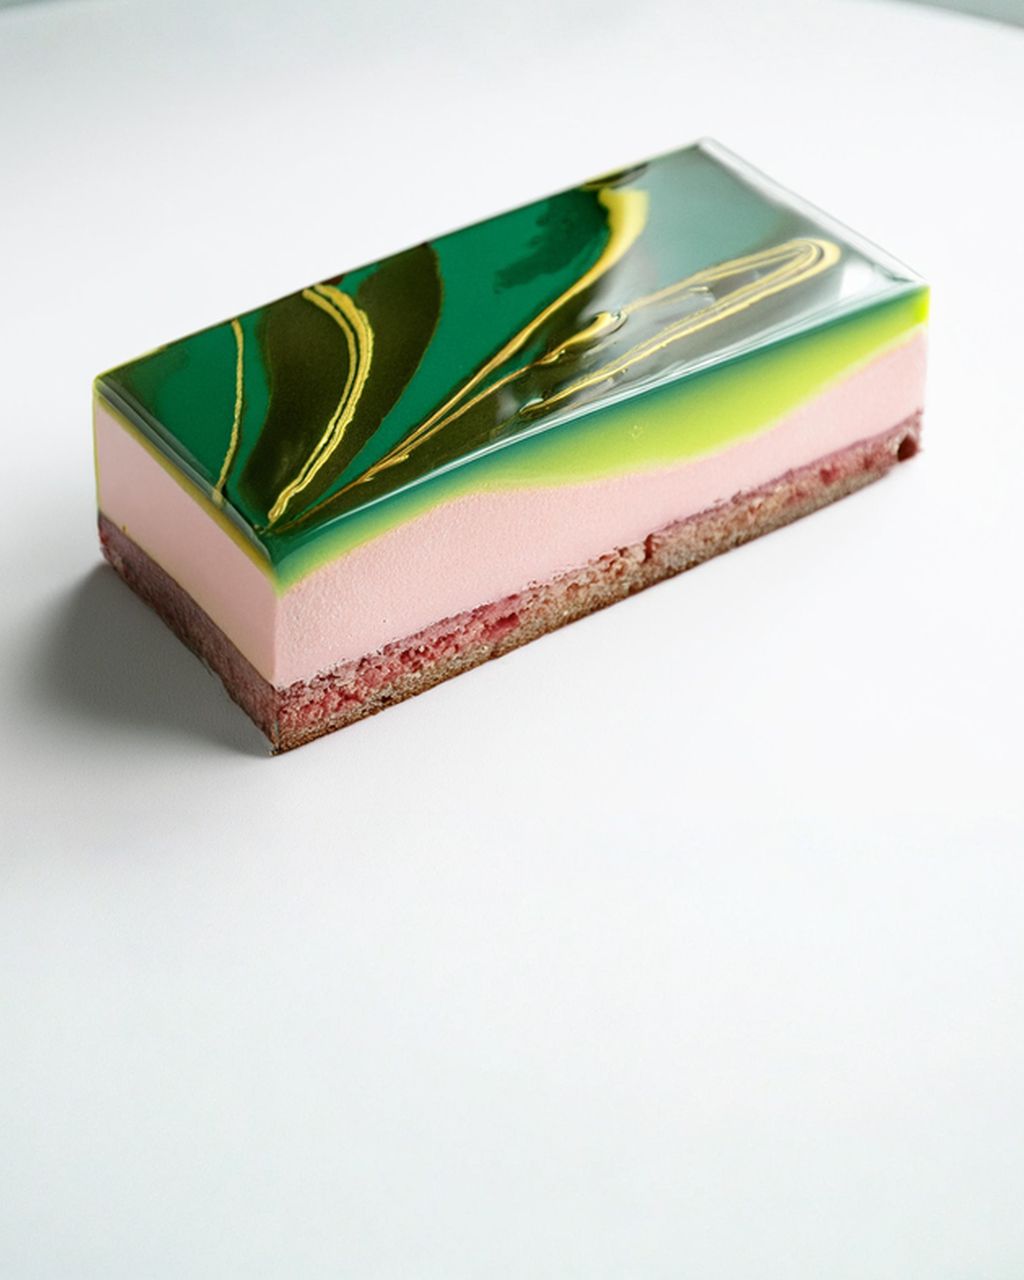
Mirror glaze – the glossy finish, optionally topped with a velvet spray
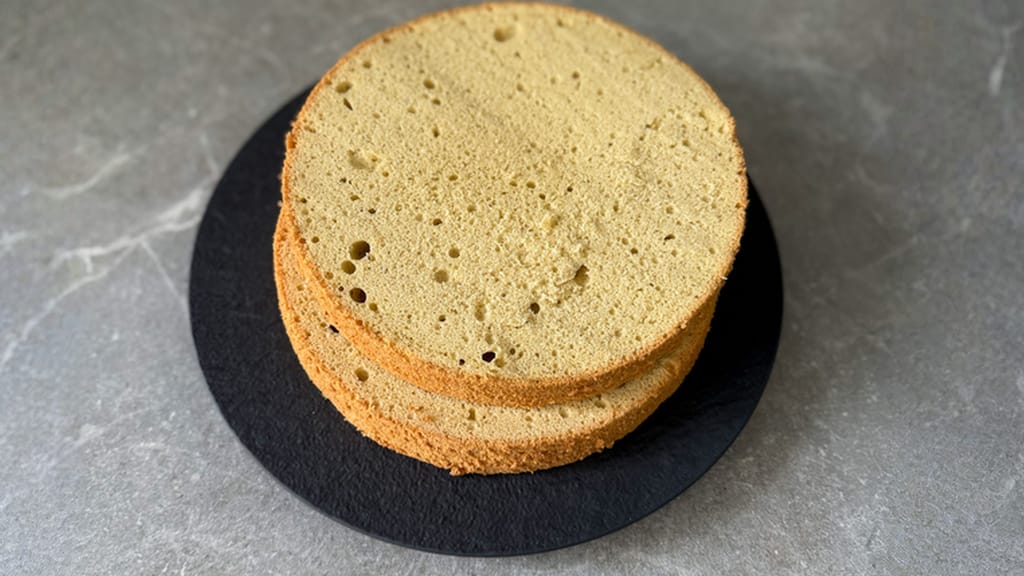
The base carries the whole structure and decides whether a slice holds its shape. Most often it's almond dacquoise (egg whites, sugar and almond flour – it stays tender even after freezing), a light génoise sponge, or almond joconde. Bake it on the thin side, about 1–1.5 cm, and cut it 2 cm smaller than the mold diameter (for an 18 cm ring, that means a 16 cm disk), so the mousse hides it completely around the edge. Fresh eggs and a properly whipped batter make the difference between a tender base and a rubbery one.
Light and airy génoise sponge cake
A fluffy génoise sponge – a light base under the layers of an entremet
The crunchy layer is what sets an entremet apart from an ordinary cream cake. It's made from praline paste or melted chocolate mixed with crisp feuilletine flakes, crushed wafers or toasted nuts. Spread it in a thin 3–5 mm layer straight onto the cooled base and let it set in the fridge. The fat in the chocolate coats the flakes and protects them from the moisture in the mousse, so they stay crisp even after thawing. Without it, every other layer is soft and the dessert lacks that interesting crunch under your teeth.
The insert is the inner core of the entremet – a combination of a denser crémeux and a bright fruit gel. Freeze both together in a smaller mold (for an 18 cm ring, the insert goes in a 16 cm one) as a single solid disk, then set it into the mousse while still frozen.
The gel is made from fruit purée, sugar and gelatin; for 250 g of purée, use roughly 4–5 g of sheet gelatin, so it holds its shape but stays soft. Tart fruit (raspberries, currants, passion fruit) balances the sweetness of the mousse – otherwise the whole dessert is just sweet.
Crémeux is a crème anglaise (cream, milk, egg yolks, sugar) cooked to 82–84°C (180–183°F) and blended with chocolate. It's thicker than mousse and creamier than ganache – the chocolate does the setting, so it needs little or no gelatin.
Pour the gel first and let it set in the freezer (about 30 minutes), then pour the crémeux on top lukewarm, not hot, or it will melt the gel.
The mousse makes up most of the entremet's volume and wraps around the whole insert. The base is usually chocolate or fruit purée, into which you work melted gelatin and finally whipping cream whipped only to soft peaks – cream whipped stiff is hard to fold in and leaves the mousse grainy.
The trick is the temperature of the base at the moment you add the cream:
Fruit base: around 25–30°C (77–86°F). If it's hot, the cream deflates; if it's too cold, the gelatin starts to set in lumps.
Chocolate base: around 35–40°C (95–104°F). Cooler chocolate sets quickly on contact with cold cream, and the mousse thickens before you can pour it.
The finished mousse should be glossy and still pourable, like thick cream, so it runs into every corner of the mold. We cover gelatin, ring and acetate in detail in our mousse cake step by step.
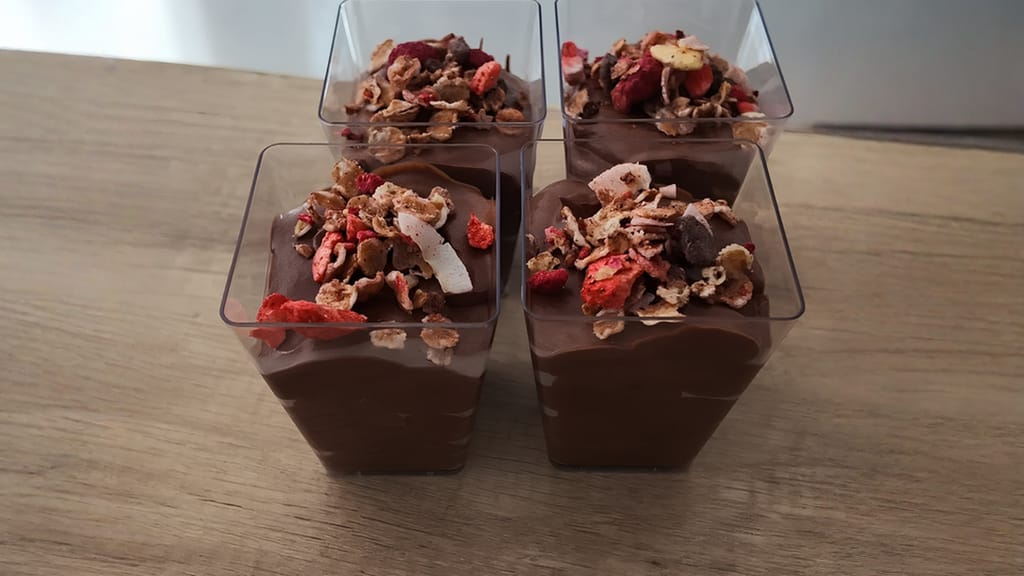
Chocolate mousse
Chocolate mousse – the flavor base of the entremet's mousse layer
You don't need a professional workshop to make an entremet at home – a few items will save you a lot of stress: a silicone mold or a cake ring with acetate strip, a kitchen thermometer, a hand mixer or stand mixer, an offset spatula, a level spot in the freezer, and a kitchen scale accurate to 1 g. The rest is everyday equipment you probably already have.
Silicone mold – lets you unmold the frozen dessert without damaging the smooth surface; comes in round, dome and geometric shapes
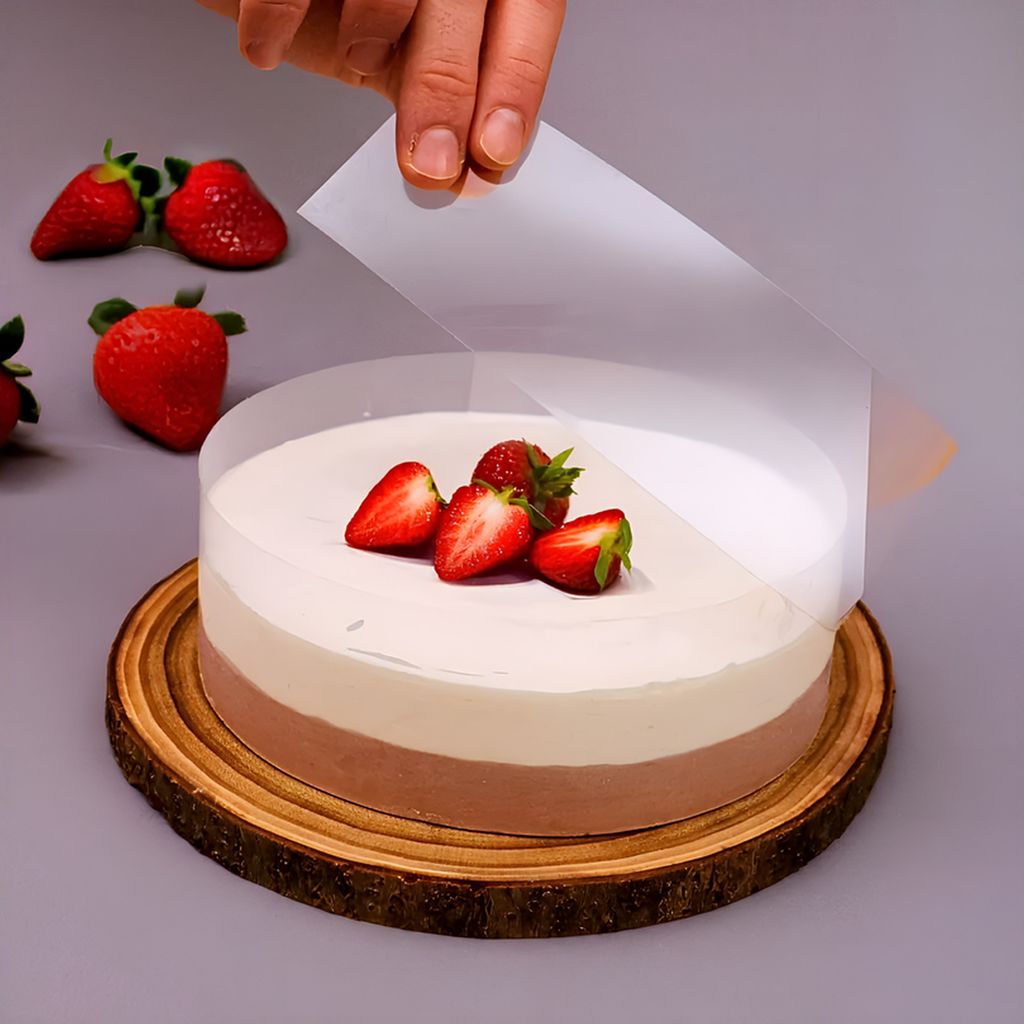
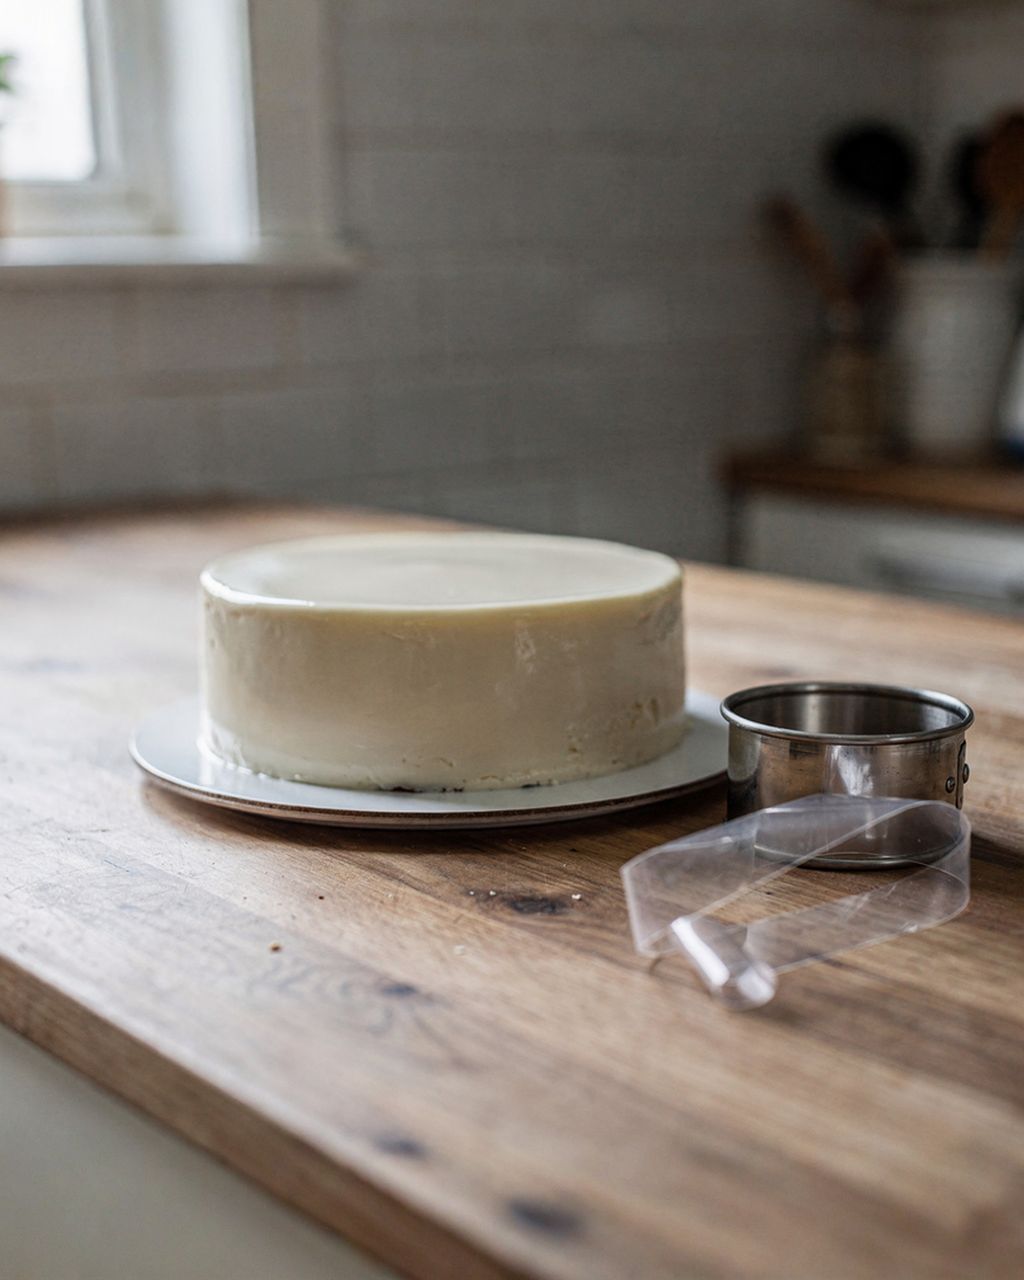
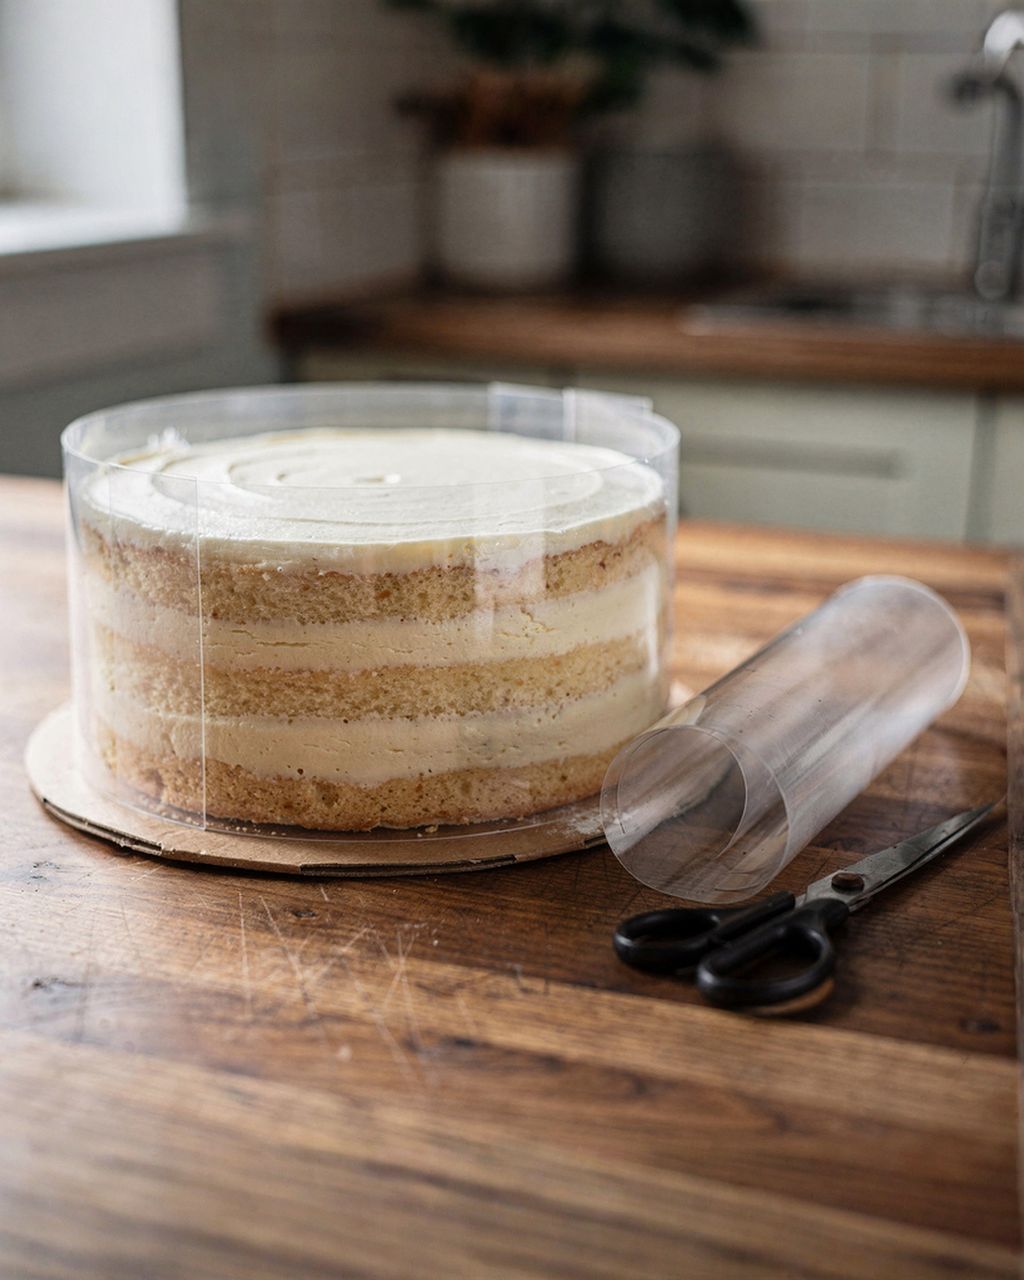
18 cm cake ring + acetate strip – an alternative to silicone: line the inside of the ring with the strip, and once frozen just peel it off, leaving the sides glass-smooth. The strip should be as tall as the ring (4.5–5 cm for an entremet); a narrower 35 mm strip is enough to line the insert ring. You'll find how to work with it in our article on pastry strips (acetate film).
Kitchen thermometer – a must for the crémeux, mousse and glaze, where a few degrees decide the result
Hand mixer or stand mixer – for whipping the cream; an immersion blender for a bubble-free glaze
Offset spatula (palette knife) – for spreading the layers flat
A level spot in the freezer – so the entremet freezes flat and doesn't tilt
Kitchen scale accurate to 1 g – weigh gelatin in grams: depending on strength (platinum to bronze), a sheet weighs 1.7–3.3 g, so counting sheets isn't a reliable measure. The grams in this article are for gold gelatin (200 bloom); if you use another grade, convert them.
We go into the equipment in more detail in our article on the best tools for French pastry at home.

For an 18 cm entremet ring, 4.5–5 cm tall (8–10 servings), you need roughly 180 g dacquoise, 120 g crunchy layer, 180 g fruit gel, 260 g crémeux, 520 g mousse and about 680 g glaze, of which you'll use about half on the cake. The insert is poured into a 16 cm ring and the base is cut to 16 cm. All gelatin amounts are for gold gelatin (200 bloom).
Dacquoise (16 cm disk, 1 cm tall): 65 g egg whites (2 eggs), 20 g granulated sugar, 55 g almond flour, 55 g powdered sugar; bake at 170°C (340°F) for 15–18 minutes, until light golden
Crunchy layer: 60 g praline paste, 20 g milk chocolate, 40 g feuilletine or crushed wafers
Fruit gel (16 cm ring): 150 g raspberry purée, 25 g sugar, 3 g gelatin (gold, 200 bloom)
Crémeux (16 cm ring): 75 g whipping cream 33%, 75 g milk, 30 g egg yolks (about 2), 15 g sugar, 70 g dark chocolate around 54% (e.g. Callebaut 811)
Chocolate mousse: 120 g milk, 4 g gelatin (gold, 200 bloom), 150 g dark chocolate 54%, 250 g whipping cream 33% whipped to soft peaks
Mirror glaze (about 680 g): cook 150 g sugar, 75 g water and 150 g glucose syrup to 103°C (217°F); then add 100 g sweetened condensed milk (labeled „zahuštěné slazené plnotučné mléko“ in Czech stores, e.g. salko), 10 g gelatin (gold, 200 bloom) soaked in 50 g water, 150 g white chocolate and food coloring to taste
The glucose syrup isn't there for sweetness: it prevents the sugar from crystallizing and gives the glaze elasticity and shine, so it won't crack on the frozen surface. Freeze any leftover glaze – it keeps for another cake. To adjust the quantities for a different size, scale by the ratio of the areas – for a 20 cm ring multiply everything by 1.23, for 16 cm by 0.79.
Spread an entremet over two days: on the first day make all the layers and assemble it in the evening, on the second day glaze it and let it thaw. Active work is roughly 3 hours; the rest is waiting in the freezer.
Day 1, morning: pour the gel into the 16 cm ring and freeze for 30 minutes.
Day 1, morning: pour the crémeux on top, then freeze the insert for at least 4 hours.
Day 1, morning: bake the dacquoise, cool it, cut out a 16 cm disk and spread it with the crunchy layer; refrigerate.
Day 1, afternoon: cook the mirror glaze, cover it with plastic wrap pressed directly onto the surface and refrigerate – resting overnight gets rid of the air bubbles.
Day 1, evening: line the 18 cm ring with acetate strip, whip the mousse and assemble the entremet upside down.
Day 1, evening: freeze overnight, at least 8 hours, ideally 12, at −18°C (0°F).
Day 2: warm the glaze to 32–35°C (90–95°F), take the entremet out of the freezer, unmold it and glaze it right away.
Day 2: decorate and let it thaw in the fridge for 4–6 hours. Serve the same day or within 1–2 days.
An entremet is built upside down and set by freezing: first you make and freeze the insert, then bake the base with its crunchy layer, and finally whip the mousse, assemble everything in the mold bottom-side up, freeze it solid and pour the glaze over. Plan on two days – most of the time is waiting in the freezer, not active work.
The insert, a raspberry gel with chocolate crémeux, is made first in a 16 cm ring and has to freeze for at least 4 hours, ideally overnight. Pour the fruit gel into a smaller mold (2 cm narrower than the final ring, so 16 cm for an 18 cm ring), let it set, add the lukewarm crémeux and put the whole thing in the freezer. The insert must be frozen rock solid, because that's the only way to set it into the mousse without it melting or shifting. If you're using a ring, stand it on a baking sheet lined with acetate and line the walls with a strip of acetate too, so the disc pushes out cleanly.
Bake the entremet base 1–1.5 cm tall, cut it 2 cm smaller than the main ring (so 16 cm for an 18 cm ring) and spread it with a 3–5 mm crunchy layer. Then let that set in the fridge. Almond dacquoise works as a base, and so does classic sponge or a tender almond cake, which gives the dessert a nuttier note.
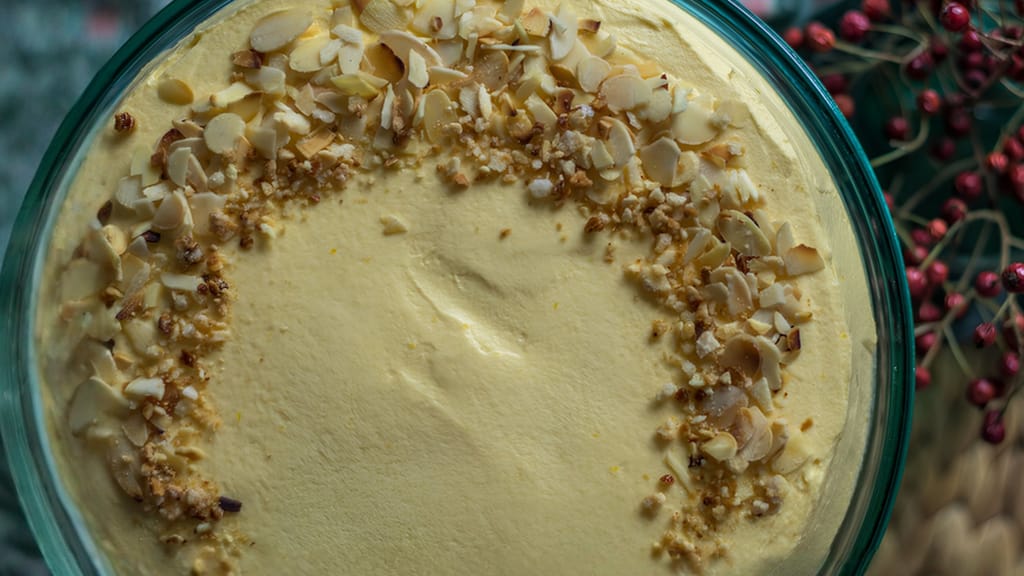
Swedish almond cake
Swedish almond cake – a tender almond alternative to sponge for the base
The entremet is assembled upside down: pour two thirds of the mousse into the 18 cm ring, press in the frozen insert, top up with the rest of the mousse and finish with the base, crunchy side down. Stand the ring on a baking sheet lined with acetate film (or use a silicone mold) and line the sides with strip so it sits flush without wrinkles. Whip the mousse and work right away – once the gelatin starts to set, the mousse thickens and runs into the corners less easily.
Pour in roughly two thirds of the mousse and use a spatula to draw it up the sides, so no bubbles are left along the strip.
Press the frozen insert into it, gel side down – after unmolding it will be on top, closer to the glaze.
Top up with the rest of the mousse so it surrounds the insert completely, leaving about 1 cm below the rim.
Press the base into the mousse on top, crunchy side down.
Level the surface with a spatula – this "bottom" side becomes the base of the dessert after unmolding.
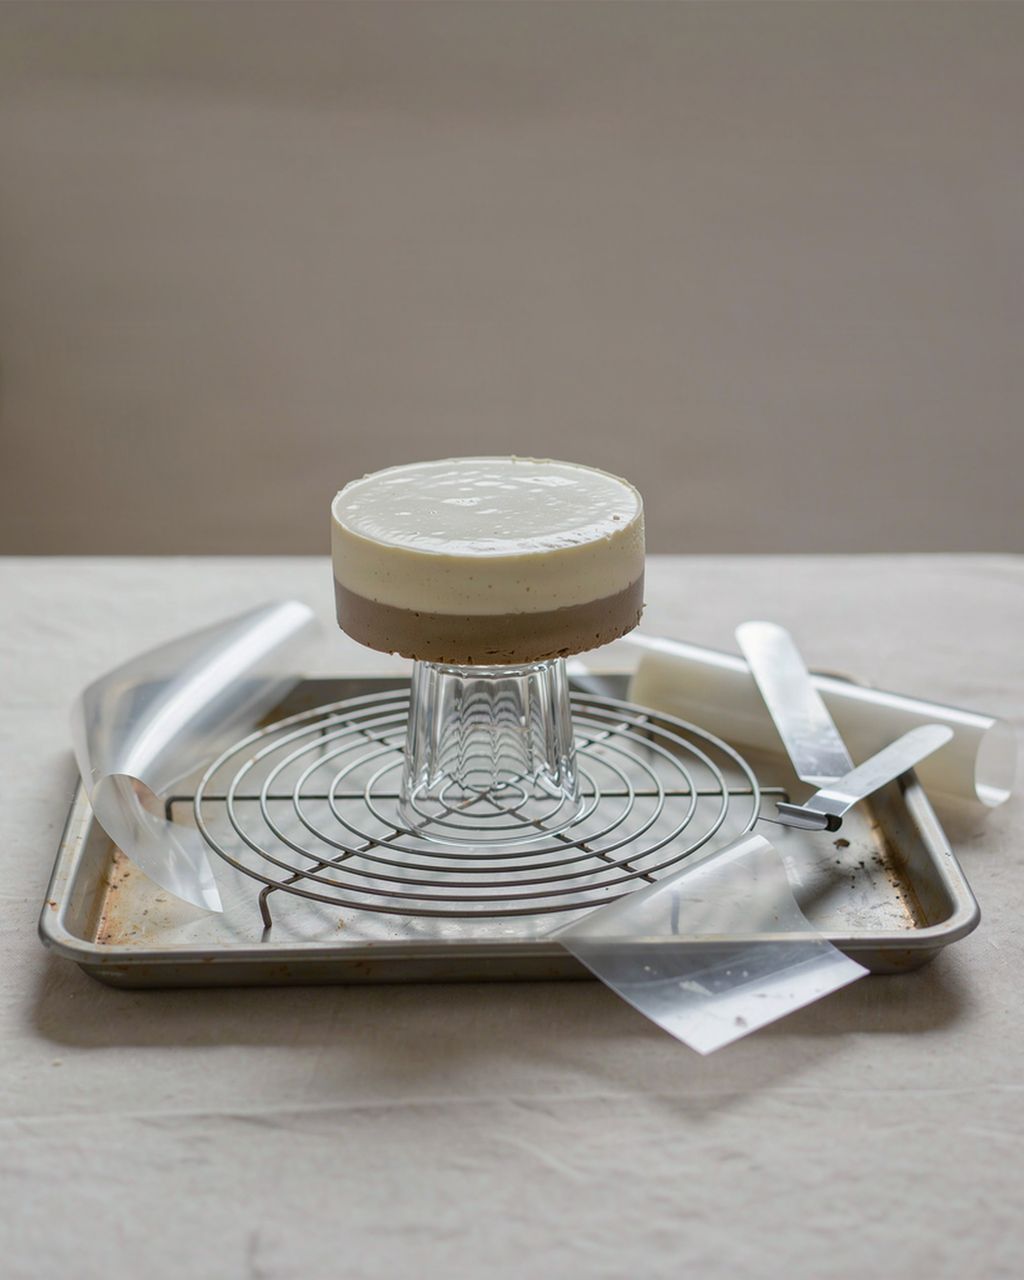
Put the assembled entremet in the freezer for at least 8 hours, ideally overnight, until completely hard. Only then unmold it, remove the ring, peel off the strip, set it on a raised bowl above a baking sheet and pour over the mirror glaze warmed to 32–35°C (90–95°F). Pour the glaze onto the frozen surface in one go – first in the center, then in circles toward the edge, so it runs down the sides. The temperature difference makes it cling and set instantly into a glossy mirror.
Scrape the excess off the baking sheet with a spatula, strain it and freeze it for next time. For the glaze to run smoothly, the surface underneath must be flat and free of holes – our article on the cream filling under a mirror glaze covers what helps. If bubbles appear in the glaze or it doesn't flow smoothly, see why mirror glaze doesn't flow smoothly. Let the finished entremet thaw slowly in the fridge before serving.
With an entremet, less is more: a clean mirror surface can take only a few well-chosen accents, not a pile of decorations. The best options are fresh berries, chocolate decorations, an edible flower, a thin strip of gold leaf or citrus zest, placed toward one edge rather than scattered over the whole top. Decorate right after glazing, while the glaze is still tacky – the decorations will stick to it.
Fresh berries – raspberries, strawberries or blueberries add color and freshness and hint at what's inside
Chocolate decorations – spirals or lattices of melted chocolate piped on parchment paper are doable at home
Edible flower – a few tiny flowers at the edge add a delicate touch of color; watch where they come from, see the note below
Gold leaf – a few flakes applied with a dry brush are enough; use only edible gold intended for food
Citrus zest – grated on top, it adds aroma and a subtle color contrast
For inspiration on chocolate decorations and working with isomalt, see how to decorate French desserts, and for the plate, our tips on serving desserts like a Parisian pastry shop.

Most failed entremets come down to six things: an insert that isn't frozen through, thin mousse, grainy mousse, glaze at the wrong temperature or poured on a cake that isn't frozen through, a dewy surface, and overdecoration. All of them can be avoided with patience, a scale and a thermometer.
An insert that isn't frozen through – if you set it into the mousse soft, it shifts and the slice comes out crooked; freeze it rock-solid, even overnight
Thin mousse – too little gelatin or a hot base makes the layers run; weigh the gelatin and fold the cream into a fruit base at 25–30°C (77–86°F), into a chocolate base at 35–40°C (95–104°F)
Grainy mousse – cream whipped stiff; soft peaks are enough
Glaze at the wrong temperature or on a cake that isn't frozen through – pour it over a completely frozen entremet, warmed to 32–35°C (90–95°F); on a warm surface, or if too hot, it slides off and leaves thin, translucent patches, and if too cold it pours in lumps
Dewy surface – glaze the entremet right after taking it out of the freezer; moisture on the surface stops the glaze from clinging
Overdecoration – too many decorations hide what you worked on; let the mirror shine
An entremet is mostly about planning and cold. If you spread the work over two days and don't rush, it will turn out even the first time.
FunCakes
FunCakes Glucose Syrup (375 g)A fully assembled entremet without the glaze keeps well wrapped in the freezer for 2–3 weeks, which makes it an ideal make-ahead dessert. Pour the glaze on only on the day you serve it, onto the frozen surface. Once glazed and thawed, eat it within 1–2 days and keep it in the fridge.
The most common plant-based substitute is agar, but it doesn't behave the same way: it sets firmer and has to be boiled to gel. It suits a mousse less well than a jelly because it gives a firmer, less creamy texture, and you use far less of it than gelatin. For a creamy mousse, reach for a tested agar recipe rather than a simple conversion.
Cut the entremet while it's still well chilled, using a knife heated in hot water and wiped dry, and reheat and wipe the knife before every cut. A warm blade glides through the glaze and mousse without tearing and doesn't drag the layers behind it. Cut through the crunchy layer and the base with one firm downward stroke.
Scale the quantities by the ratio of the base areas, which is the square of the ratio of the diameters. From an 18 cm ring to 20 cm, multiply all ingredients by 1.23; for 16 cm use 0.79 and for 22 cm use 1.5. Always keep the insert and base 2 cm smaller than the main ring.
A mousse cake is usually just a base and one or two layers of mousse, whereas an entremet combines several different textures around a frozen insert. It also has a crunchy layer, a crémeux and a fruit jelly inside, plus a mirror glaze on top. A mousse cake is a good first step: if you can handle mousse and gelatin, you can handle an entremet.
Yes, an entremet is served thawed, not frozen. The mousse and insert need to soften so the flavor and texture come through. Let it thaw slowly in the fridge, about 4–6 hours for an 18 cm ring. Don't speed up thawing at room temperature, because the surface will bead with condensation and the glaze will lose its shine.
One recipe worth heating the oven for, one tip, and one deal from the shop. Nothing else.