Acetate Cake Collar - 35 mm Roll (5 m)
Acetate Cake Collar: What It's For and How to Build a Cake With It
Updated Oct 8, 2026
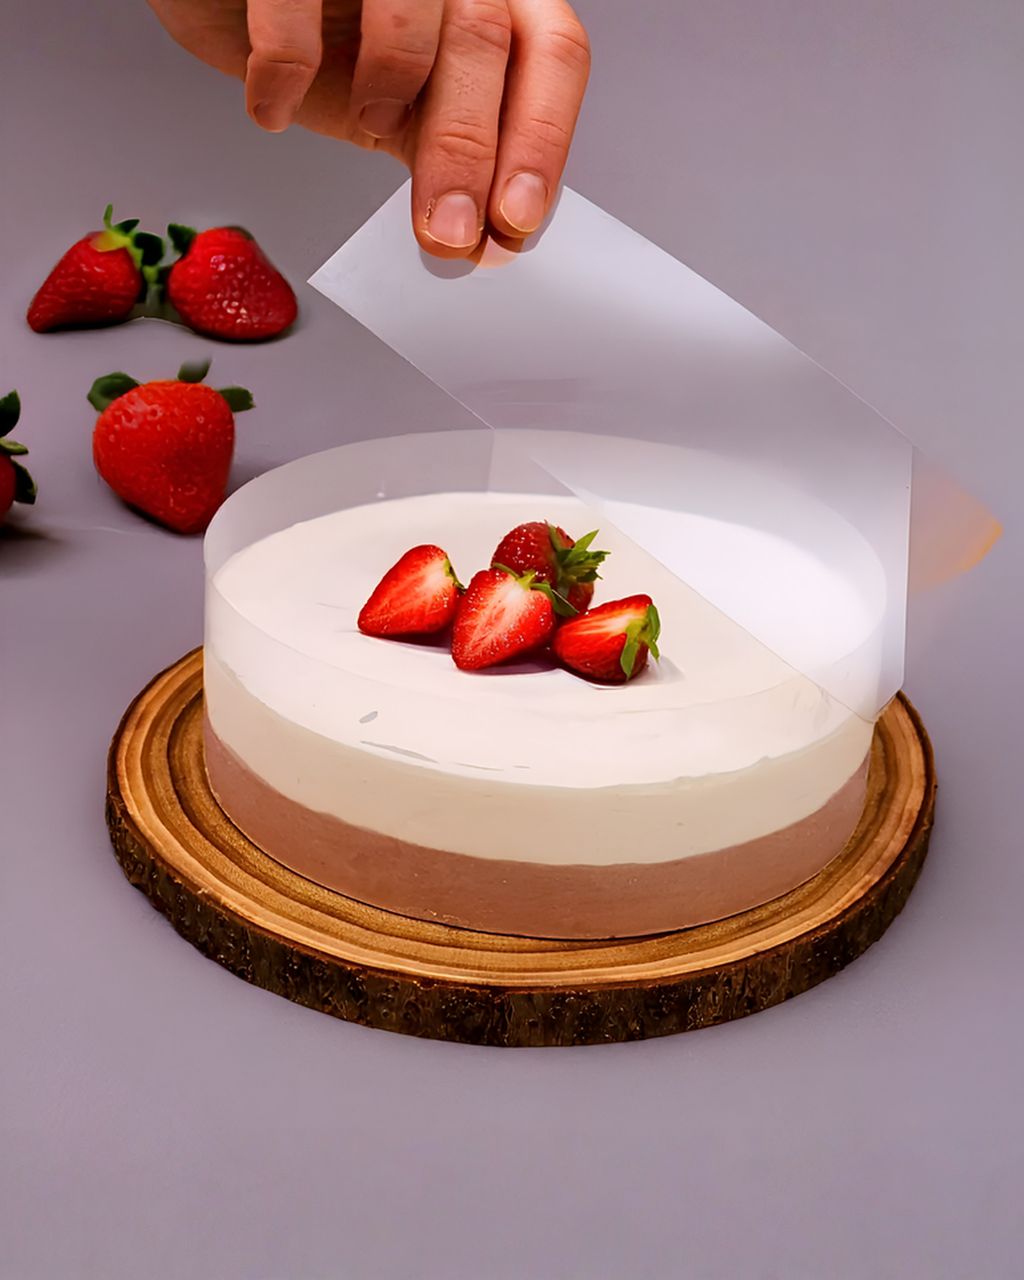
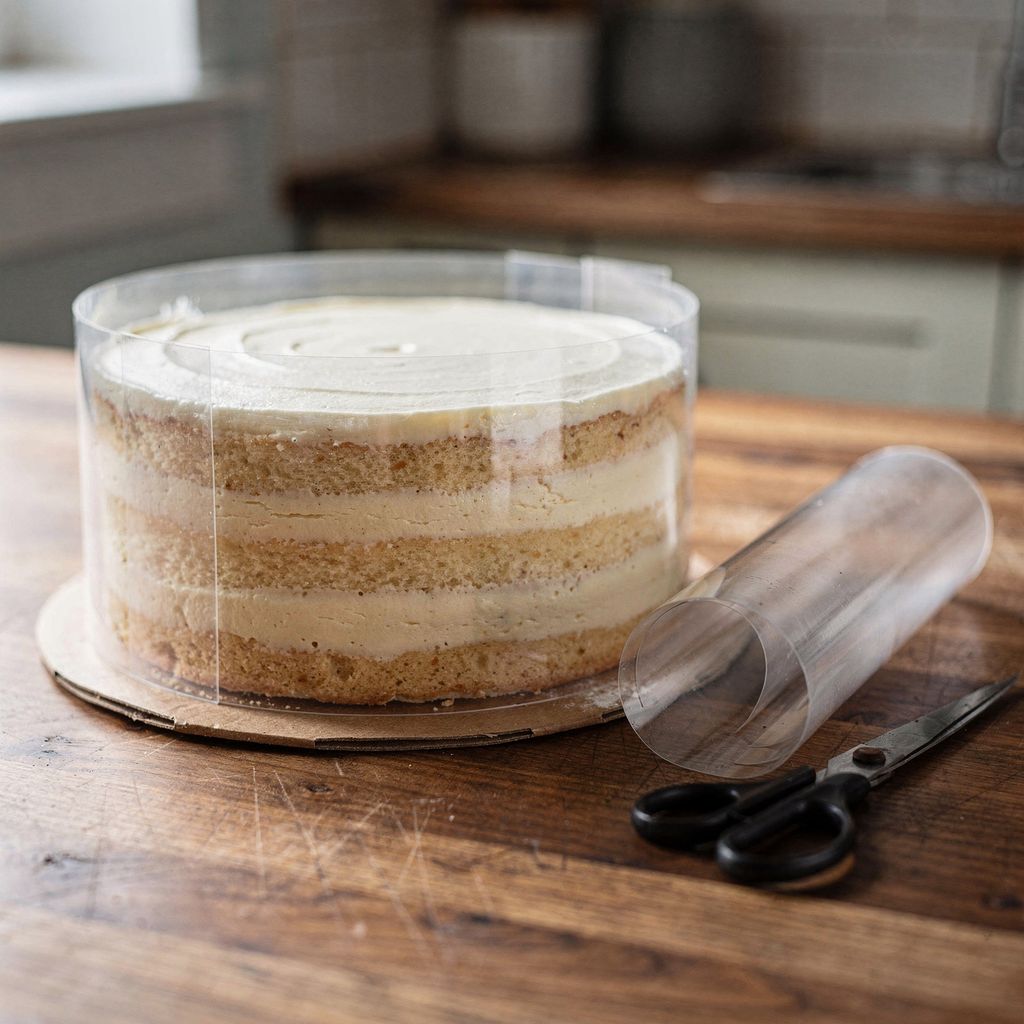
Acetate cake collar is a clear, flexible strip of food-safe plastic film. Line the inside of a cake ring or wrap it around the side of a cake with it, and your cream or mousse will set against a perfectly smooth surface — once you peel the strip away, you're left with straight sides and crisp, visible layers. No palette knife or turntable required. Below you'll find out what width and length to choose, how to build a cake with it step by step, and how to remove the strip without tearing the cream.
Acetate cake collar (sometimes called cake acetate strip) does five things: smooth sides, extra height, visible layers, easy unmoulding, and glossy chocolate.
Smooth sides, no palette knife needed. Mousse, cheesecake filling or Bavarian cream set directly against the acetate, so the side comes out as flat and glossy as glass.
Height beyond your cake ring. The strip sticks up above the ring's edge, so you can build a cake 10 cm tall in a ring that's only 6 cm high.
Visible layers. Sponge, cream and fruit press right up to the edge, so a cake with clean layers like this needs no extra decoration on the sides.
Easy unmoulding. The cream won't stick to metal. Once you lift off the ring, the acetate stays on the cake and protects it until serving.
Mirror-shine chocolate. Tempered chocolate set on smooth acetate takes on a mirror finish, which is why chocolate strips and collars for wrapping cakes are made this way.
Strip width = finished cake height + 1 to 2 cm. Thickness ranges from 75 to 150 µm, with 100–125 µm being the usual standard.
Width depending on what you're making:
3.5–5 cm: tartlets, mini desserts in small rings, a shallow cream layer on a tart, chocolate strips.
8 cm: a standard cake with 2–3 sponge layers, about 6–7 cm tall.
10–12 cm: a tall layer cake or entremet, about 8–10 cm high.
Thickness depending on the job:
75–100 µm: more flexible, good for chocolate work and small rings.
100–125 µm: all-purpose and the best compromise between flexibility and rigidity for cakes.
150 µm and up: stiffer, holds its shape even without a ring, though it's harder to bend around small diameters.
To be straightforward: the Patisdécor acetate strip we use is 35 mm wide and comes in a 5 m roll. It's meant for tartlets, mini desserts, shallow layers and chocolate work. For a cake 8–10 cm tall you'll need a wider strip (10–12 cm), which you can easily find at other baking suppliers too. Don't stack two narrow strips on top of each other — it leaves a visible horizontal line on the side of the cake.
Strip length = ring diameter × 3.14 + 2–3 cm for overlap. The overlap matters, because the ends need to overlap or the cream will leak out through the gap.
8 cm ring: about 28 cm of strip (a 5 m roll gives you 17 rings)
18 cm ring: about 60 cm
20 cm ring: about 66 cm
24 cm ring: about 78 cm (6 pieces from a 5 m roll)
Cut straight with scissors along a ruler. A wobbly cut shows up on the top edge of the cake.
A cake built with acetate collar is assembled inside a ring lined with the strip: you layer sponge and cream from the bottom up, let it set in the fridge, then remove the ring and the strip. This method works for any chilled cake with a cream, cheesecake or mousse filling, like this mango cheesecake.
Set up the base. Place the ring on a cake board or a flat plate lined with parchment paper. You'll find rings and cake boards together in our rings and cake boards section.
Line the ring. Press the cut strip against the inside wall of the ring so the ends overlap by 2–3 cm. Tape the overlap on the outside so it doesn't come apart.
Lay down the first sponge layer. The sponge should match the ring's diameter and sit flush against the acetate. For tips on cutting even layers, see how to slice a cake into layers. If you're soaking the layers with syrup, go easy on it so the sponge doesn't turn soggy.
Pipe cream against the wall first. Pipe a ring of cream straight against the acetate from a piping bag before filling the centre. If you spread cream from the middle outward instead, air pockets form against the acetate and show up on the side later. For tips on filling a piping bag without a mess, see how to fill a piping bag.
Layer and level as you go. Smooth each layer of cream flat with a spoon or small spatula. Press the next sponge layer down gently with your palm so it settles in.
Keep the top layer below the rim. Leave the top layer of cream or jelly 1–2 cm below the top edge of the strip. The overhanging edge then protects the cake's surface in the fridge. Pour jelly in only when lukewarm so it doesn't soak the top sponge layer.
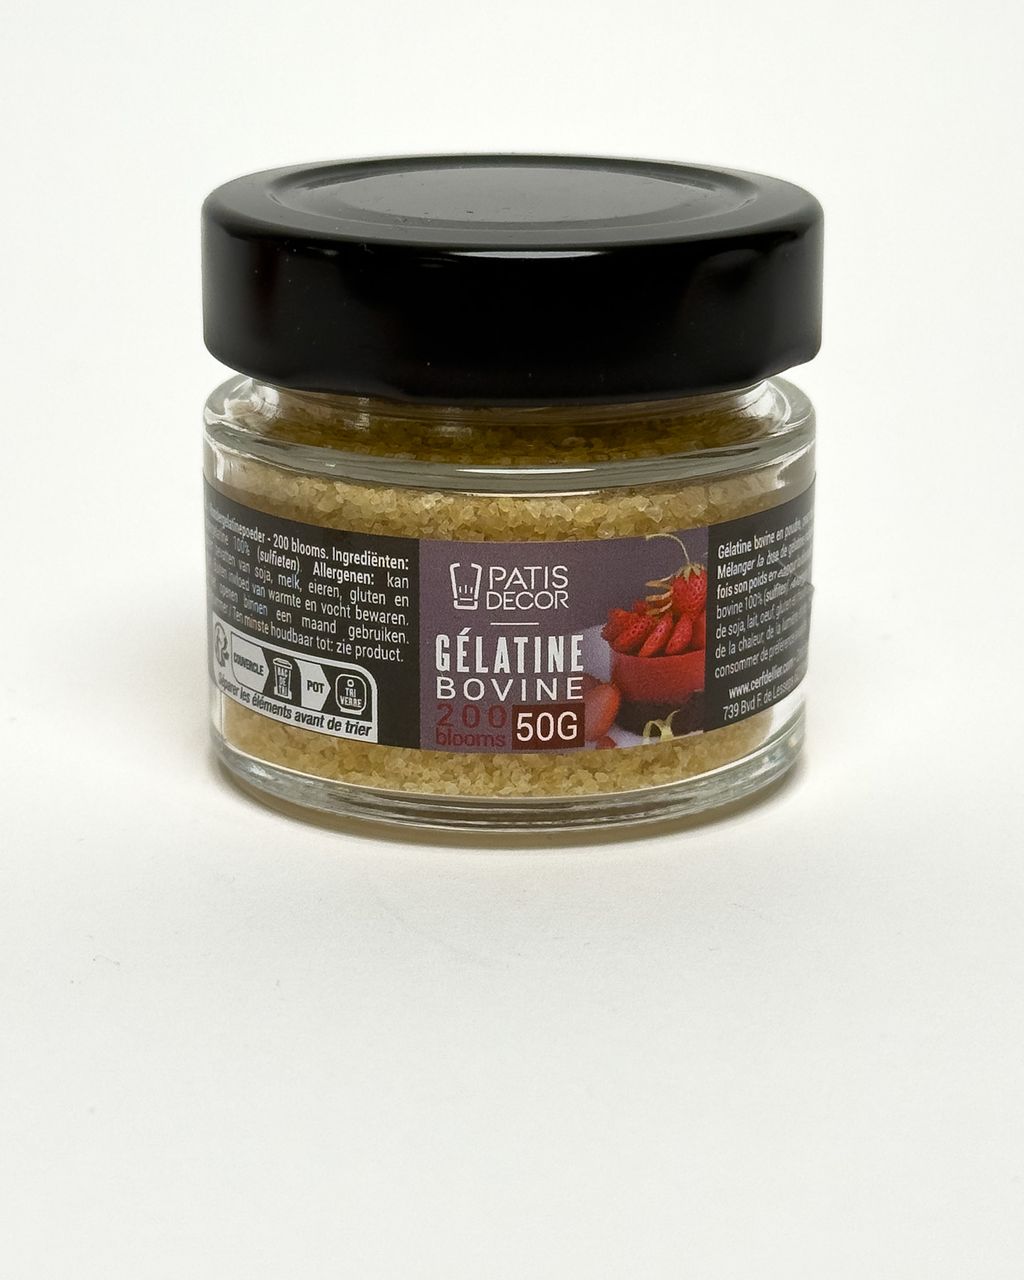
Let the cake set. A cake with whipped cream or cheesecake filling needs at least 4–6 hours in the fridge; a gelatine-set mousse needs 6–12 hours, ideally overnight. For the cleanest sides, pop the cake in the freezer for 1–2 hours before removing the strip.
Remove the ring first, then the strip. Lift the ring straight up; if it's stuck, warm it for a few seconds with a warm cloth or a hairdryer. Peel the strip away at one end and pull it off around the circumference of the cake, not outward away from it. Pulling outward drags the cream along with it.
Yes, but only for a short cake with a thick, dense filling. Wrap the strip around the sponge and tape the join on the outside. Acetate 125 µm or thicker will hold cream up to a height of about 5 cm.
For a tall cake or a runny mousse, don't skip the ring. A liquid filling will bulge the strip outward, so the cake sets barrel-shaped, or it'll leak out through the join. If you don't have a ring at all, check out what to use instead of a cake tin.
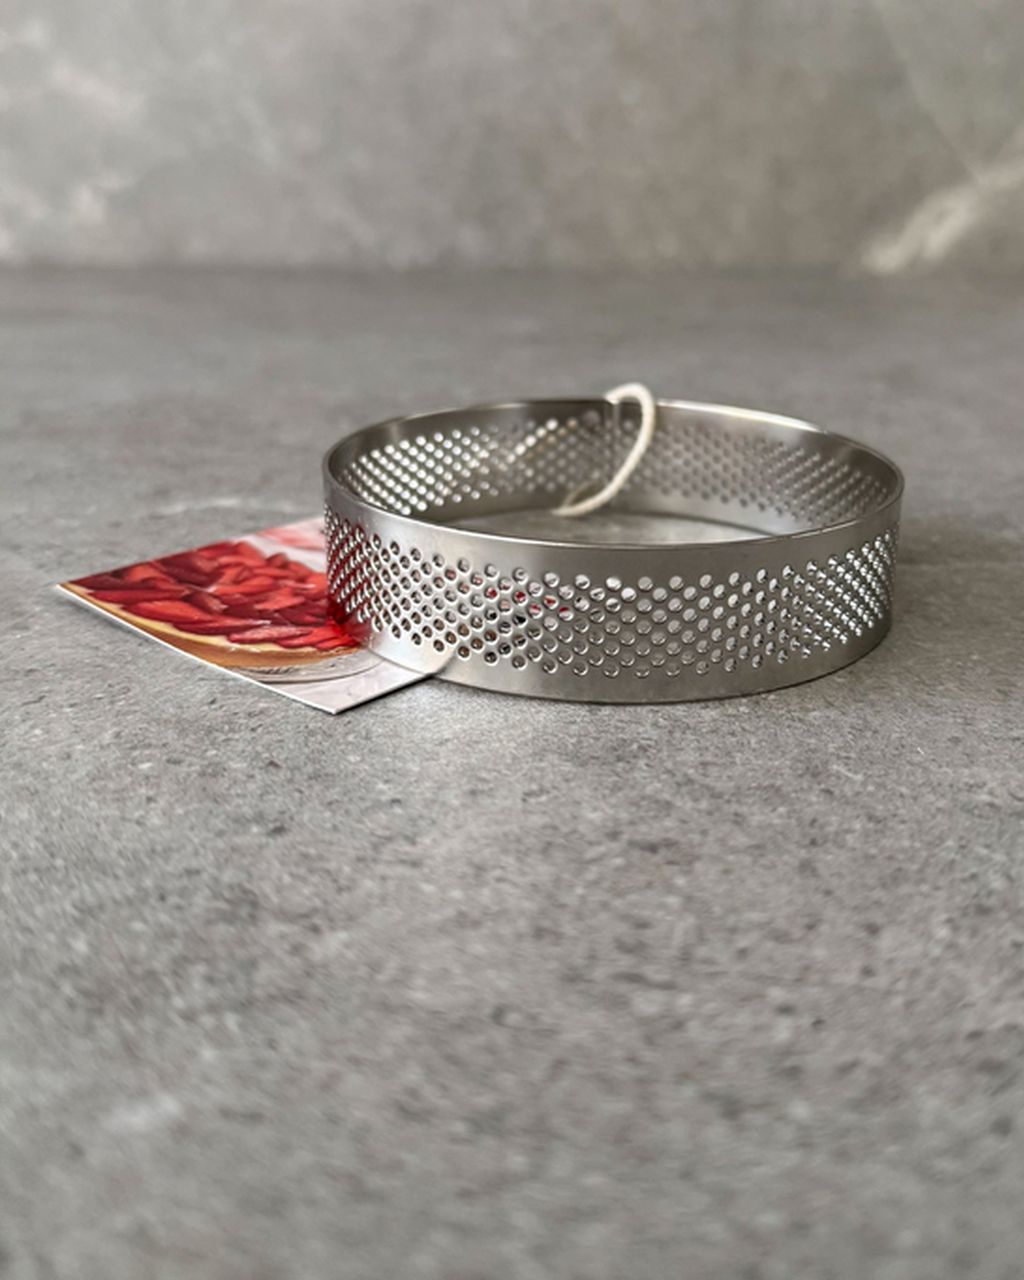
For building a cake with acetate strip, a plain, solid-sided ring is all you need. A perforated ring is mainly for baking, since the holes let steam escape so a delicate base or tartlet bakes flat and evenly golden all the way round. For tips on choosing the dough and baking the shells, see tartlets: dough, prep and baking.
For building cakes, the most practical option is an adjustable plain ring, 8–10 cm tall, since one ring covers diameters from about 16 to 30 cm.
Where our own rings come in handy:
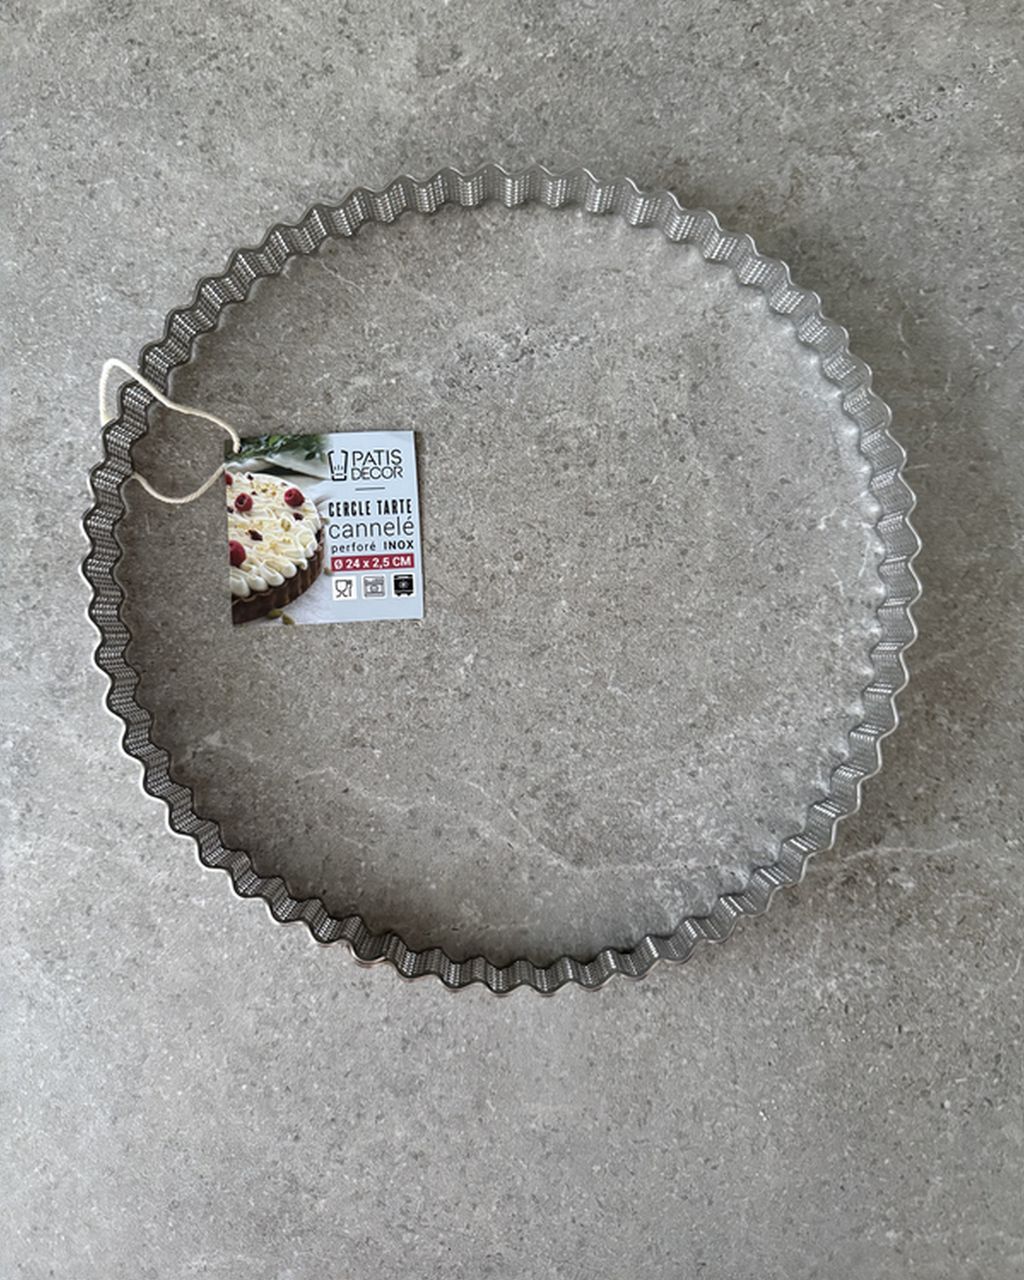
The Patisdécor 24 cm perforated (fluted) ring is for the base: it bakes a flat shortcrust or sablé base for a cream cake or tart. Don't use it as a wall for acetate strip, since the strip would only touch the tops of the ridges and ripple along with them. Instead, wrap the baked base with a 35 mm strip and pour in a shallow layer of cream or mousse on top — this gives you a tart with a smooth, tall edge.
The Patisdécor 8 cm perforated (plain) ring is for mini desserts. Bake a tartlet in it, then wrap it with 35 mm strip and pipe a small portion of mousse on top. The ring and strip fit together perfectly.
Spread tempered chocolate onto the strip, wait until it just loses its shine, wrap it around the chilled cake, then peel off the strip once the chocolate has set.
Cut a strip to the cake's circumference plus 1–2 cm and lay it on parchment paper.
Spread a thin layer of tempered chocolate onto it (about 1–2 mm), going right out to the edges of the strip.
Wait until the chocolate stops being glossy and liquid but can still bend without cracking — about 1–3 minutes at room temperature.
Wrap the strip around the chilled cake with the chocolate facing inward, letting the ends overlap.
Chill the cake for 15–20 minutes, then carefully peel off the strip. The side that was against the acetate will be glossy.
For short strips and ripples, a narrow 35 mm strip is enough — spread it with chocolate and let it set curled into a tube or inside a bottle.
Most ruined sides come down to six causes: no overlap in the strip, trapped air at the acetate, an undersized chill, pulling the strip outward, buckled acetate, and a crooked cut.
No overlap. Ends that just meet instead of overlapping will come apart and cream will leak out. Leave a 2–3 cm overlap.
Holes and air bubbles on the side. The cream was spread from the centre outward. Next time, pipe a ring against the acetate first.
Sides tearing. The cake wasn't set firmly enough. Chill it overnight, or pop it in the freezer for an hour.
Cream pulling away with the strip. You're pulling the acetate away from the cake instead of around it.
Buckled acetate. The mousse was too warm, or the strip was still creased from the roll. Pour it in lukewarm and flatten the strip before lining the ring.
Crooked top edge. Cut along a ruler, and level off the top layer evenly too.
Yes, you can reuse acetate strip several times if you wash it in lukewarm water with washing-up liquid and a soft sponge, then let it dry flat. Don't scrub it or put it in the dishwasher. A scratched strip will transfer those scratches onto cream and chocolate alike, so always use a fresh strip for glossy chocolate work.
The closest substitute for acetate strip is parchment paper, though the sides won't come out as smooth. Paper gets damp from the cream, wrinkles, and leaves a faint texture on the side. Don't use plastic sheets meant for stationery, like ring-binder covers or laminating pouches — they're not food-safe.
Yes, acetate strip is freezer-safe and protects the cake's sides during freezing. Wrap the cake in plastic wrap as well, and thaw it slowly in the fridge, ideally overnight. Remove the strip only once the cake is fully thawed and firm again.
Acetate strip can safely stay on a cake in the fridge for 1–2 days, right up until serving. It protects the sides from drying out, getting dented, and picking up fridge odours. Remove it just before bringing the cake to the table.
One recipe worth heating the oven for, one tip, and one deal from the shop. Nothing else.