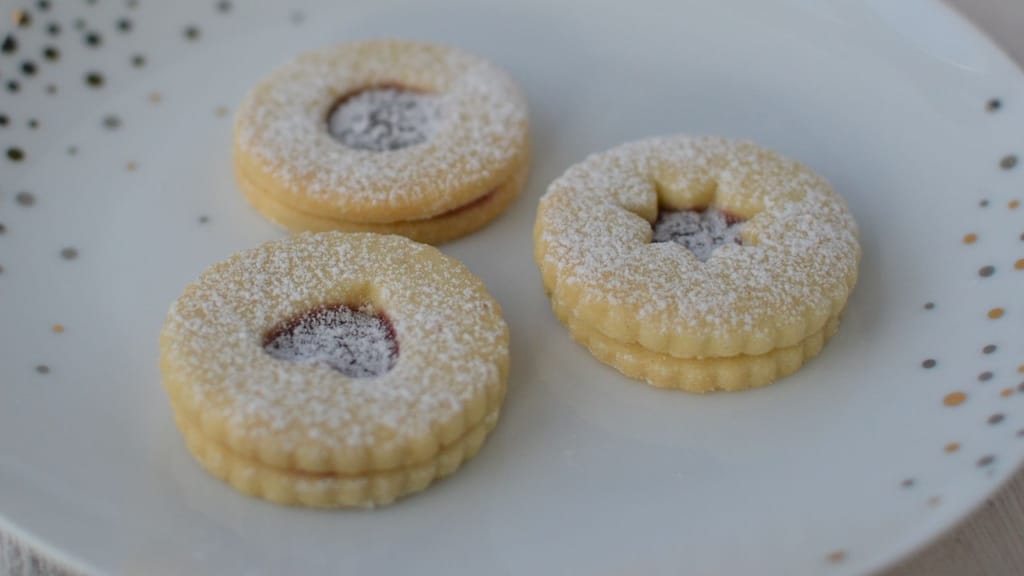
Classic christmas cookies: delicate linzer cookies
Essential Tools for French Pastry at Home: The Complete Kit
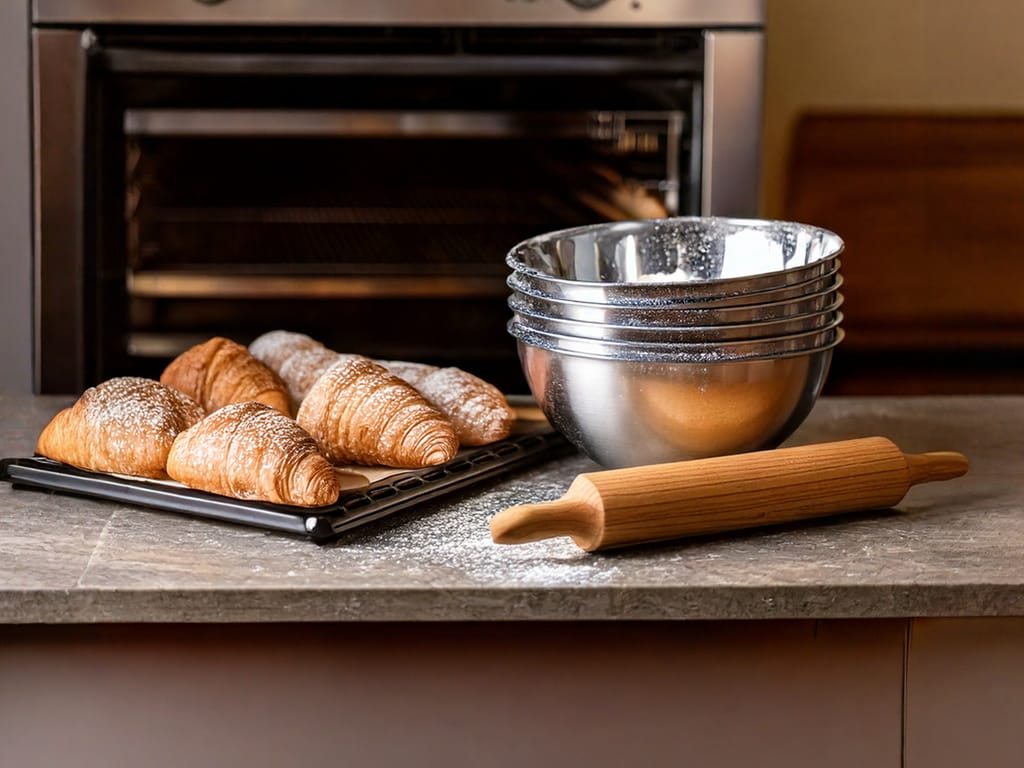
Updated Aug 15, 2026
French pastry at home comes down to a handful of the right tools — an accurate scale, silicone spatulas, piping bags with tips, and a few good tins. You don't need to buy out the whole shop; you just need to know what does what and where to start. In this guide, we'll go through the kit piece by piece — everything you need for macarons, tartelettes, and quiche — explaining why each tool matters and how to choose it.
Before you dive into macarons or tarts, get four things sorted: stainless-steel bowls, silicone spatulas, an accurate digital scale, and a piping bag with a set of tips. With these you can tackle most French recipes; everything else you can add once you know what you'll be baking most. A solid kit doesn't need to be expensive — just well thought out.
Stainless steel is the most practical material for mixing bowls — it doesn't absorb smells or stains, handles both hot water baths and the freezer, and lasts for years. Keep three sizes on hand: a small one for whisking eggs, a medium one for creams, and a large one for dough. Stainless steel also conducts heat well, which is handy for whisking over a water bath — for example, when making a Swiss meringue base for macarons.
A silicone spatula is what you use to fold batter together and scrape the bowl clean without waste. Good food-grade silicone can handle temperatures up to around 220°C (430°F), so you can even use it in hot caramel or custard. Its flexible edge reaches into every corner of the bowl — for macarons, the spatula is essential for the macronage step, folding the almond mixture into the meringue just enough that the batter flows in a smooth, continuous ribbon.
A digital scale is hands-down the most important tool in French pastry making — without one, your macarons and croissants won't turn out the same way twice. French recipes are written in grams, not cups, and just a few grams too much or too little can throw off the ratio of flour, sugar, and egg whites. Choose a scale accurate to 1g, with a tare function and a capacity of at least 5kg. For measuring small amounts of raising agent or food colouring, a second, more precise scale accurate to 0.1g comes in handy.
For shortcrust and puff pastry, you'll need three helpers: a rolling pin, a silicone baking mat, and a set of cutters. Each one handles a different stage — rolling out, baking without scorching, and clean shaping.
Reach for a marble rolling pin for buttery, laminated doughs, and a wooden one for drier doughs. Marble stays cool, so the butter in your dough won't melt and the layers won't stick together — that's why bakers love it for croissants and puff pastry. A wooden rolling pin is lighter and easier to control on firmer doughs, like shortbread or linzer cookies.
A silicone baking mat replaces parchment paper, doesn't scorch, and you can reuse it hundreds of times. It won't slip, dough won't stick to it even without flour or grease, and it distributes heat evenly. Go for a thicker mat — it lasts longer and holds its shape better. Perforated mats also let air circulate under the pastry, giving you a crispier base on tartelettes. Wash it only with lukewarm water and a bit of washing-up liquid — no scouring pads or harsh cleaners.
Cutters aren't just about looks — a sharp edge cuts the dough cleanly, so it bakes evenly and doesn't warp. Stainless steel holds its shape best and works well on thin dough; plastic and silicone are gentler on surfaces and easy to clean. For rounds and filled biscuits, a set with fluted edges is worth having — it's what really makes delicate linzer cookies shine.
Classic christmas cookies: delicate linzer cookies
Classic shortbread linzer cookies: a recipe that lets your cutters shine
Decorating comes down to two things: the piping bag and the tip (nozzle). The bag holds the cream, the tip shapes it — a plain round tip for filling and macarons, a star tip for rosettes and whipped cream, and a petal tip for ruffles and flowers. The rest is practice.
Disposable plastic bags are hygienic and handy for coloured creams; fabric or silicone bags pay off if you bake often and want to cut down on waste. Sort your tips by effect:
Plain round — filling macarons, writing, filling éclairs and choux buns (use a large round tip for these).
Star / fluted — whipped cream rosettes, wreaths, cake decorating.
Petal — ruffles, bows, and flowers.
Start with one plain round tip and one star tip — together they'll cover most desserts.
Fill the bag no more than two-thirds full, and fold the top edge back over your hand or over the rim of a tall glass first — that way the cream won't end up where you're gripping the bag. Before filling, fit the tip and twist the bit of bag just above it, tucking it back inside; this plugs the opening so nothing leaks out until you start squeezing. Pipe from the top, pressing with your thumb and index finger rather than your whole palm — you'll keep more even pressure and a cleaner shape that way.
Wash reusable bags and tips in hot soapy water right after you finish decorating, then let them dry thoroughly so they don't go mouldy. Run a small brush through the inside of each tip so no hardened cream lingers in the grooves. Disposable bags that held coloured or greasy cream should just be thrown away — they're not worth trying to clean.
Macarons need three extra things: a flat, lined baking tray, resting time before baking, and a stable oven. The batter is fussy, but a few rules will get you there even at home — and you'll find the full recipe below.
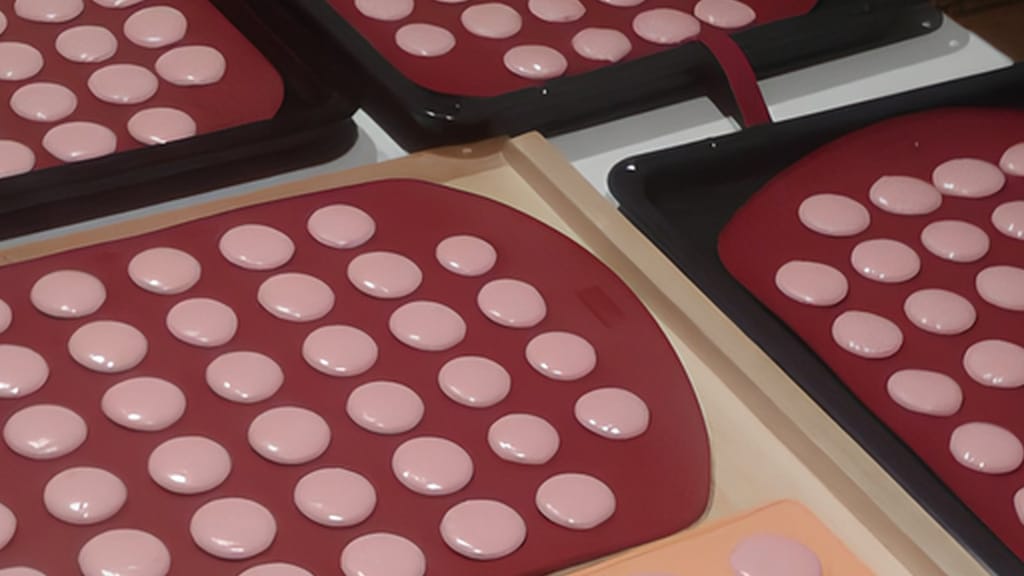
Macarons with vanilla and chocolate cream
Macarons with vanilla and chocolate buttercream: a tried-and-tested step-by-step recipe
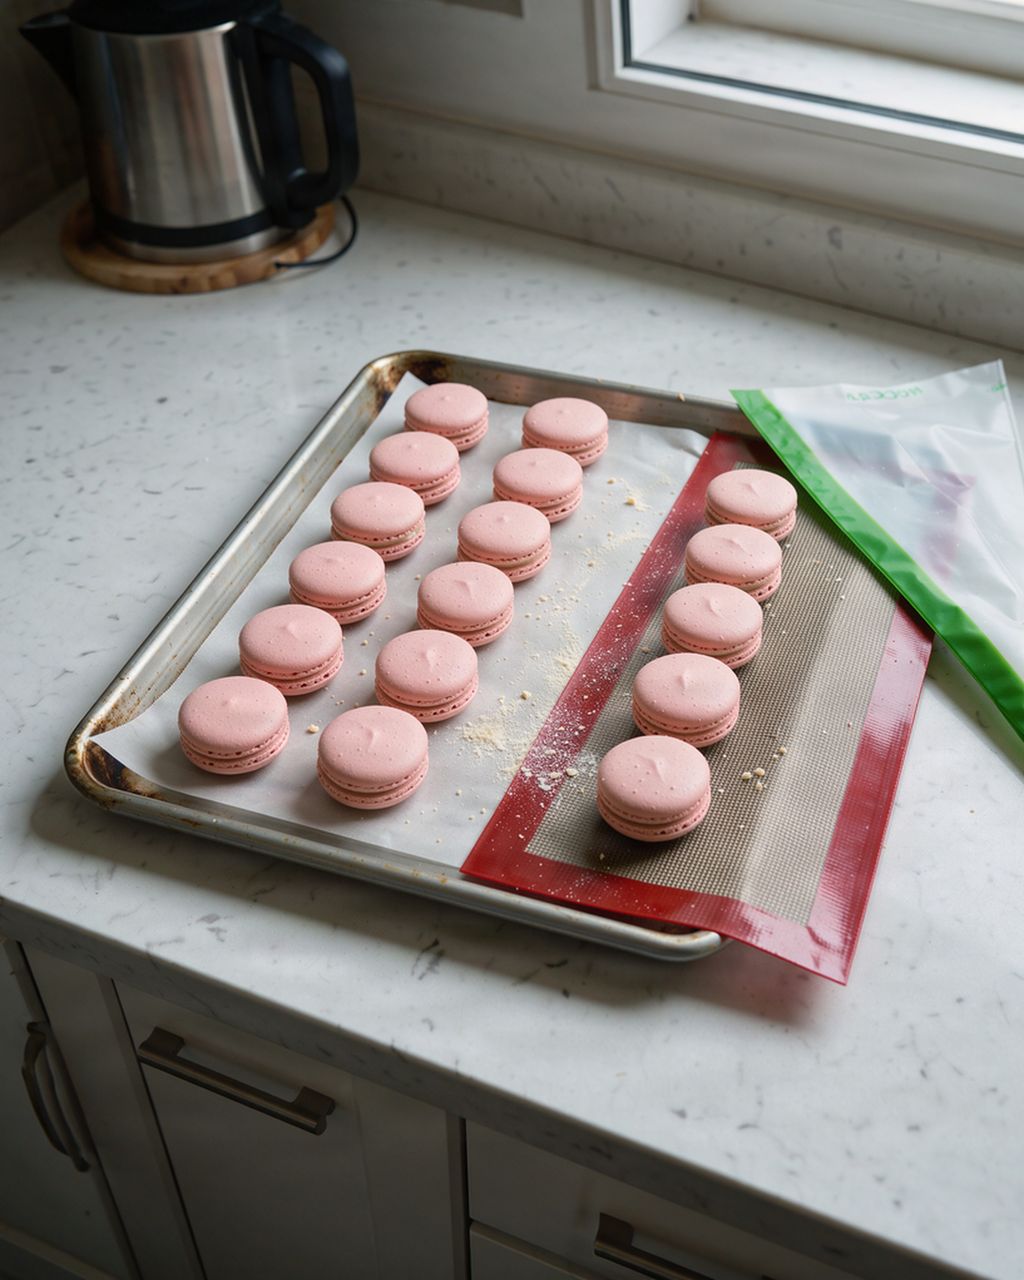
What you want is a flat, warp-free baking tray with a silicone mat or parchment paper on top; some mats even have pre-printed circles to help you get evenly sized shells. Same size means even baking and a neater result. If your mat doesn't have circles, slip your own template under the parchment and pull it out before baking.
Once you've piped the macarons, let them sit until a matte skin forms on top that no longer feels sticky to the touch — typically 20 to 60 minutes. According to pastry chefs, it's this skin that's responsible for those famous "feet": steam can't escape through the top, so it pushes the batter up from underneath instead. In humid conditions, resting can take longer — even up to 90 minutes; a fan or a barely warm, slightly cracked-open oven (no more than 30°C/86°F) can help speed things along.
Macarons bake low and slow, at around 135–150°C (275–300°F). If you're using a fan oven, lower the temperature a bit (by around 15°C/27°F) and keep an eye on them — moving air bakes faster and can easily dry them out or make them lopsided. Every oven behaves differently, so treat your first batch as a test run and adjust the time and temperature based on how it turns out.
Recipe of the week, one tip that saves you time and one deal from the shop. Unsubscribe in one click.
The next issue goes out on Thursday, November 26.
For quiche and tartelettes, the choice mainly comes down to two types of tin: ceramic (holds heat well and looks lovely at the table) and metal with a removable base (easy to unmould without damage). Either way, it's worth knowing how to blind-bake.
A ceramic tin distributes heat slowly and evenly, which suits creamy fillings like quiche beautifully. It also holds heat longer, so the tart stays warm on the table and you can serve it straight from the dish. The downside: it's heavy and fragile, and heats up more slowly in the oven — so allow for a slightly longer baking time.
A metal tin with a removable base lets you unmould your tart without wrecking the delicate edges. Aluminium or steel with a non-stick coating heats up quickly, gives you a crisper base, and cleans up easily. That's exactly why it's the classic choice for tartelettes and fruit tarts, where you want to show off neat, clean sides. In the end, choosing between ceramic and metal comes down to what matters more to you: traditional table-side serving, or a perfect shape and easy unmoulding.
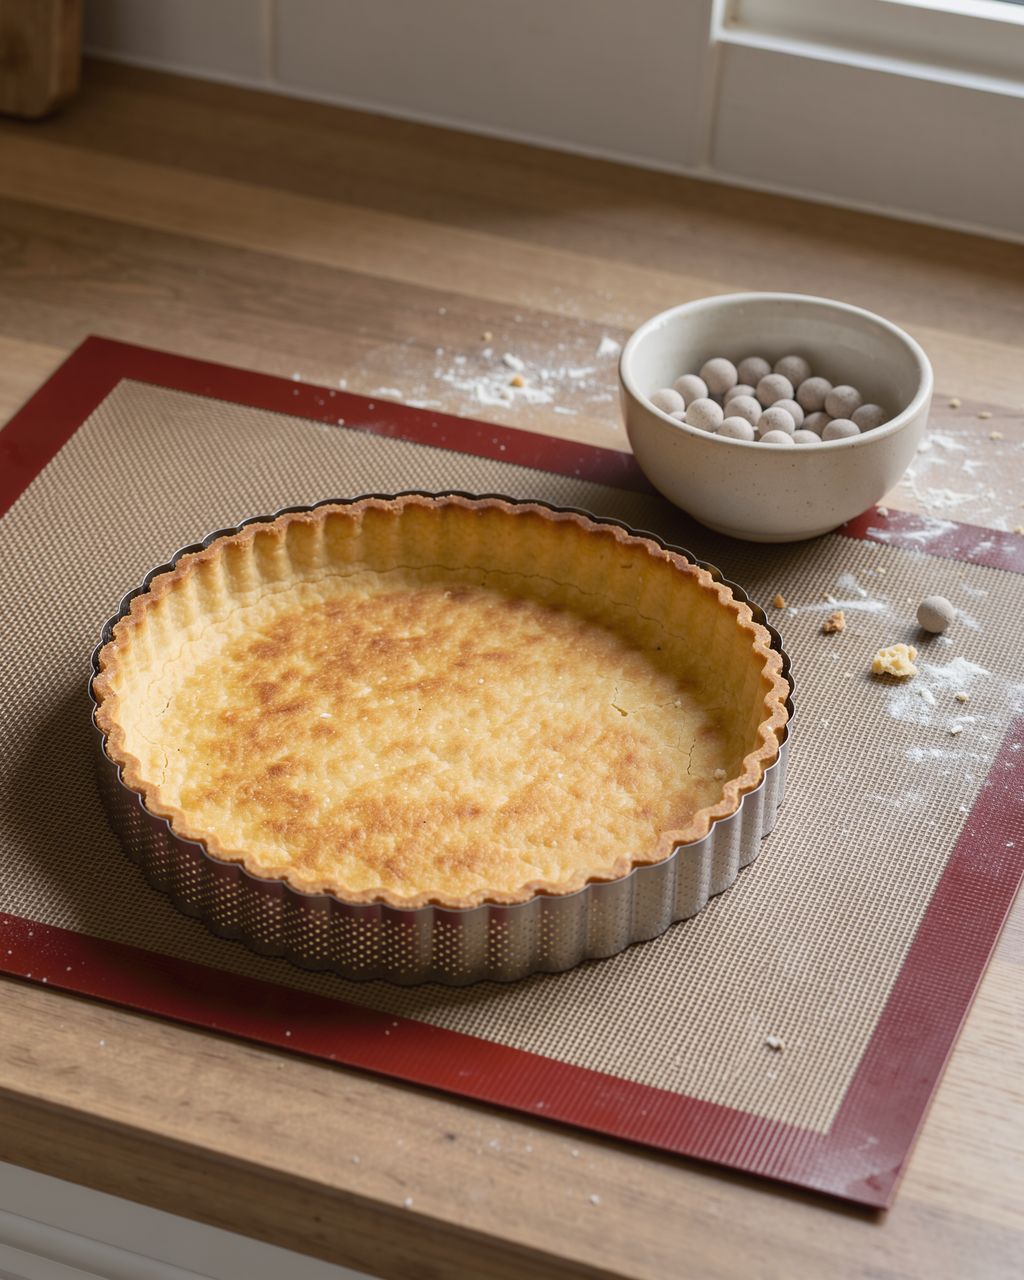
Blind baking means pre-baking the empty pastry shell with weights in it before the filling goes in — and for tartelettes and quiche, it's pretty much essential. Without weights, the base would puff up and the sides would slump; ceramic baking beans, dried beans, or rice on parchment paper hold everything in place. For wet fillings like quiche, a pre-baked shell also stays crisp instead of turning soggy. Tried-and-tested method: about 15 minutes with the weights in, then remove them and bake a few minutes more until golden.
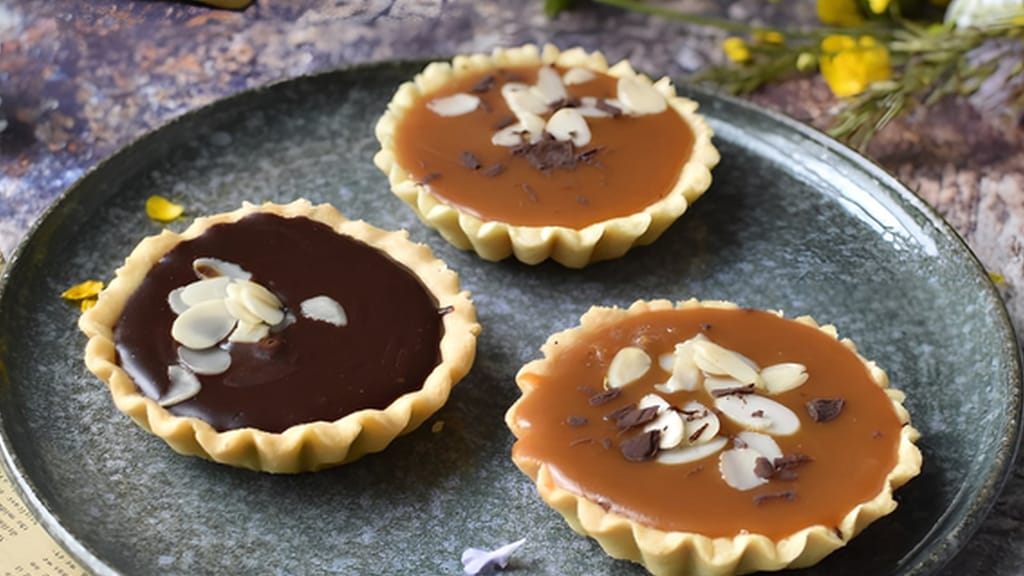
Crisp tartlets with salted caramel and chocolate
Shortcrust tartlets with salted caramel and chocolate: put your tin and blind-baking skills to the test
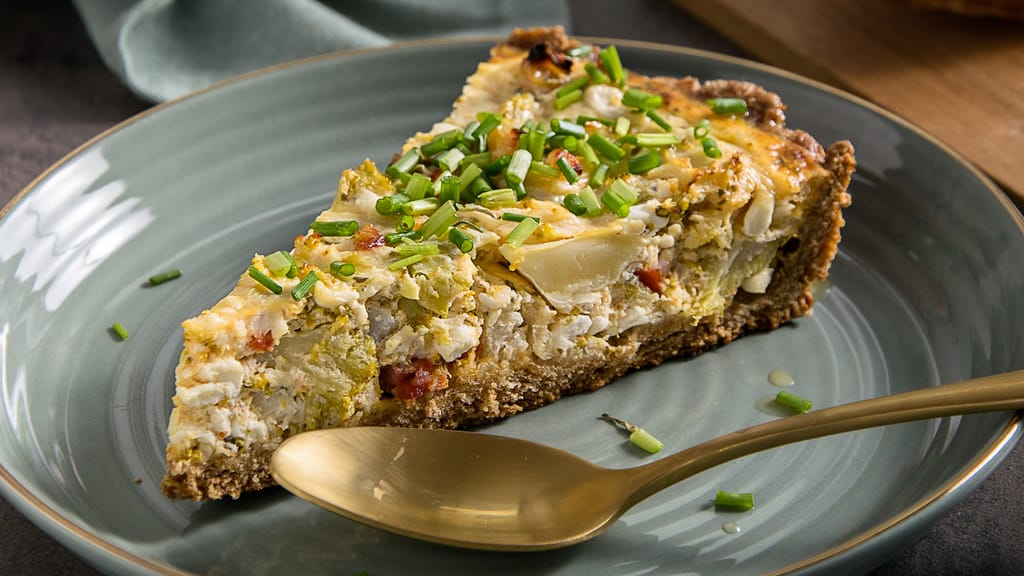
Whole-wheat quiche with broccoli and smoked ham
Wholegrain quiche with smoked ham: a hearty take on quiche Lorraine

One Way
Piping Bags 30x17 cm, 100 PackIn a pinch, use a sturdy zip-lock or freezer bag and snip a small corner off — that works fine for rough filling and simple stripes. It won't manage delicate tips, though, so for rosettes and ruffles you'll want a real piping bag. Cut the opening smaller than you think you need; you can always enlarge it later.
Dried pulses (beans, lentils) or plain rice scattered over parchment paper work just as well. They do the same job as ceramic baking beans — keeping the base down and the sides up. Let them cool after use and store them in a jar; they're no longer good for cooking, but they'll serve as pie weights many times over.
Yes — a chilled glass bottle filled with cold water makes a decent substitute for a marble rolling pin: it's smooth, heavy, and cold, so the butter in your dough won't melt. It's not ideal for rolling out puff pastry on a regular basis, but it's more than enough to get started or for occasional baking until you invest in a proper rolling pin.
The key is drying them completely before storing — moisture is the only reason tips rust and fabric bags go mouldy. Wash them in hot water, run a small brush through the inside of each tip, and let them dry opening-down on a tea towel. Store them loosely in a dry container, not sealed up somewhere damp.
Stainless-steel bowls, metal cutters, and most piping tips handle the dishwasher just fine. Silicone mats and spatulas can go in too, though hand-washing in lukewarm water will make them last longer. Marble rolling pins and wooden tools, on the other hand, should stay out of the dishwasher — both marble and wood can crack or soak up water.
One recipe worth heating the oven for, one tip, and one deal from the shop. Nothing else.