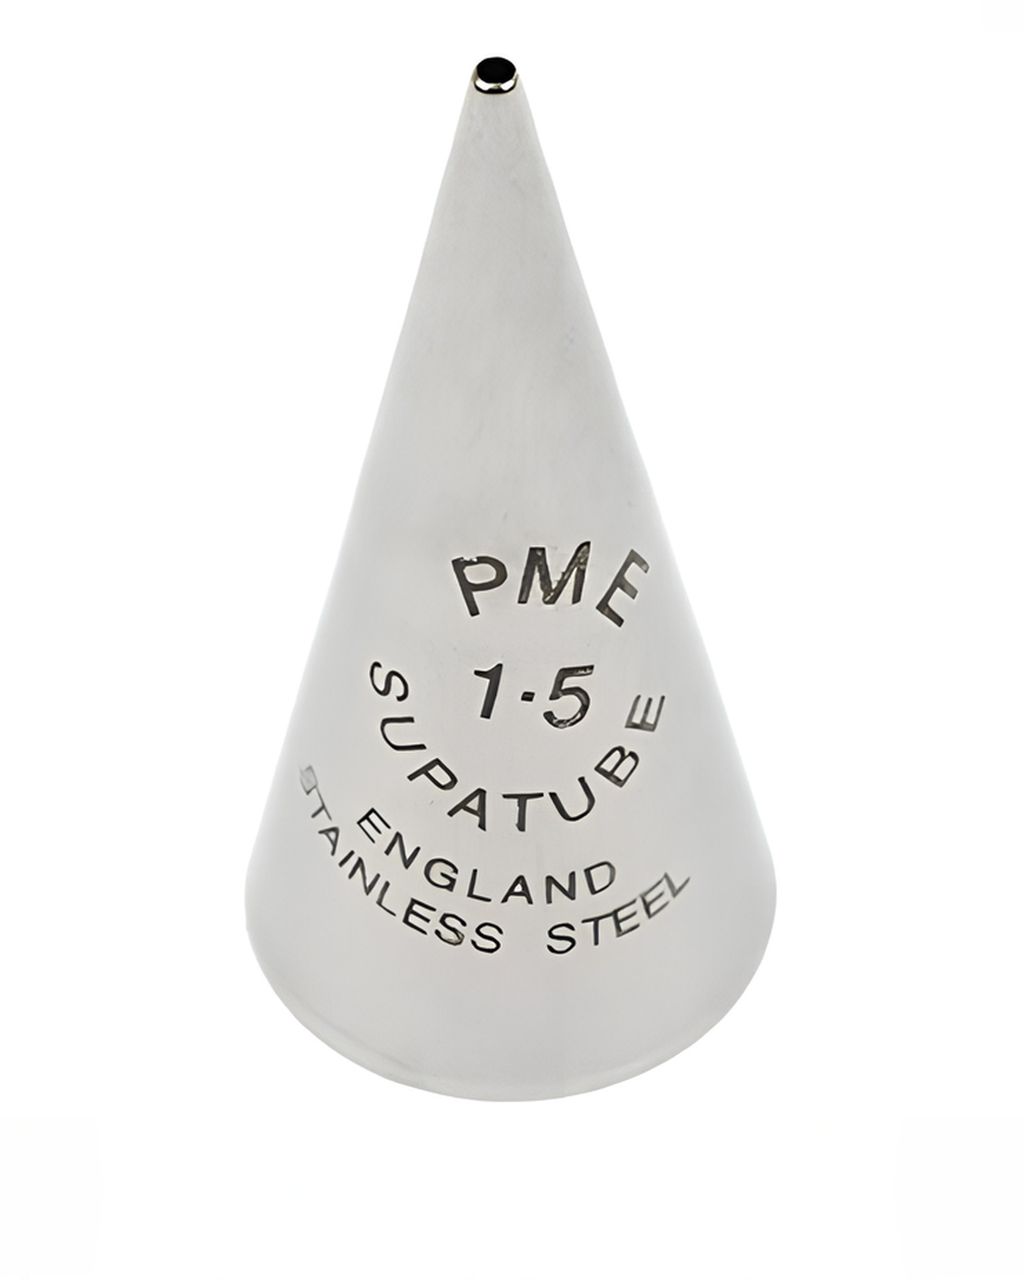
PME Supatube Decorating Tip – Writing No. 1.5
Writing on a Cake: How to Pipe Letters in Buttercream or Chocolate
Updated Oct 8, 2026
The cleanest way to write on a cake is with smooth buttercream or cooled ganache piped through a round 1.5 mm writing tip, onto a well-chilled cake, letting the line "land" on the surface rather than dragging the tip through the buttercream. Most wobbly lettering isn't down to a shaky hand — it's buttercream that's too stiff, a hole that's too wide, or a cake that's too warm. Here's everything that actually matters: what to write with, which tip to pick, how thick the buttercream should be, how to plan out the message, and how to fix a mistake before anyone spots it.
You can write a message on a cake with buttercream, ganache, melted chocolate, royal icing, whipped cream, or a ready-made decorating tube. For most homemade cakes, buttercream is your best bet: it holds a clean line, mistakes are easy to fix, and you can tint it any colour you like. Chocolate gives you the sharpest, glossiest lettering, but it doesn't forgive errors. Here's a quick rundown:
Buttercream – the most versatile option. Smooth, holds its shape, and on a well-chilled cake you can lift off a mistake. Works on both buttercream and ganache-covered cakes.
Ganache (chocolate + cream) – once cooled to room temperature it turns paste-like and pipes almost like buttercream. A dark line on a pale cake looks elegant.
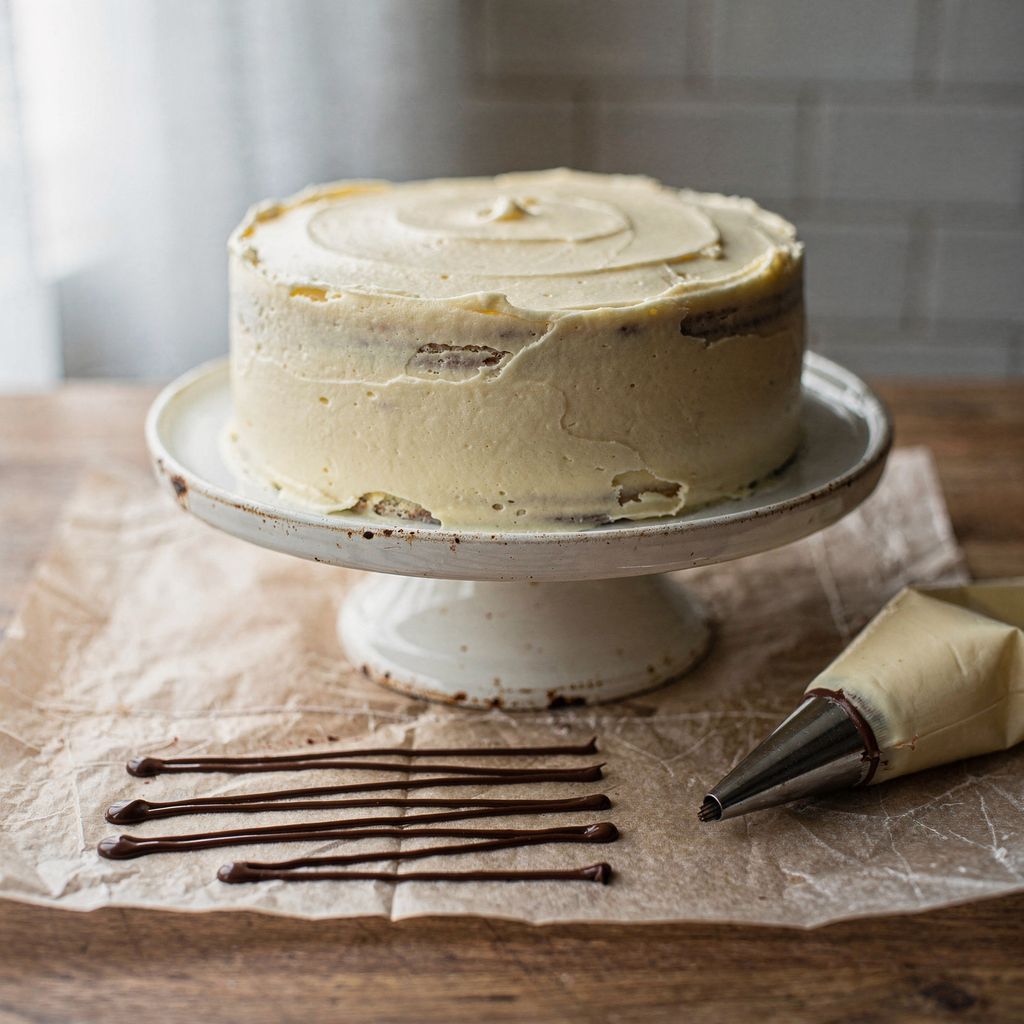
Melted chocolate – gives the thinnest, crispest line, but sets fast. It's tricky to pipe straight onto a cake; it works best piped onto baking paper first and then transferred as a ready-made topper.
Royal icing (egg white + sugar) – dries rock-hard and holds the finest detail. Great on fondant and gingerbread, but it looks out of place and feels crunchy on soft buttercream.
Whipped cream – the worst choice for writing: the edges bleed and the line softens within a few hours at room temperature. If you must use it, stabilise it first and pipe right before serving.
Ready-made decorating tubes, piping gel, or supermarket decorating pens – convenient, but the line tends to be uneven and the colour looks artificial. Fine for a kids' party, less so for a polished-looking cake.
If you're not sure what to pick, go with buttercream. For tips on whipping it smooth without it turning greasy, see our article on how to whip buttercream.
For everyday lettering, reach for a round writing tip with an opening of around 1.5 mm; for bold "bubble" letters and dots, use a round tip no. 12; and if you don't have a tip at all, a paper cone will do. The size of the cake and length of the text decide which to pick:
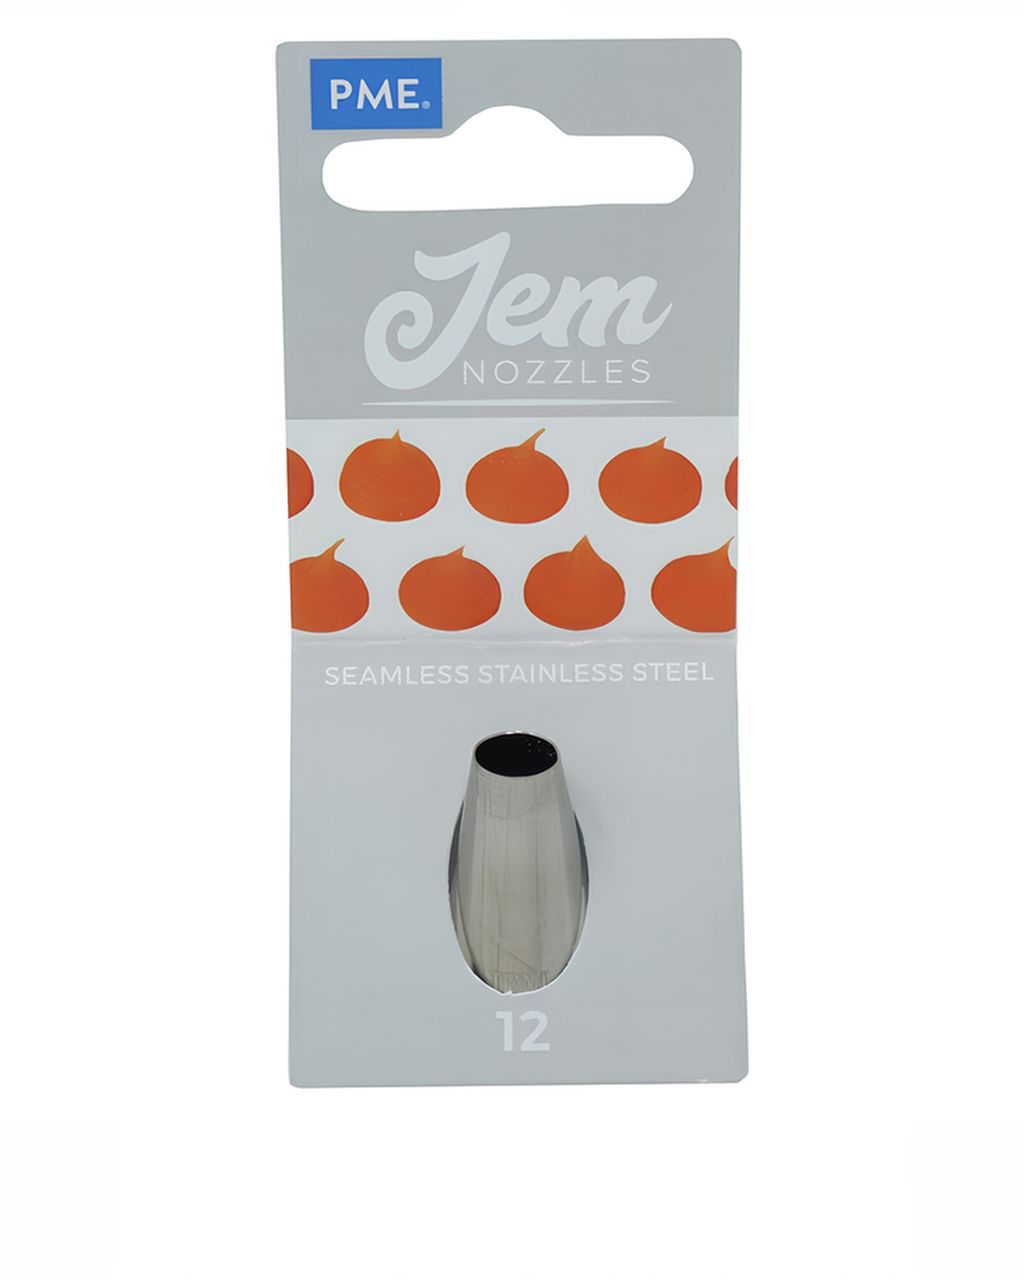
Fine 1.5 mm writing tip – names, "Happy Birthday", a short message on an 18–24 cm cake. We reach for the PME Supatube Writer 1.5: it's made from a single piece of stainless steel with no seam, so the line comes out smooth and doesn't catch on the edge of the opening. According to the maker, it's suited to lettering, outlines, dots, and lace work.
Round tip no. 12 – a thick, rounded line, ideal for large numerals ("40"), dots, and pearl borders. The JEM round tip no. 12 is great when the message is meant to be the main decoration rather than a small note. It's too thick for long text on an average-sized cake.
Paper piping cone – rolled from baking paper, with the tip snipped to 1–2 mm. It costs nothing, and for chocolate it's actually the best option since you can just throw it away afterwards. The opening is never perfectly round, though, so the line will be a touch less even than one from a metal tip.
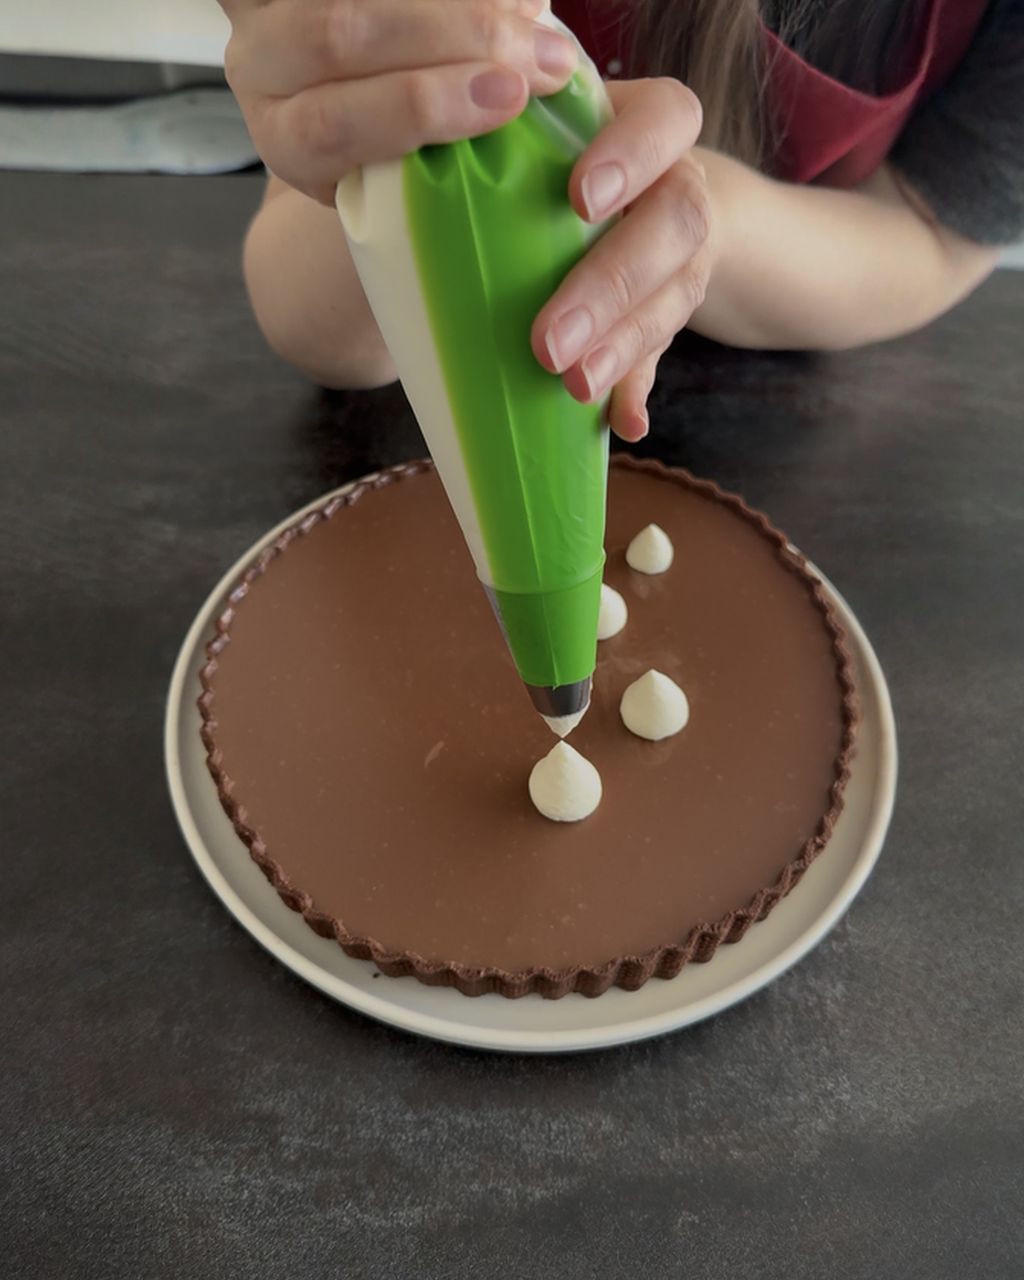
Fit the tip into a disposable piping bag – writing only needs a small amount of buttercream, and you hold the bag in your palm rather than your fist. You'll find a selection of bags and tips in the piping bags and tips category; if you're torn between disposable and reusable bags, and what size to buy, we cover that in a separate article on piping bags.
Buttercream for writing should be a touch softer than buttercream for piping rosettes: it needs to flow out of the tip smoothly without forcing, yet the line must keep a rounded cross-section and not spread. Here's the test: pipe a dot onto a plate – the tip should flop over gently, not stand upright like rosette-piping buttercream, but the dot shouldn't melt into a puddle either.
Buttercream too stiff = you end up squeezing hard, your hand shakes, and the line breaks up. Loosen it with a teaspoon of milk or cream per roughly 200 g of buttercream and mix well.
Buttercream too thin = letters blur together and drip. Add a little icing sugar, or chill the buttercream for 10 minutes.
Air bubbles = the line "spits" and breaks. Before filling the bag, stir the buttercream with a spatula and press it against the side of the bowl to push the bubbles out. Don't whisk it again with a mixer.
Ganache should be cooled to room temperature until it has the consistency of peanut butter. Warm ganache runs; fridge-cold ganache cracks.
Always pipe out the last few centimetres from the bag onto a plate first – air and dried-out buttercream tend to collect at the tip, and whatever comes out first shouldn't end up on the cake.
Writing with buttercream comes down to five steps: chill the cake, sketch the outline, lift the tip, pipe with even pressure, and release before lifting off.
Chill the cake for at least 30 minutes. A firm surface won't dent, and you can lift off any mistake without smudging it.
Sketch the text with a toothpick. Press lightly, just enough to mark the surface. The groove will disappear under the piped line.
Hold the bag at roughly a 45° angle with the tip a few millimetres above the surface, not pressed into it. This is the biggest trick: let the line drop onto the cake and guide it, rather than dragging the tip through the buttercream. That's what keeps the letters round and smooth.
Apply even pressure and move slowly, using your whole arm rather than just your wrist. The line should come out of the tip at the same speed you're moving – move too fast and it stretches and tears; move too slow and it wobbles.
Stop squeezing at the end of a stroke before lifting the tip away, with a short sideways flick. If you keep pressing while lifting, you'll get a little tail.
Cursive is easier for beginners than block letters: fewer starts and stops means fewer places for things to go wrong. Practise the message three times on a plate or baking paper first – one trial run teaches you more than ten minutes of reading about it.
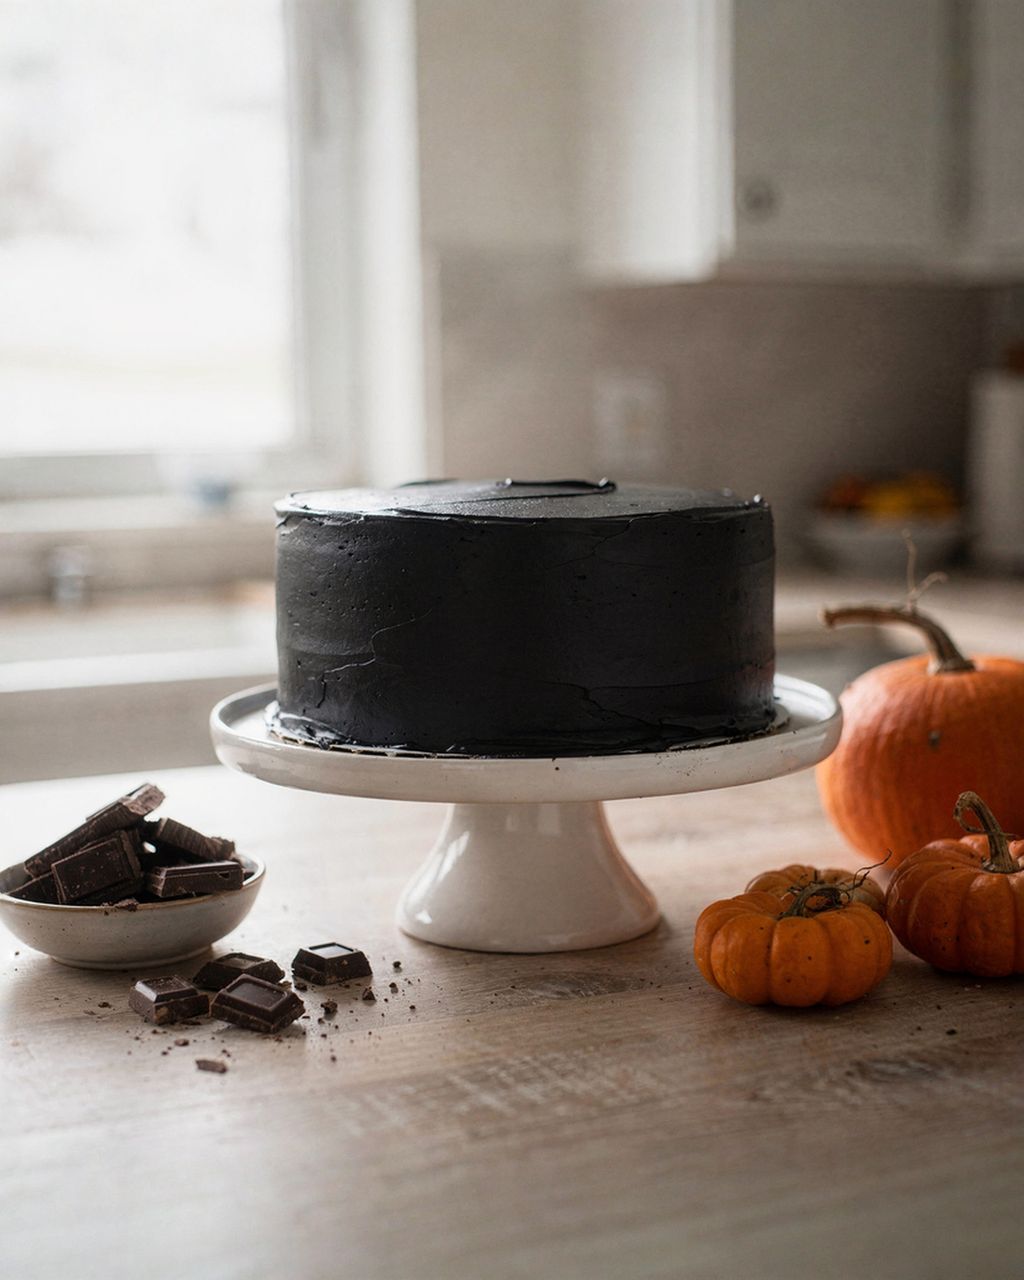
If you're after a cake with a nice smooth surface to write on, try our simple chocolate cake – a message piped in pale buttercream really stands out against the dark ganache.
With chocolate, you can either pipe directly onto the cake with cooled ganache, or pipe melted chocolate onto baking paper and transfer the finished message once it's set. The second method is more reliable, since you can simply toss out any mistakes.
Method using baking paper:
Print the text at the size you need, mirrored if you'll be flipping it over. Lay baking paper or acetate sheet on top.
Melt the chocolate. If you want the message to stay glossy and crisp even the next day, temper it – according to Callebaut, dark chocolate is worked at 31–32°C (88–90°F), milk chocolate at 29–30°C (84–86°F), and white chocolate at 28–29°C (82–84°F). If the message is going straight onto the cake, you can skip tempering, but untempered chocolate softens at room temperature and may turn grey.
Pour it into a paper piping cone and snip the tip to 1–2 mm. The chocolate shouldn't be hot – above 35°C (95°F) it runs like water, while at 29–32°C (84–90°F) it's workable.
Trace over the template, keeping letters joined together: individual letters tend to snap when you move them, while a whole word stays in one piece.
Chill for 10–15 minutes, carefully peel off, and lay onto the cake. Lift it by the edges – fingers will melt the chocolate.
Writing directly on the cake, use ganache in roughly a 1:1 ratio (dark chocolate to cream), cooled to a paste-like consistency. It pipes the same way as buttercream, just sets faster – keep the bag in your hand as briefly as possible, since the warmth of your palm will melt it again.
For a coloured chocolate message, tint white chocolate with an oil-based or powder colouring, never a water-based gel – water will seize the chocolate into a lump. We cover this in detail in our article on how to colour white chocolate.
Plan the message from the middle out: count the letters, find the centre one, and start sketching from the middle of the cake. Writing from left to right and hoping it fits is the most common reason the last letters end up cramped at the edge.
Letter size: a 20 cm cake comfortably fits 12–15 characters per line at a letter height of around 2–3 cm. Split longer text onto two lines.
Paper template: cut a circle of baking paper the size of the cake, write the text on it in pencil, lay it on the cake, and prick the outline with a toothpick every few millimetres. Then connect the dots with buttercream.
Straight line: stretch a piece of thread across the cake, or hold a ruler just above the surface, and lightly mark the line with a toothpick.
Contrast: dark lettering on a pale cake, or vice versa. A pastel message on white buttercream won't read well from a distance. For a truly black message, mix the buttercream a day ahead – the colour deepens as it sits; more on this in our article on black buttercream and black icing. For a clean white base, try our snow-white buttercream.
Almost any mistake in buttercream on a chilled cake can be fixed: chill the cake for 10 minutes, lift the faulty line off with the tip of a toothpick or a small spatula, and smooth over the spot with a knife warmed in hot water and dried.
Shaky line – the tip is pressed against the surface, or the buttercream is too stiff. Lift the tip and loosen the buttercream.
Line keeps breaking – you're moving faster than the buttercream can keep up, or there's air in the bag. Slow down, or push the buttercream toward the tip to force the air out, or refill the bag.
Letters blur together – the buttercream is too warm or too thin, or the opening is too wide for the size of text. Chill the buttercream, or switch to a finer tip.
Little tails at the end of letters – you're still pressing as you lift away. Release the pressure first, then lift.
Chocolate message on the cake turned pale or melted – the chocolate wasn't tempered, or the cake sat somewhere warm. Only place transferred messages onto the cake right before serving.
A mistake on whipped cream or soft cream-cheese frosting can't be lifted off cleanly – on these surfaces, write on a chocolate plaque or a fondant disc instead and lay that on the cake.
You can write on a cake using a sturdy sandwich-style zip bag or a cone rolled from baking paper — just snip off the corner to 1–2 mm. The line won't be as neat as one from a metal tip, but it's fine for a short name. Zip bags tend to split at the seam, so only fill them halfway.
A buttercream or ganache message can be piped up to a day ahead, as long as the cake stays in the fridge. A chocolate message made on baking paper will keep in the fridge in a container for several days, but only place it on the cake right before serving — it softens from the moisture of the buttercream underneath.
Write on fondant with royal icing or buttercream, since both dry on the surface and won't smear. Don't chill the fondant before writing — condensation will form and blur the line. Sketch the text very lightly with a toothpick, barely pressing, or transfer it using a template, since grooves in fondant don't smooth back out.
The most reliable way is to pipe a chocolate message onto baking paper or acetate sheet, lay it against the side while it's still flexible, and let it set directly on the cake. Writing with buttercream on a vertical surface is possible, but hold the tip perpendicular to the side and use slightly stiffer buttercream so the line doesn't slide down.
Tint cake-writing buttercream with concentrated gel colouring, since a few drops are enough and won't thin out the buttercream. Liquid food colouring from the drugstore will water down the buttercream and cause the line to spread. Mix dark shades, especially black and red, well ahead of time — they deepen further over a few hours.
One recipe worth heating the oven for, one tip, and one deal from the shop. Nothing else.