ProGel Gel Food Colour – Black (25 g)
Black Buttercream and Black Glaze: How to Keep Them From Turning Grey
Updated Oct 8, 2026
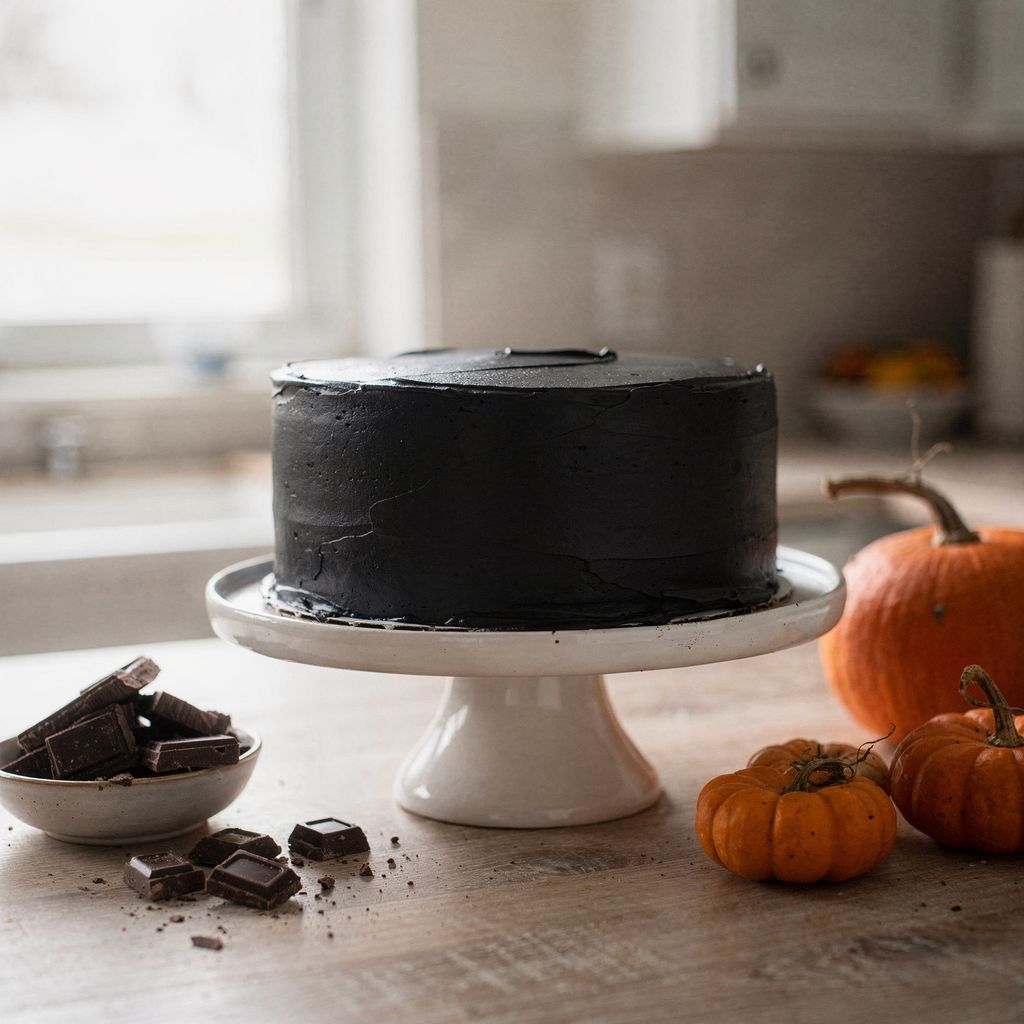
Black buttercream won't turn grey if you start colouring from a chocolate base rather than a white one, use a concentrated gel colouring, and let it rest for at least 2 hours, ideally overnight. That's because the colour in buttercream darkens gradually. Keep stirring black colouring into white buttercream and adding more and more, and you'll end up with a grey or purple mixture that tastes bitter. Here's a method that works for buttercream, ganache and mirror glaze alike, and it's perfect timing just before Halloween.
Black buttercream turns grey for four reasons: a white or yellowish base dilutes the colour, there's too much air whipped into the frosting, the colouring hasn't had time to "mature" yet, and light breaks down some of the pigments.
A pale base. Butter is yellow and buttercream is white. Black on yellow gives you a greenish grey, and to overpower that you'd need so much colouring that the frosting turns bitter.
Air. Whipped frosting is full of tiny air bubbles that scatter light. The fluffier the buttercream, the paler it looks, even if there's plenty of colour in it.
Time. Black gel colours are usually a blend of several pigments (blue, red, yellow). They dissolve slowly in fat and water, so right after mixing you'll see dark grey, and true black only shows up a few hours later.
Light. In sunlight or under a strong lamp, some pigments in the mix break down faster than others, so the black can shift towards green or purple.
The most reliable black buttercream starts from a dark chocolate buttercream base, into which you mix gel colouring. Getting from brown to black is just a few steps; starting from white is a whole journey.
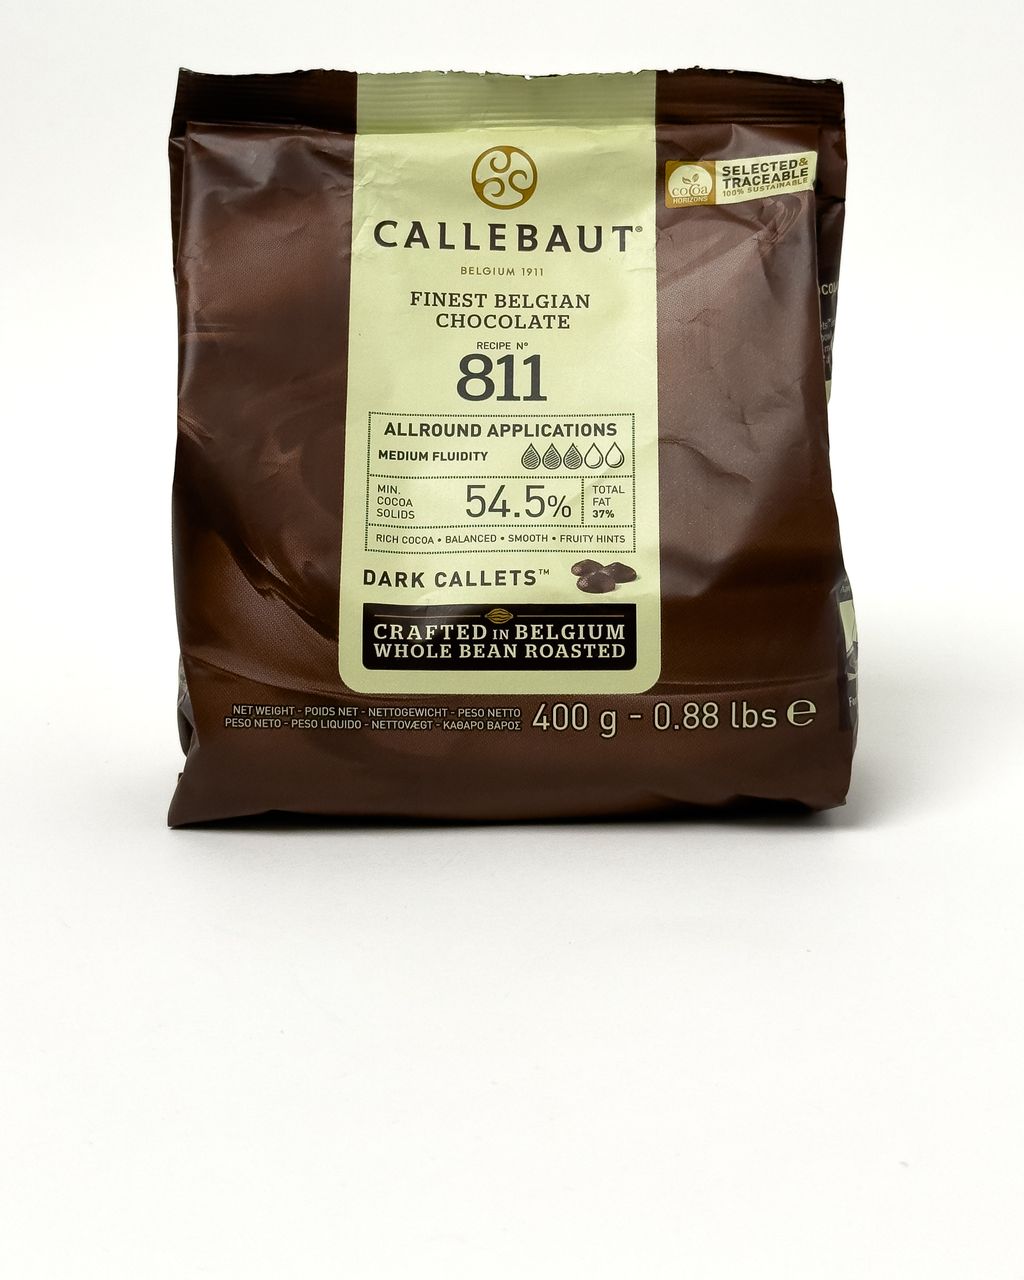
Make a chocolate base. Mix melted dark chocolate into your buttercream, about 100g per 250g of butter, or use 20–30g of cocoa powder instead. Callebaut 811 dark chocolate (54.5% cocoa) gives the buttercream a deep brown colour and a flavour that won't fight with the colouring.
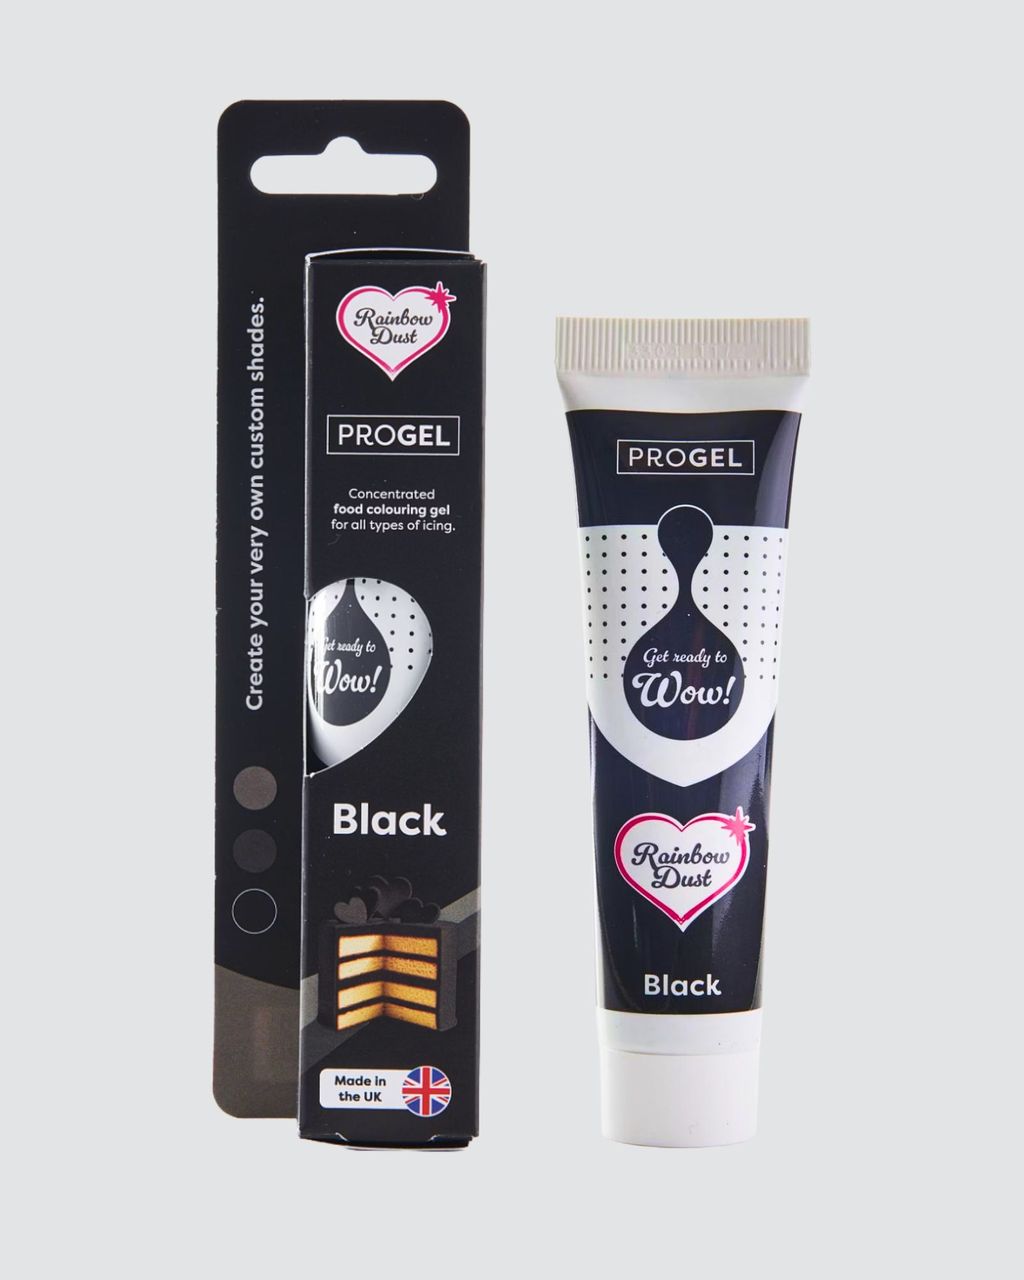
Add gel colouring. Concentrated gel colouring (we use ProGel Black) colours far more intensely than liquid drop colouring and won't thin out your frosting. You'll find the full range in our buttercream and icing colours category.
Mix slowly. Once the colouring is in, stop whipping on high speed. Fold it through with a spatula or mix on the lowest setting to avoid working in more air.
Let it rest. Cover and set aside (more on this below). Only judge whether you need to add more colouring once it's had time to develop.
If your frosting needs to stay white and you don't want to use chocolate, plan for a much larger dose of colouring, and expect the result to land closer to charcoal grey than true black. We tackle the opposite problem, how to get buttercream as white as possible, in our Snow-White Buttercream article.
For a chocolate-based buttercream, 1–2% gel colouring by weight of the frosting is usually enough, so 5–10g per 500g. White-based buttercream needs two to three times that amount.
Chocolate base: 5–10g of colouring per 500g of frosting.
White base: 15–25g per 500g, and even then, expect it to need time to deepen.
Add it gradually. Start with the lower amount, let the frosting rest, then fine-tune. The colour darkens over a few hours, and once it's in, there's no taking it back out.
If you've overdone it, you'll taste it: the frosting turns slightly bitter, a touch metallic, and stains the tongue more. That's exactly the moment to wait rather than keep adding colouring. We cover getting rich, saturated colours into frosting more generally in Rainbow Cake: How to Colour Layers So They Stay Vivid.
Let black buttercream rest for at least 2 hours at room temperature, ideally overnight in the fridge. Bakers find that after a few hours it goes from dark grey to charcoal, and after a night in the fridge it turns a deep black.
Cover the frosting with cling film pressed directly onto the surface so it doesn't dry out and form a skin.
Take it out of the fridge 1–2 hours ahead, let it soften to room temperature, then give it a quick mix with a spatula to smooth it out.
If you're short on time, a little heat helps: scoop out about a quarter of the frosting, warm it for a few seconds in the microwave until it just starts to melt, then stir it back in. Colouring dissolves faster in warm fat. Don't overdo it, or the frosting will split.
Once the cake is finished, keep it away from direct sunlight. On a windowsill or at a garden party, black can start turning green over the course of an afternoon.
For a black glaze, your best bet is a dark ganache made from dark chocolate and cream in a 1:1 ratio, coloured with gel colouring. The chocolate gives you the brown base and shine, and the colouring does the rest.
Heat 100ml of whipping cream (33% fat) until just below boiling point.
Pour it over 100g of chopped dark chocolate (such as Callebaut 811) and let it sit for 1 minute.
Stir from the centre outwards with a spatula until smooth, without whisking, so you don't introduce air bubbles into the ganache.
Mix in 2–4g of black gel colouring.
Let it cool to 30–32°C (86–90°F) and pour over your chilled cake. At this temperature the ganache drips nicely without running all the way off.
Ganache keeps darkening as it cools, so don't judge the final colour while it's still hot. This same ganache works beautifully for drips running down the sides of a cake; we break down the pouring technique in Bundt Cake Glaze: How to Pour It So It Drips in Neat Stripes.
Gel colouring isn't suitable for plain melted chocolate, say for dipping or writing, because it contains water and can cause the chocolate to seize up and lose its shine. For that, reach for an oil-based or powder colouring instead; we explain why in How to Colour White Chocolate: Oil-Based or Gel Colouring?.
Make a black mirror glaze starting from a neutral or chocolate mirror glaze and gel colouring, blended in with a stick blender at 35–40°C (95–104°F). Pour it over a frozen cake at around 30–35°C (86–95°F).
Dose: as with buttercream, start with roughly 5–10g of gel colouring per 500g of chocolate mirror glaze; a neutral base needs more. Add it gradually, as the glaze keeps darkening as it cools.
Keep the blender head fully submerged and don't move it up and down, or you'll whip in air and end up with a bubbly, greyish mirror finish instead of a glossy one.
Pop any surface bubbles with a cocktail stick, or strain the glaze through a fine sieve before pouring.
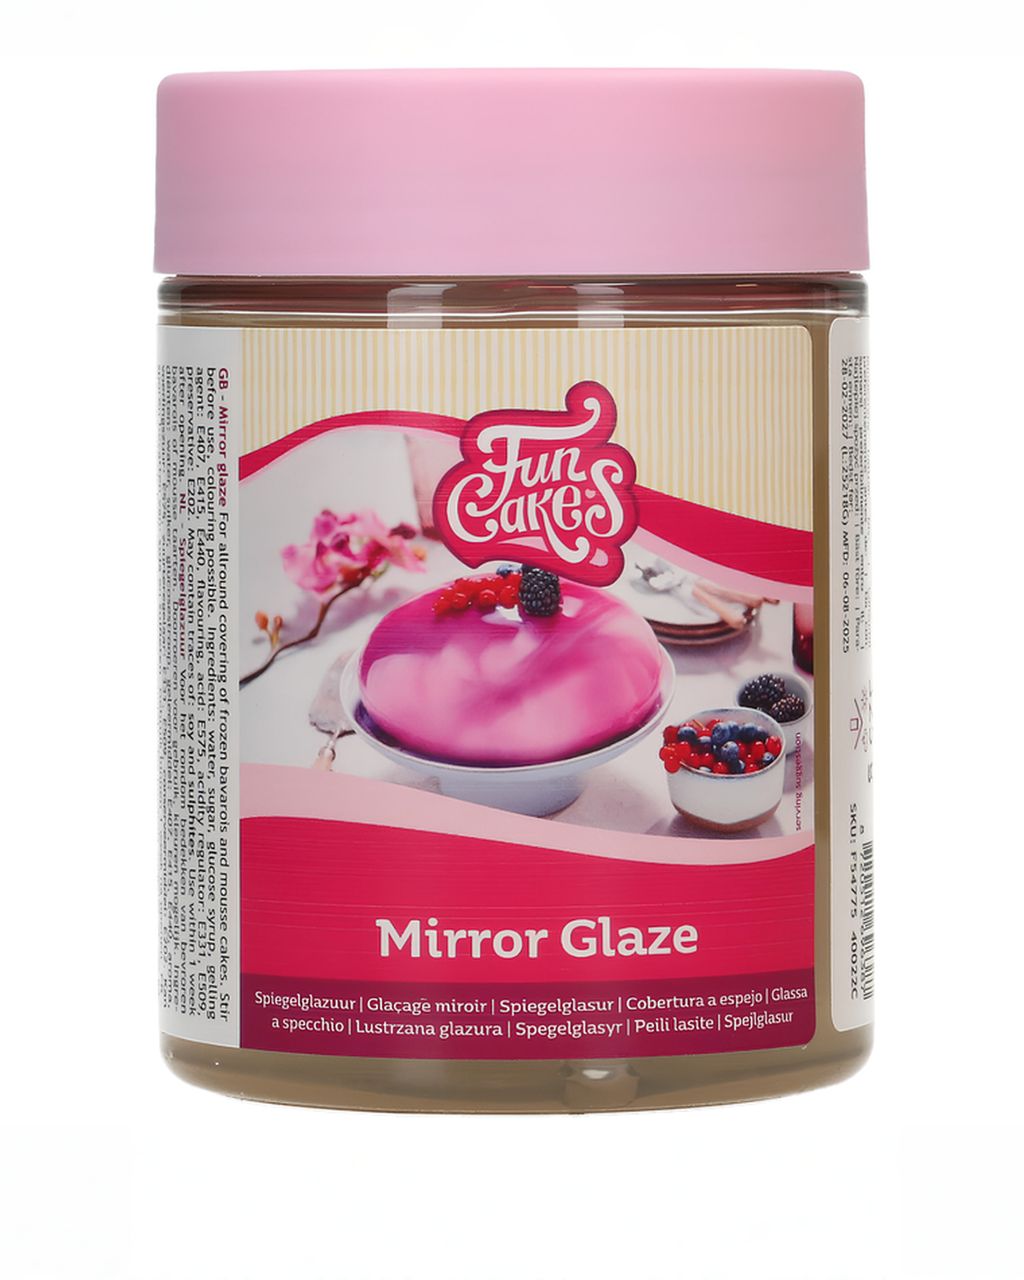
A ready-made glaze, such as FunCakes mirror glaze, just needs warming and colouring, making it the easiest route to a glossy black finish without having to work with gelatine from scratch.
Five options work for colouring buttercream and glazes black: gel colouring, black cocoa, oil-based or powder colouring, ready-made black modelling pastes, and vegetable charcoal. Each suits a different job.
Gel colouring (such as ProGel Black): the all-rounder for buttercream, ganache, royal icing and mirror glaze alike. Strong colouring power, won't thin out your frosting. Not suitable for plain chocolate.
Black cocoa: heavily Dutch-processed cocoa that gives frosting a dark colour without any colouring added, plus an Oreo-like flavour. On its own it reaches a very dark brown; with a touch of gel colouring, true black. It's an excellent option, though we don't stock it ourselves yet, you'll find it at specialist baking suppliers.
Oil-based or powder colouring: the only right choice for melted chocolate and cocoa butter.
Ready-made black fondant or modelling paste: colouring fondant to a deep black at home is tedious and makes the paste sticky, so it's worth just buying it ready-made black.
Vegetable charcoal (E153): an approved food colouring that gives a genuinely black result. Don't confuse it with activated charcoal from the pharmacy, see below.
At Halloween, black looks best against a contrast of orange, green or white: black buttercream on cupcakes, black dripping ganache on a cake, or black "dirt" made from crushed chocolate cookies.
A Halloween cake makes a great base; pour the black ganache from the method above over it instead of a regular glaze.
Halloween graveyard sweet treats are perfect for kids, with black buttercream working brilliantly as the "dirt" around the gravestones.
Make your black buttercream a day ahead. You'll save yourself the stress, and the colour will deepen in the meantime.
Black really pops against orange. Mix the orange on the day you're decorating, since it doesn't need time to deepen the way black does.
Yes, buttercream coloured with gel colouring will temporarily stain your tongue and teeth, more so the more colouring it contains. Starting from a chocolate base or black cocoa helps, since you'll need less colouring overall. The staining fades after a few hours or after brushing your teeth.
Yes, black buttercream keeps in the freezer in a sealed container for roughly 2–3 months, and freezing doesn't affect the colour. Thaw it overnight in the fridge, let it come up to room temperature, then stir it smooth with a spatula.
Black gel colouring is a blend of several pigments, and if one of them dominates or breaks down faster in the light, the black can shift towards purple or green. Fix purple-tinged frosting with a pinch of green colouring, and green-tinged frosting with a touch of red, then keep the finished decoration out of direct sunlight.
You colour royal icing black with gel colouring the same way you would buttercream, it just needs more time: cover it and let it rest for at least 1–2 hours. Add the gel colouring drop by drop, since too much extra water will thin the icing and make it harder to pipe clean lines.
One recipe worth heating the oven for, one tip, and one deal from the shop. Nothing else.