Easter classic: fragrant mazanec bread
Why Vánočka Cracks and Why It Didn't Rise: Causes and Fixes
Updated Nov 3, 2026
Vánočka, the Czech Christmas braid, cracks because it's still expanding in the oven while its surface has already set. The pressure from inside finds the weakest spot and bursts through it. Almost every time, one of seven things is behind it: underproofed dough, a dried-out surface, an oven that's too hot, underdeveloped dough, strands braided too tightly, raisins poking out, or proofing rushed with heat. There's good news on two fronts: you can tell the cause from where the crack appears, and a cracked vánočka tastes exactly the same as a smooth one. Below you'll also find why a vánočka may not rise at all and how to rescue that dough.
Cracking is a race between two speeds: how fast the dough grows and how fast its surface sets. When you slide the vánočka into the oven, the yeast keeps working frantically for a few more minutes, the water in the crumb turns to steam, and the loaf takes one last breath. Bakers call this oven spring. In those few minutes the volume can grow by as much as a third.
If the surface is still moist and stretchy at that moment, it expands along with the loaf. If it has already set, either because it dried out while proofing or because a hot oven baked it into a crust within five minutes, it has no way to give. The pressure from inside finds the thinnest spot and tears it open. That's why a vánočka doesn't crack randomly: it cracks exactly where the surface was weakest.
This also explains the logic behind every fix. Either you slow down the growth in the oven (by letting the dough proof fully beforehand) or you keep the surface stretchy for longer (moisture during proofing, steam, and a lower temperature at the start of baking). All seven causes below are just variations on one of those two.
Seasonal baking plans, tested recipes and kitchen tricks that save you time. Unsubscribe in one click.
A vánočka cracks along the side when it's underproofed, forms a fine net of small cracks when the surface has dried out, and splits in one deep crack on top when the oven was too hot. In more detail, by location of the crack:
A long crack along the side, under the top strand is the classic sign of underproofed dough. The lower tier pushed upward and the surface couldn't give in time.
A net of fine cracks all over the surface means the dough dried out while proofing. The thin skin broke up like dried-out clay.
One sharp, deep crack on top means the oven was too hot. The crust set before the inside was done.
Strands pulling apart with a dip between them points to strands that were too tight or uneven in thickness.
Craters and holes around raisins and almonds means pieces stuck out, burned, and tore the crust around them.
A crack at the end where the strands meet means the tips weren't tucked under the loaf and opened up in the oven.
Often several causes show up at once. Start with the most common one: proofing.
A vánočka cracks for seven reasons:
Underproofed dough: the yeast takes the rest of its proofing out in the oven.
A dried-out surface: the dry skin from proofing won't stretch in the oven.
An oven that's too hot: the crust sets before the loaf has finished growing.
Underdeveloped dough: short gluten tears instead of giving.
Strands that are too tight: the tension in the surface has nowhere to release in the oven.
Raisins and almonds sticking out: they burn, dry out, and tear the crust around them.
Proofing rushed with heat: the dough warms only on the outside and looks proofed even though it isn't.
Each one is explained below: how to recognize it and exactly what to do about it.
Underproofed dough is cause number one. Yeast that didn't get its fill in the bowl and on the tray will take it in the oven, and by then the surface has no chance.
Vánočka proofs more slowly than ordinary bread because sugar, salt, and fat hold the yeast back. Count on 45–90 minutes of final proofing on the tray, not twenty. Time is only a guide, though; the state of the dough decides.
Use the finger test: with a floured finger, gently press the side of the loaf about a centimeter (½ inch) deep.
The dent disappears right away → underproofed, give it another 15–20 minutes.
The dent slowly springs back about halfway → time to bake.
The dent stays and the surface sinks slightly → overproofed, bake immediately.
Visually, the loaf should look puffy like a pillow, noticeably taller and wider, and it should wobble slightly when you move the tray.
When dough dries out during proofing, a thin dry skin forms on the surface that won't stretch in the oven and cracks. It's the second most common cause and also the sneakiest, because you can hardly see it: a braided vánočka sits on the tray for three quarters of an hour in the open air, and the skin forms quietly.
The dough must not dry out during proofing. In practice that means:
Cover the loaf with a dampened kitchen towel or plastic wrap, not a dry cloth, which actually draws moisture out.
Or let it proof in a switched-off oven with a bowl of hot water on the bottom.
Don't let it proof in a draft by a window or above a heater. The surface dries out much faster there.
Right before baking, the surface should look moist and glossy, not matte.
If you put a vánočka into an oven heated to 200°C (390°F), the surface sets within five minutes, while the inside still has about ten minutes of growth ahead of it with nowhere to go.
Bake the first 10 minutes at 180°C (350°F), then drop to 160°C (320°F) and finish baking. For a vánočka made with 500 g of flour (about 4 cups), that's 40–50 minutes total.
Turn off the fan. Circulating air dries out the surface in exactly the minutes when you need it to stay stretchy. Conventional top-and-bottom heat is always better for vánočka.
Put a tray on the bottom of the oven and pour a cup of boiling water into it. The steam keeps the crust supple for the first ten minutes and lets the loaf grow to its full size.
Czech sources differ slightly on the exact numbers (you'll also find a recommendation of 190°C/375°F, dropping later to 170°C/340°F), but the principle is the same everywhere: a short hot start, then down.
Trust a thermometer, not the dial. Home ovens commonly deviate from the set temperature by 10–20°C, so "180°C" may well be 200°C. An oven thermometer standing on the rack shows you the real temperature, and the article how to find out your oven's real temperature explains how to calibrate your oven once and for all.
A stretchy surface comes from properly developed gluten. If you mix the dough in a hurry, the gluten network is short and tears as the loaf grows instead of stretching.
Knead for at least 10 minutes in a stand mixer, 15–20 by hand. The dough should be smooth and shiny and shouldn't stick to the sides of the bowl.
Reach for a flour with higher protein content: among smooth light flours, compare the protein figure on the package and take the one with the higher number, as it has stronger gluten. The type number shows ash content, not protein, so a semi-light T650 won't make your gluten any stronger.
Work the raisins and almonds in only at the very end and briefly. If you add them earlier, they chop up the gluten you spent ten minutes building.
How to tell the gluten is ready: pinch off a bit of dough and slowly stretch it between your fingers. It should pull into a thin membrane you can see light through, not tear right away. The article on yeasted dough and its basic ratios goes into detail on the proportions of flour, liquid, and fat.
Vánočka isn't a loaf of bread, and it doesn't want a taut surface. If you roll the strands with force and tighten them as you braid, you create tension on the surface that has nowhere to release in the oven.
Roll the strands without pressure. If the dough resists and shrinks back, let it rest for two minutes and carry on; the gluten relaxes by itself.
Braid loosely. The strands should rest against each other, not squeeze each other.
Firmly press the ends together and tuck them under the loaf, or they'll open up in the oven.
Make the strands equally thick. A thinner strand bakes sooner, sets, and starts pushing on its neighbors.
Anything poking out of the surface is a weak spot. A raisin burns in the oven, dries out, and tears the crust around it. A sliced almond lifts the surface, and it cracks.
Soak the raisins for 20–30 minutes (in rum, tea, or just lukewarm water) and then pat them dry. A dry raisin also pulls moisture out of the dough around it.
While braiding, push any protruding pieces into the dough, or just pull them out.
You can hide the raisins between the tiers of the braid instead of in the dough. Then there's nothing on top to burn.
Sprinkle sliced almonds on only after the egg wash and press them on lightly.
Proofing in an oven warmed to 40–50°C (105–120°F) heats the dough only on the outside. Inside, the yeast lags behind, and the vánočka takes the rest of its proofing out in the oven, and cracks. On the outside it looks beautifully proofed, which is exactly the trap everyone in a hurry falls into.
The ideal dough temperature after kneading is roughly 25–28°C (77–82°F), and it should proof at that same temperature.
If your kitchen is cold, use an oven warmed to 30°C (86°F) at most. A switched-on oven light is usually enough.
Take the ingredients out of the fridge an hour ahead, warm the milk to about 35°C (95°F), and keep the butter soft, not melted. Cold butter in the dough means uneven proofing and uneven growth in the oven.
Slow proofing also gives much better flavor. Vánočka simply can't be rushed.
A vánočka most often fails to rise for one of five reasons: the dough is cold, the yeast is old or scalded, the dough didn't get enough time, it's too stiff, or the salt landed directly on the yeast. Sweet, rich dough rises more slowly than bread dough, so what looks unrisen is often just impatient.
Cold dough and a cold kitchen. Below 22°C (72°F) the yeast works slowly. After kneading, the dough should be about 25–28°C (77–82°F) and proof somewhere warm without drafts.
Old or scalded yeast. Expired yeast loses its strength. Milk hotter than about 40°C (105°F) damages it, so only warm it lightly, to around 35°C (95°F).
Not enough time. Sugar, butter, and eggs hold the yeast back. The first rise takes 60–90 minutes, or even two hours in a cooler kitchen. Go by volume, not the clock.
Too much flour. Stiff dough rises with difficulty. Vánočka dough should be supple and slightly sticky, not firm like bread dough.
Salt directly on the yeast. Add the salt to the flour, not to the yeast starter, and work the butter in only once the dough has come together.
How to test yeast ahead of time: mix it with a teaspoon of sugar, a tablespoon of flour, and a little lukewarm milk. If it hasn't started to foam and rise within 10–15 minutes, it's weak, so replace it. The article dough proofing: temperature, time, and the proofing basket covers proofing temperature and time in detail.
With dough that hasn't risen, first move it somewhere warm and give it time. If it still doesn't budge, work in fresh yeast.
Put the dough somewhere warm. A switched-off oven with the light on, or with a bowl of hot water on the bottom, ideally 25–30°C (77–86°F). Cover it so it doesn't dry out.
Wait 30–60 minutes and check the volume. If the dough is visibly growing, it was just cold and needs only time.
If it doesn't move at all, stir fresh yeast into a little lukewarm milk with a teaspoon of sugar and a tablespoon of flour, let it get going, and work it thoroughly into the dough. Then let the dough proof again from the start.
Braid and bake only once the dough passes the finger test. An underproofed vánočka will almost certainly crack in the oven.
Don't speed up proofing with a hot oven at 40–50°C (105–120°F). The dough warms only on the outside and the problem moves to the oven, as point 7 above describes.
To keep a vánočka from cracking, let it do its second proof for 45–90 minutes under a dampened towel and bake it for 10 minutes at 180°C (350°F) with steam, then finish at 160°C (320°F) until the inside reaches 90–93°C (194–199°F). The whole process, step by step:
Mix and knead for at least 10 minutes in a stand mixer. Fold in the soaked and dried raisins at the very end.
First proof in a covered bowl at 25–28°C (77–82°F), 60–90 minutes, until the volume doubles or triples.
Braid loosely and tuck the ends under the loaf.
Second proof on the tray for 45–90 minutes under a dampened towel or plastic wrap. Check with the finger test, not the clock.
Brush with beaten egg yolk mixed with a tablespoon of milk, and do it twice: once before the second proof and again right before baking. The double coat keeps the surface supple and gives the vánočka its shine.
Preheat the oven to 180°C (350°F) with the fan off. Put a tray on the bottom and pour a cup of boiling water into it.
After 10 minutes, drop to 160°C (320°F) and take out the dish of water.
Bake for 40–50 minutes in total (for a vánočka made with 500 g of flour). Once the vánočka has color, cover it loosely with foil so it doesn't scorch before it's baked through.
It's done at an internal temperature of 90–93°C (194–199°F) in the center. An instant-read thermometer is more reliable than a skewer for vánočka: with this much sugar, the surface browns long before the crumb is done.
Let it cool on a rack, not on the tray. Otherwise steam would collect under the loaf and the bottom would turn damp.
You can rescue a cracked vánočka with powdered sugar through a sieve, a thin lemon glaze, or sliced almonds sprinkled on the hot, glazed surface. The crack has no effect on the flavor. The options, one by one:
Dust it with powdered sugar through a sieve. It's the fastest and most traditional fix; the sugar fills the crack and hides it.
Drizzle it with a thin lemon glaze (powdered sugar and a few drops of lemon). It covers even deep cracks and adds flavor.
Sprinkle on sliced almonds or crushed nuts while the surface is still hot and glazed.
Slice across the crack, not along it. The slices then hold together.
If it broke apart completely and you can't serve it, turn it into žemlovka or bread pudding. Sweet yeasted bread makes an ideal base for it.
And if the cracking annoys you every time, start next time with point 4 of the method above. Underproofed dough is by far the most common reason a vánočka cracks.
Bake the vánočka at the very end of your Christmas baking, ideally the day before serving. Unlike cookies, its freshness counts and it gains nothing from sitting. Cookies, on the other hand, belong at the start of the list, because in a tin they only get better.
If you're planning all of your Christmas baking, a calendar of what to bake when comes in handy. Storing Christmas cookies and freezing dough then free up your hands for exactly the things that can't be baked ahead.
And if you'd like to practice for vánočka out of season: mazanec is exactly the same kind of yeasted dough and cracks for the same reasons. The recipe for a fluffy mazanec with no cracks works one to one.
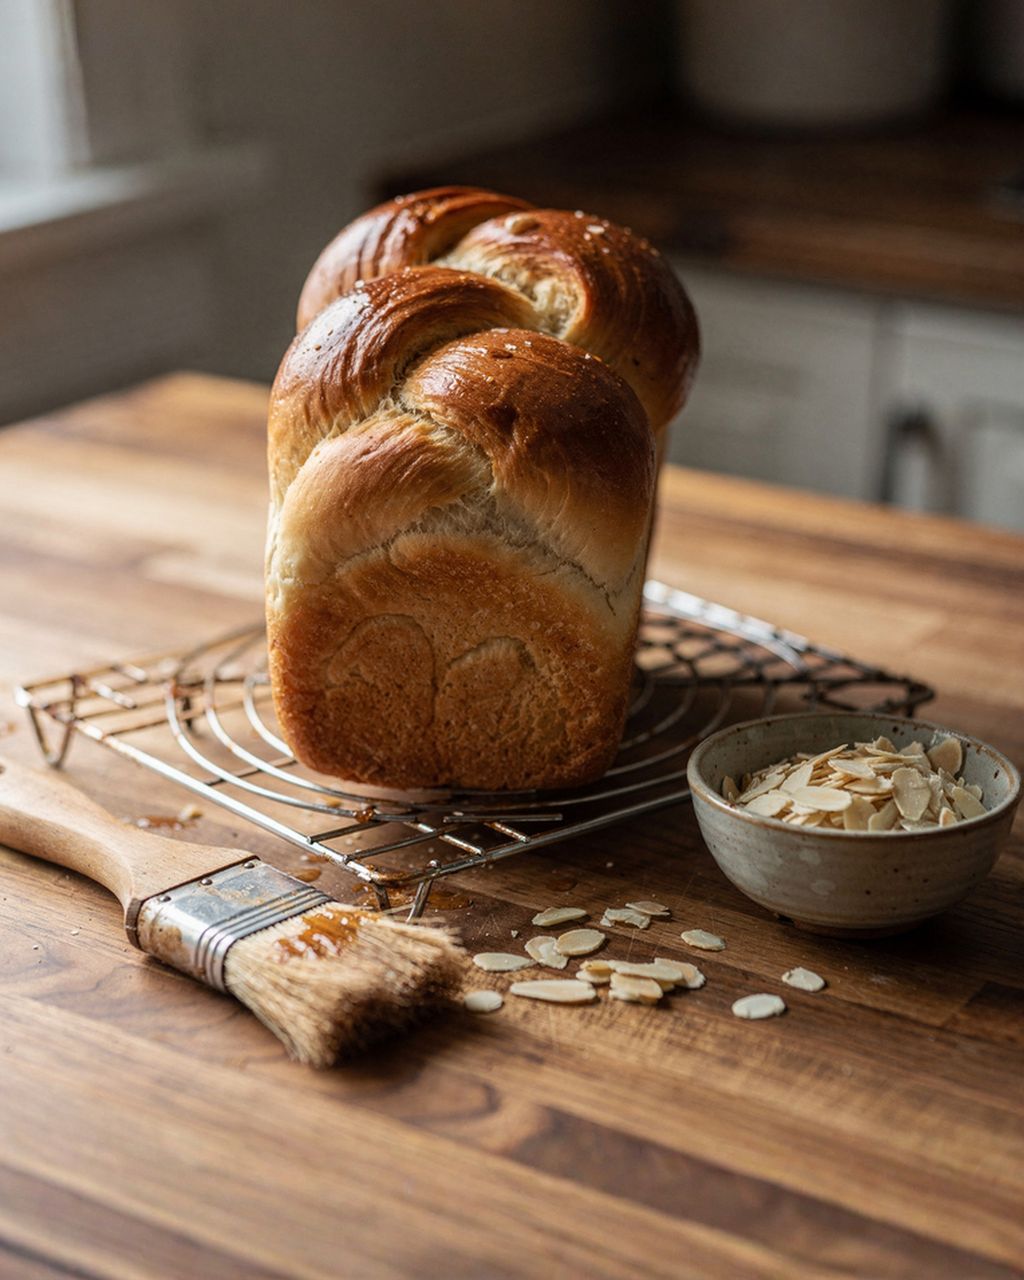
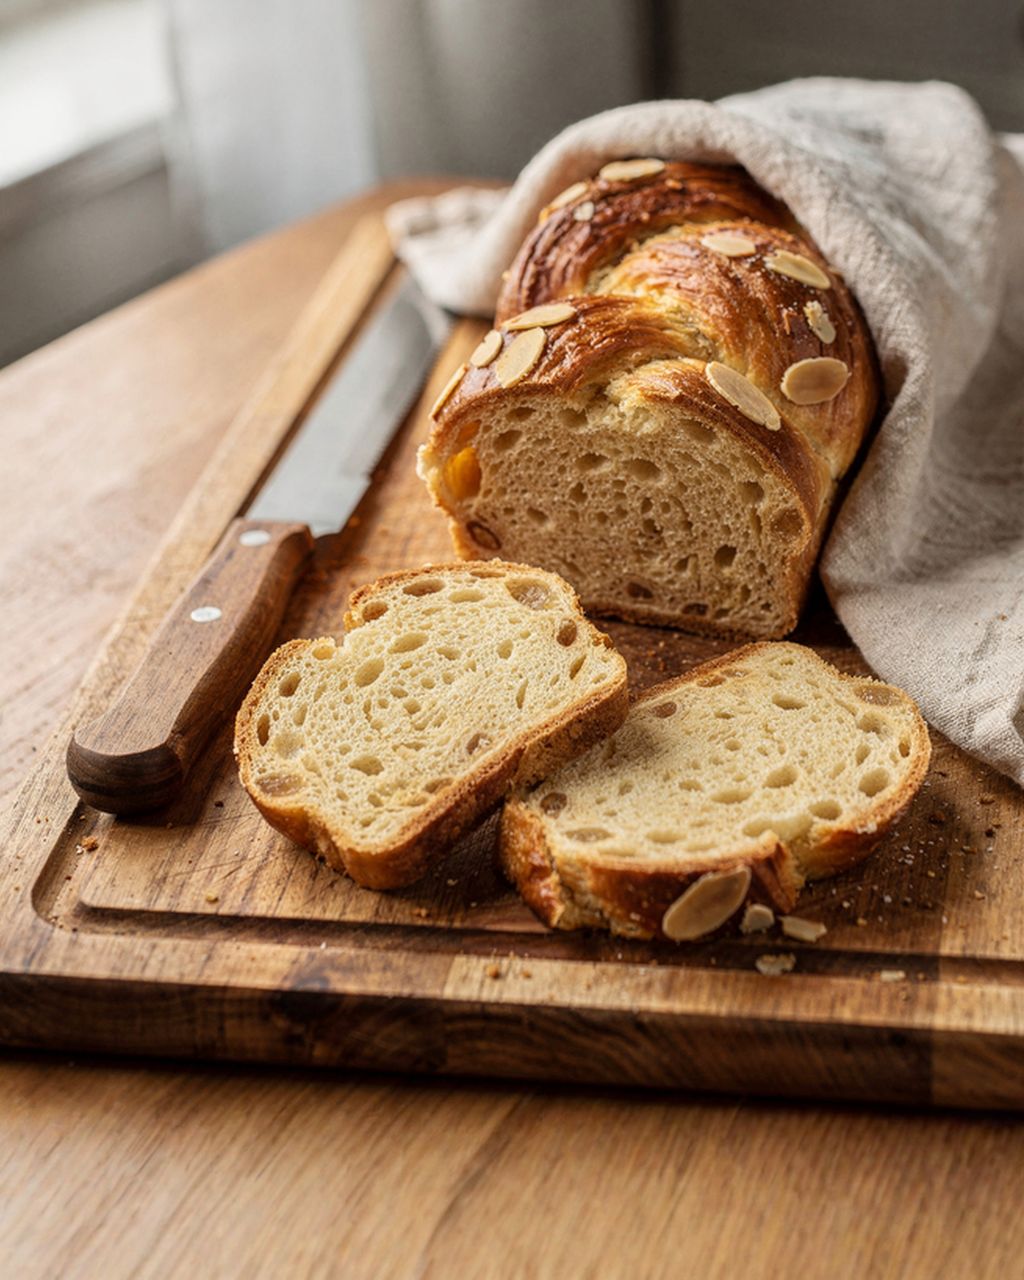
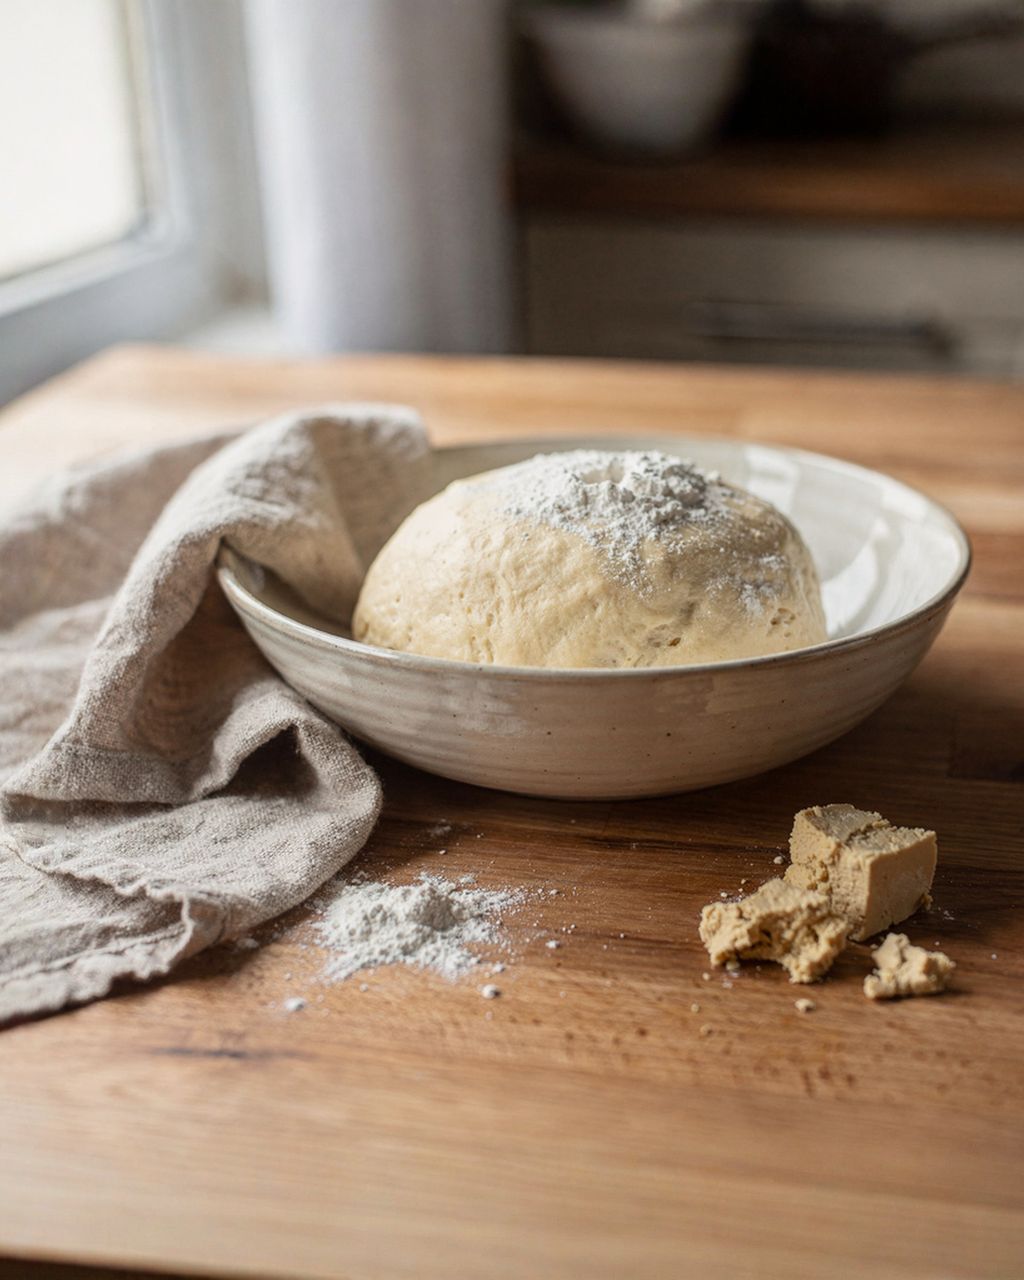
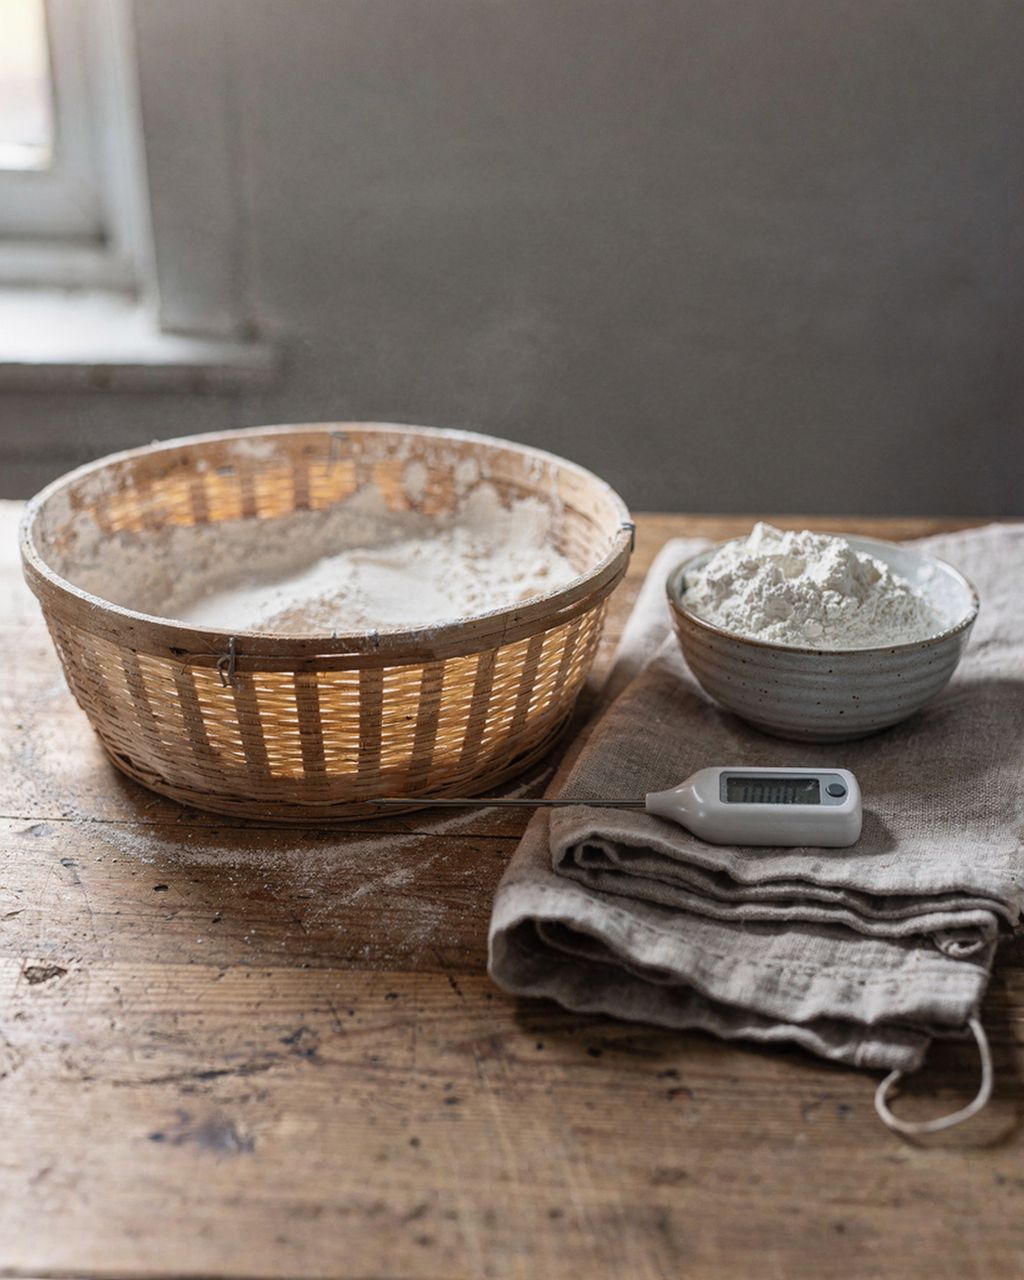
Easter classic: fragrant mazanec bread
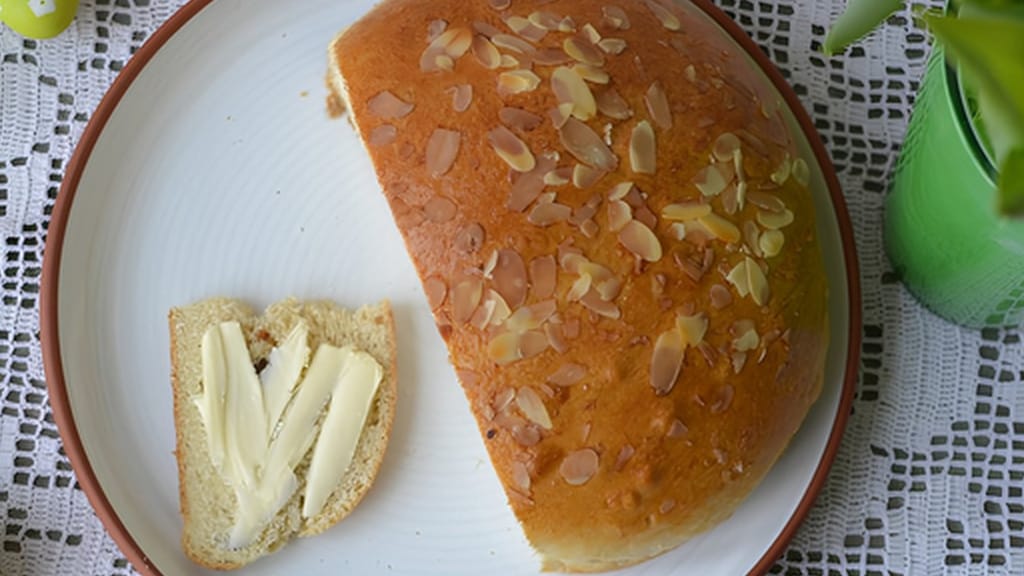
Fragrant Easter mazanec: the same yeasted dough as vánočka, good off-season practice
A vánočka that didn't grow in the oven was most often overproofed or baked in an oven that wasn't hot enough. Overproofed dough has no strength left for the final oven rise, and in a cool oven it spreads out before it sets. Bake when the dent from the finger test springs back about halfway, and let the oven preheat properly.
No, vánočka is traditionally not slashed, unlike mazanec (the Czech Easter bread), which gets a cross about 1 cm (½ inch) deep. In a braid, the gaps between the strands do the job of the slash: a loosely braided vánočka has room to grow. Slashing would also ruin the braid's pattern, which is the whole point of braiding it. If yours cracks repeatedly, look at your proofing and the moisture of the surface, not at slashing.
A crack on one side almost always means that side baked or proofed under different conditions from the rest of the loaf. Most often it's a hot spot in the oven: the side nearer the back wall or the broiler sets sooner, and the surface there stops giving. Put the tray in the middle of the oven and, after the first 15 minutes, once the loaf has done most of its growing, turn the tray 180°. Not any earlier, or the loaf may collapse. The second typical reason is uneven proofing: the side facing a window or a heater dries out faster. And third, strands of uneven thickness, because the thinner side bakes sooner and pushes against its neighbor.
Overnight proofing in the fridge doesn't cause cracking. It usually helps, since slow, cold proofing gives better flavor and texture. There's just one condition: the dough must be covered airtight so it doesn't dry out in the fridge's dry air. In the morning, let it come up to room temperature for 1–2 hours, and only then braid it and let it finish proofing. Cold dough put straight into the oven almost always cracks.
Fine cracks that appear after baking come from sudden cooling and escaping steam. The hot crumb shrinks faster than the crust, and the crust breaks. Let the vánočka cool on a rack in a draft-free room, and don't put it by an open window or on a cold countertop. It also helps to brush it right out of the oven with melted butter or sugar syrup, which keeps the surface softer.
A sourdough vánočka cracks for the same reasons, but it's even more sensitive to underproofing. Sourdough works more slowly than yeast, and in a very sweet, rich dough it slows down even more, so the final proof takes much longer than with yeast, easily several times longer. The clock is useless here: go only by the finger test and by whether the loaf has visibly gained volume.
One recipe worth heating the oven for, one tip, and one deal from the shop. Nothing else.