Pistachio cupcakes with lemon curd and mascarpone cream
Two-Tone Frosting: How to Fill a Piping Bag with Two Colors
Updated Oct 8, 2026
To make two-tone frosting, put each color in its own small bag, then slide both of those bags into one large piping bag fitted with a tip — the colors come out side by side without mixing. It works with buttercream, mascarpone frosting, and royal icing alike. Three things matter: both frostings need the same consistency, the inner bags need to be snipped the same length and pushed all the way down to the tip, and before you start decorating for real, pipe a test swirl until both colors show up. Below you'll find every common method side by side, including ones that need nothing from the store.
There are five methods to choose from: bag-in-bag, plastic wrap, spooning onto each side, gel-color stripes on the inner wall, and a two-tone coupler. They differ in how clean the result looks, how fast they are, and how easily you can swap colors.
Bag-in-bag – the cleanest line between colors, and swapping colors is easy. You'll need 3 bags for one color combo.
Plastic wrap – the frosting is rolled into little "sausages," so you can switch colors in seconds. The wrap can sometimes bunch up near the tip, though.
Spooning onto each side – needs no extra equipment, but the result is looser and the colors blend together after a bit.
Gel-color stripes – one frosting, with stripes painted inside the bag. This gives fine, thin lines rather than two distinct halves.
Two-tone coupler – a plastic connector for two bags. It works, but you can easily do without it.
For your first attempt, go with bag-in-bag. It's the most forgiving, and you'll clearly understand what's happening and why.
Place two smaller bags, each with one color, inside one large piping bag fitted with a tip, and push the snipped tips of the inner bags right down into the tip. Use a large bag at least 36 cm (14 in) long — a smaller one won't let you work comfortably once both filled bags are inside.
Fit the tip into the large bag. Snip the end so the tip pokes out about two-thirds of the way, not all the way through.
Fill two smaller bags, each with one color, about halfway to two-thirds full. An overfilled bag is hard to insert and the frosting will squeeze out the top.
Push the frosting down to the tip of each bag and snip both identically — about 1 cm (0.4 in) from the end. A different-sized opening means one color will come out faster.
Insert both bags into the large bag at the same time, side by side, tips pointing down. Press them from the outside with your fingers until they reach the opening of the tip.
Twist the top of the large bag closed and pipe a test swirl onto a plate until both colors come out evenly. This usually takes 1–2 tries.
To switch colors, just pull out one inner bag and slot in a new one — the outer bag and tip stay put. Disposable bags work fine for the inner liners; you'll find suitable sizes and types among piping bags and tips. If you're torn between disposable and reusable fabric bags, check out which piping bags to choose.
Plastic wrap works best when you're switching between lots of colors in a row; spooning is better when you want a quick, looser "watercolor" blend. Neither requires extra piping bags.
Plastic wrap. Lay a strip of one color lengthwise on a piece of plastic wrap (about 30 cm/12 in) and a strip of the second color right next to it. Roll it into a log, twist the ends like a candy wrapper, and snip off one end. Slide the log, cut end first, into a bag fitted with a tip. The upside: swapping colors takes seconds and there's nothing to wash. The downside: the wrap can crumple up near the tip and clog it — if that happens, just push the log back a bit.
Spooning onto each side. Stand the bag with its tip in a tall glass and fold the top edge down over the rim. Spoon or spread one color onto one side of the bag, and the second color onto the opposite side. The line between colors is softer, and after a few cupcakes the colors will start to blend. If you want two crisp halves, this is the weakest method; if you want a soft gradient, it's actually the prettiest option.
For a striped effect you don't need two separate frostings — just paint gel color directly onto the inside wall of the bag and fill it with white or pale frosting. Each swirl then comes out with thin, vivid lines running down the sides.
Turn the tipped bag inside out over your hand, or stand it in a glass.
Using a thin brush or a skewer, draw 3–4 stripes of undiluted gel color from the tip upward, about 8–10 cm (3–4 in) long.
Fill carefully with frosting so you don't wipe off the stripes.
The first 1–2 swirls tend to come out too intense — pipe those off to the side.
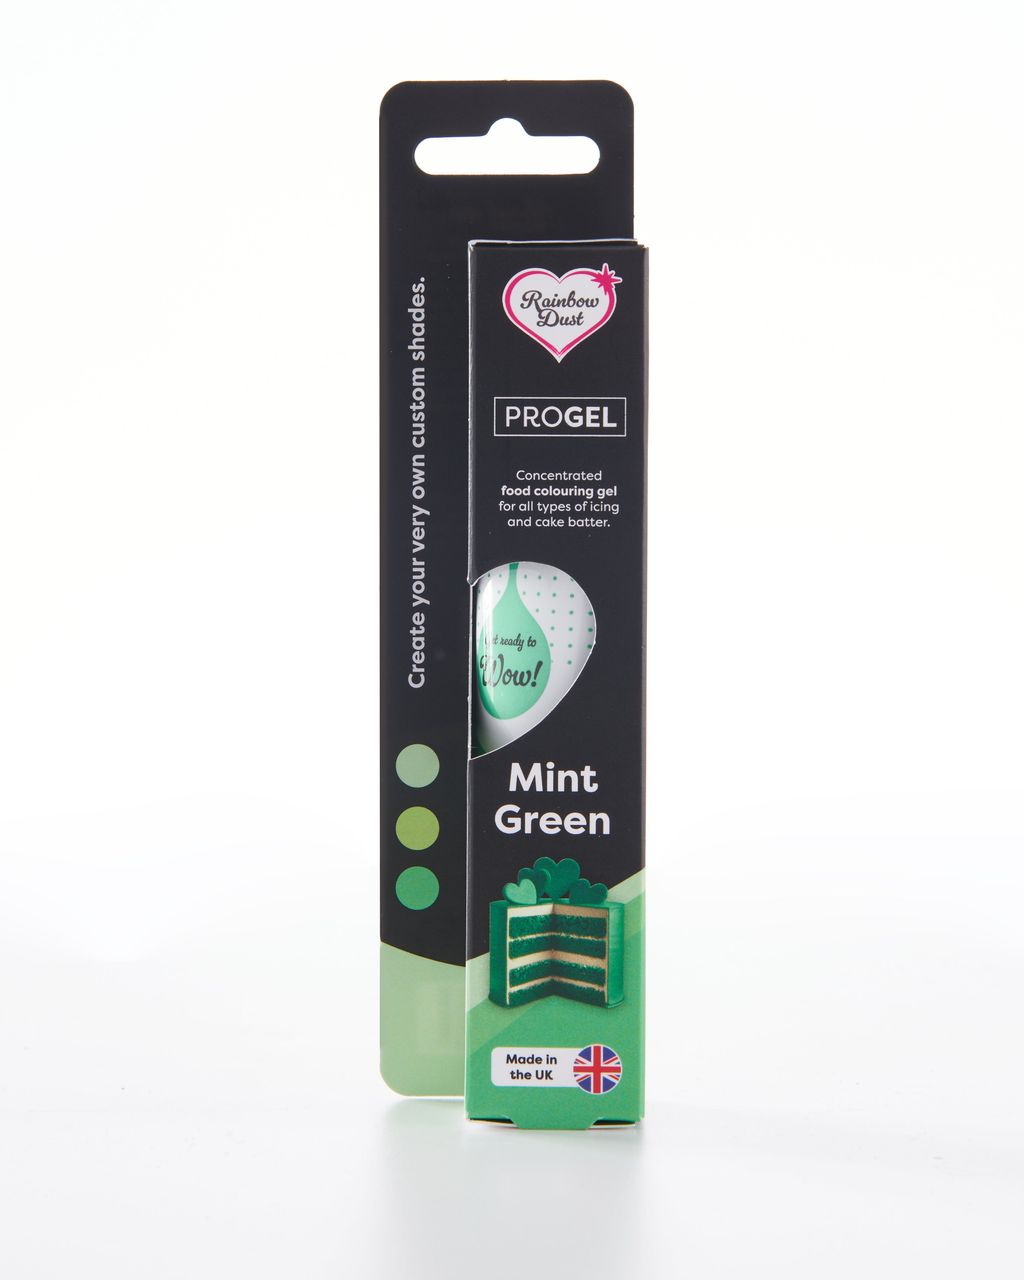
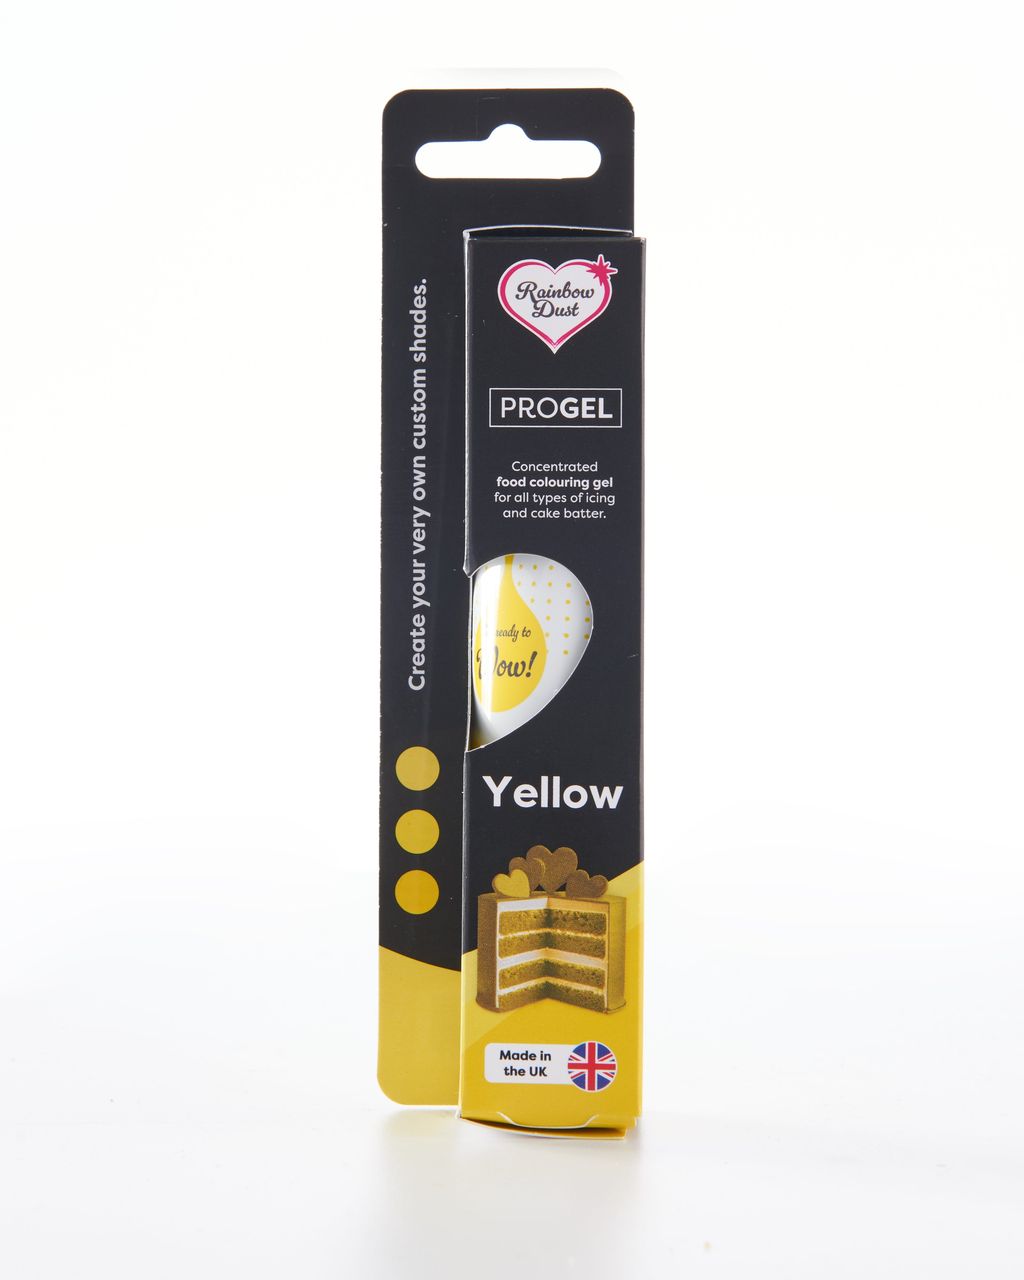
This is where using a concentrated gel really pays off. Gel colors like ProGel are thick and go a long way, so the stripe stays put instead of running. Liquid food coloring would just drip down the wall and water down the frosting at the same time. You can also use gel color for both frostings in the bag-in-bag method: add it a toothpick-tip at a time, since buttercream deepens by a shade or two within a few hours and even more by the next day — so don't color it all the way to your final shade right away. Deep, saturated colors are a topic of their own — see how to keep black frosting from turning gray and how to color layers so they stay vivid.
Both frostings need to be the same consistency and the same temperature — otherwise the softer one comes out faster and the firmer one stays stuck in the bag. This is the most common reason one half of a swirl ends up thick while the other is barely visible.
Make one batch, then split it. The safest approach is to whip up a single batch of frosting and only then divide and color it. Two batches made separately almost always turn out different.
Color with gel, not liquid food coloring. Liquid coloring will only thin out one half.
Let both colors rest side by side. If you chill one and leave the other out, they'll end up at different temperatures and firmness. Buttercream is happiest at around 18–20 °C (64–68 °F) room temperature — if your kitchen is warm, pop the whole bag in the fridge for 10 minutes, not just part of it.
The frosting needs to hold its shape. Runny frosting mixes together inside the bag and the swirl's edges go soft. For which frostings hold their shape best, see which frosting holds its shape on cupcakes.
Contrast does half the work for you: a pale color paired with a bold one (white + pink, white + mint) looks better in photos than two similarly saturated shades. If you want a truly white half, snow-white buttercream will help.
Two-tone frosting shows off best through an open star tip — each ridge carries both colors, and the swirl twists like a ribbon. The opening should be at least 1 cm (0.4 in) so both streams of frosting can fit side by side; a small tip will squash the colors into one.
Open or closed star tip – the classic cupcake swirl. For how to pipe it, see how to pipe a frosting swirl.
Rose tip – put the narrow end toward the bolder color and the petal edges will come out darker. This is how two-tone buttercream roses on a nail are made.
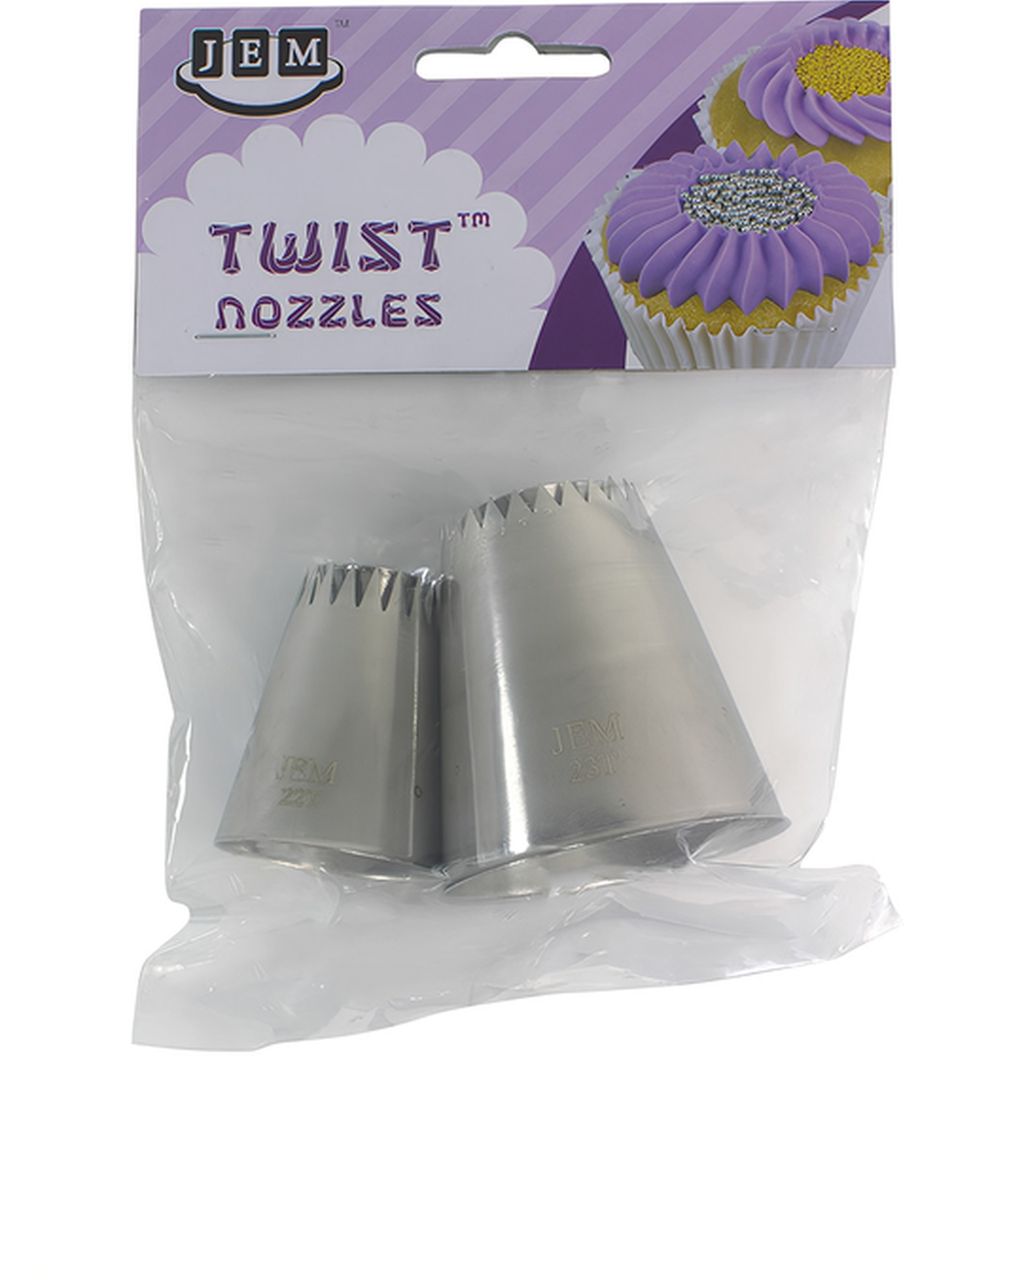
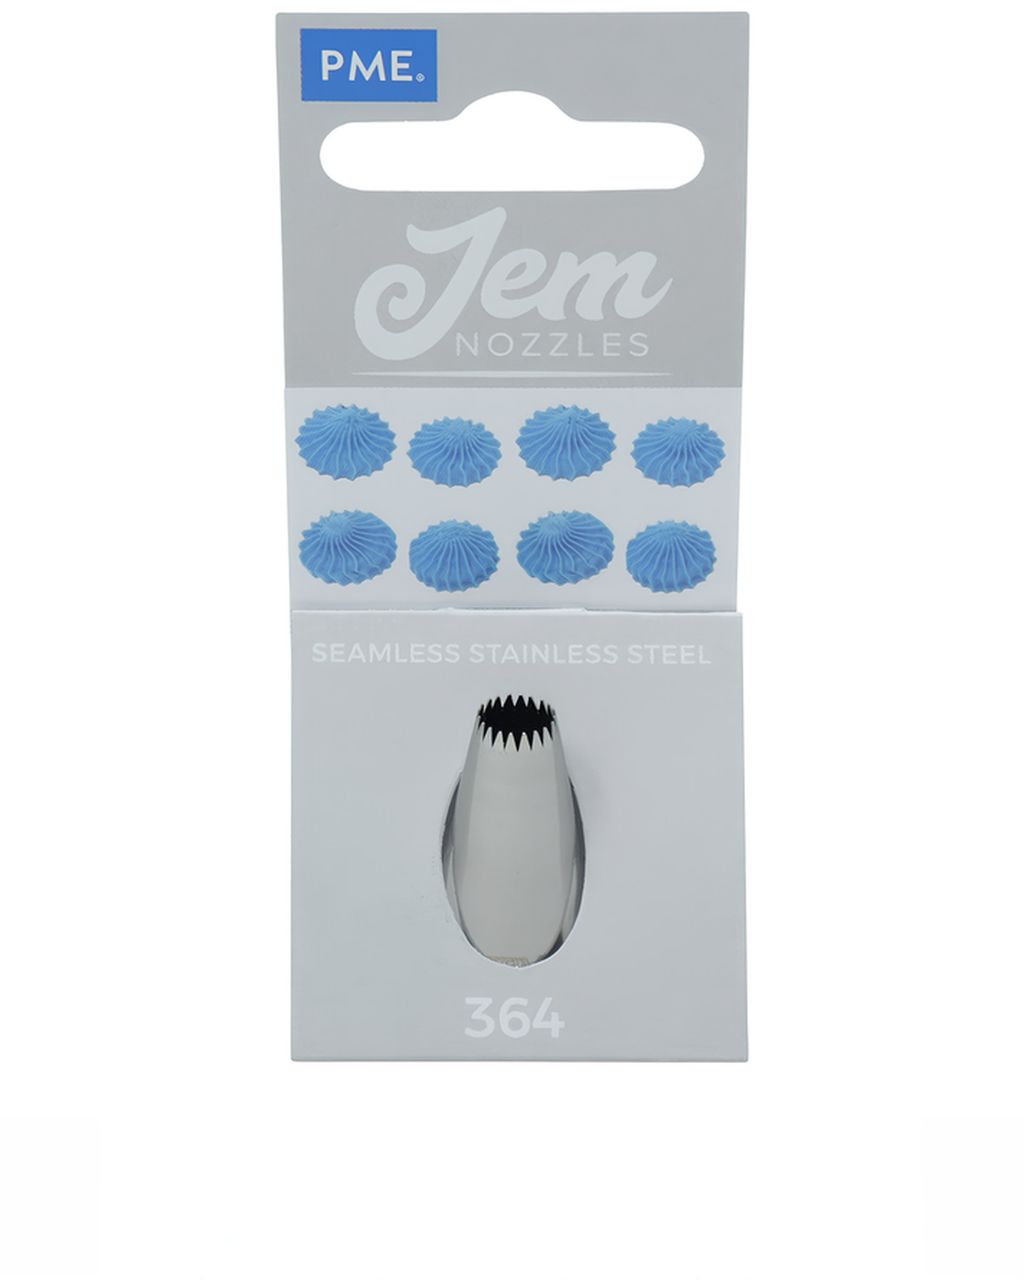
JEM Twist tips – special tips for the "twist twist" technique: as you pipe, you rotate your wrist back and forth and the tip produces a twisted flower or ruffle shape. They don't create two colors by themselves — the bag does that — but the twisted shape shows off two colors more than a plain star does. According to the manufacturer, they work best with firm buttercream or royal icing.
Round tip – works for two-tone dots and mounds, but there's only one dividing line, so the effect is more subtle.
One color coming out of a two-tone bag before the other is usually down to one inner bag being snipped more than the other, the two frostings having different consistencies, or one bag not reaching all the way down to the tip. You'll spot it right away on your test swirl — fix it before you start decorating for real.
Only one color comes out – the other bag isn't reaching the tip. Push it down from the outside with your fingers, or snip off a few more millimeters.
One color dominates – different opening size or consistency. Chill the softer frosting for 5–10 minutes, or swap in a freshly snipped bag.
The colors have blended into a third one – the frosting is too warm or too soft, or the tip is too small. Chill the whole bag and use a bigger tip.
The swirl has holes or sputters – there's air trapped in the inner bags. Tap them on the counter before inserting them and push the frosting down to the tip.
Frosting is squeezing out the top of the large bag – the inner bags are overfilled. Fill them only halfway to two-thirds full.
Cupcakes are the best way to practice two-tone frosting — each swirl is quick, so you'll spot mistakes right away and fix them on the next one. Pistachio cupcakes with mascarpone frosting or coffee cupcakes with a delicate frosting work well for this, since you can color half the frosting light brown and leave the rest white. Once you've got the hang of it, use the same technique for a border of swirls on a cake.
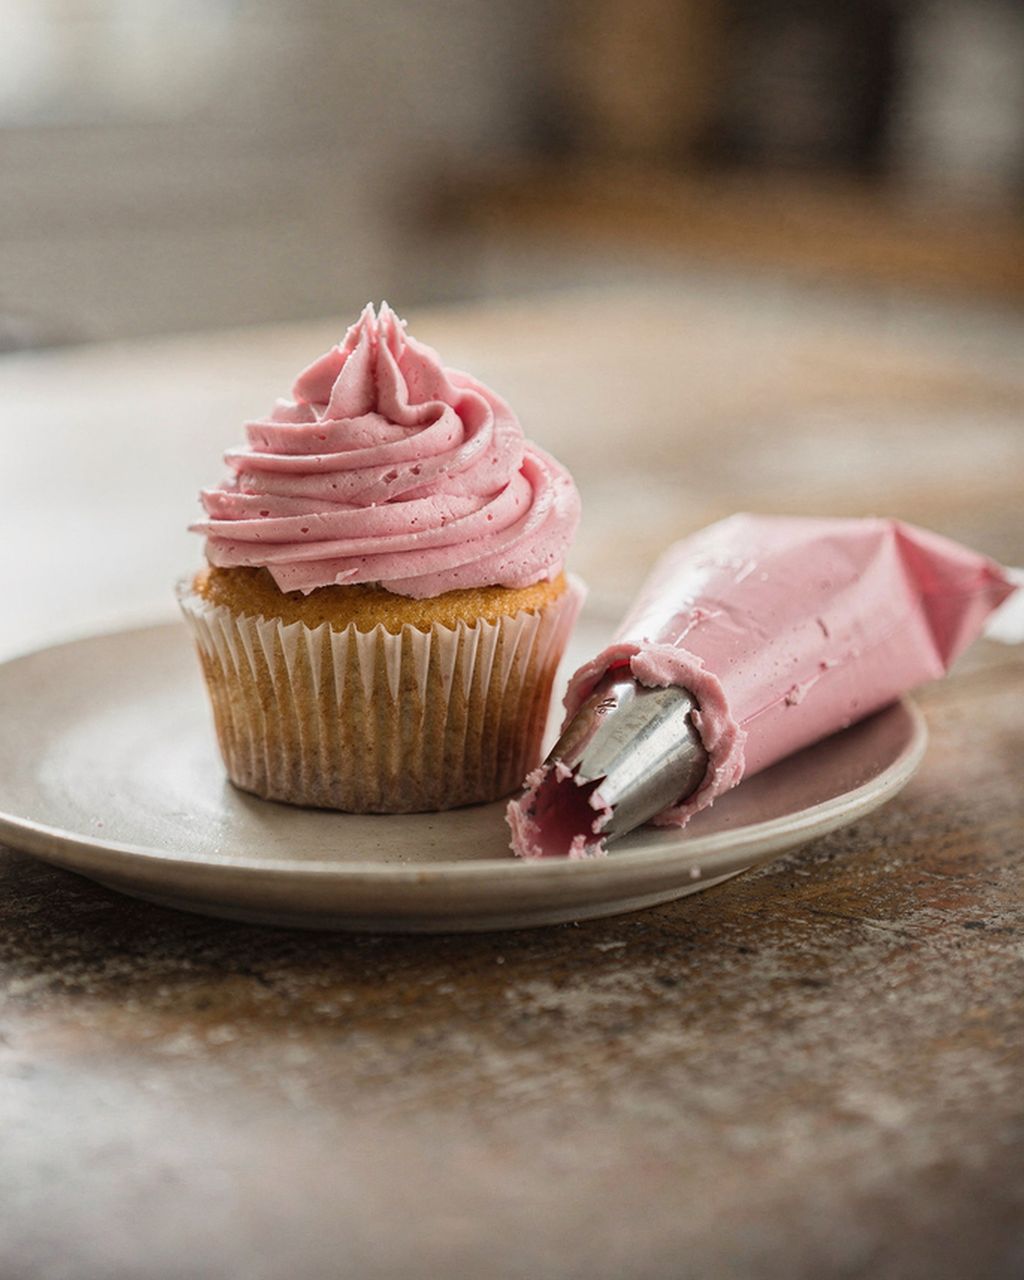
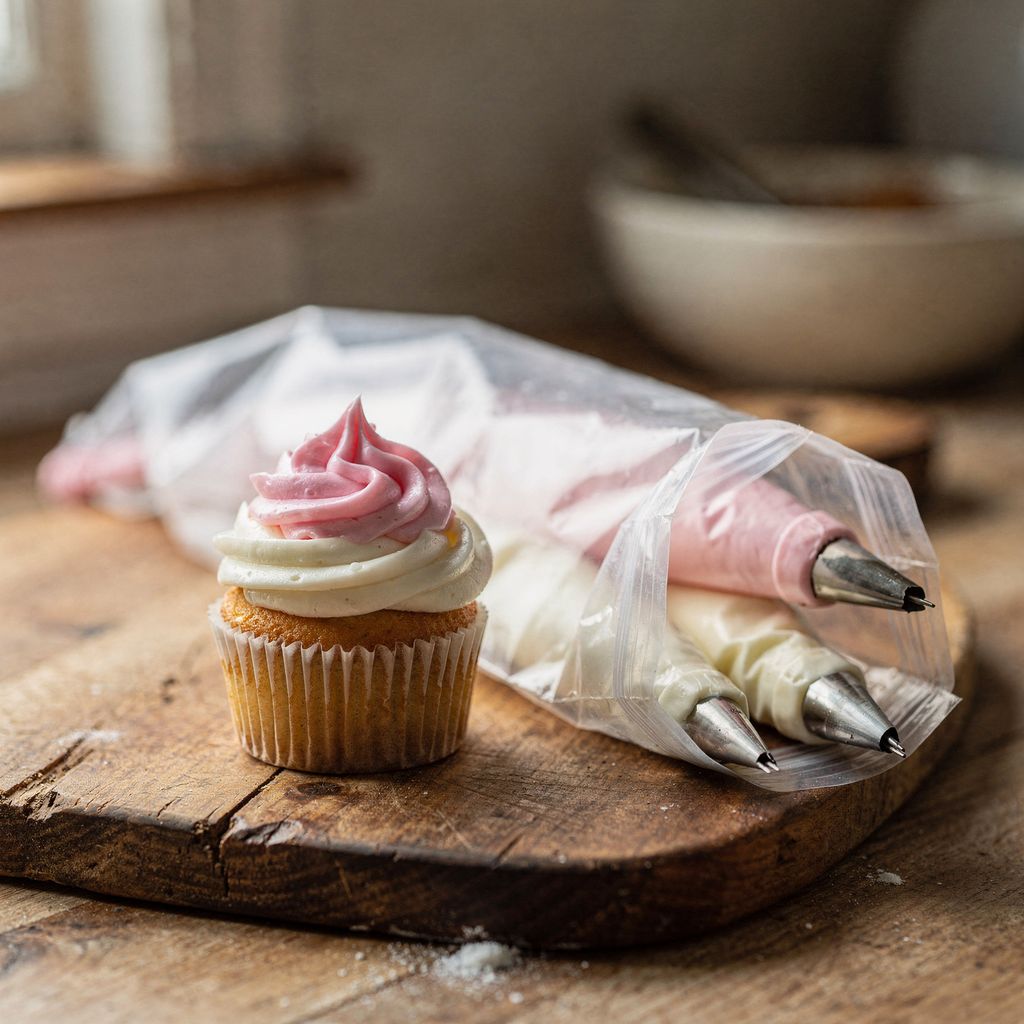
Pistachio cupcakes with lemon curd and mascarpone cream
Pistachio cupcakes with mascarpone frosting — a firm frosting that really shows off a two-tone swirl
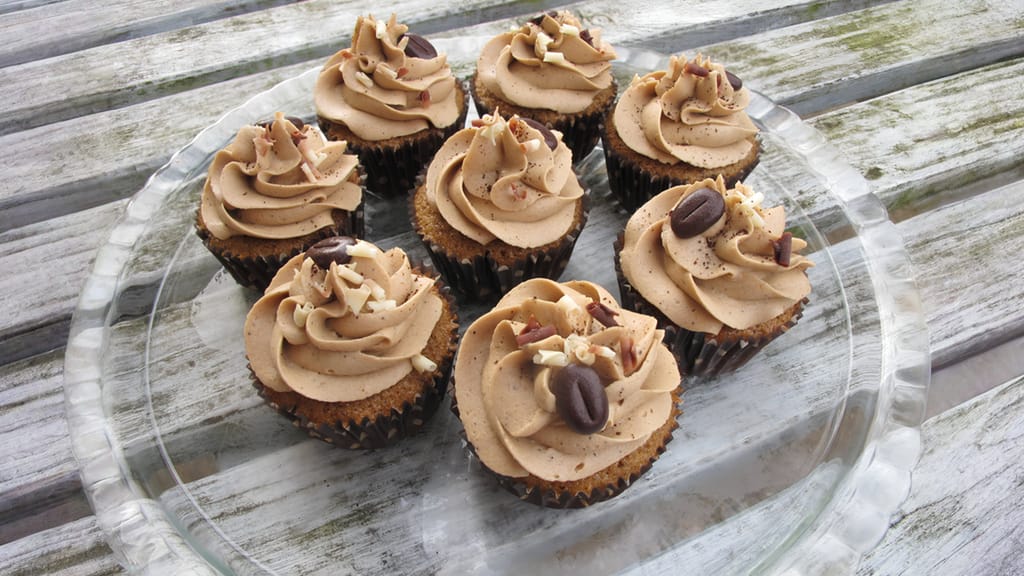
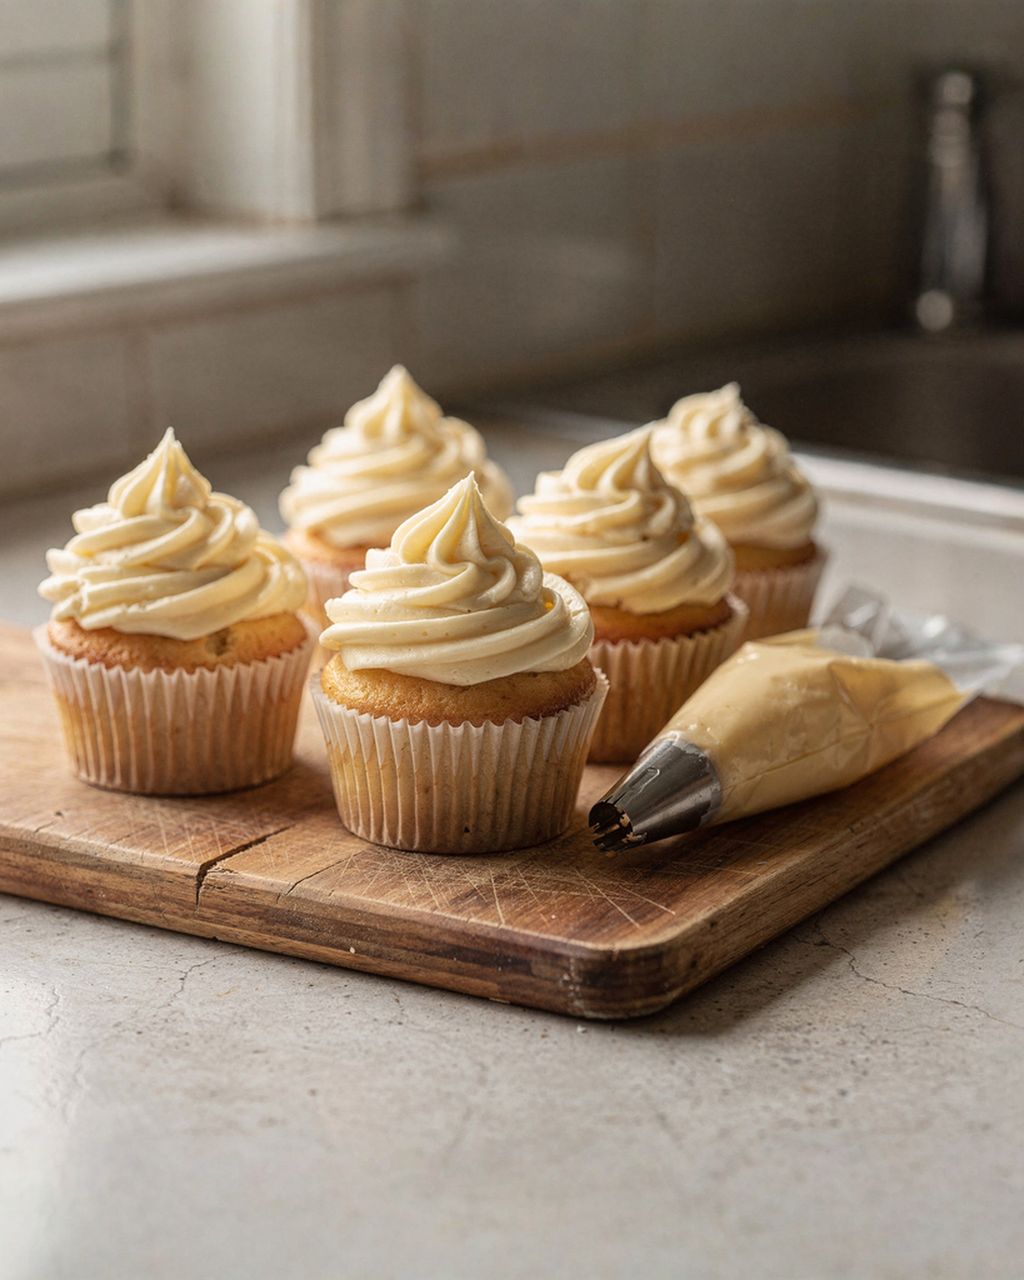
Coffee cupcakes with silky cream frosting
Coffee cupcakes with a delicate frosting — light brown and white swirl
Use the bag-in-bag method with three smaller bags: slot them all into one large bag and use a bigger star tip, at least 1.5 cm (0.6 in). Fill each inner bag less than usual — about a third to half full — otherwise they won't all fit into the large bag, and plan on 2–3 test swirls before all three colors line up.
Yes, but buttercream firms up in the fridge, so you'll need to let the whole bag sit at room temperature for 20–30 minutes before decorating — warm the entire bag at once. If you only warm up one side, say by holding it in your hand, that color will flow out faster. Cover the tip with plastic wrap so the frosting doesn't dry out.
For 12 tall swirls, plan on roughly 450–550 g (16–19 oz) of frosting total, so about 250 g (9 oz) of each color. You'll use a bit extra — a few dozen grams — on test swirls and on the frosting left behind in the tips of the inner bags.
Yes, but only with stabilized whipped cream, such as one made with mascarpone, and you'll need to work quickly. Plain whipped cream softens from the warmth of your hand inside the bag, so the colors run together and the edges blur. Color it with gel coloring only after whipping, and fold it in briefly so you don't overwhip the cream.
On a piped treat, the line between colors stays crisp until the frosting softens — usually until the next day if kept cool. With buttercream, the dividing line holds up well. However, a very intense color (red, black) can bleed slightly into white over time, especially with royal icing and in humid conditions. So mix dark colors with as little gel as possible, and decorate close to serving day if you can.
One recipe worth heating the oven for, one tip, and one deal from the shop. Nothing else.