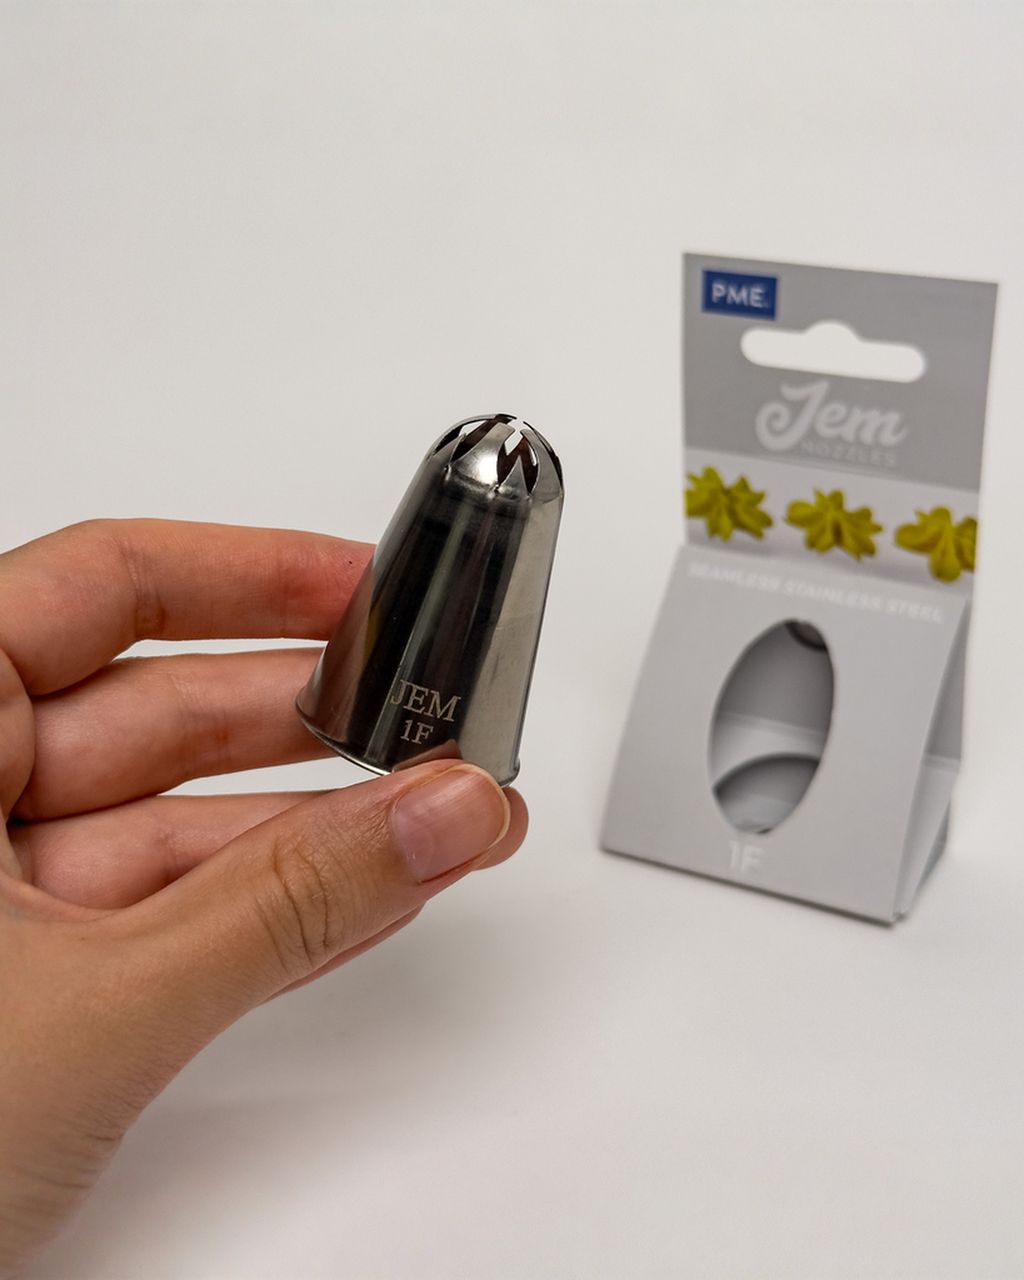
JEM Piping Tip – Drop Flower #2D (Full Flowers & Rosettes)
Cupcake Rosette: How to Pipe It and Which Tip to Use
Updated Oct 8, 2026
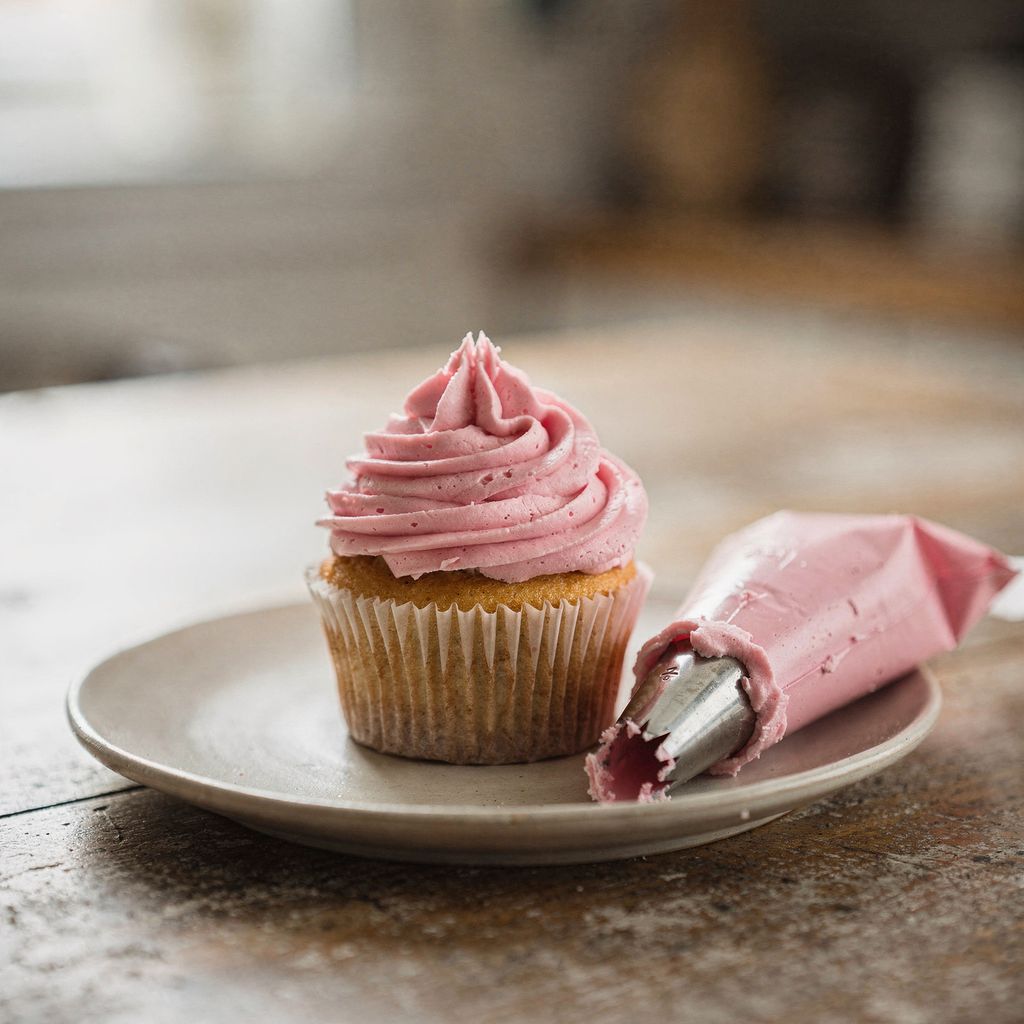
A cupcake rosette is one continuous spiral piped with a star tip from the centre out to the edge — hold the bag upright, squeeze with even pressure, then at the end ease off and pull the tip away along the rim. The whole thing takes just a few seconds. What makes or breaks it is the tip, how firm the cream is, and one rule beginners break more than any other: never lift the tip while the cream is still flowing.
For a rosette that covers the whole top of a cupcake, you need a large star tip with an opening of roughly 1.3–2 cm (½–¾ in). Three are used most often:
Closed star 2D (opening around 14 mm) — the points curl inward, so the cream forms deep, crisp ridges and the rosette looks like a real rose. The most forgiving choice for a first attempt.
Closed star 1F (opening around 19 mm) — bigger, with more points, making a fuller, "fluffier" rose that also covers a larger cupcake (top diameter around 6 cm/2.4 in).
Open star 1M (opening about 12.7 mm) — points stick straight out, giving a smoother, softer rosette with shallower ridges. It's probably the best-known cupcake tip of all; we don't sell it ourselves, but if you already have one at home, it works beautifully.
These opening sizes come from the manufacturers (PME for the JEM tips, Wilton for the 1M). A closed star (2D, 1F) is more forgiving: the deep ridges hide small inconsistencies in pressure. An open star shows up every hesitation, but gives a more elegant, polished look.
A small open star like the JEM #18 isn't big enough for a full-size rosette — it's meant for mini cupcakes, small rosettes around the edge of a cake, or little star shapes. On a regular cupcake you'd need three full turns with it, and the result ends up looking more like "spaghetti" than a rose.
For a rosette you need a cream that's firm enough to hold crisp ridges, yet soft enough to pipe without straining your hand. The most reliable options are buttercream (American or Swiss meringue) or mascarpone cream whipped until very stiff.
Temperature: the cream should sit around 18–20°C (64–68°F). Straight from the fridge it tears and cracks; above about 23°C (73°F) it goes runny and the ridges blur together.
Spoon test: scoop up some cream and turn the spoon upside down. It should hold a peak that doesn't droop.
No air bubbles: after whipping, stir the cream for a minute on low speed with a spatula — air bubbles create holes and "hiccups" in the piped rosette.
We go into detail on which buttercream holds its shape longest on cupcakes in our article Which cream keeps its shape on cupcakes. And if your buttercream turns out greasy, check out how to whip buttercream so it doesn't split.
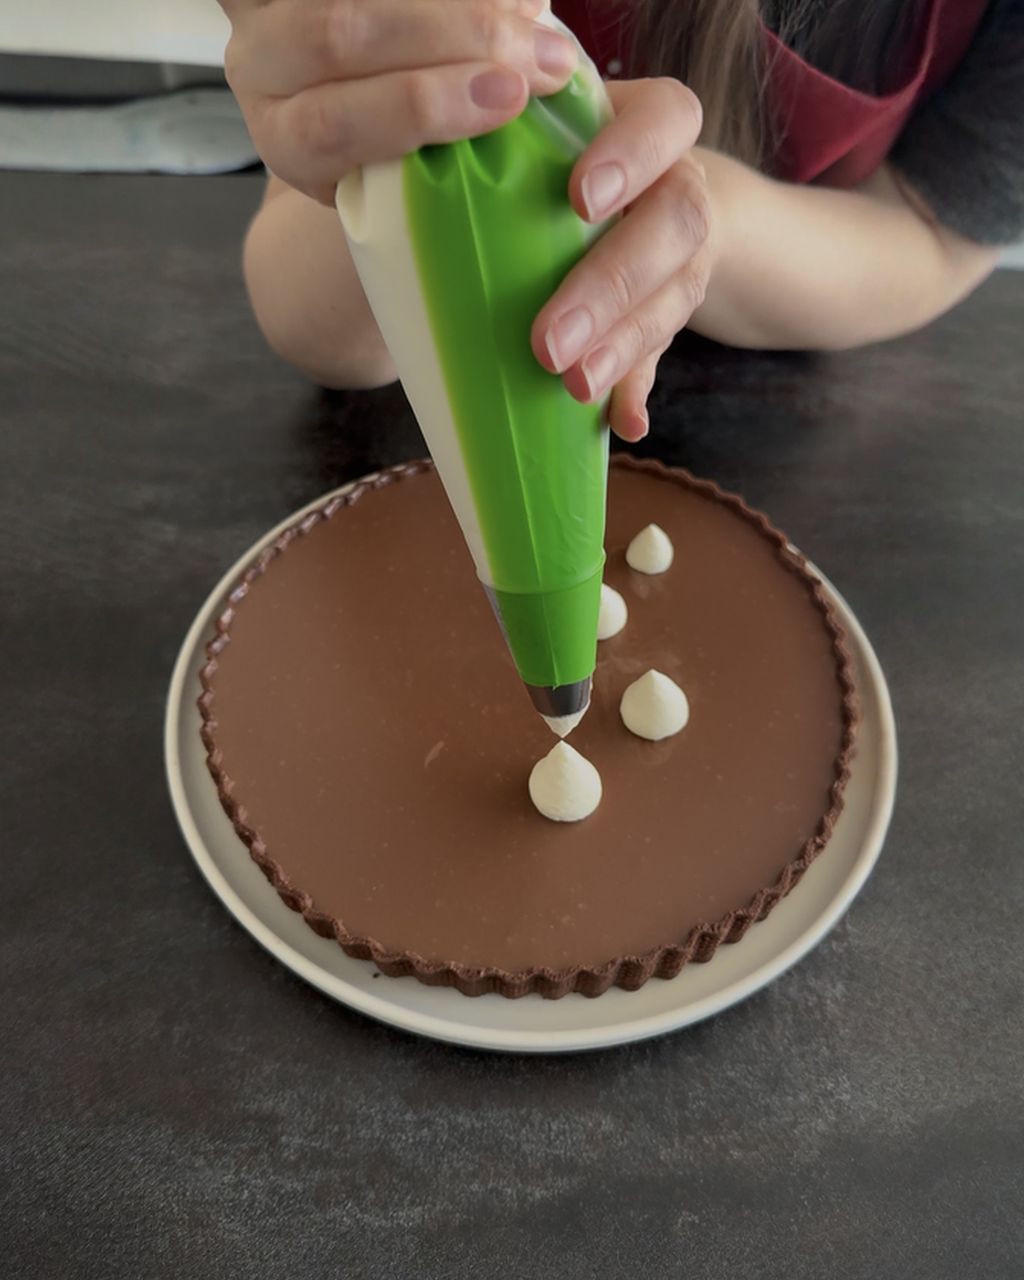
Fill the bag no more than two-thirds full — an overfilled bag spills around in your hand, the pressure becomes uneven, and cream pushes out the top.
Snip the tip of the bag so the piping tip sticks out about two-thirds of its length. Cut carefully and err on the side of too little — if you cut the opening too wide, the tip will fall through.
Insert the piping tip, then twist the bag just above it and tuck the twist into the tip. This keeps the cream from reaching the opening before you're ready to pipe.
Stand the bag in a tall glass and fold the top edge over the rim. That way you can fill it with both hands and keep everything clean.
Push the cream down toward the tip with a spatula or the back of your hand, press out any air, then twist the top of the bag closed. Hold the twist between your thumb and index finger — that hand does the squeezing, the other just guides.
For cupcakes, a piping bag around 35–40 cm (14–16 in) long is the most practical size: it holds enough cream for 10–12 rosettes and is still easy to control. Disposable bags don't need washing and won't pick up odours from the cream; fabric and silicone bags last for years but are tricky to degrease after buttercream. You'll find a comparison in our article Piping bags: disposable or reusable, and the full range of bags and tips in our piping bags and tips category.
Pipe the rosette in one continuous motion: start in the centre, swirl outward counter-clockwise, and finish at the edge.
Hold the bag vertically at a 90° angle to the cupcake, with the tip about 1 cm (½ in) above the surface. Don't let it touch the cake — the cream needs room to spread out.
Start right in the middle. Squeeze the bag and let the cream form a small star before you start moving. This anchors the whole centre of the rose.
Without easing off the pressure, swirl outward in one smooth spiral — for a 5–6 cm (2–2.4 in) cupcake, one and a quarter turns is enough. Each ring should just touch the one before it, with no gaps.
Once you reach the edge, release the pressure completely before pulling the tip away, following the direction of the spiral down and to the side. This hides the finish so you don't get a trailing "tail".
One rosette takes roughly 30–40 g of cream. Speed matters too: a slow motion with heavy pressure makes a thick, billowy rose, while a fast motion with light pressure makes it thin and flat. The goal is balance — steady, medium pressure and a motion where the cream is laid down, not stretched.
Most failed rosettes come down to one of six causes: the cream is too warm, the cream is too cold, there's no little star anchoring the centre, the bag is tilted, you lift the tip while still squeezing, or the cupcake is still warm.
Blurred, merged ridges — the cream is too warm or too soft. Pop the bag in the fridge for 10 minutes. Switching hands helps too, since the warmth of your palm will soften the cream in the bag within minutes.
Cream tears and cracks — it's too cold or too stiff. Knead the bag between your palms, or beat a spoonful of cream back in.
A hole remains in the centre — you started swirling before a star formed in the middle. Press first in one spot, then start moving.
The rose sits crooked — the bag is tilted. Check it from the side; it needs to stand perfectly upright.
A tail sticks out at the end — you're lifting the tip while still squeezing. Release the pressure first, then pull away.
The cream slides off the cake — the cupcake is still warm. Only decorate completely cooled cupcakes, ideally after an hour on a wire rack.
If a rosette doesn't work out, just scrape it back into the bowl with a knife and try again. You can also pipe a few "practice" roses onto a plate or baking paper first — the cream can be scraped up and reused.
A rosette looks best on a cupcake with a flat or only slightly domed top, baked just below the rim of the liner. A tall dome pushes the cream outward and the rose spreads out of shape.
Fill the liners only two-thirds full.
Bake at a slightly lower temperature (around 160–170°C/320–340°F fan) so the batter doesn't rise into a peak.
If the top still domes, level it off with a serrated knife — the rosette will cover it anyway.
For more tips, see our article Flat-top cupcakes: how to bake them for decorating. For a first attempt, try our chocolate cupcakes with caramel buttercream — a firm cream and dark cake that really sets off a rosette.
With the same tip you can create four variations: a tall swirl, a two-tone rosette, a ring of mini rosettes, and a cupcake bouquet. All that changes is where you start and how high you finish:
Tall swirl — start at the edge, swirl inward, and rise a little higher with each ring. Finish with a peak in the centre, like soft-serve ice cream. This uses roughly double the amount of cream.
Two-tone rosette — place two colours of cream side by side in the bag so each ridge shows both colours. See our guide Two-tone cream: how to fill a piping bag with two colours.
Ring of mini rosettes — using a small tip (#18), pipe a ring of tiny rosettes around the edge of the cupcake and fill the centre with fruit or sprinkles.
Cupcake bouquet — rosettes piped with a 2D or 1F tip, arranged close together, look just like a bouquet; see Cupcake bouquet: how to arrange and decorate it.
If you'd rather make a true rose with individual petals, that calls for a different technique using a petal tip (such as #104) and a flower nail — you'll find it in our article Buttercream roses on a flower nail.
For 12 classic rosettes, plan on roughly 400–500 g of finished cream — about 30–40 g per cupcake, plus a bit extra for practice rosettes. For a tall swirl, you'll need roughly double that, around 800 g–1 kg.
Buttercream holds its shape on a cupcake in the fridge for 1–2 days without losing its form. Store piped cupcakes in a sealed container in the fridge, and take them out about 30 minutes before serving so the cream softens up again.
Snipping a bag without a tip only gives you a smooth spiral, not a ridged rosette — the ridges come from the points of a star tip. In a pinch, you can snip a few notches into the tip of the bag, but the result will be uneven.
Whipped cream can work for a rosette, but it won't last long — the ridges flatten out within an hour, and it melts in warm conditions. If you want to use it, whip it with a stabiliser or a little mascarpone, pipe it just before serving, and keep the cupcakes chilled.
Colour rosette cream with gel food colouring, not liquid. Gel is concentrated, so a few drops are enough and it won't thin the cream, so the rosette keeps its shape. The colour also deepens a shade after an hour or two, so colour it a touch lighter than you want the final result.
One recipe worth heating the oven for, one tip, and one deal from the shop. Nothing else.