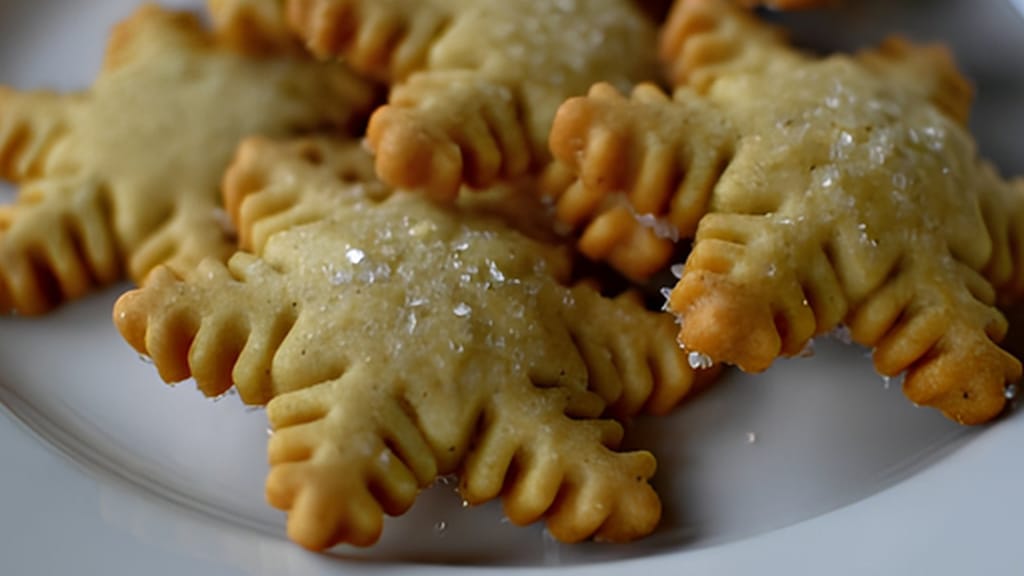
Sugar christmas cookies - delicate and crisp
Sprinkles on Christmas Cookies: How to Make Them Stick and Stop the Color Bleeding
Updated Nov 3, 2026
Sprinkles only stick to a damp surface, and that same moisture pulls the color out of them and into your icing. So the whole trick is timing: sprinkle onto icing that's still tacky but no longer runny (roughly a minute after you spread it), then leave the cookies completely undisturbed until the icing is fully dry. The rest is choosing the right type. Sanding sugar crystals and rod sprinkles survive almost anything, while tiny nonpareils can bleed within a few hours.
Sprinkles won't stay put on a dry surface and bleed on a wet one, and water is to blame for both. They only stick to something damp, but in that dampness they also start to dissolve, and the dye on their surface goes with them.
They won't stick when the surface is dry, set or greasy. A baked cookie, dried icing or cooled chocolate has nothing left to grab onto, so the sprinkles slide off the first time you move the cookies into a tin.
They bleed when they sit on a wet surface for too long. The dyes in the sugar coating are water-soluble, so the moisture in the icing pulls them out and spreads them into colored dots and streaks.
Royal icing (the egg-white kind) is the worst offender. It's water-based and, according to pastry cooks' experience, it soaks up color much faster than buttery frostings or chocolate. That's why the same sprinkles still look good after two days on buttercream, while on a gingerbread cookie they turn into a smeared rainbow by morning.
Which gives us a simple rule: the less water in your glue and the shorter the time it stays wet, the longer the color lasts.
Seasonal baking plans, tested recipes and kitchen tricks that save you time. Unsubscribe in one click.
From most durable to most delicate: sanding sugar crystals, rod sprinkles, sugar pearls and dragées, shapes and confetti, and finally tiny nonpareils. The bigger the grain and the less dye it carries for its volume, the better the sprinkles hold their shape and shade.
Sanding sugar (sugar crystals) — the most durable of all. The grains are large, so they carry little dye for their volume and dissolve slowly, which means the color doesn't run as fast as it does from nonpareils. They can handle the oven and wet icing. They won't give you a deep color, but they do give you sparkle and a crunchy texture that lasts for weeks.
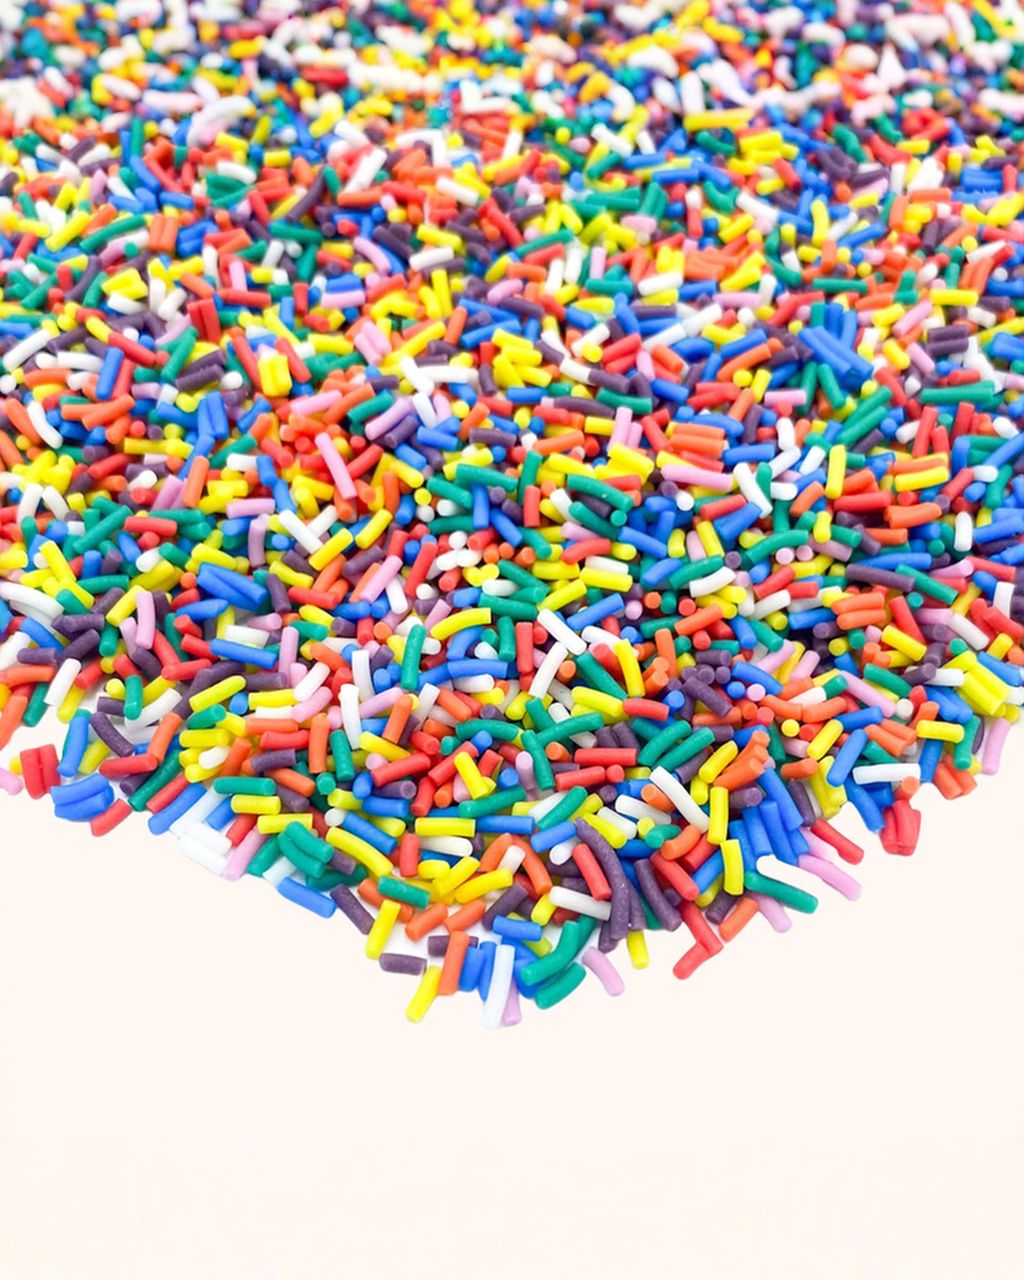
Rod sprinkles (jimmies) — the best balance of color and durability. Their surface is often sealed with a glazing agent such as shellac (E904) or carnauba wax (E903), which acts as a water-repellent layer; you can tell whether yours have it from the ingredients list. They last noticeably longer on icing than nonpareils do. In the oven, though, they bend and soften. Colored rods often contain azo dyes, for example our Rainbow Sprinkle Sticks with E102 and E129, and then they carry a warning that they may have an adverse effect on activity and attention in children.
Sugar pearls and dragées — hard and shiny. White pearls and hard dragées practically never bleed, while colored pearls do, only more slowly than nonpareils. They work best as a final detail, not an all-over topping. They're hard to bite, so take care with young children and dental fillings.
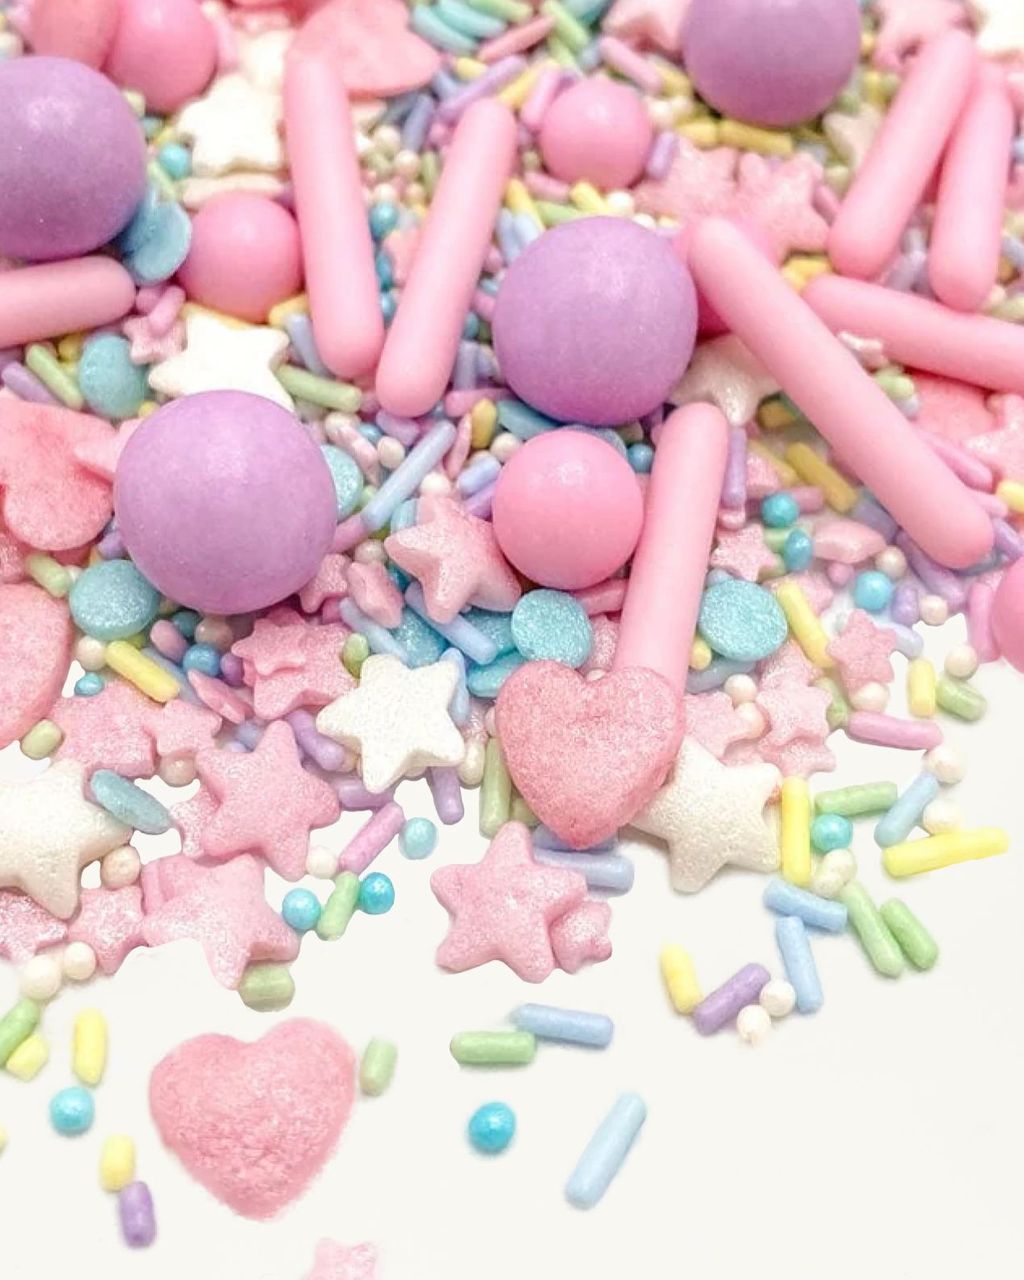
Shapes, confetti, flakes and candy eyes — flat pressed sugar, often printed. They hold their color reasonably well, but they bleed in the oven and warp on very wet icing. Place them on icing that has just begun to set.
Tiny nonpareils — the prettiest and the most problematic. They have the highest ratio of dye to volume and a paper-thin shell, so they bleed faster than anything else, easily within an hour on wet royal icing. Use them only on cookies that will be eaten by the next day.
Before baking, only sprinkle on what can take 150–180 °C (300–350 °F), which in practice means sanding sugar. Everything else goes on after baking, into a layer of icing, chocolate or jam.
Only sanding sugar can go into the oven without reservations. The large grains won't melt at 150–180 °C (300–350 °F) and they keep their color. Brush the cut-out shapes with beaten egg white, or a whole egg with a spoonful of water, scatter on the crystals and press them in lightly with your palm. The sugar stays crunchy even after twenty minutes in the oven.
Rod sprinkles can take the heat, but they soften and lose their sharp shape, so save them for decorating after baking. Don't put nonpareils or shapes in the oven at all: nonpareils lose their color and bleed into the dough, and pressed shapes warp, which gives you exactly the colored lines and smears that make people curse sprinkles. And because Christmas cookies are baked at a lower temperature precisely so they stay pale, bleeding sprinkles will ruin the look twice over.
After spreading the icing, wait about a minute. Any sooner and the sprinkles sink and drown; any later and they won't stick. If you want to cover the whole surface, give the icing 3–5 minutes to firm up a little so it can carry a layer of sugar.
According to pastry sources, royal icing starts to form a skin in 15–30 minutes, is firm in roughly two hours and fully dry in 12–24 hours, or longer if the layer is thick. That's why you need to sprinkle one cookie at a time: ice one gingerbread cookie, sprinkle, set aside, then the next. If you ice the whole tray first and only then reach for the bag, half of your cookies will end up bare.
One practical tip: sprinkle over a bowl or a sheet of baking paper and pour the excess back into the bag. You'll save a good part of the pack.
Sugar christmas cookies - delicate and crisp
Sugar Christmas cookies — a sturdy dough that handles sprinkles before baking with no trouble
Six things work: beaten egg white, royal icing, a simple glaze of powdered sugar and water, melted chocolate, warmed jam and honey thinned with water. Choose based on whether you're sprinkling before or after baking, and whether your sprinkles are prone to bleeding.
Beaten egg white, or egg with a spoonful of water — the only glue that can go in the oven. Brush it on thinly, sprinkle and press down. After baking it holds like concrete.
Royal icing — the strongest bond after baking. It dries hard and locks the sprinkles in place. It's also the glue that pulls the most color, so pair it with sanding sugar and rods, not nonpareils.
Sugar glaze (powdered sugar + water or lemon juice) — thinner and quicker than royal icing, and with less water it bleeds less. It holds better than you'd expect, but it won't survive a damp pantry.
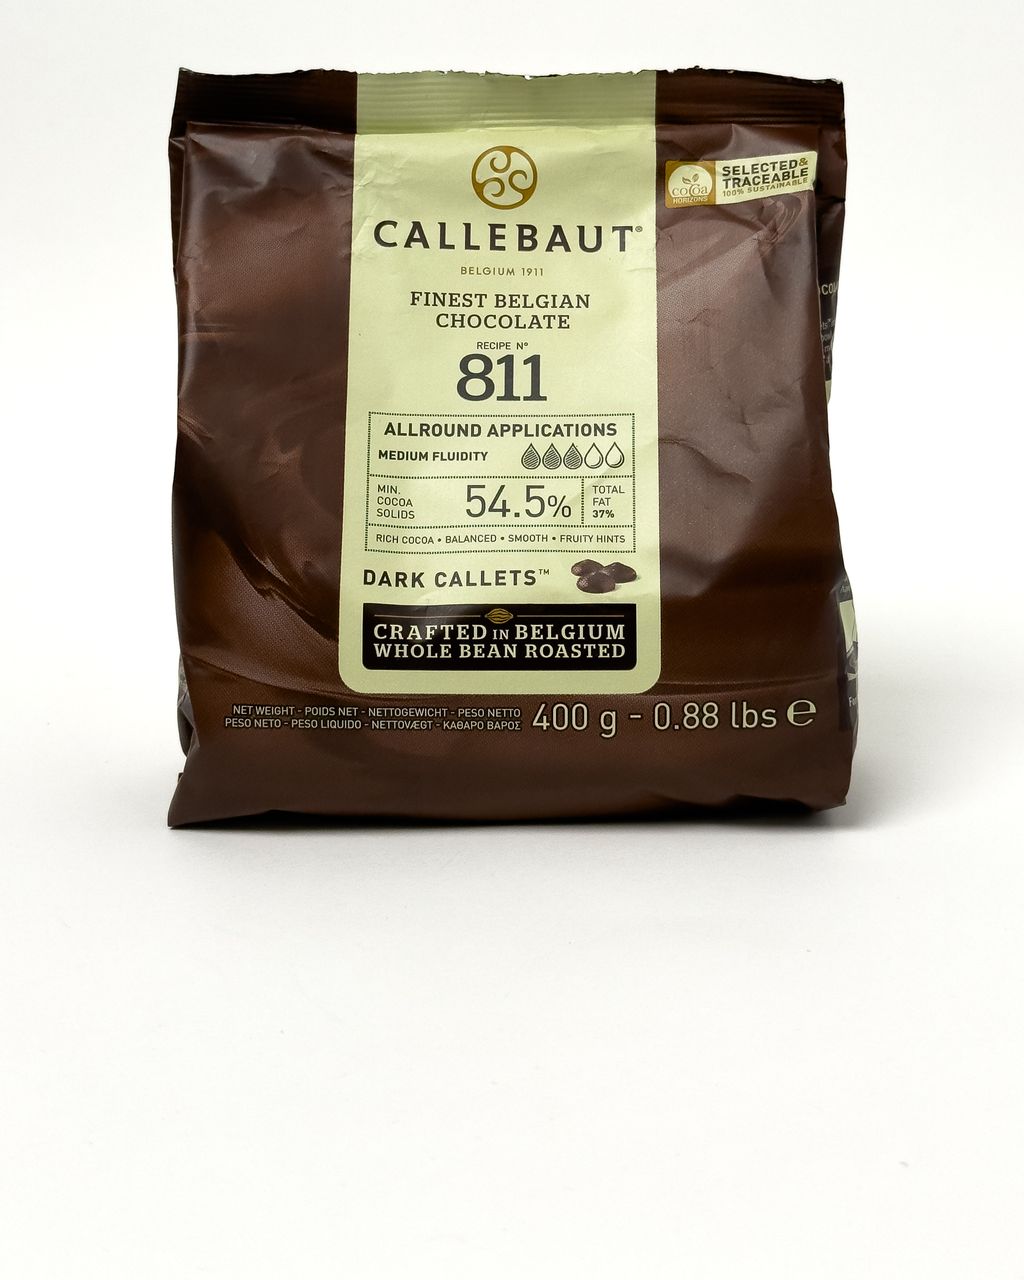
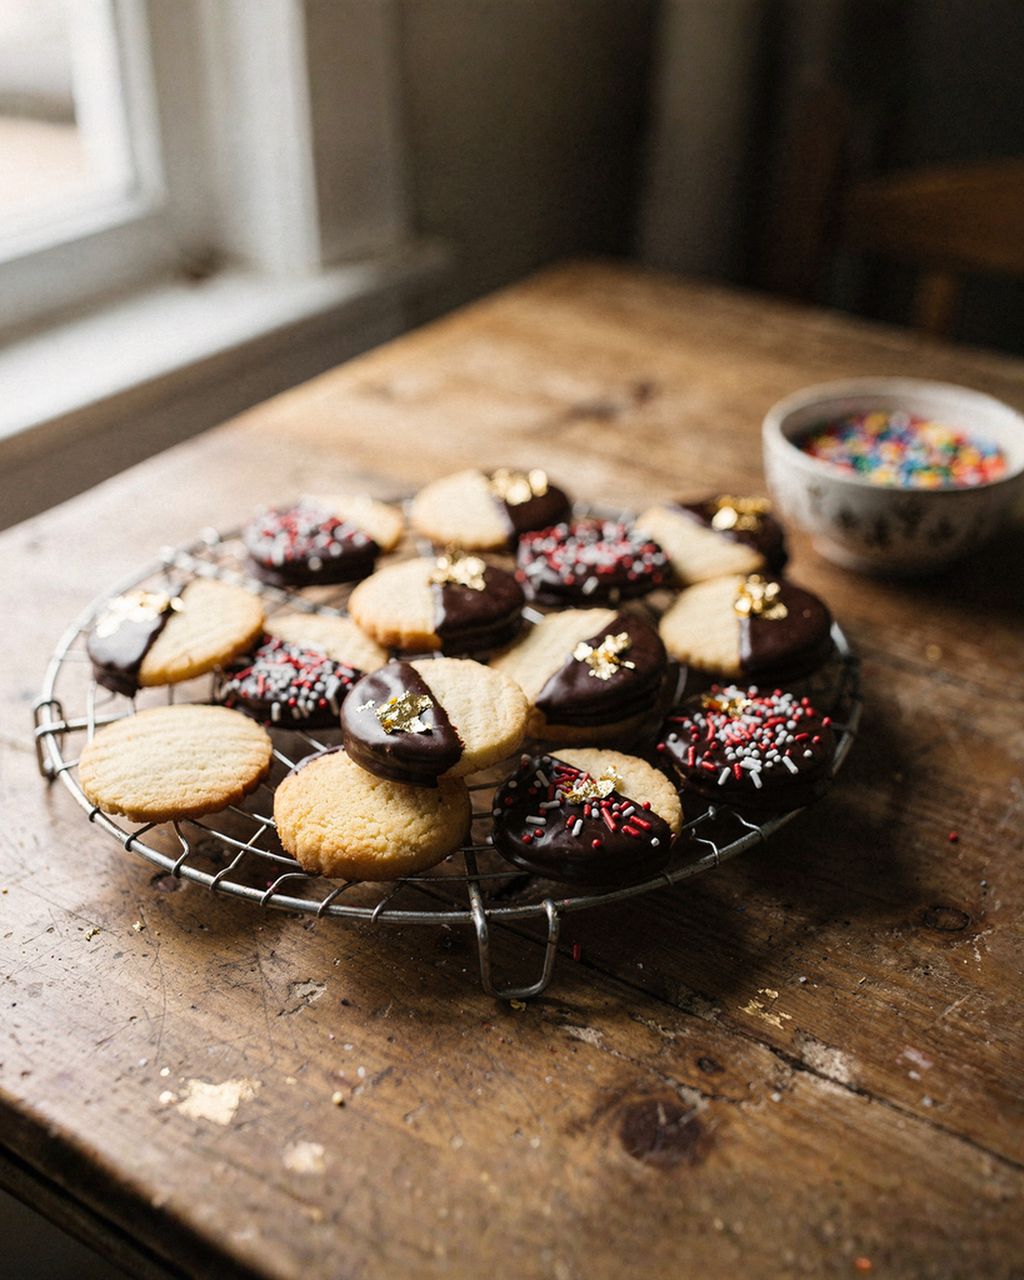
Melted chocolate — the best choice for delicate sprinkles. It contains no water, so it almost never draws out the color. Dip the edge of the cookie, sprinkle and let it set at room temperature.
Warmed, strained jam — sticks reliably and is a classic on Linzer cookies, but it's watery. Use only sanding sugar on it, never nonpareils.
Honey or syrup thinned 1:1 with water — an emergency option when you don't want to make icing. Brush it on very thinly. It stays tacky, so don't stack the decorated cookies.
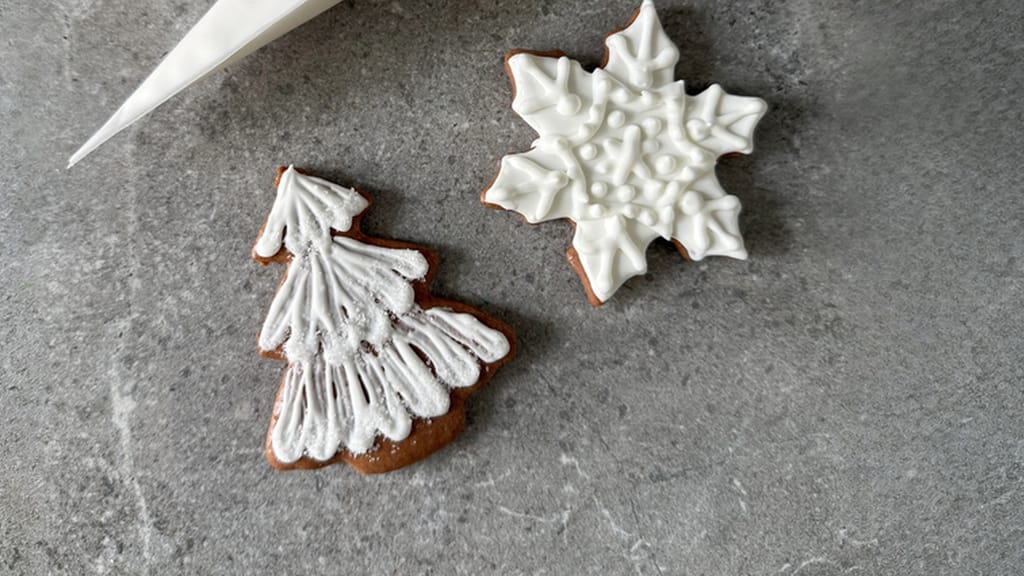
Royal icing for cookies: the perfect base for decorating
Royal icing on Christmas cookies — the most reliable glue for sprinkles
To keep sprinkles from bleeding, choose a durable type (crystals, rods), sprinkle onto a water-free glue, and let the icing dry for 12–24 hours before you close the cookies in a tin. Eight rules decide it: a durable type of sprinkle, a water-free glue, 12–24 hours of drying, no pressing the grains into the icing, room humidity of 40–60%, contrasting colors, nonpareils only at the last minute, and no fridge.
Choose a durable type. Crystals and rods for long storage, nonpareils only for cookies that will be eaten quickly.
Sprinkle onto a water-free glue whenever you can. Chocolate won't draw out the color; royal icing will.
Let the icing dry for 12–24 hours in the open on a wire rack before you close the cookies in a tin. Trapped moisture is the most common cause of bleeding.
Don't press sprinkles into the icing with your finger. Just lay them on and tap them lightly with the back of a spoon. Pressed-in sprinkles are surrounded by wet icing on all sides and bleed sooner.
Watch the humidity in the room. The ideal is 40–60%; at higher humidity the icing dries more slowly and the color has more time to run. Don't leave cookies to dry in a kitchen where you're cooking.
Don't combine dark sprinkles with white icing unless they only need to last a day or two. Red, dark blue and black bleed the most intensely, and it shows most on white.
Decorate with nonpareils just before serving. They look lovely for a few hours, but not until Christmas.
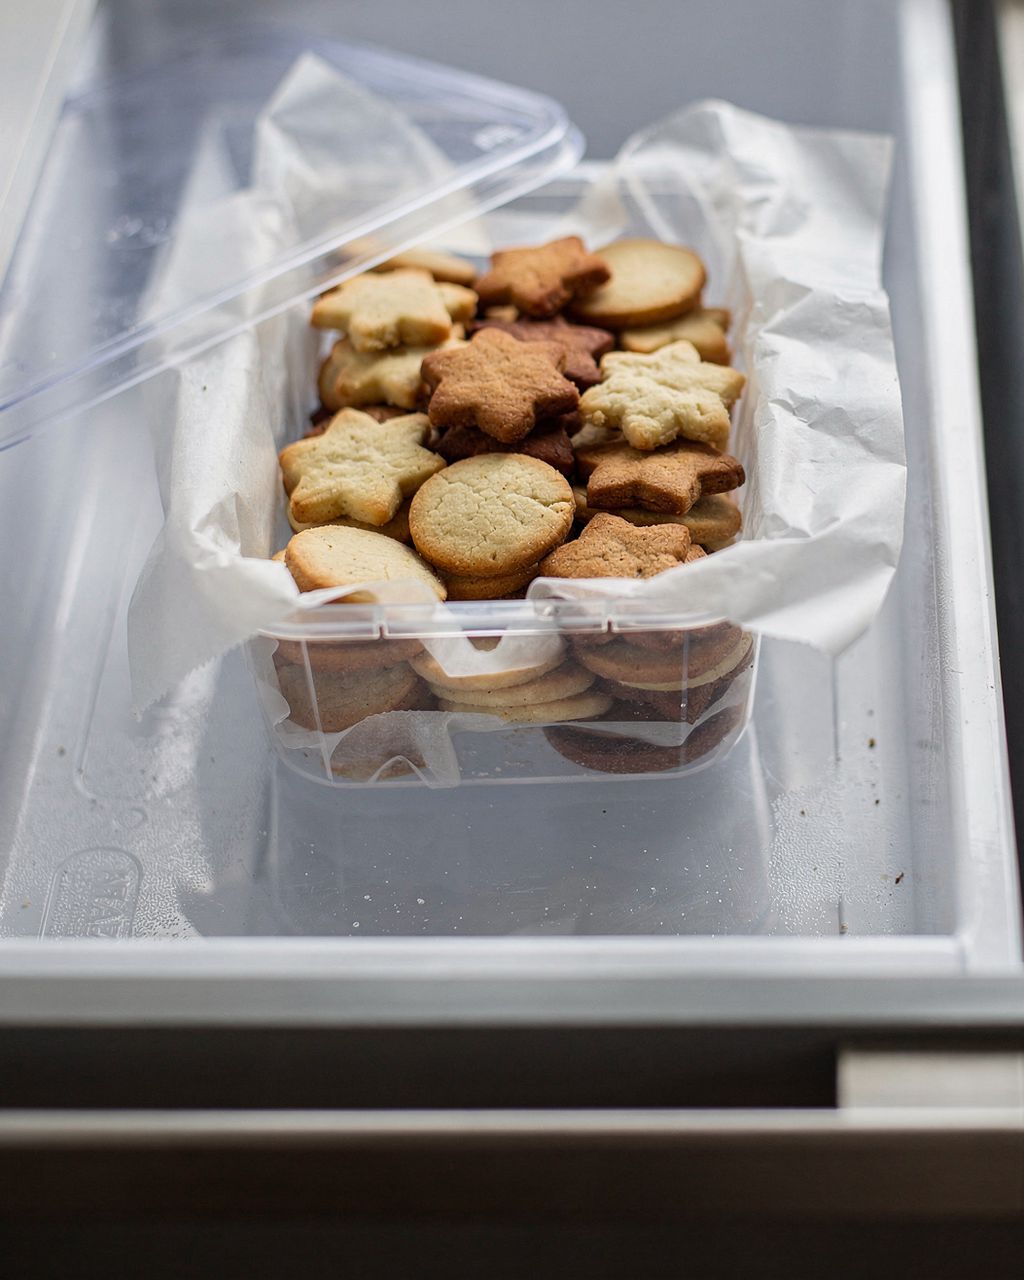
Don't store decorated cookies in the fridge. Condensation on the cold surface dissolves the color across the whole surface at once.
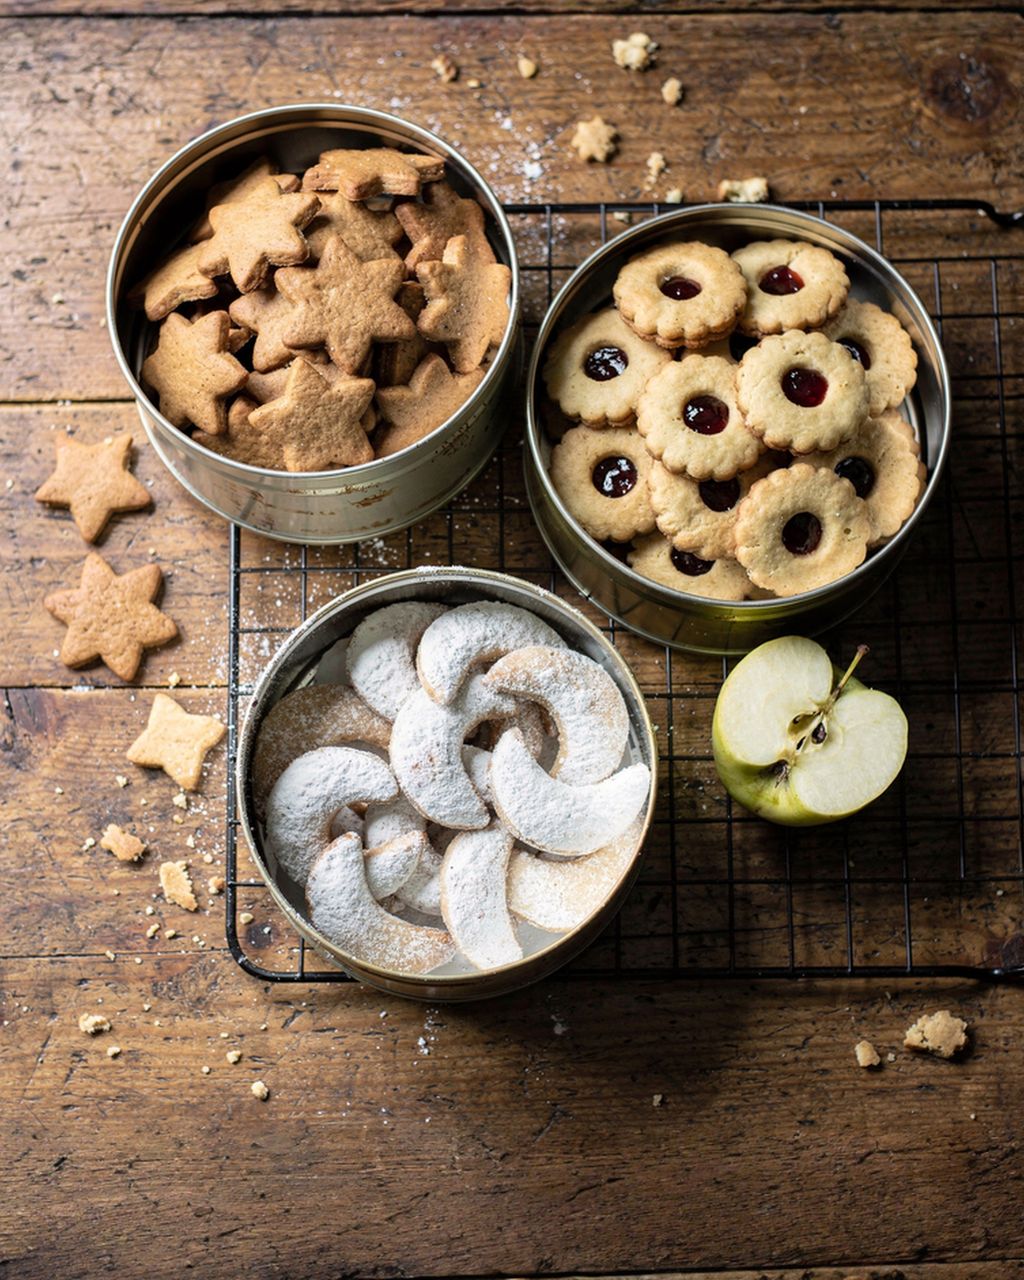
Gingerbread and Linzer cookies call for durable crystals and rods, chocolate cookies and wasp's nests (vosí hnízda) can take even tiny nonpareils, and vanilla crescents shouldn't get sprinkles at all. The surface you're sprinkling onto matters more than the sprinkles themselves.
Gingerbread cookies. Royal icing, sprinkled one cookie at a time. Keep in mind that gingerbread softens over time and releases moisture into the icing from underneath, so sprinkles bleed even sooner. For soft honey gingerbread, use crystals and rods; we cover separately why gingerbread goes hard and how to keep it soft.
Linzer cookies. The jam in the middle and the powdered sugar around it don't need more sprinkles. If you want color, dip the edge of a classic tender Linzer cookie in chocolate and sprinkle into it; the dough is buttery and dry, so it does nothing to the color. If yours crumble or turn hard, start with why Linzer cookies go hard and how to make them tender.
Sugar cookies and butter cookies. The ideal base: firm enough to carry sprinkles before baking, and pale enough for the color to stand out.
Chocolate cookies and wasp's nests. A water-free surface, so the sprinkles stay put and practically never bleed. Feel free to use tiny nonpareils here, for example on white chocolate wasp's nests.
Vanilla crescents and other rolled cookies. Sprinkles don't belong here. Vanilla crescents are perfectly happy with vanilla powdered sugar, and colored grains on them look like a mistake.
Red sprinkles bleed the most intensely, and it shows most on white icing. For Christmas cookies that need to last until the holidays, sprinkle red onto a water-free base (chocolate), or apply it as a dry shimmer powder onto completely dry icing.
Red rods in chocolate. Dip the edge of the cookie in chocolate and sprinkle into it. Chocolate doesn't draw out the color.
On white icing, stick to white and gold. White pearls, crystals and pale sprinkles won't bleed on white icing.
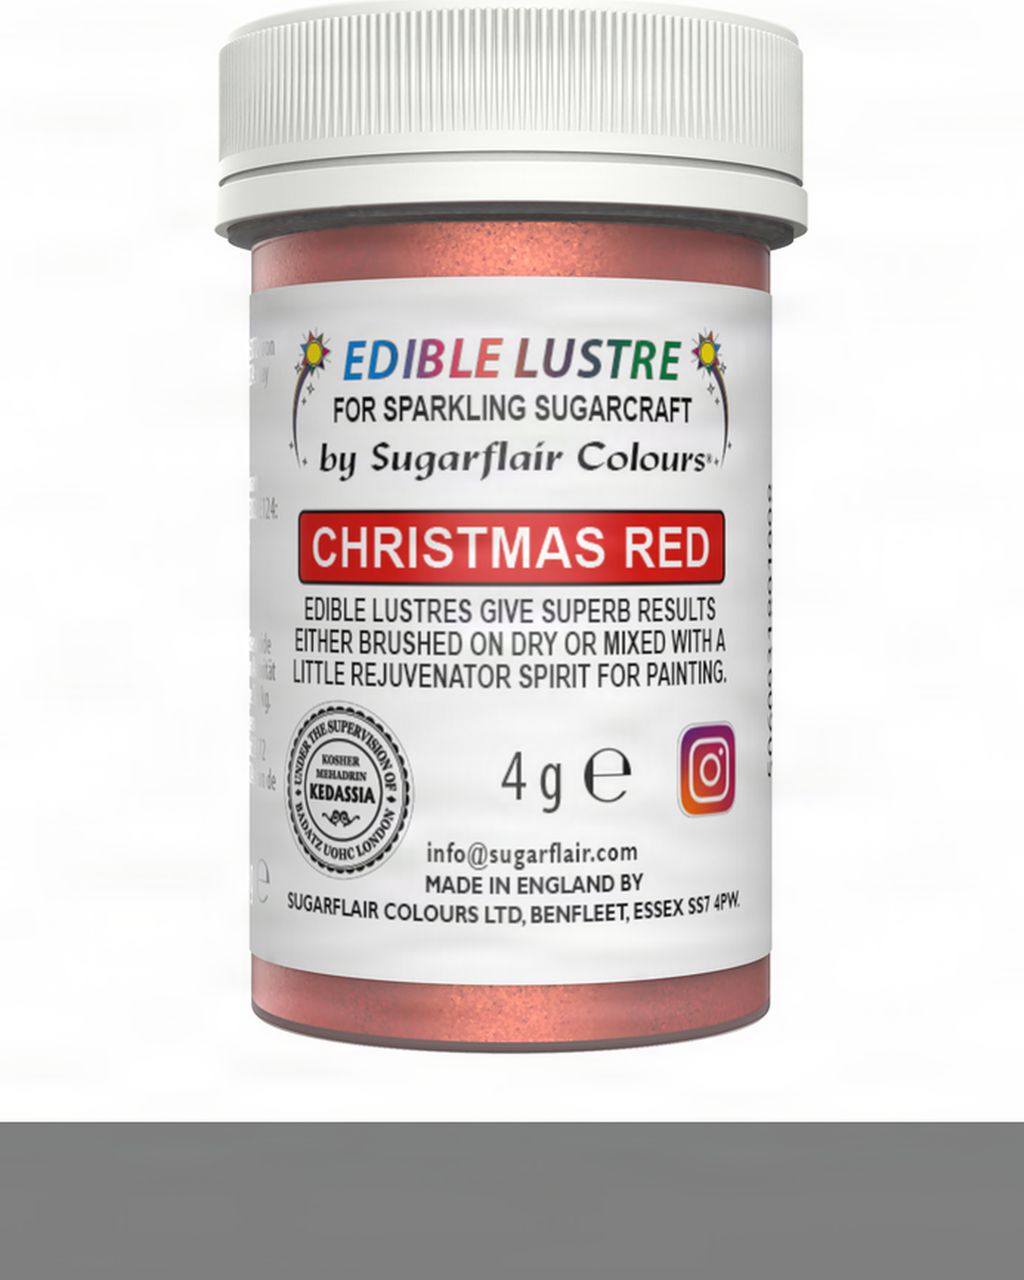
Red shimmer at the very end. Edible shimmer powder in Christmas red is applied with a dry brush to a finished, dry surface: set chocolate, marzipan or dried icing. Nothing gets thinned, so nothing bleeds. Dose according to the package, at most 1 g per 1 kg; it contains the dyes E102 and E124, which may have an adverse effect on activity and attention in children.
For more ideas on decorating Christmas cookies, from icings to edible gold, see our article on how to decorate Christmas cookies.
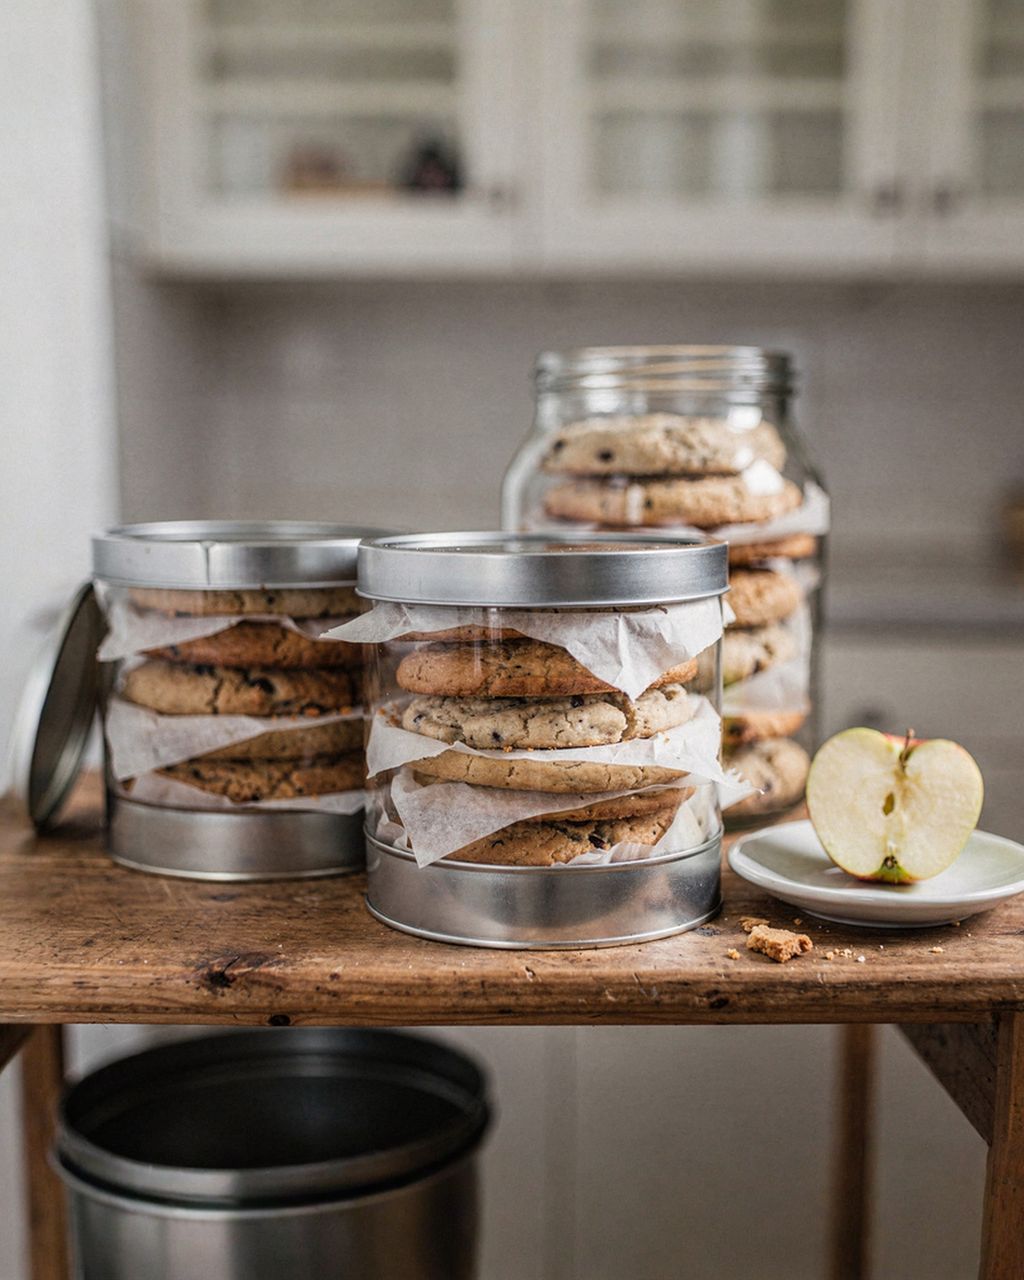
Leave decorated cookies to dry in the open on a rack for 12–24 hours, and only then layer them in a metal tin with baking paper between the layers. Don't stack more than three layers; the bottom layer will leave an imprint in the icing.
A dry pantry, 15–18 °C (59–64 °F). Not the fridge, not a windowsill above a radiator, not a cupboard next to the stove.
Don't mix decorated cookies with soft ones. Gingerbread and honey cookies release moisture and, in the same tin, pass it on to the icing of their neighbors.
Decorate as late as possible. Baking ahead is fine, decorating ahead isn't. For what to bake when, see our Christmas cookie calendar.
The remaining rules on tins, layering and humidity are in our article on storing Christmas cookies.
You can make your own sprinkles from stiff royal icing in a single evening: pipe thin lines, dots or small shapes onto baking paper, let them dry for 24 hours, then break the lines into pieces.
The advantage isn't durability. Homemade sprinkles are also sugar with a water-soluble dye, and they behave much the same on wet icing. The advantage is that you control how intense the color is. If you choose a paler shade, any bleeding simply doesn't show. And you can make shapes you'll never find in a store-bought bag.
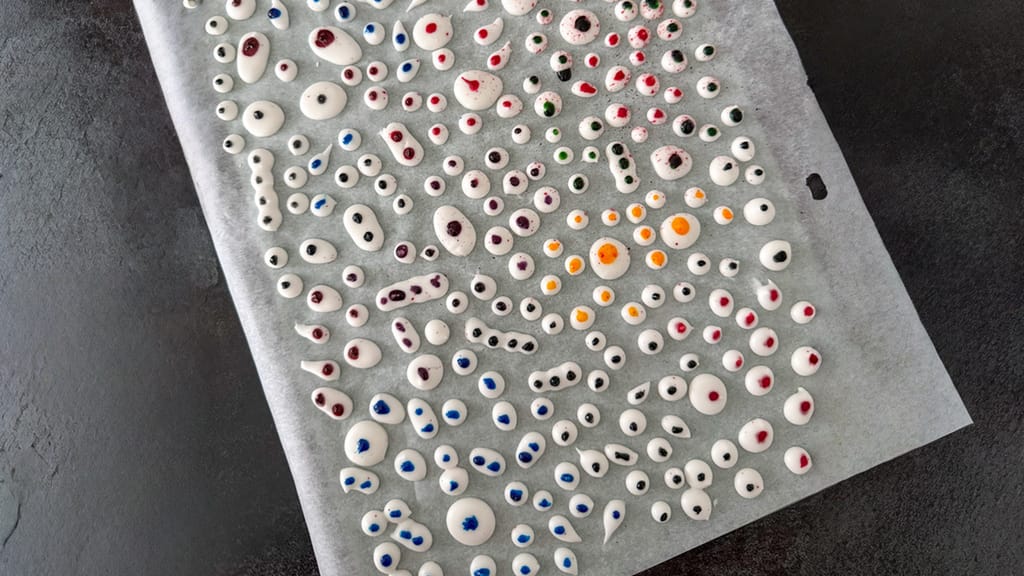
Homemade sugar eyes for decorating desserts
Homemade sugar eyes for decorating desserts — your own sprinkles made from royal icing
Sprinkles most often fail for three reasons: sugar sprinkled too late onto dried icing, decorating the whole tray at once, and closing the cookies in a tin before the icing has dried. The other mistakes are listed below.
You sprinkle onto icing that has already dried. Nothing will stick. The window is about one to five minutes.
You ice the whole tray and only then sprinkle. Decorate one cookie at a time.
You close the cookies in a tin before the icing has dried. The fastest way to ruin the decoration.
You put nonpareils on white icing and expect them to last until Christmas. They won't. Switch to rods.
You press the sprinkles into the icing with your finger. A pressed-in grain is surrounded by water and bleeds sooner.
You sprinkle nonpareils on jam and crystals on chocolate. Delicate sprinkles belong on a water-free base; durable ones can handle a wet one.
You leave the bag open in the kitchen. The sugar absorbs moisture, clumps together and the color goes dull before it even reaches the cookies.
Sprinkles last until the best-before date on the package, even once opened, as long as you transfer them to an airtight container or seal the bag well. They're mostly sugar, so moisture is their biggest enemy: they absorb it, clump together and the color goes dull. Store them somewhere dry and dark at room temperature, never in the fridge and never above the stove.
Not always. It depends on the surface finish. The base is sugar, starch and vegetable fat, but the glossy coating on rod sprinkles and pearls is often sealed with food-grade shellac (E904), a resin of insect origin. Carnauba wax (E903), on the other hand, is plant-based. If this matters to you, look for E904 on the label, and also E120 (cochineal), a red dye made from insects. For allergens, also check the ingredients for milk, wheat flour or semolina, which some sprinkles contain.
For a tray of about thirty cookies, plan on 2–3 tablespoons if you're only decorating the centers or edges, and 6–8 tablespoons if you're covering the whole surface. In practice you'll use noticeably less, because you sprinkle over a bowl and return the excess to the bag.
While the icing is still wet, yes: scrape the sprinkles off with a knife and wipe away the icing with a damp brush, then apply fresh icing. Once the icing has set, you can't pick the sprinkles out without breaking off a piece of the icing. The only fix is to paint a new layer over the whole surface and start again.
They've gone dull because of moisture. The thin sugar layer on the surface absorbed water from the air or from the icing, and its shine dissolved. The most common cause is closing the cookies in a tin before the icing was completely dry, or storing them in a kitchen where you cook. You can't bring the shine back, but you can save the next batch by leaving the decorated cookies to air-dry for 12–24 hours.
One recipe worth heating the oven for, one tip, and one deal from the shop. Nothing else.