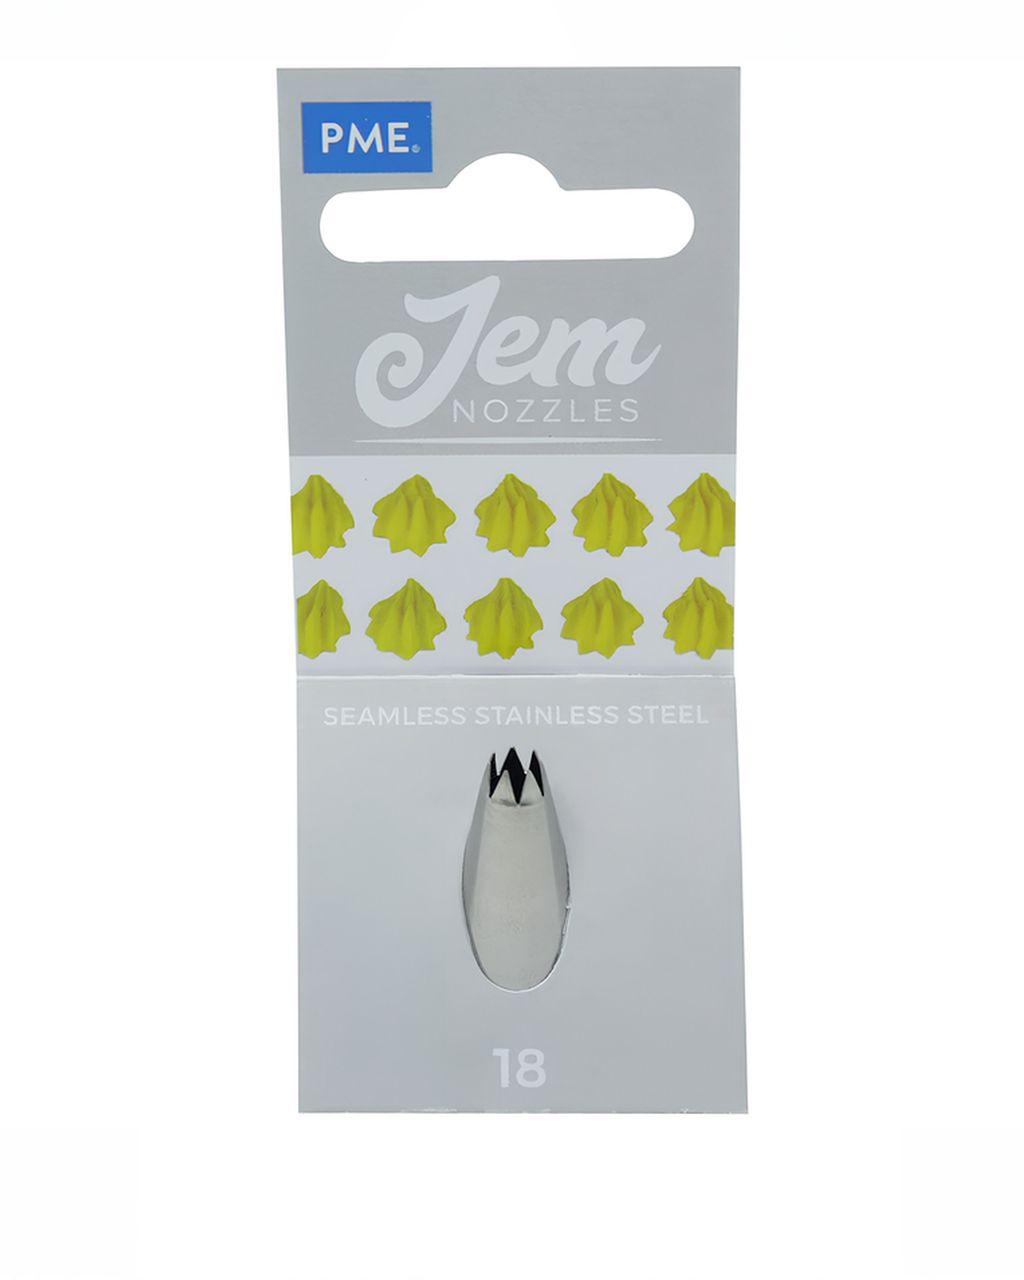
JEM Piping Tip – Open Star #18
Cake Borders: Shell, Bead and Rope Piping — Which Tip to Use for Each
Updated Oct 15, 2026
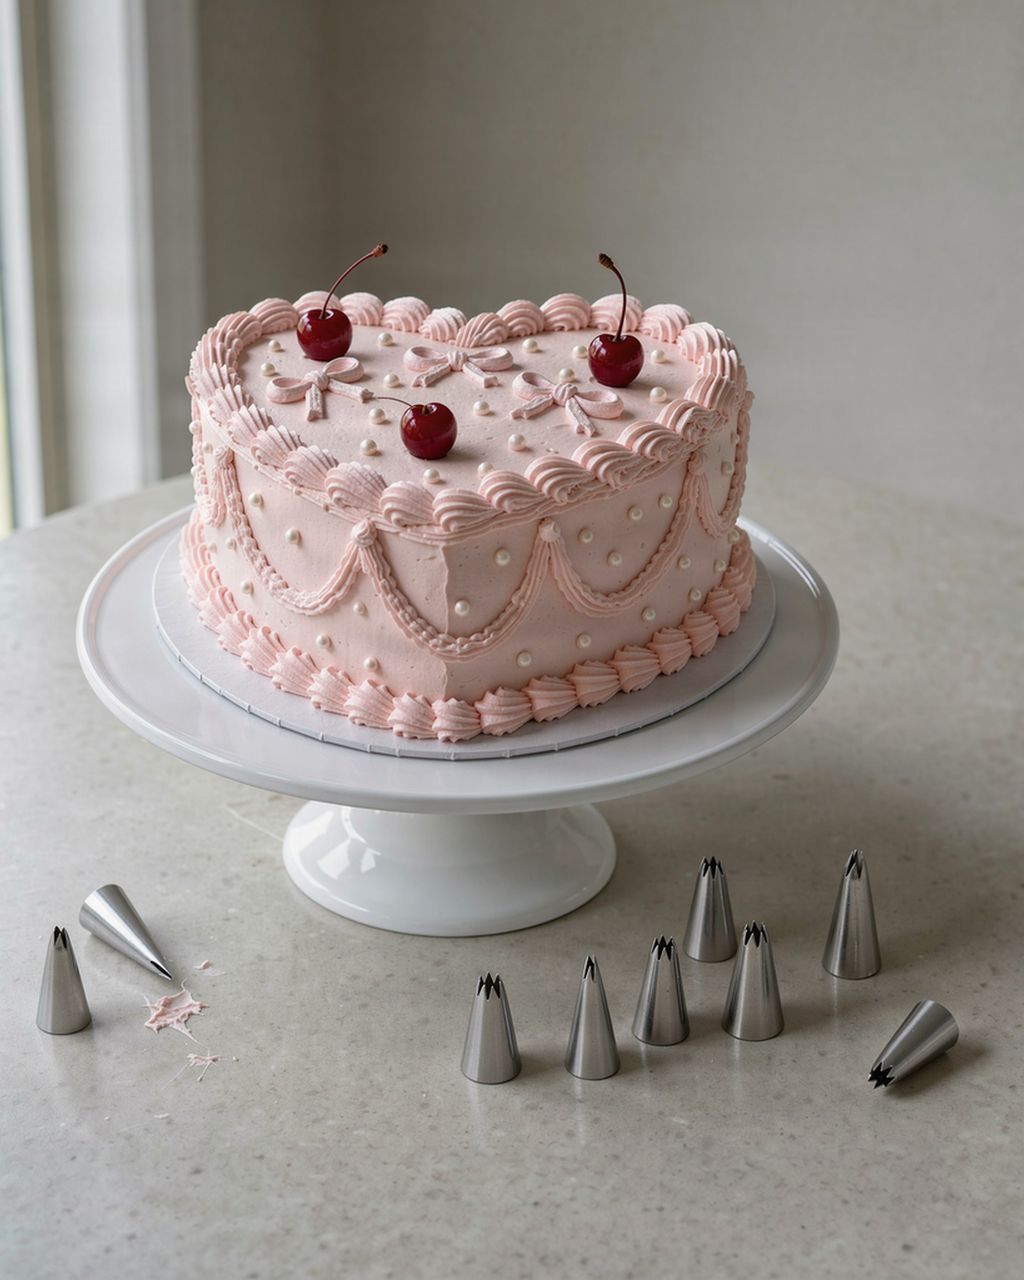
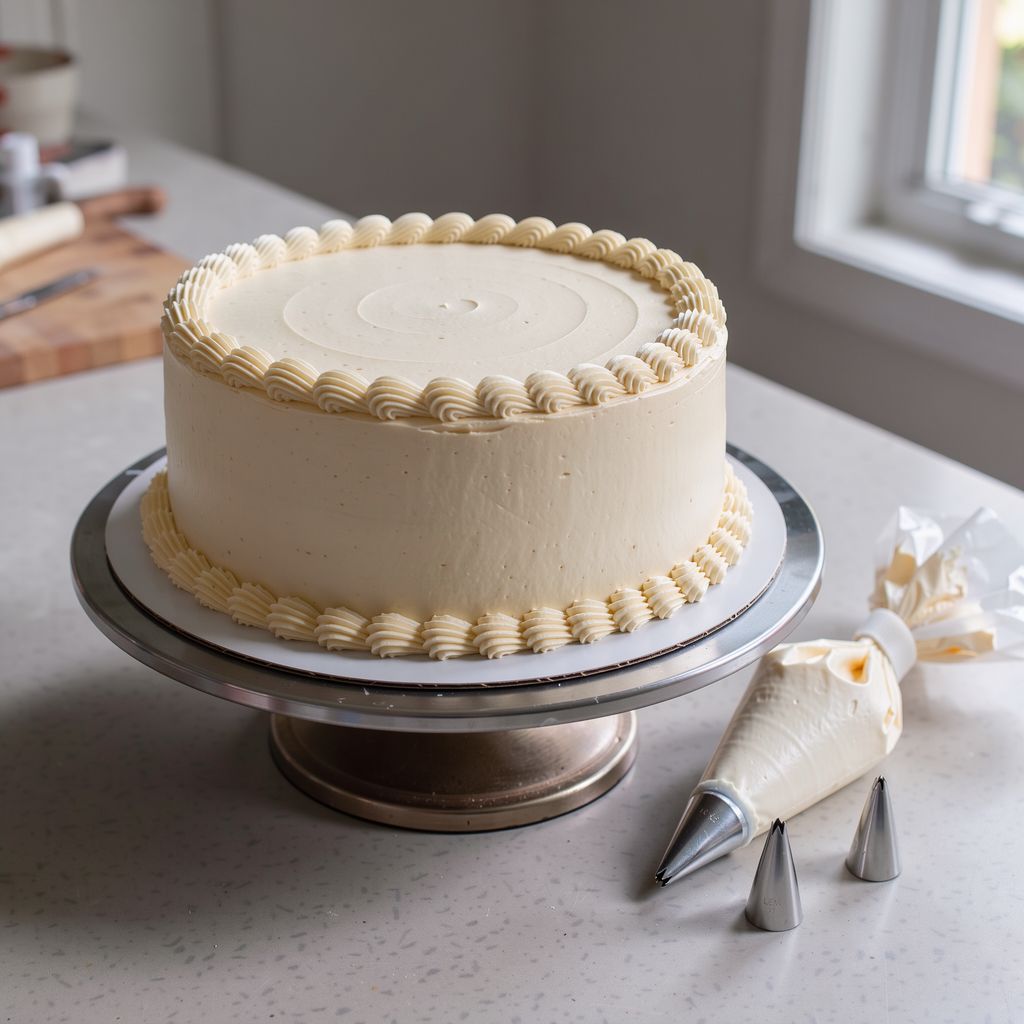
There are three classic cake borders: shells piped with an open star tip, beads piped with a round tip, and rope piped with a star tip in slanted strokes. A border hides the uneven seam where the side meets the top, tidies the bottom edge of the cake where it meets the board, and in ten minutes turns a simply frosted cake into a finished one. Here you'll find which tip to use for each border, which frostings hold their shape, and how to hold the piping bag so every shell looks like the one before.
The short answer: pipe shells and rope with an open star tip, and beads with a round tip. You then choose the tip size according to the size of the cake.
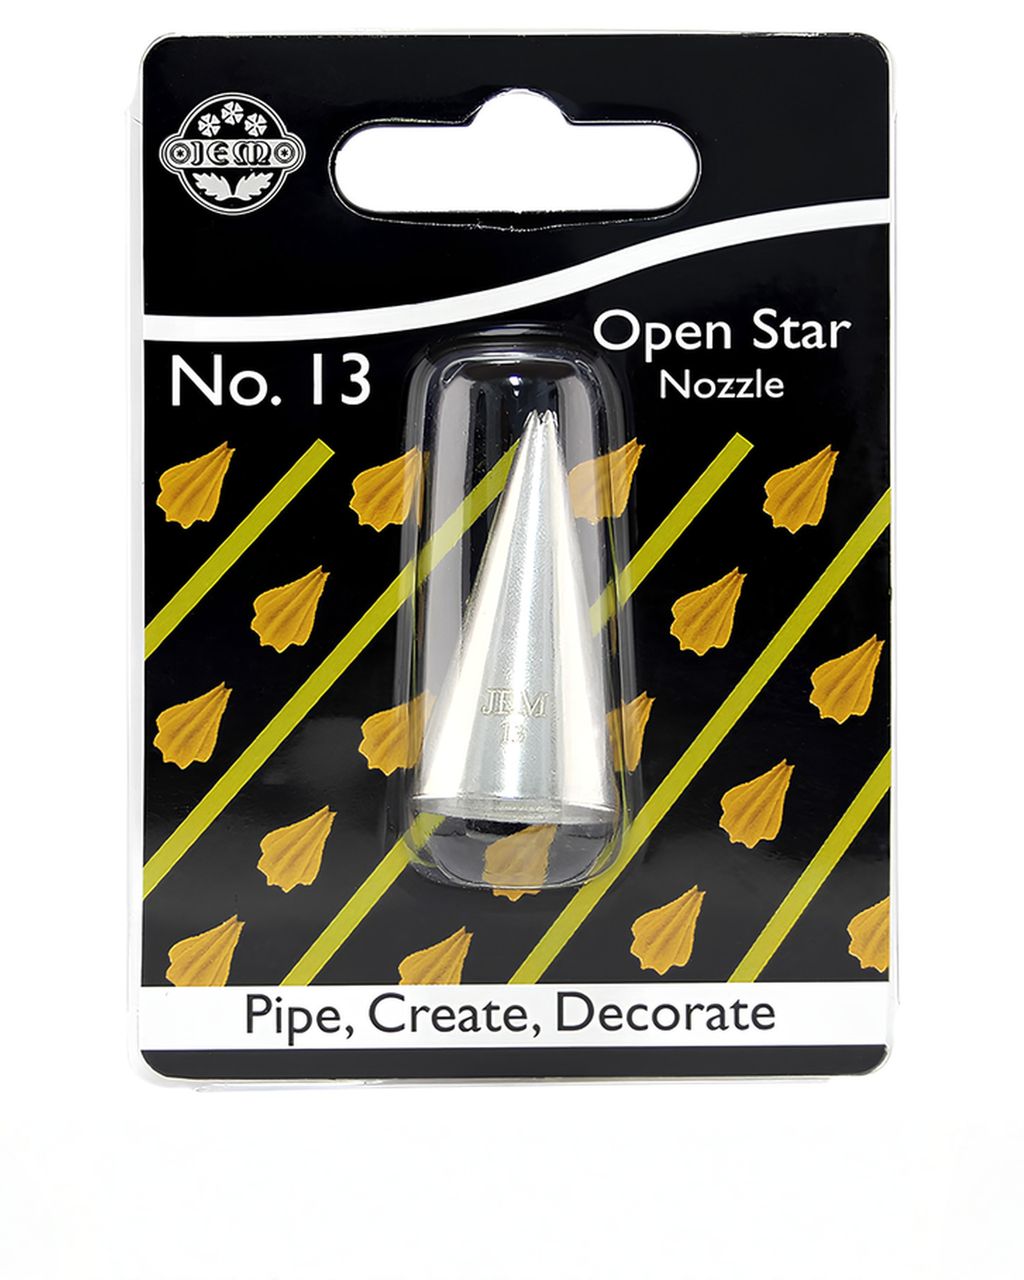
Shells (shell border) – open star tip. For the bottom border of a cake 18–24 cm (7–9½ in) in diameter, use a medium JEM open star #18; for the top border, small cakes and cupcakes, use the finer JEM open star #13.
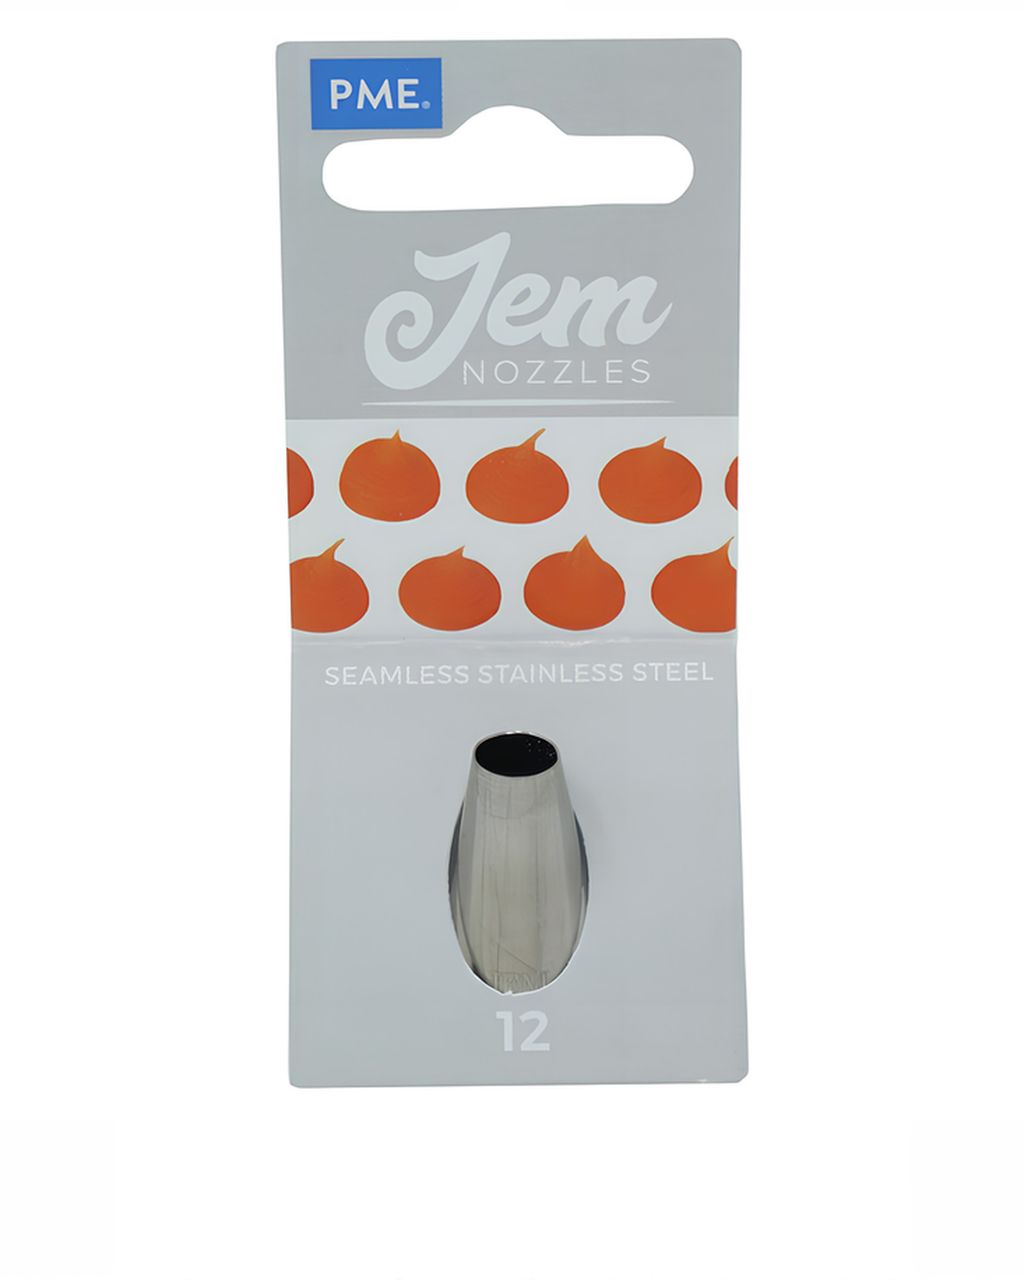
Beads (bead border) – round tip. The JEM round #12 makes pea-sized pearls – just right for the bottom border of a standard cake.
Rope (rope border) – open star #13 or #18, depending on how thick you want the rope.
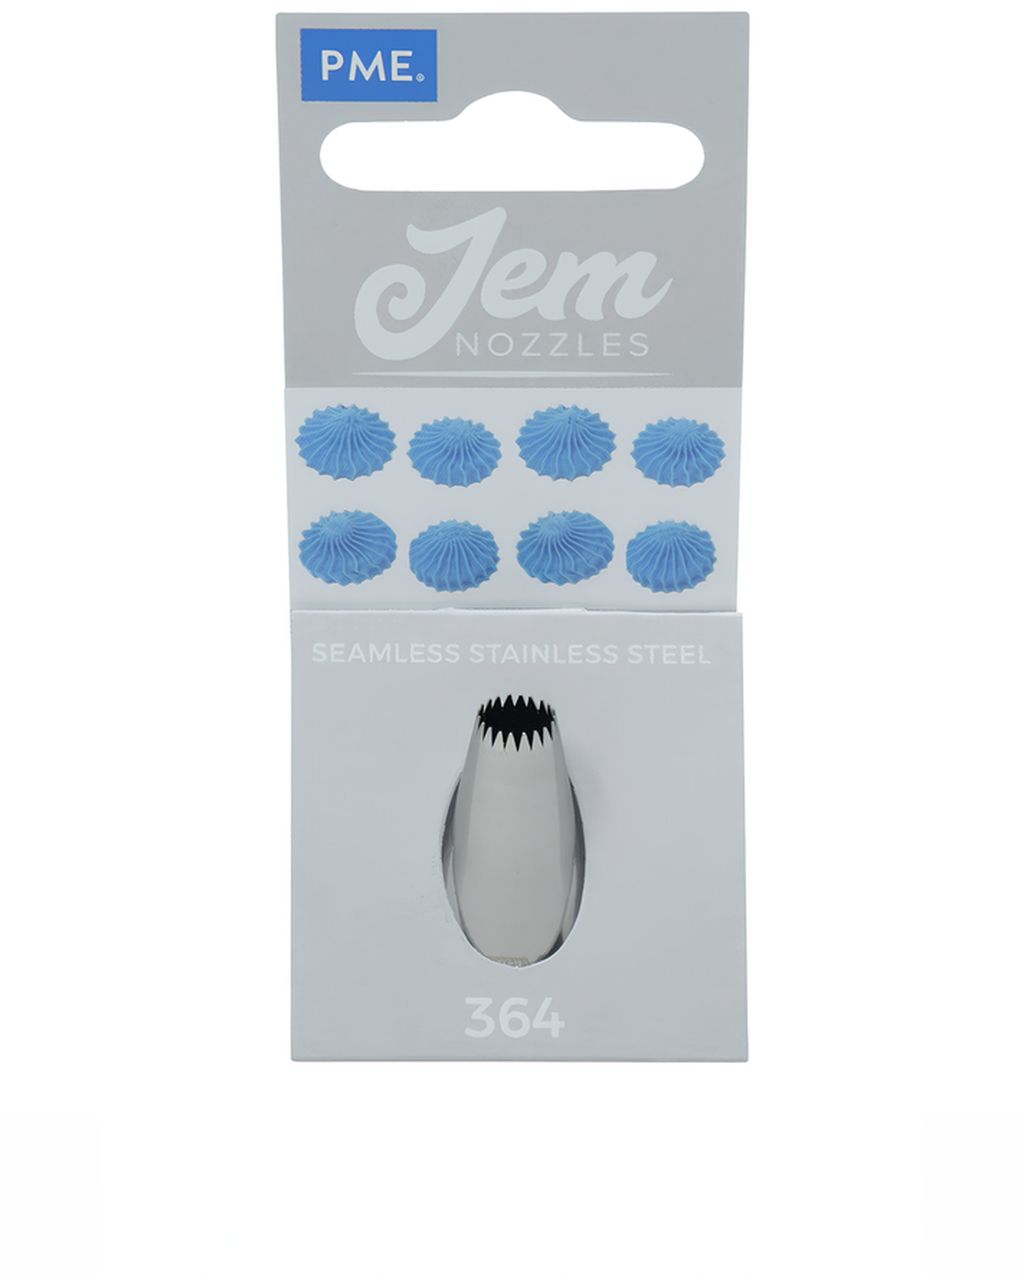
Variation: finely ridged shells and rope – JEM fine-toothed star #364. It isn't a fourth type of border, just a different tip for the same shells and rope: it has more, finer teeth than a classic star tip, so you get densely ridged piping that looks almost like lace.
Tip numbers aren't entirely consistent between manufacturers: a #18 from one brand may not match a #18 from another exactly. So go by the shape and size of the opening rather than the number alone. You'll find a full overview of tip shapes in our article Cake piping tips: which one for what.
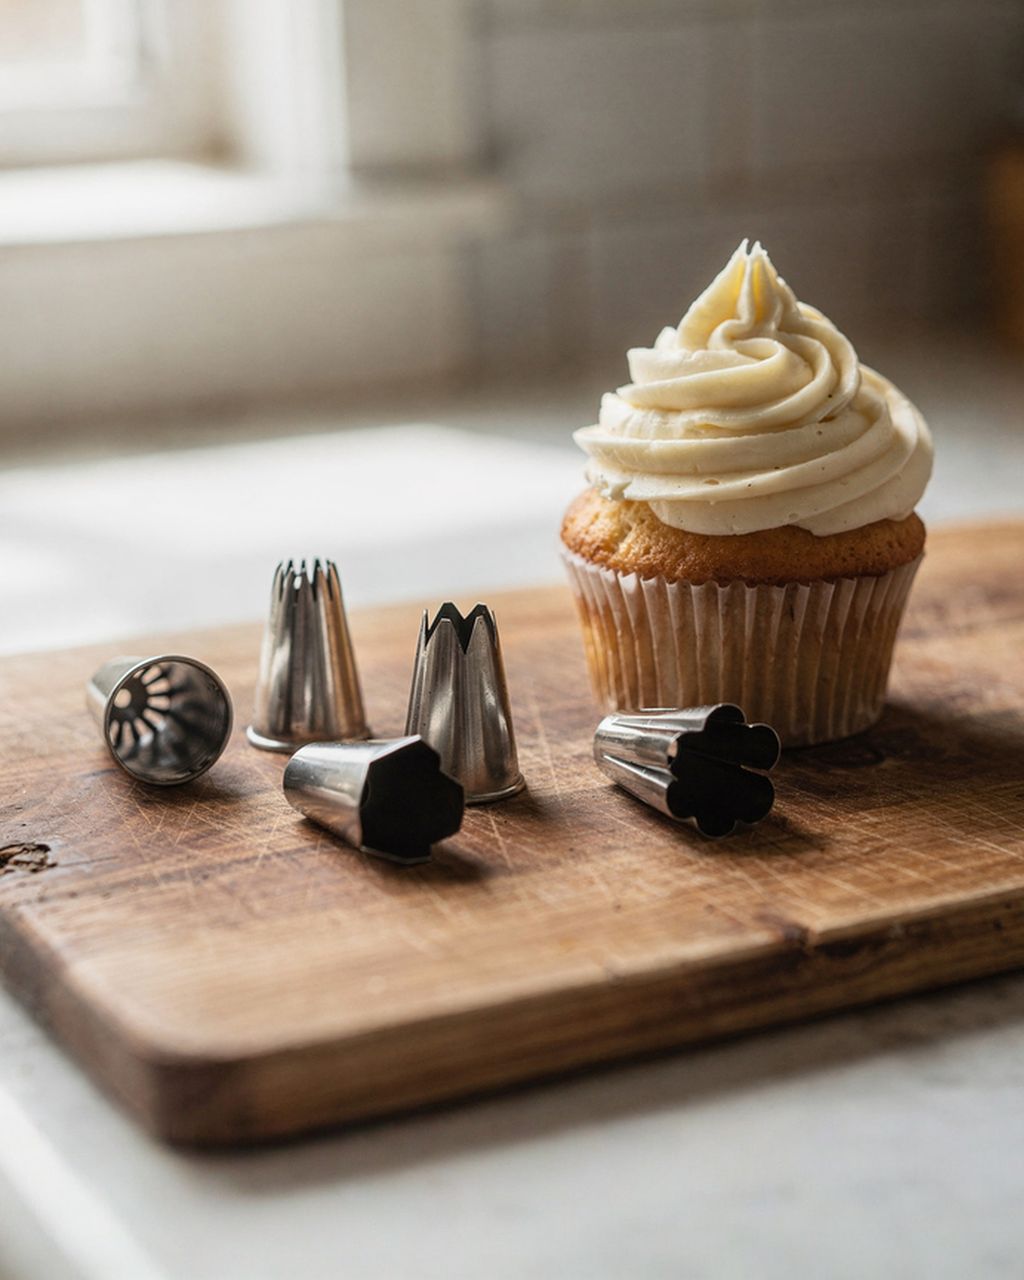
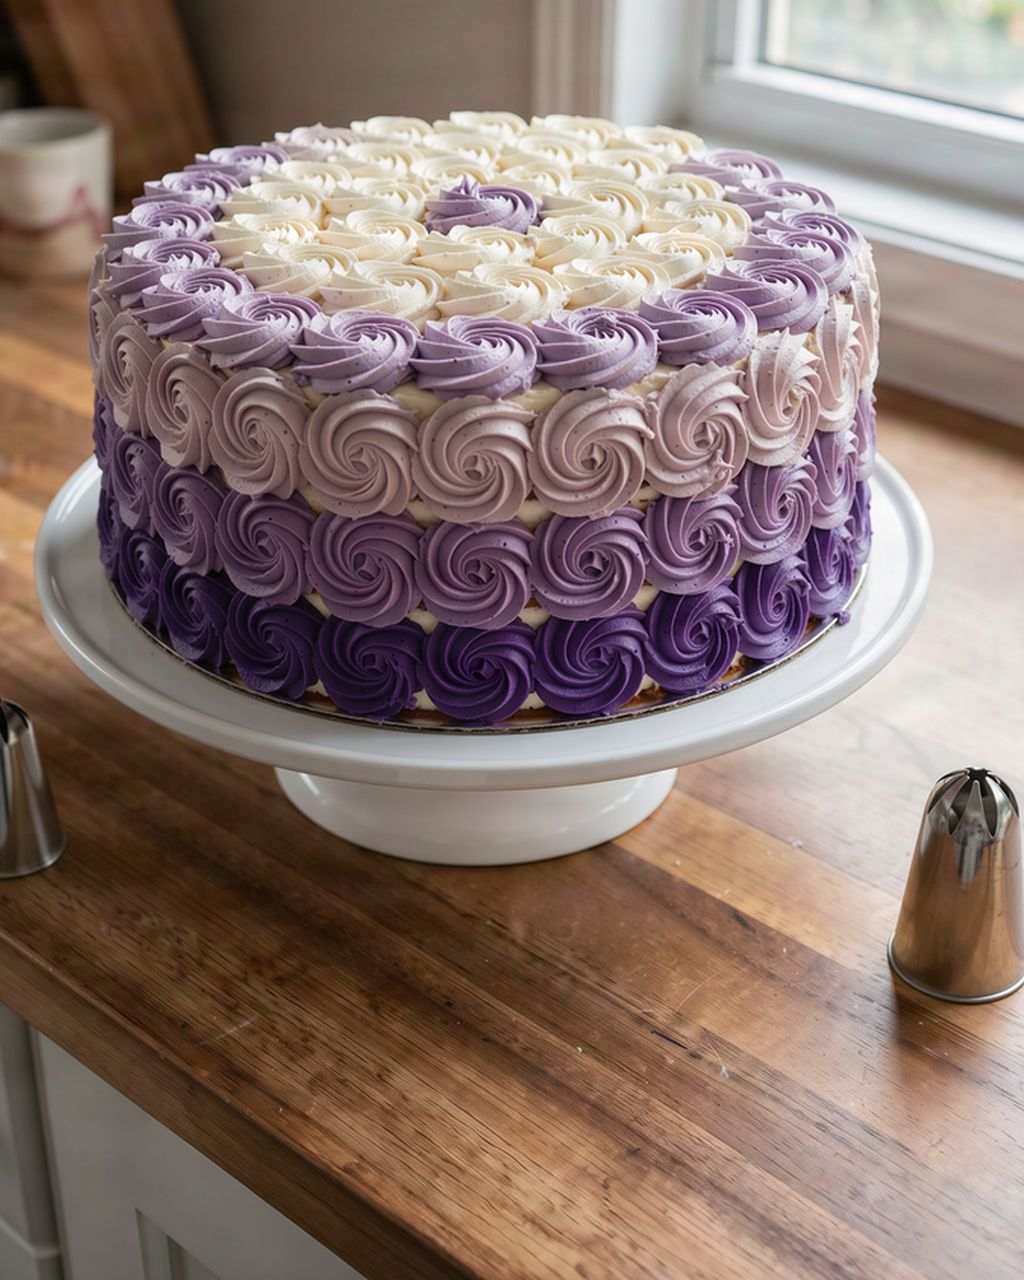
For cake borders, the open star is more versatile: its teeth point straight down, so the frosting comes out with sharp, clear ridges and the shells have a defined profile. A closed star (teeth curled inward) makes deeper, more twisted ridges – lovely for rosettes and swirls on cupcakes, but on a border it looks a bit more like an '80s bakery. We don't currently carry closed stars such as the Wilton 2D. You don't need them for borders anyway: an open #18 handles both shells and rope.
Seasonal baking plans, tested recipes and kitchen tricks that save you time. Unsubscribe in one click.
For borders you need a frosting that's stiffer than the one you coat the cake with – one that holds sharp ridges once piped and doesn't slump within 10 minutes at room temperature.
Buttercream (American, Swiss or Italian meringue) – the most reliable choice. It keeps its ridges sharp for several hours.
Ganache – works, but only at the right moment: when it has cooled to the consistency of peanut butter. Warm, it runs; ice-cold, it tears.
Mascarpone and cream frosting – holds if it's well whipped and chilled. The shells tend to be softer and the ridges less sharp.
Plain whipped cream – the least stable. It isn't suitable for a border that has to last more than an hour out of the fridge.
Consistency test: scoop up some frosting on a spoon and turn it upside down. The frosting should stay on the spoon and the peak shouldn't bend over. If it does, chill the frosting for 10–15 minutes, or for buttercream, beat in 1–2 tablespoons of icing sugar. If it tears as you pipe and the shells have ragged edges, it's too stiff or too cold – work it with a spatula so it warms up and softens.
Which frosting suits the filling and which the outside is covered in the article Types of cake frosting and where to use each.
A shell is made in one motion: squeeze, let the frosting swell into a mound, ease off the pressure and pull away into a tail. You then pipe the next shell right onto the tail of the previous one.
Hold the bag at an angle of about 45° to the surface of the cake, with the tip almost touching the frosting (2–3 mm above it).
Squeeze firmly and let the frosting swell into a mound roughly twice as wide as the tip. Hold the tip in place or move it back slightly as you do.
Gradually release the pressure and pull the tip about 1 cm forward. The frosting narrows into a tail.
Stop squeezing completely and lift the tip away.
Start the next shell at the end of the tail, so it covers the tail.
Rhythm is everything. Count "squeeze – release – pull" in your head and keep the same pace all the way around the cake. If you're right-handed, pipe from right to left; if you're left-handed, the other way round – that way your hand doesn't cover the shell you're building on.
Reverse shells are a variation on the same thing: instead of a straight pull, you pipe a small arc with the open star, alternately to the left and to the right. The border looks richer, and with the fine-toothed #364 star it comes out almost lacy.
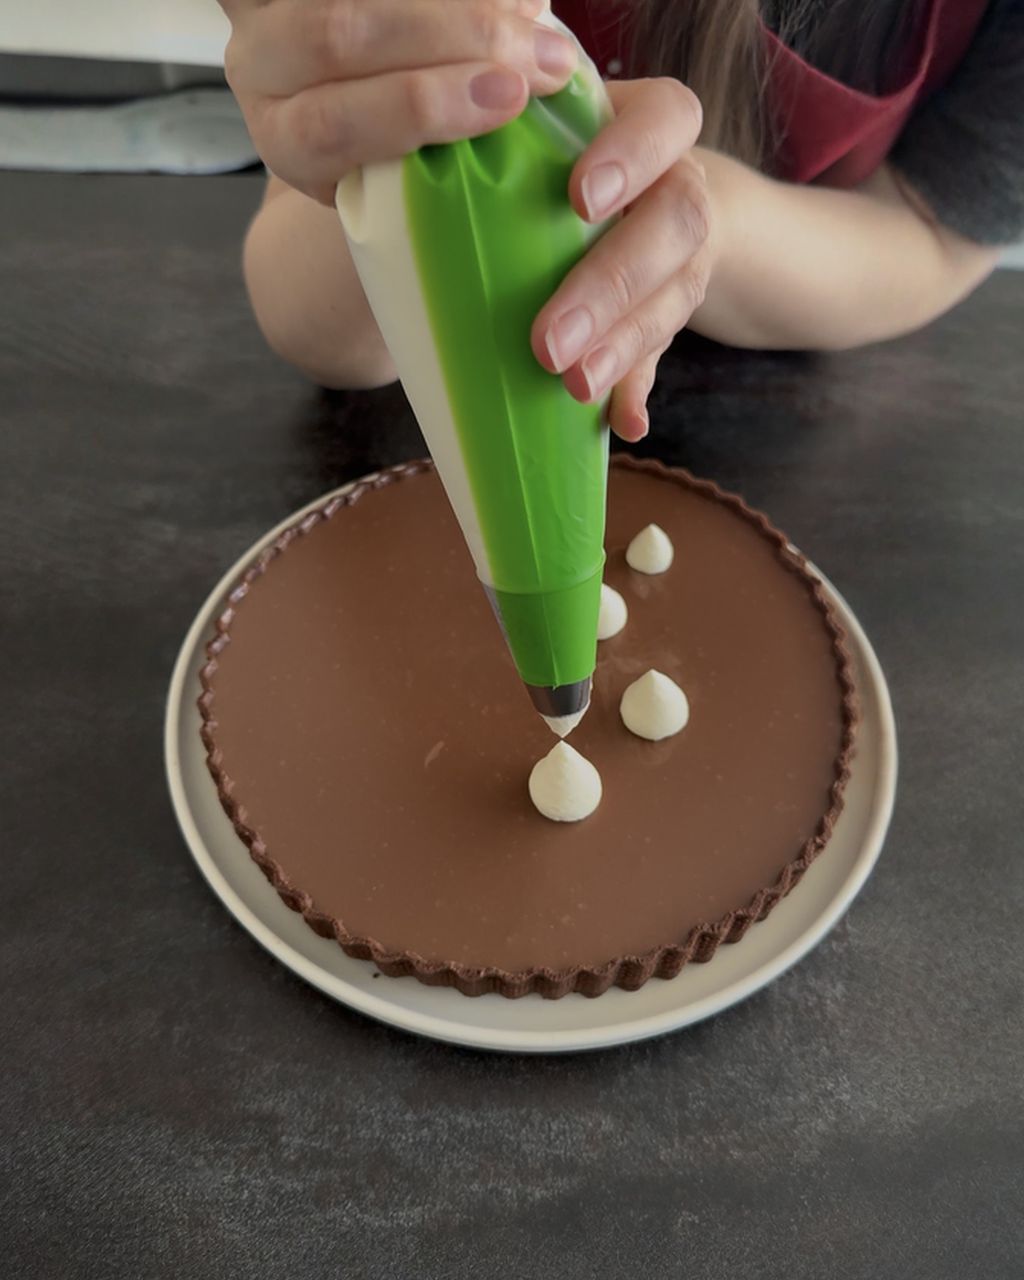
Beads are shells without the ridges: a round tip, the same squeeze – release – pull motion, just with a shorter tail. Because the surface is smooth, every irregularity shows, so they take a bit more practice than shells.
Tip: round #12 for the bottom border, a smaller round tip for the top border or small cakes.
Angle: 45° for a row of beads with tails, 90° (straight on) for separate dots that just touch.
Finishing a bead: for straight-on dots, stop squeezing and flick the tip away to the side in a small circular motion. If you pull it straight up, a point is left on the bead. If one does stay, smooth it with a finger dipped in water (for buttercream) or a damp brush.
The round #12 is useful elsewhere too: it's the same tip you use to pipe a cake inscription in frosting or chocolate in larger lettering and to pipe dots.
Rope is made from a row of slanted S-shaped strokes, each overlapping about a third of the one before. The result looks like twisted cord and, of the three borders, it's the most forgiving of a shaky hand.
Place an open star tip (#13 or #18) against the edge of the cake at a 45° angle.
Pipe a short stroke in the shape of a sideways S, about 1.5–2 cm long: up, across, down.
Start the next S under the top curve of the previous one and pull it across. That creates the twisted look.
Repeat all the way around the cake with the same pace and the same slant.
The most common mistake is that the strokes gradually straighten out or get longer and the rope "unravels". It helps to look at the last five strokes, not just the one you're piping.
An even cake border rests on five things: a turntable, a bag filled two-thirds full, frosting that doesn't soften, a chilled cake and a practice row. They all serve one goal – keeping the same pressure and the same angle all the way around the cake.
Turntable. You turn the cake against the direction you're piping while your hand stays in the same spot, so the angle doesn't change. Without a turntable, put the cake on a large plate that you can rotate on the table. It's slower, but it works.
Bag filled only two-thirds. An overfilled bag is hard to hold, the pressure varies and the frosting creeps up out of your hand. The mess-free method is described in the article how to fill a piping bag.
Frosting that doesn't soften in your hand. The heat from your palm warms buttercream in a few minutes. Hold the bag by the twisted end, not with your whole palm, and when the shells start losing their ridges, put the bag in the fridge for 5 minutes.
Chilled cake. Pipe the border onto a cake that has been in the fridge for at least 30 minutes. The surface won't give and the shells won't dig into the coating.
Practice row. Pipe the first ten shells onto baking paper or an upturned plate. You'll check the frosting's consistency and find your rhythm, and then you can put the frosting back in the bag.
For decorative cake borders, the most practical choice is a disposable bag about 35 cm long; a reusable one pays off when you often decorate with a single colour.
Disposable bag – for several colours or tips at once: each tip goes in its own bag and you don't have to transfer anything. For a cake with shells at the bottom and rope at the top, you fill two bags and alternate. A length of about 35 cm holds enough frosting for a full round of the cake, but isn't so long that it flops around in your hand. Our piping bags 36 × 20 cm are like that.
Reusable fabric or silicone bag – easier to hold and creates less waste, but you have to wash and dry it after every colour.
Coupler (adapter) – a plastic ring that lets you change the tip on the same bag without emptying it. It's handy when you want both shells and rope from the same frosting.
You'll find all the bags, couplers and tips together in the category piping bags and tips.
The simplest rule: a bigger, heavier border at the bottom, a smaller, finer one on top. The bottom border "anchors" the cake to the board, while the top one just frames it.
Classic: #18 shells at the bottom, #13 shells on top.
Contrast of textures: #18 shells at the bottom and beads on top, or the other way round, #12 beads at the bottom and a fine #13 rope on top.
One tip for everything: the fine-toothed #364 – reverse shells at the bottom, rope on top. The whole cake then has a consistent, finely ridged style.
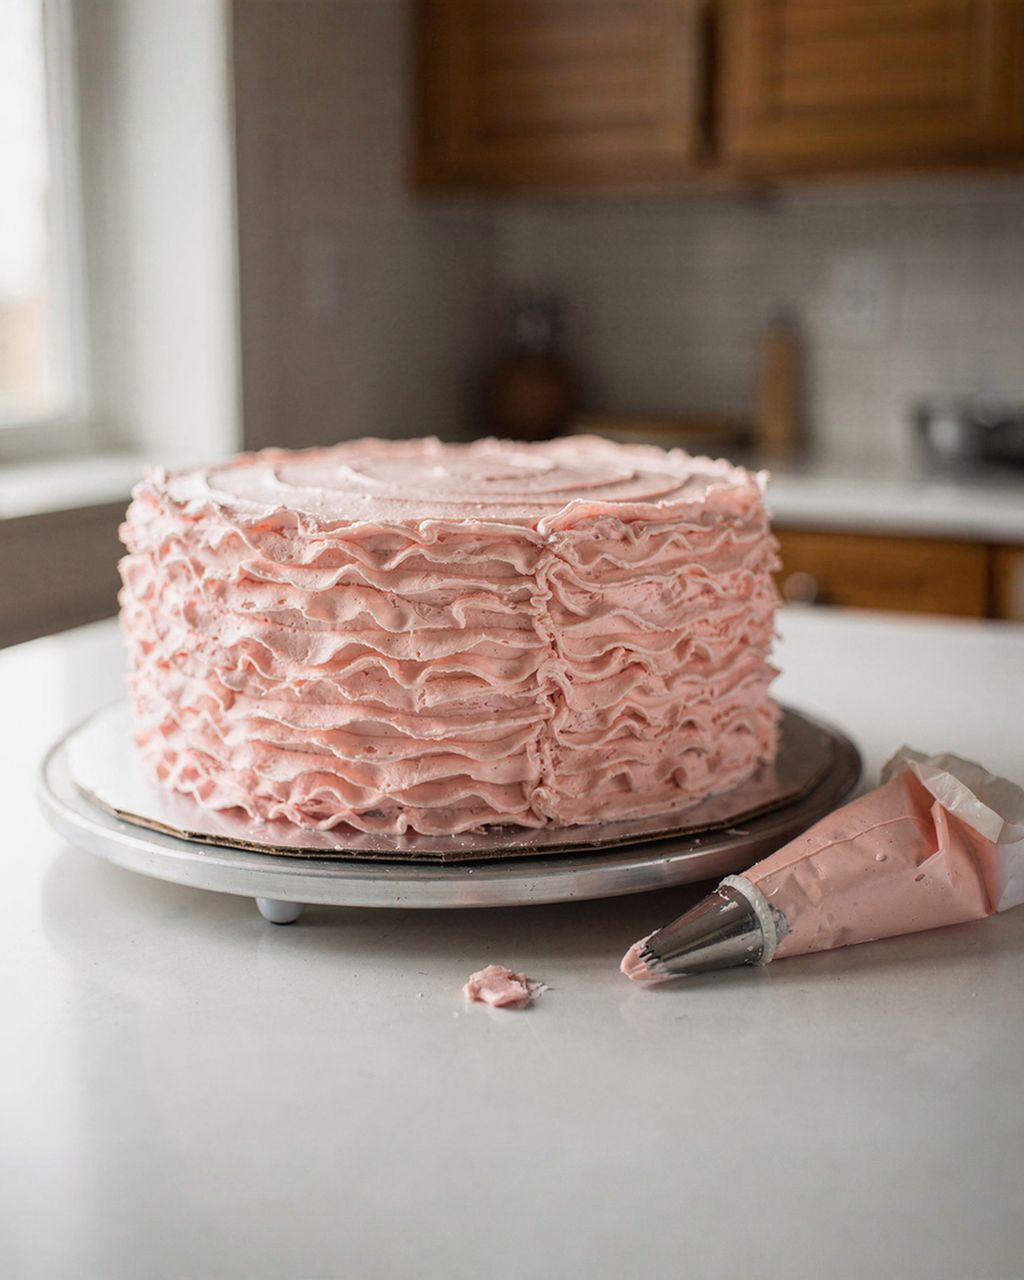
Borders are also the building blocks of richly decorated cakes with several layers of swags and ruffles. That's a discipline of its own, though: ruffles are covered in the article Ruffle cake: how to pipe frosting ruffles. Here, one or two clean rounds of border are enough.
For one round of shells with a #18 tip around a 20 cm (8 in) cake, plan on roughly 100–150 g of frosting. For a finer border with a #13 tip, about half that. Always put a little more in the bag, because the last few centimetres of frosting in the bag pipe poorly. For two borders (bottom and top), prepare around 200–250 g of frosting on top of what you use to coat the cake.
Finish the last shell or rope stroke with a tail tucked under the first shell: lift the start of the border slightly with the tip and guide the frosting underneath it. Then turn the seam to the back, the side of the cake nobody sees when it's served.
Yes, a border made from buttercream or ganache keeps its shape in the fridge for 1–2 days. Just cover the cake with a box or dome so the frosting doesn't absorb odours. Pipe borders made from whipped cream or mascarpone cream on the day of serving, ideally a few hours ahead.
Lift off the bad shell with the tip of a knife or a small spatula while the frosting is still soft, and smooth the spot. Then pipe a new shell with its tail tucked under the neighbouring one. If the cake has chilled in the meantime and the border has firmed up, leave it at room temperature for 10 minutes, otherwise you may pull off some of the frosting coat as well.
With a disposable bag with the tip snipped off, you can pipe beads, because the round opening stands in for a round tip. Shells and rope can't be made without a star tip, though, as they need the ridges. Without a bag, you can coat the border with sprinkles or chopped nuts.
One recipe worth heating the oven for, one tip, and one deal from the shop. Nothing else.