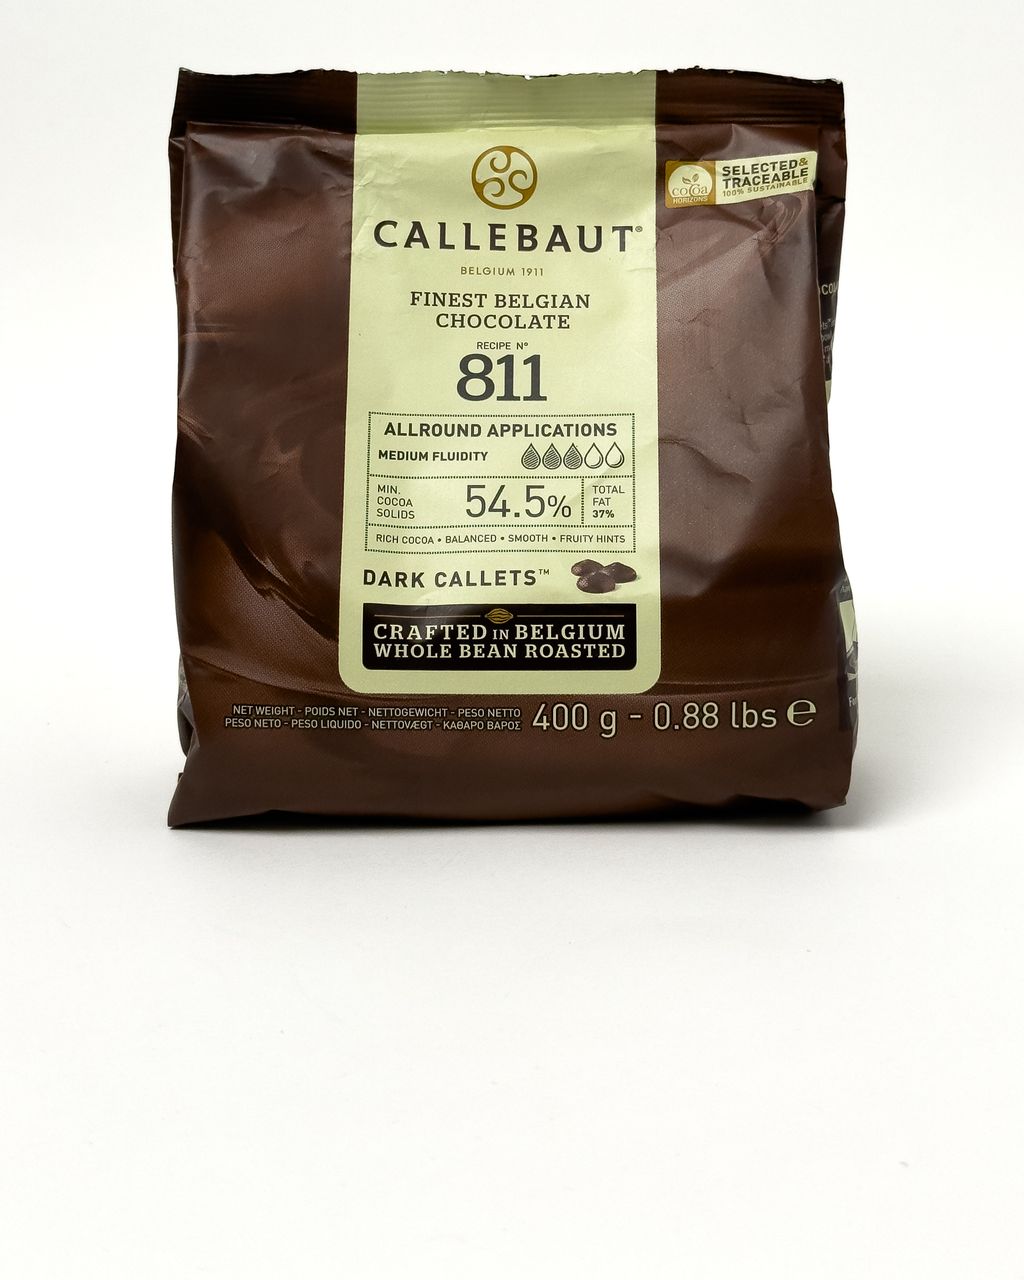
Callebaut Dark Chocolate Callets (811) 400g
Chocolate-Covered Almonds and Nuts: How to Coat Them in Layers for a Glossy Shell
Updated Oct 15, 2026
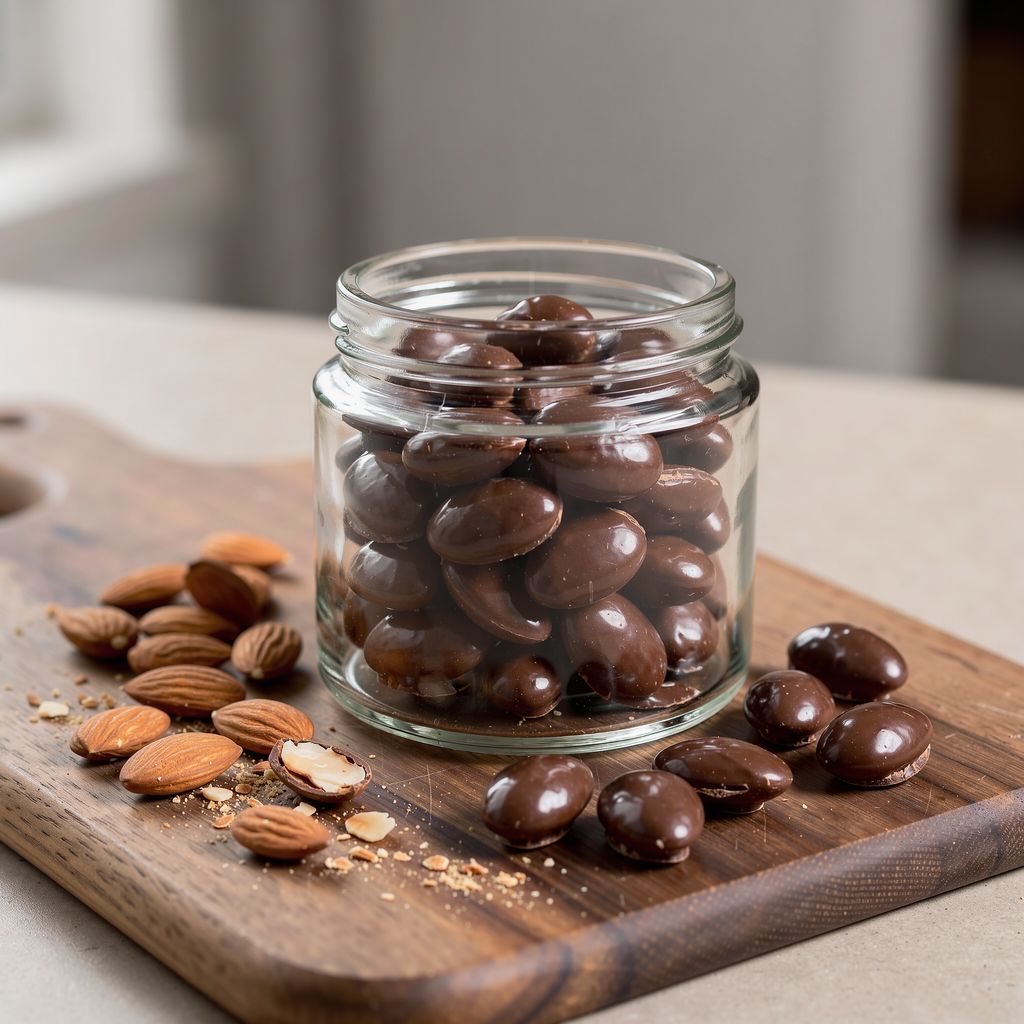
You can make chocolate-covered almonds and nuts with a smooth, glossy shell at home by coating them in 4–6 thin layers of tempered chocolate instead of dunking them once in a thick one. Each layer needs to set slightly before you add the next, and at the end you polish the coating by rubbing. Roasted almonds, hazelnuts, cashews and pecans all work well, and a kilo of finished nuts fills several gift jars. Here's how to choose the chocolate, what temperature to temper it to, how to build up the layers, and why the coating sometimes turns grey.
The best choices are roasted, completely dry, cooled nuts with a firm skin: almonds, hazelnuts, cashews, macadamias and pecans. Roasting deepens the flavor and dries them out, so they stay crunchy under the chocolate.
Almonds are the most forgiving. Their elongated shape lets the coating spread evenly, and they shine beautifully. Leave unpeeled almonds in their skins, which hold their shape.
Hazelnuts should be wrapped in a kitchen towel after roasting and rubbed to remove the skins. Loose skins would flake off inside the chocolate.
Cashews and macadamias are buttery and delicate, and pair well with milk and white chocolate.
Walnuts and pecans taste great, but they're craggy and very oily. The coating comes out bumpier, and the nut's oil gradually seeps into the chocolate, so it turns grey sooner.
Roast almonds and hazelnuts in the oven at 160–170 °C (320–340 °F) for about 10–15 minutes, until they smell nutty and are light golden inside. Then let them cool completely to room temperature. Warm nuts will melt the chocolate and throw off the tempering. Nuts straight from the fridge, on the other hand, pull moisture onto their surface, and the chocolate will clump on them.
You can use salted roasted nuts, since salt and chocolate are a great match. Just shake off the loose salt and oil first.
For a glossy, layered coating you need couverture: chocolate with a higher proportion of cocoa butter, which makes it more fluid and glossy once tempered. Under Czech Decree No. 490/2025 Coll., chocolate coating must contain at least 35% total cocoa solids, including at least 31% cocoa butter and 2.5% fat-free cocoa solids. For milk chocolate coating, the threshold is 31% total fat, meaning cocoa butter and milk fat together. The regulation recognizes only "chocolate coating" and "milk chocolate coating", so white and ruby chocolate are never couverture under it. Couverture layers go on thin and smooth. For how it differs from ordinary chocolate, see our article couverture chocolate vs. baking chocolate.
These four chocolates suit nuts best:
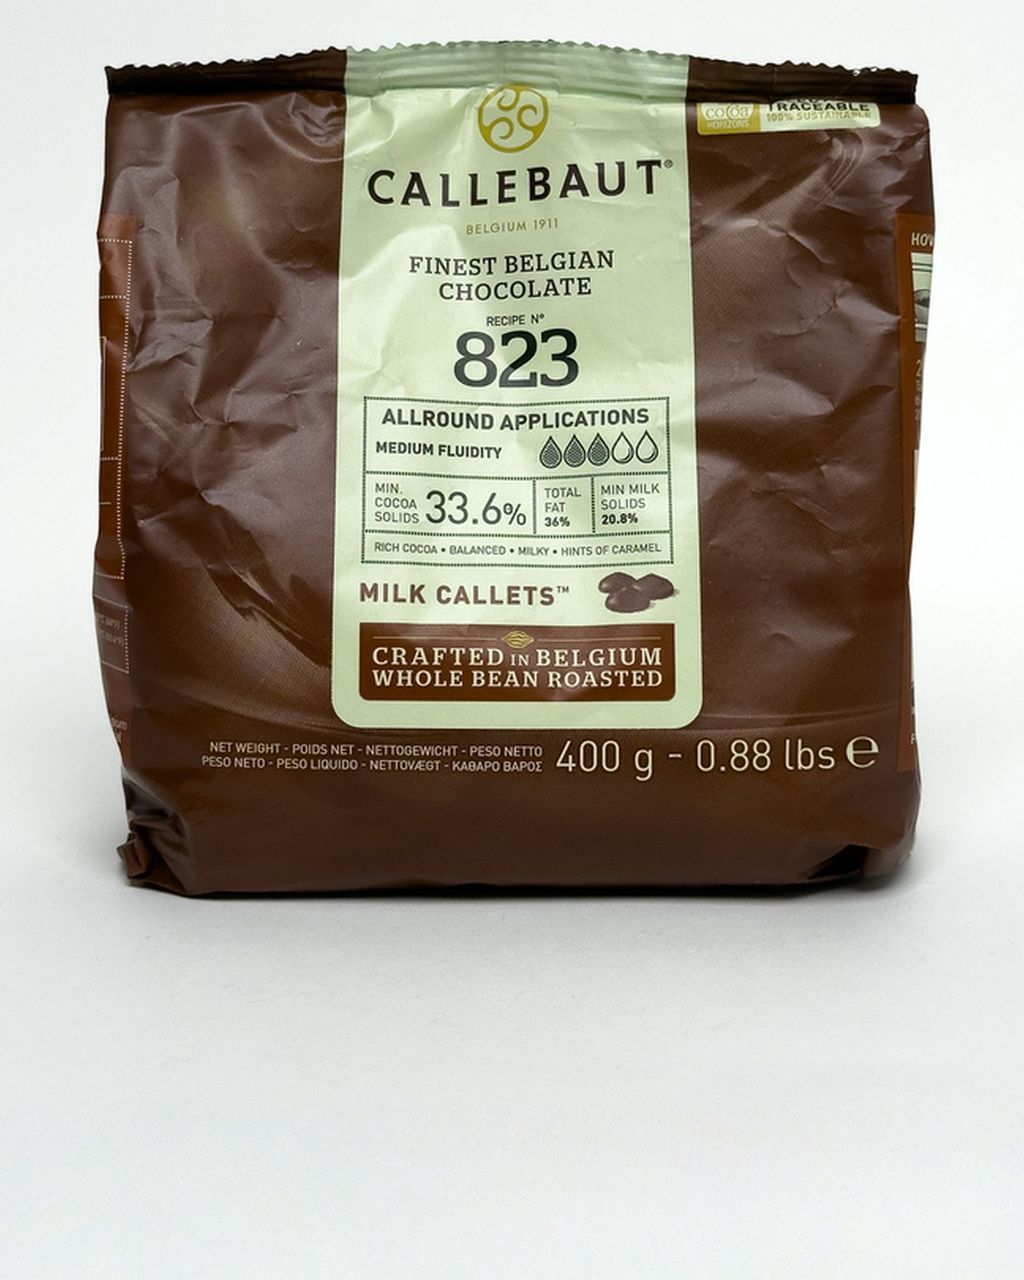
Dark Callebaut 811 (54.5% cocoa) is the all-purpose classic. It isn't very bitter, goes best with almonds and hazelnuts, and is the easiest to temper.
Milk Callebaut 823 (33.6% cocoa) is mellow and caramelly. It tastes excellent with hazelnuts and cashews.
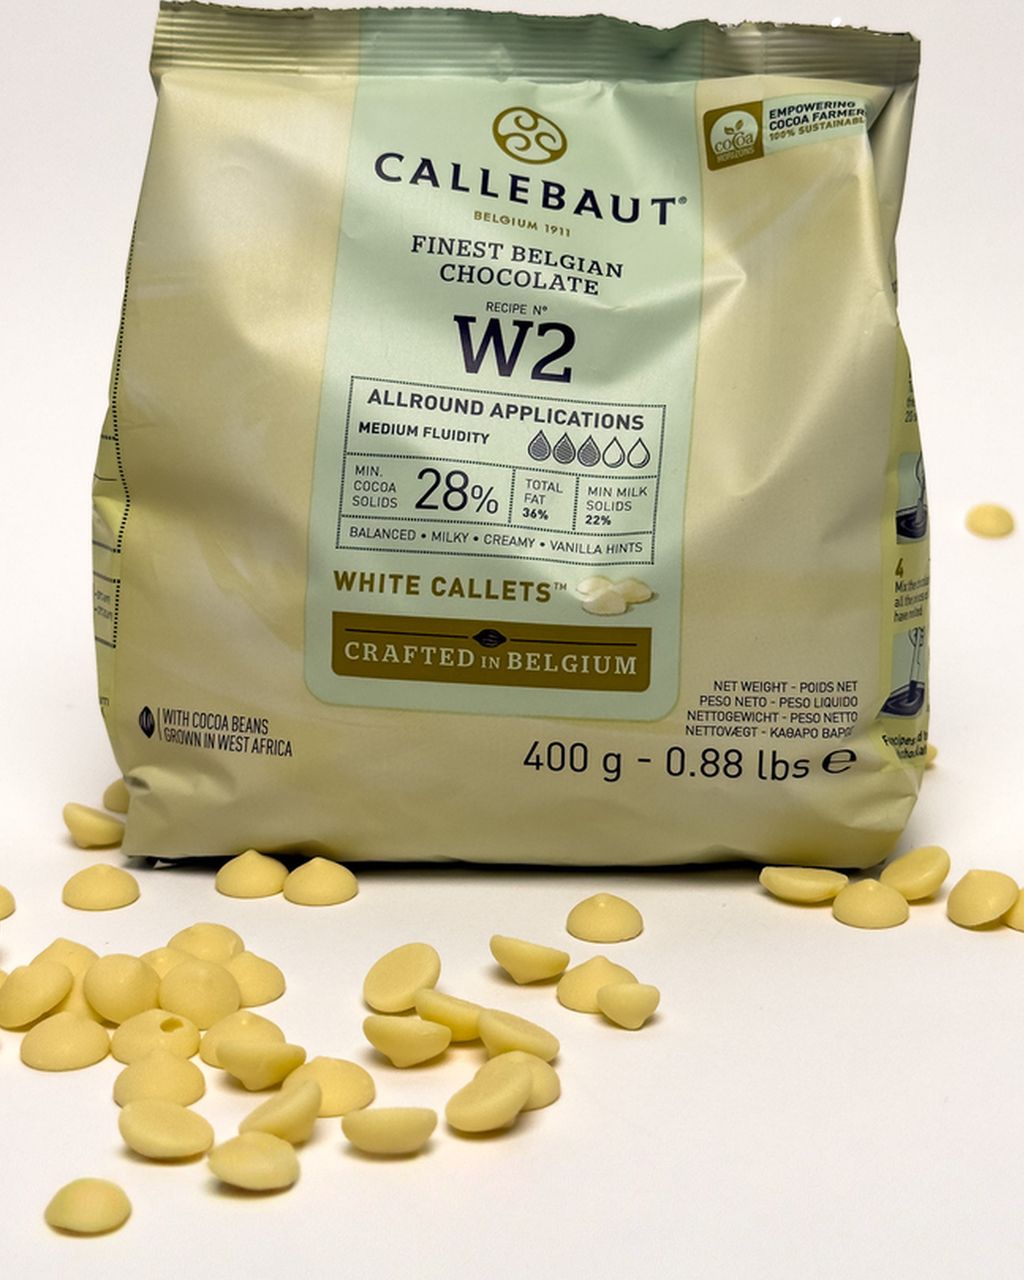
White Callebaut W2 is creamy and suits cashews, macadamias, or almonds rolled in fruit powder. It's the most sensitive to overheating.
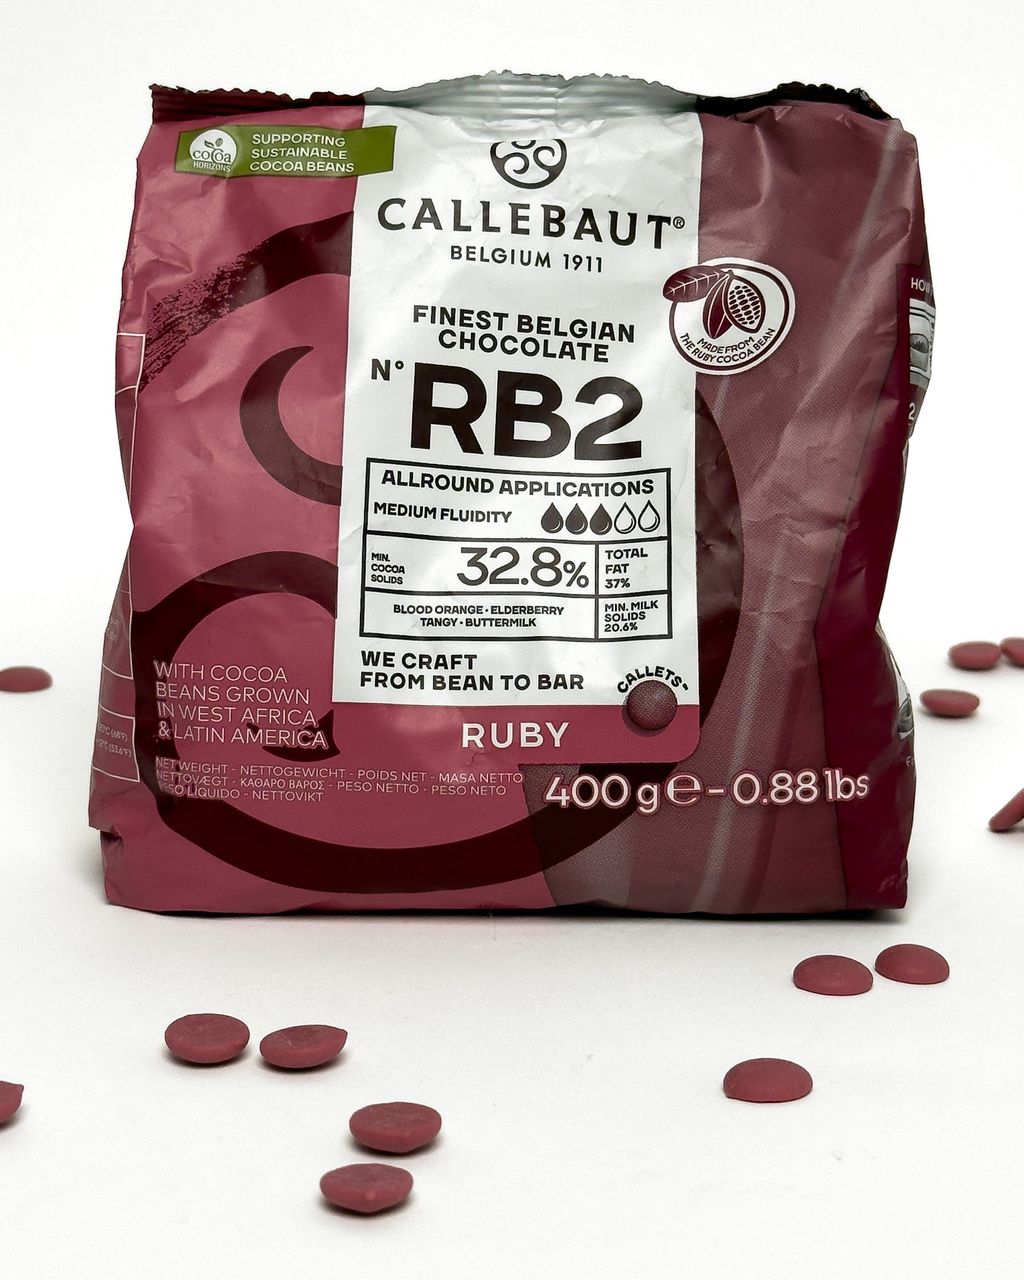
Ruby Callebaut RB2 is naturally pink and fruity-tart. It looks the most striking as a gift and goes wonderfully with pistachios and almonds. We write more about it in ruby chocolate: what it is and how to work with it.
You'll find the whole selection in the baking and decorating chocolate category.
What you can swap, and what you can't: ordinary supermarket bar chocolate works as long as it's real chocolate. It's thicker, though, so the layers will be heavier and the shine weaker. Compound coating (often labeled "cocoa-flavored coating" or "cocoa compound coating" on the pack, not "chocolate coating") doesn't need tempering and shines on its own, but it tastes waxy because it contains vegetable fat instead of cocoa butter. It's fine for a quick session with kids, but we wouldn't recommend it for gifts.
For coating nuts, hold the chocolate at a working temperature of 31–32 °C (88–90 °F) for dark, 29–30 °C (84–86 °F) for milk, 28.5–29.5 °C (83–85 °F) for ruby and 28–29 °C (82–84 °F) for white.
Dark 811: 31–32 °C (88–90 °F)
Milk 823: 29–30 °C (84–86 °F)
White W2: 28–29 °C (82–84 °F)
Ruby RB2: 28.5–29.5 °C (83–85 °F)
To reach the working temperature, you first melt the chocolate. According to Callebaut's temperature curves, you melt dark chocolate at 45–50 °C (113–122 °F), and milk, white and ruby at 45 °C (113 °F).
The easiest method at home is seeding: melt two thirds of the chocolate, stir in the remaining third as chocolate pieces, and keep stirring until the temperature drops to the working temperature. Cooling to about 27 °C (81 °F) and then rewarming to the working temperature belongs to tempering on a marble slab; the seeding method skips that step. You'll need a probe-style kitchen thermometer, because judging by touching it to your lip isn't good enough here. We cover it in detail in our guide to tempering chocolate.
Temper more chocolate than you'll end up using on the nuts, at least 300–400 g. A small amount cools quickly while you work and drops out of temper. During coating, warm it up for a few seconds whenever needed and check the temperature with a thermometer, but never push it above the working range.
Coating works in rounds: pour in a little chocolate, stir until it starts to set, separate the nuts, let them firm up briefly, and repeat. One layer is roughly one sixth of the weight of the nuts. For 300 g of nuts, plan on 4–6 layers of about 50 g each, so 200–300 g of chocolate in total for the coating itself.
Set up a cool stainless steel bowl (chilled, not icy), a baking sheet lined with parchment, and disposable gloves. The ideal room temperature is around 16–18 °C (61–64 °F).
Tip the nuts into the bowl and pour in the first portion of tempered chocolate, about 50 g per 300 g of nuts.
Stir with a spatula until all the nuts are coated and the chocolate turns matte and begins to drag. At that point the nuts will start to separate on their own.
Tip them onto the parchment and separate them with your gloved fingers so they don't touch. Leave them to set for 5–10 minutes, until they're no longer sticky to the touch.
Return the nuts to the bowl and repeat with the next portion. From the second layer on, roll them briefly between your gloved fingers before they separate. This rounds out and smooths the coating.
After the last layer, let them set for at least 1–2 hours in a cool room before polishing or packing them.
The first layer is thin and uneven, and that's fine. It seals the nut, so oil and crumbs no longer seep through into the later layers, and by the fourth or fifth layer you'll have a smooth ball. If the nuts start sticking together in clumps, you added too much chocolate at once or tipped them out too late. Next time, add smaller portions.
Shine comes from a properly tempered final layer, followed by rubbing. The mirror-like gloss of factory-made dragées, however, isn't something you'll get at home without shellac. You have three options:
Polishing by rubbing (easiest at home): let the fully set nuts rest for a few hours in a cool room. Then roll them in handfuls between your palms in clean cotton gloves, or in a bowl lined with a dry cotton towel. The friction smooths the cocoa butter surface to a satiny shine.
Gum arabic and shellac: this is how confectioners do it. They first brush on a gum arabic solution, which fills tiny imperfections, then a thin layer of shellac (E904, a glazing agent permitted in the EU for the surface of confectionery) that locks in the shine. The result is mirror-like and resists fingerprints. For a small batch at home it's rarely worth it. We don't sell these products, but you can find them in baking supply shops.
Matte cocoa coating: roll the nuts in cocoa powder, powdered sugar, or freeze-dried fruit powder while the last layer is still tacky. There's no shine, but you hide every imperfection and don't have to watch the tempering as closely. Cocoa suits dark chocolate, and fruit powder suits white and ruby.
A grey or whitish film is bloom, and it has two causes:
Fat bloom looks like grey smears and streaks that rub off on your fingers. It forms when the chocolate wasn't tempered properly or set in a warm place. With oily nuts such as walnuts and pecans, it can also appear over time even in well-tempered chocolate, because the nut oil migrates into the coating.
Sugar bloom is a dry white dusting that doesn't smear. It comes from moisture, typically when you take cold nuts out of the fridge and water condenses on the surface. The water dissolves the sugar, and once it evaporates, small crystals are left behind.
Both types of bloom affect only appearance. The nuts are still fine and safe to eat. To rescue the coating for a gift, give the nuts one more thin layer of tempered chocolate, or roll them in cocoa.
Store them somewhere dry, dark and cool, not in the fridge. For chocolate products, Callebaut recommends a temperature of 12–18 °C (54–64 °F) and relative humidity of no more than 70%, in an airtight container that blocks light and odors. According to the manufacturer, the fridge isn't suitable because it's humid. If you do chill the nuts, let the closed container come up to room temperature before opening it. Otherwise water will condense on the chocolate and cause sugar bloom.
It's the nuts, not the chocolate, that determine how long they keep. There is no official shelf-life limit for homemade chocolate-covered nuts, so we won't make up a number. Chocolate keeps for a long time, but nuts eventually go rancid. For orientation, the US USDA FoodKeeper guide gives 2–9 months at room temperature and 4–6 months in the fridge for opened packaged nuts. That applies to the nuts on their own, not to the finished product. So use fresh nuts with a long best-before date, and respect that date for the finished chocolate-covered nuts too. Whenever a nut tastes bitter or like old oil, it's going rancid and doesn't belong in a gift.
Pack chocolate-covered nuts only once they're fully set and polished, airtight in jars or cellophane bags with a clip, and write the production date, type of chocolate and allergens on the label. A kilo of nuts fills 6–8 smaller jars.
Packaging: an airtight container is essential, otherwise the coating absorbs moisture and odors and goes dull.
A mix for effect: fill one jar with dark, milk and ruby almonds. Three colors look like they came from a confectioner's shop, but you'll need to temper three chocolates, at least 300 g of each.
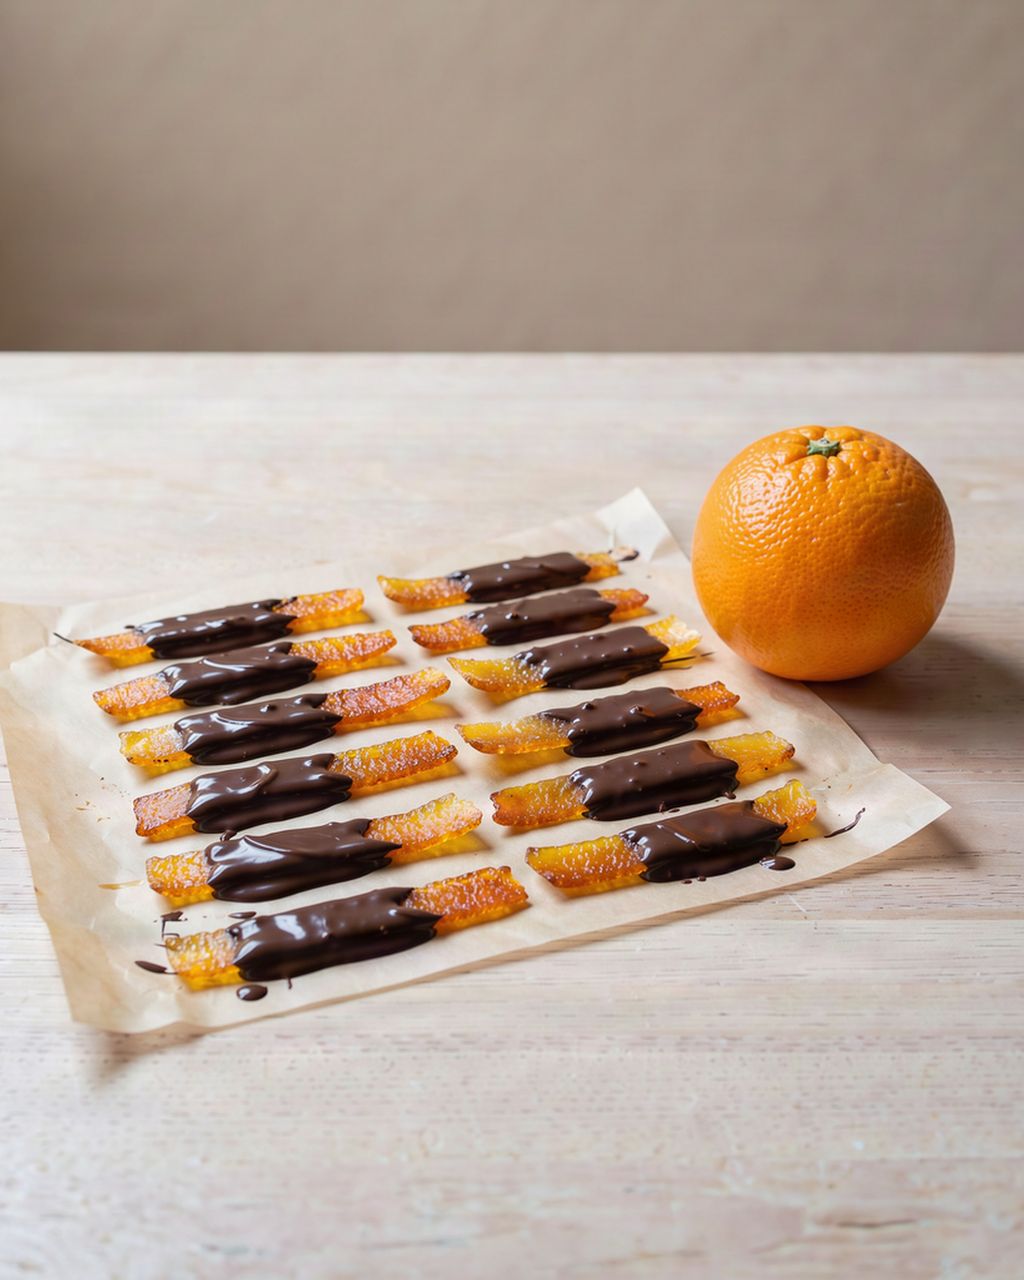
What to add: they go well with candied orange peel in chocolate: how to make and dry it or pieces of homemade nougat from the recipe Montélimar: homemade white nougat with honey and nuts.
The label: besides the production date and type of chocolate, add the best-before date of the nuts you used.
For 200 g of almonds, you'll use roughly 130–200 g of chocolate for the coating itself, which is 4–6 layers of about 33 g each (one sixth of the weight of the nuts). Temper at least 300 g, though, because a small amount cools quickly and drops out of its working temperature. Let the leftovers set on parchment and use them next time.
You can coat almonds in untempered chocolate, but the shell won't be glossy, it will stay soft, and it will turn grey within a few days. If you'd rather not temper, roll the last layer in cocoa powder or powdered sugar; a matte finish hides the bloom. Another option is compound coating (not "chocolate coating", which is actually couverture). It shines without tempering but tastes waxy.
Microwave tempering works well if you melt two thirds of the chocolate on medium power in 15–30 second bursts, stirring thoroughly between each one. Then stir in the remaining third as chocolate pieces and carry on as in the seeding method. A microwave heats unevenly, so measure the temperature with a thermometer in the middle of the bowl, and be careful not to overshoot the melting temperature, especially with white and ruby chocolate.
Caramelized nuts work beautifully: the sugar crust seals them, and the coating sticks to it smoothly. They must be completely dry and cool, though. Sticky honey or syrup-coated nuts aren't suitable, because their moisture thickens the chocolate and the coating won't shine.
The safest approach is to flavor the nuts, not the chocolate: sprinkle them with salt or cinnamon before the first layer, or mix the spice into the cocoa for a matte finish. Add only dry, finely ground powders to tempered chocolate, and only in very small amounts. Anything wet, such as a liquid extract, will make the chocolate seize. Read more in our article [how to flavor white chocolate without it seizing](/cs/articles/jak-ochutit-bilou-cokoladu).
One recipe worth heating the oven for, one tip, and one deal from the shop. Nothing else.