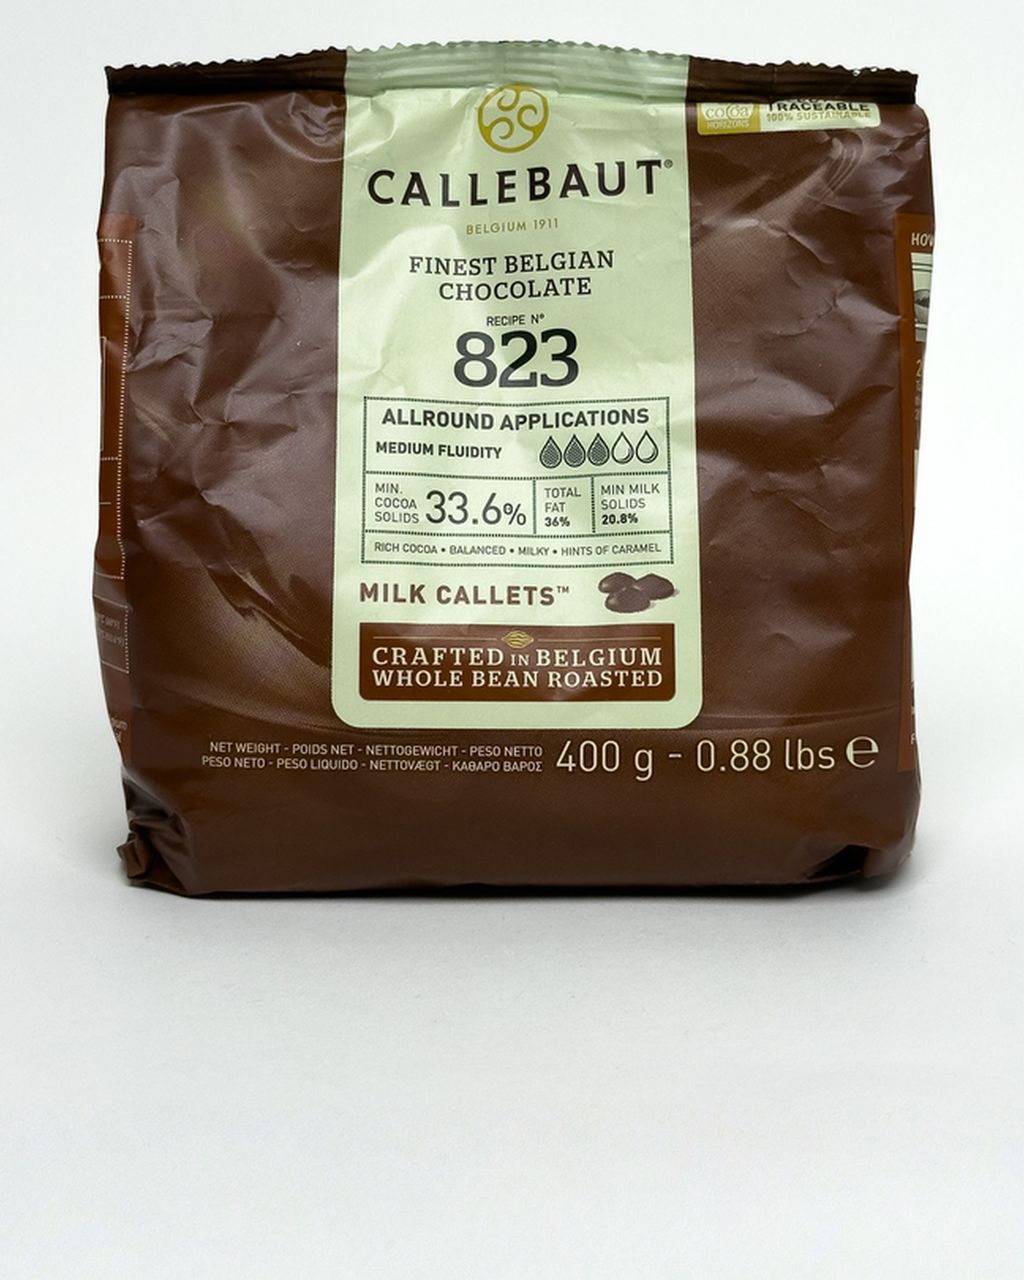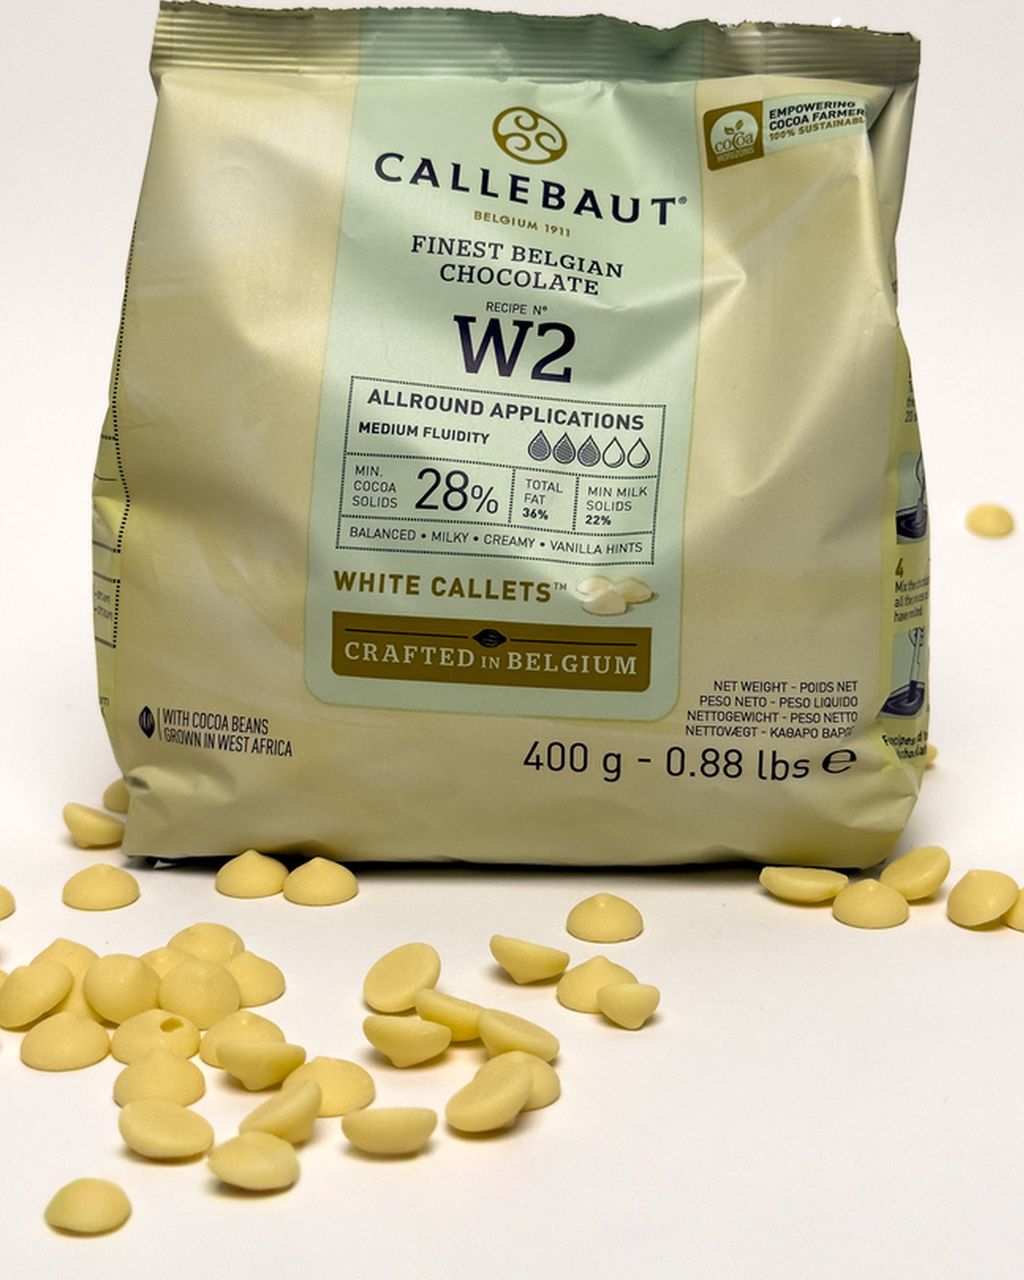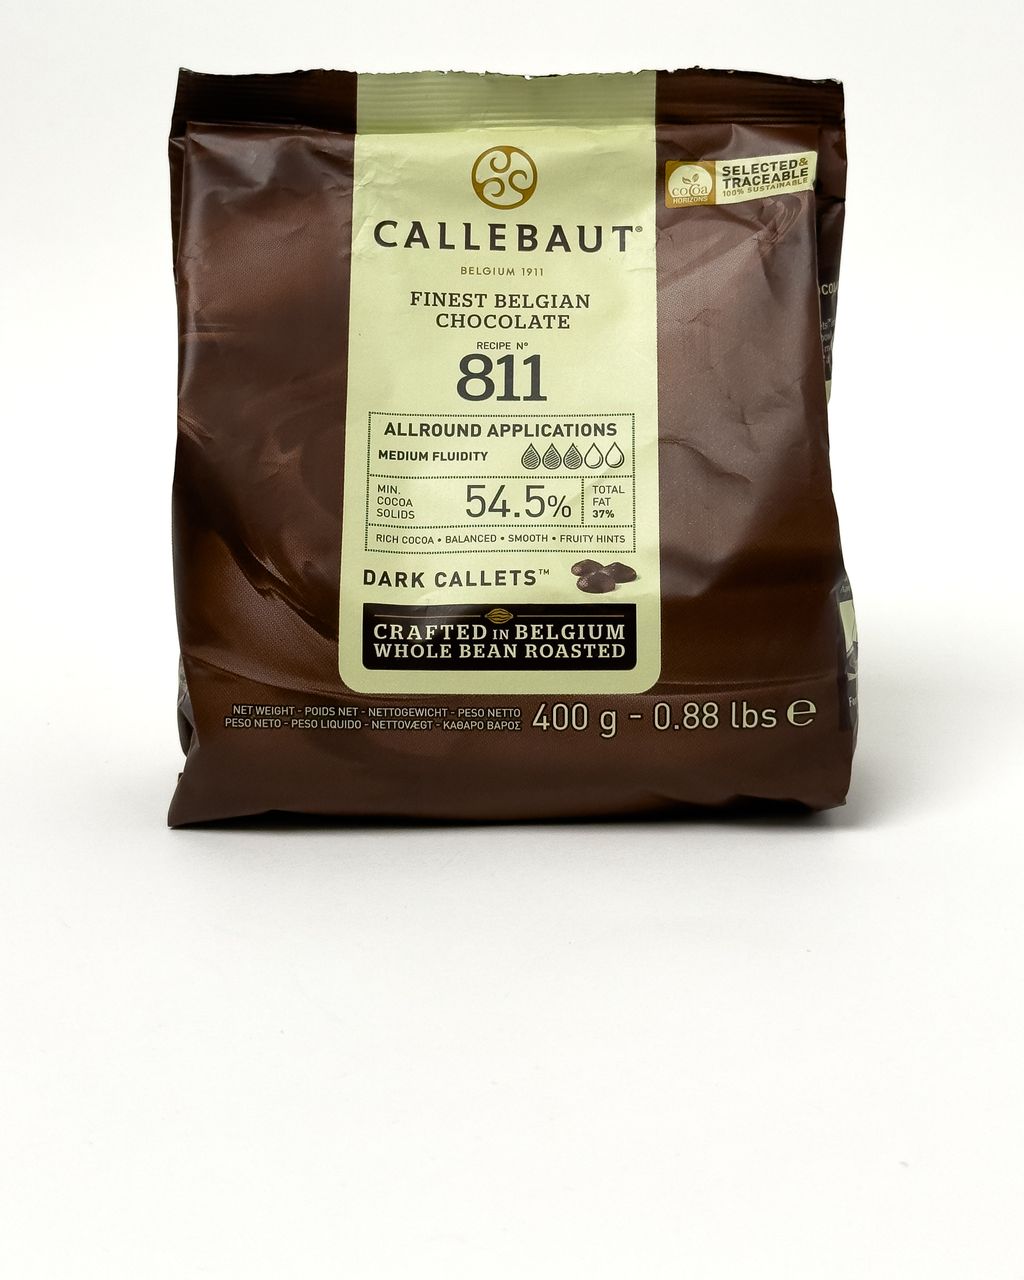
Callebaut Dark Chocolate Callets (811) 400g
How to Temper Chocolate: The Complete Guide to a Perfect Shine

Updated Aug 16, 2026
Tempering chocolate is controlled crystallisation of cocoa butter: you melt the chocolate, cool it down in a precise way, then gently warm it back up so it sets glossy, firm and with a proper snap. Skip it, and you're left with dull, soft chocolate covered in grey streaks. In this guide, we'll walk through both home methods — tabling and seeding — the exact temperatures for dark, milk and white chocolate, and how to spot and fix the most common mistakes.
Tempering is controlled crystallisation of cocoa butter: you melt the chocolate, cool it in a controlled way, then gently rewarm it so it sets glossy, firm and with a clean snap. Skip this, and it stays dull and soft, sticks stubbornly to the mould, and turns grey over time.
Cocoa butter can set into six different crystal forms, but only one is what you want — Form V (beta crystals). That's the one that gives chocolate its shine, snap and longer shelf life. The whole point of tempering is to encourage only these stable crystals to form, while suppressing the rest.
The process has three stages:
Melting (around 45–50°C / 113–122°F) dissolves any existing crystals.
Cooling (around 27–28°C / 81–82°F) kick-starts the formation of stable beta crystals.
Rewarming to working temperature (around 31–32°C / 88–90°F for dark chocolate) melts away the unstable crystal forms, leaving only the right ones.
Exact temperatures vary by type of chocolate — you'll find them in the table below. As a bonus, properly tempered chocolate shrinks slightly as it sets, so it releases from the mould on its own.
You need real chocolate containing cocoa butter — ideally couverture, which has the highest cocoa butter content (at least 31%) and flows the most easily. Steer clear of "chocolate coating" or "baking chocolate", where the cocoa butter has been swapped for vegetable fat: these can't be tempered, they just melt and set.
All three can be tempered — they simply differ in cocoa content, and therefore in temperature.
Dark (around 70% cocoa): the most cocoa butter, bold flavour, easiest to temper.
Milk (30–40% cocoa): contains milk powder, sweeter and more sensitive to heat.
White and dulcey: no cocoa solids, just cocoa butter, sugar and milk — the narrowest temperature margin.
Good couverture lists its cocoa butter content (at least 31%) on the packaging, along with recommended tempering temperatures. Professionals reach for brands like Callebaut, Valrhona or Lindt for consistent behaviour and clean flavour. Check the ingredients for cocoa butter rather than hardened vegetable fat — that's the main sign the chocolate can be tempered at all.
Before you begin, get a digital thermometer, a stainless steel or glass bowl, a spatula and completely dry equipment within reach. Tempering lives or dies on two things: precise temperature and dryness.
Digital thermometer with a fast response — without an accurate reading, you're tempering blind.
Stainless steel or glass bowl — conducts heat well and cleans up easily.
Spatula for stirring and turning the chocolate.
Marble slab, if you're going to table it.
Moulds or baking paper, depending on what you're making.
At home, you have two options: tabling on marble and seeding. Both give the same result — they just differ in difficulty and equipment. For beginners, seeding is the way to go: it's simpler and more forgiving of mistakes.
Tabling means cooling part of the melted chocolate by spreading it out on cold marble. Melt the chocolate to melting temperature, pour about two-thirds of it onto the slab, and work it back and forth with a spatula until it drops to the cooling temperature and thickens slightly. Then fold it back into the rest, mix well, and gently warm the whole batch to working temperature.
Pros: very precise, beautiful shine and snap, cools quickly.
Cons: you need marble and space, it takes practice, and there's more washing-up.
Seeding uses already-tempered crystals from unmelted chocolate. Melt about 80% of your chocolate to melting temperature, take it off the heat, and gradually stir in the remaining 20% as chopped chocolate or callets until it melts in and the temperature drops to the cooling point. These added pieces "seed" the mixture with stable beta crystals. Finally, gently warm the whole batch back up to working temperature.
Pros: simple, minimal washing-up, no special space needed — ideal for home use.
Cons: stir thoroughly so the callets fully melt and the temperature is even throughout.
Every type of chocolate has its own melt → cool → working temperature curve. These figures match the recommendations from couverture makers such as Callebaut:
Dark: melt 45–50°C (113–122°F) → cool 28–29°C (82–84°F) → work 31–32°C (88–90°F).
Milk: melt 40–45°C (104–113°F) → cool 27–28°C (81–82°F) → work 29–30°C (84–86°F).
White and dulcey: melt 40–45°C (104–113°F) → cool 26–27°C (79–81°F) → work 28–29°C (82–84°F).
Stick to the range printed on your chocolate's packaging — even a couple of degrees over the working temperature will ruin the temper, and you'll have to start all over again.
The gap between perfectly tempered and ruined chocolate is often just two degrees, so guessing simply won't cut it. Use a fast-response digital thermometer and check the temperature continuously so you can react straight away. An infrared thermometer is handy for a quick surface check, but the final word always belongs to a probe reading taken right in the chocolate itself.
Most failures boil down to just a few causes: wrong temperature, moisture, or impatience. Here's how to spot and fix each one.
Fat bloom is the greyish streaking that appears when unstable cocoa butter rises to the surface — it changes the look, not the taste. The most common causes are poor tempering and temperature swings during storage. The good news: just remelt the chocolate and temper it properly, and it'll be good as new.
Sugar bloom is a rough, grainy layer that forms when moisture condenses on the chocolate, dissolves the sugar, and leaves it behind on the surface once it dries. Unlike fat bloom, it changes both texture and taste, and retempering won't fix it. The only real prevention is storing chocolate somewhere dry and letting cold chocolate come up to room temperature while still wrapped, before you unwrap it.
The key is correct tempering plus dry, stable storage. In practice, that means:
Store at 16–18°C (61–64°F) and below 50% humidity, sealed, away from strong smells.
Only refrigerate chocolate as a last resort — and when you do, always let it come up to room temperature while still wrapped, so no water condenses on the surface.
Keep it away from direct sunlight and heat sources.
Streaks appear when you go over the chocolate too many times while dipping or coating it — it sets fast, and reworking it disrupts the crystallisation. Apply it in one even layer, let it set, and only add another coat afterwards if needed. For desserts, it's safer to dip them, let them drip and set, rather than brushing chocolate on repeatedly.
Lumps come from seizing — caused by water, cooling too fast, or adding a cold liquid. If the chocolate is just slightly grainy from overheating, try smoothing it out with a whisk. But if it's seized from water, it can't be saved for tempering — though gently warming it with a splash of cream will turn it into a ganache or glaze instead.
Tempered chocolate holds its shine and shape, making it perfect for filled pralines, coating and dipping, and decorations. Here are a few concrete ideas.
Coat a polycarbonate mould with tempered chocolate, tap out the excess, and let a thin shell set. Add your filling (ganache, caramel, praline cream), let it firm up, then seal it with another layer of chocolate. A glossy finish and a clean snap on the first bite are your direct reward for getting the temper right.
Tempered chocolate gives cakes a smooth, glossy coating and biscuits a crisp shell that won't melt under your fingers. Pour it evenly over cakes, or dip biscuits and let them drain on a wire rack.
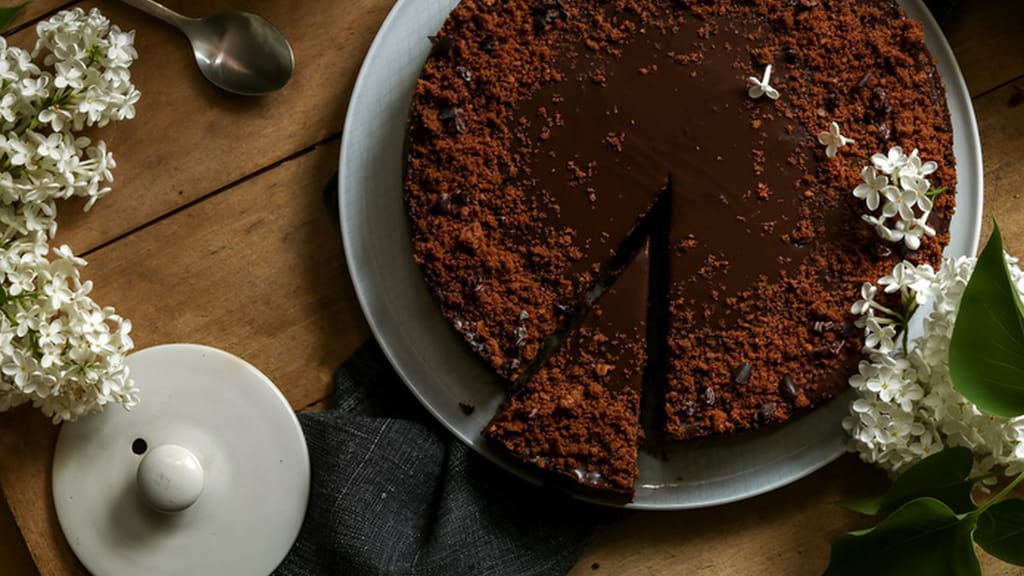
Simple chocolate cake
A simple chocolate cake — the perfect base for a smooth, tempered glaze
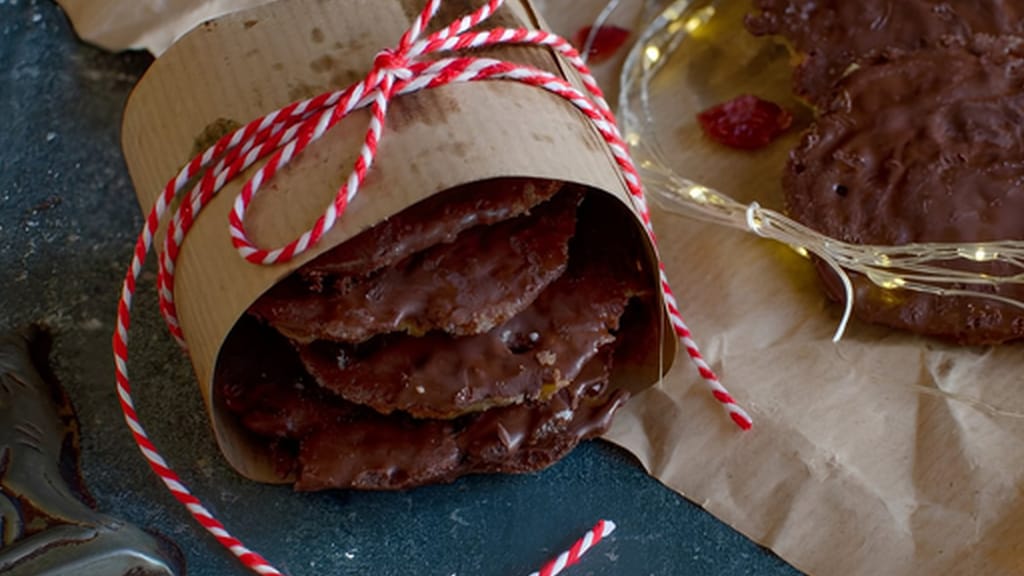
Chocolate-dipped marokánky (hazelnut florentine cookies)
Florentines with chocolate coating — crisp biscuits dipped in tempered chocolate
Spread a thin layer of tempered chocolate on baking paper or acetate, and before it sets, cut or shape it into spirals, leaves and tags. Thanks to tempering, these hold their shape and shine and won't melt in your hand.
Tempering is controlled crystallisation of cocoa butter into the stable Form V — that's why the result shines, snaps, and lasts longer. Use good-quality couverture, keep everything bone dry, rely on an accurate thermometer, follow the temperature curve for your type of chocolate, and pick your method based on your equipment: seeding for everyday home use, tabling for special occasions. When something goes wrong, temperature or moisture is almost always to blame — and most mistakes can be fixed simply by remelting and tempering again.
Properly tempered chocolate sets within 3–5 minutes at room temperature into a glossy, smooth, firm surface with no streaks — test it by dipping a knife tip or a strip of baking paper into it. If it stays dull, sticky or turns grey, the tempering didn't work and you'll need to start again.
Yes, you can melt chocolate in the microwave — heat it in 20–30 second bursts on a low power setting, stirring in between so it doesn't overheat or scorch. For the actual tempering, though, you'll still need a thermometer and the seeding method: stirring in unmelted callets brings the temperature down to the working point and seeds the mixture with the right crystals.
No — standard "chocolate coating" or "baking chocolate", where the cocoa butter is replaced with vegetable fat, can't be tempered. It will melt and set, but without the real shine or snap. Tempering only works with genuine chocolate (couverture) containing cocoa butter, ideally above 31%.
Yes, simply let any leftover tempered chocolate set, then melt and temper it again next time — it won't lose quality. That's exactly why it's worth tempering a bit more than you actually need.
Well-tempered, properly stored chocolate keeps for several months to a year without losing its shine — dark chocolate lasts longest, while milk and white keep a little less long because of their milk content. The key is keeping it dry, at a steady 16–18°C (61–64°F), in a sealed container away from strong odours.
One recipe worth heating the oven for, one tip, and one deal from the shop. Nothing else.