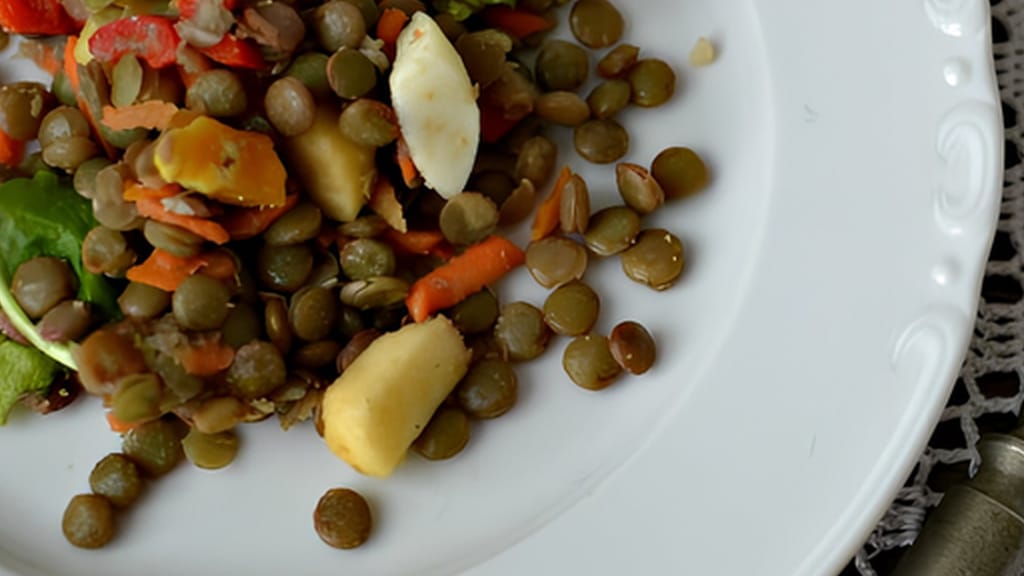
Lentil salad
How to Pack Food for Travel So It Stays Fresh Longer

Updated Jul 19, 2026
Packing food for the road so it stays fresh and tasty all day comes down to three things: the right container, smart layering, and keeping the temperature under control. In this guide we'll walk through which container to pick, how to keep wet ingredients away from dry ones, how to keep things cold or hot, and what to actually pack so you eat better on the road than at a gas station.
Pack food for travel by keeping wet separate from dry, chilling anything perishable, and choosing your container based on the type of dish. In practice, you can nail it in five steps:
Pick the right container for the food – airtight plastic for snacks, glass for sauces and warm food, stainless steel or a thermos for anything that needs to stay hot.
Separate wet from dry – pack dressing, sauce, and juicy fruit separately and combine them with the food only right before eating.
Layer from heaviest to lightest – hard vegetables and protein at the bottom, leaves and delicate pieces on top.
Chill what spoils – a frozen gel pack keeps the box below 5°C (41°F) for several hours.
Keep up hygiene and watch the clock – clean hands and containers, and eat perishable food within two hours if it's not refrigerated.
The best travel food container depends on what you're carrying: plastic for light snacks, glass for sauces and reheating, stainless steel and thermoses for long trips and keeping temperature. Each material has its pros and cons.
Plastic – light, cheap, and shock-resistant, ideal for picnics and short trips. Choose an airtight lid and BPA-free material; over time, though, it absorbs smells and colours from curry or tomato and isn't great for hot food.
Glass – doesn't absorb smells or flavours, you can reheat it in the microwave or oven, and you can see what's inside at a glance. The trade-off is extra weight and the risk of breaking – for a backpack, choose one with a silicone sleeve.
Stainless steel – practically indestructible, doesn't absorb smells or stains, and is kinder to the environment. It won't keep food hot on its own (that's a job for a double-walled thermal container) and isn't microwave-safe, but it'll last for years.
Choose a single-compartment container for one dish or snack, and a multi-compartment box with dividers when you want to keep courses separate. The compartments keep dressing away from bread and warm sides away from cold salad, so flavours and textures don't mix. A cheaper way to get the same result is silicone cupcake liners, which let you divide up even a plain box.
Match the volume to how long your trip is and how hungry you'll be: around 0.5 l is enough for a snack, plan on 0.7–1 l for a proper lunch, and for a full-day outing with several courses, go for a box around 1.5 l or two smaller containers. A smaller, well-packed container keeps its contents in place better than a large, half-empty one that shifts around as you walk.

The key to packing is simple: keep wet away from dry, layer from heaviest to lightest, and give each layer its own space. That way the food arrives with the same texture and look it had when you packed it.
Always pack dressing, sauce, and juicy fruit separately and combine them with the food only right before eating. Otherwise, moisture will soften bread, croutons, and leaves, turning a crisp salad into mush within a few hours. Small screw-top pots for dressing, or a bag you add on top only once you've arrived, work well for this.
Heavy, firm ingredients go at the bottom, delicate ones on top – otherwise tomatoes or bread will arrive squashed. For a salad in a jar, that means dressing right at the bottom, then hard vegetables (carrot, cucumber), softer pieces, protein, and leaves on top. Just flip the jar over before eating and the dressing will flow down where it belongs.
A wax wrap or silicone bag lets bread “breathe,” so it doesn't get damp or dry out the way it does under plastic wrap – and you can reuse it. A sandwich wrapped this way will stay fresh through the whole morning, and you'll cut down on single-use plastic. Plain baking paper also works well for a cutlet or cheese.
On a long trip, temperature is what matters most: keep anything perishable below 5°C (41°F) with a frozen gel pack, and pour hot food boiling hot into a pre-warmed thermos. That way, both cold and hot dishes stay safe for several hours.
Gel pack – freeze it overnight and tuck it between layers of food, not just underneath, so it cools evenly. In a cooler bag, it'll keep contents fine for a solid 4–6 hours.
Food thermos – rinse it with boiling water before filling. A pre-warmed double-walled container will keep soup or a stew hot for 4–6 hours.
Vacuum or zip-top bag – pushing out the air slows down wilting, making it ideal for cut fruit and veg. Also splash sliced apple or avocado with lemon juice so it doesn't brown.
Lentil salad
A layered lentil salad in a jar – holds its shape and flavour all day on the road.
Safe travel food comes down to three things: keeping the cold chain intact, separating raw from cooked, and watching the clock outside refrigeration. Keep cold dishes in the fridge right up until you leave and carry them with a gel pack; pour hot food boiling hot into a thermos.
Raw meat or fish must never come into contact with ready-to-eat food, vegetables, or bread – carry it in a separate, well-sealed container to avoid cross-contamination. Start packing with clean hands and clean utensils. Check use-by dates on packaged ingredients, and eat dishes with a short shelf life (mayonnaise, fresh dairy, fish) first.

Good travel food holds its shape and doesn't need a plate or cutlery: sandwiches and wraps, layered salads in a jar, soup in a thermos, and homemade bars for a quick energy boost. Here are some tried-and-tested tips, with recipes.
A sandwich is a classic choice because it comes together in minutes and you can eat it even behind the wheel. Go for wholegrain bread with avocado, tomato, and turkey ham, or a vegetarian version with grilled halloumi and pepper. Wrap it in a wax wrap so it doesn't go damp before lunchtime.
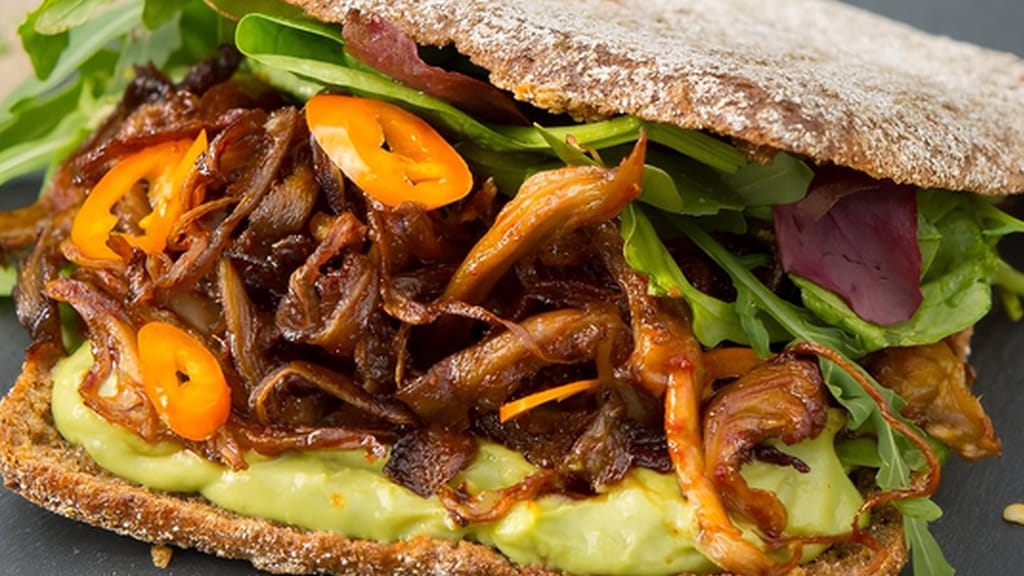
Oyster mushroom sandwich with bbq sauce, avocado and wasabi
Oyster mushroom sandwich with avocado – a hearty bite that survives even a backpack.
A salad in a jar keeps vegetables crisp because the dressing waits at the bottom and only reaches the leaves once you give it a shake. It also works great for heartier versions with pasta or legumes that won't wilt on the road. Use a jar with a good lid and layer from the bottom up: dressing, hard vegetables, softer pieces, protein, leaves on top.
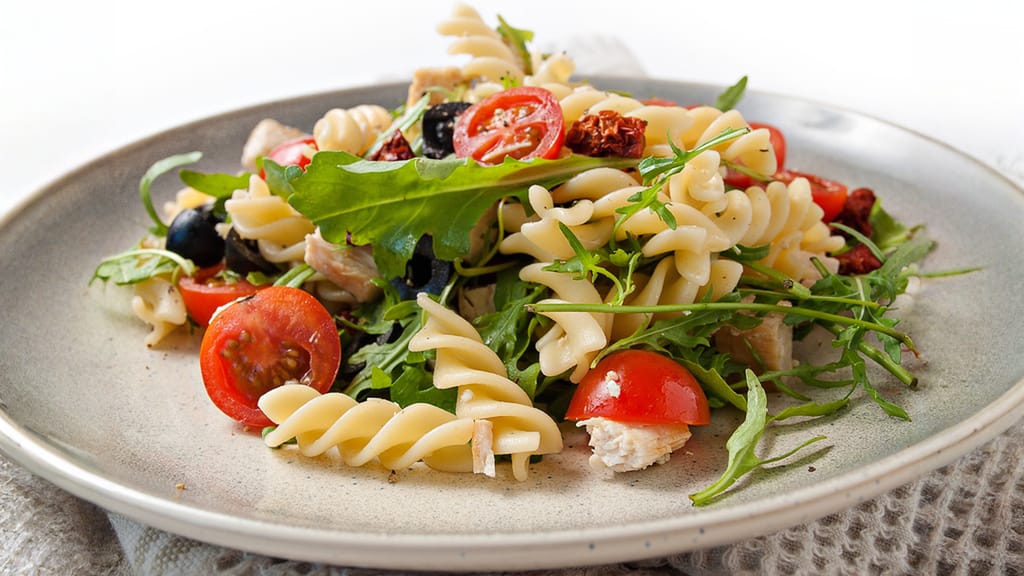
Pasta salad with chicken strips, tomatoes and arugula
Pasta salad with chicken strips and rocket – won't wilt and keeps you full on a long trip.
Soup or a stew in a thermos will warm you up when the weather isn't right for a cold snack. Pour it in boiling hot into a thermos pre-warmed with boiling water, and it'll stay hot for several hours. Thick soups and one-pot dishes work best, since they don't cool down easily.
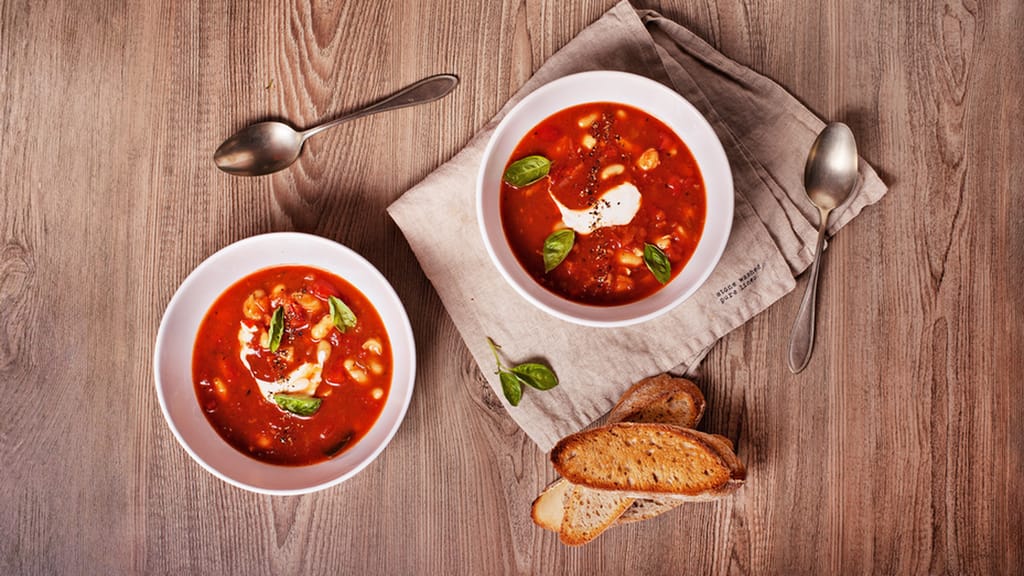
Quick tomato and bean soup
Quick tomato and bean soup – a hearty one-pot dish for your thermos.
For a quick energy boost between stops, homemade bars without added sugar are a great pick. Mix oats with nut butter, honey, and dried fruit, press into a tin, chill in the fridge until set, and cut into pieces. They'll keep in a backpack for several days without turning mushy. If you want something with more bite, try oat squares with dried fruit, too.
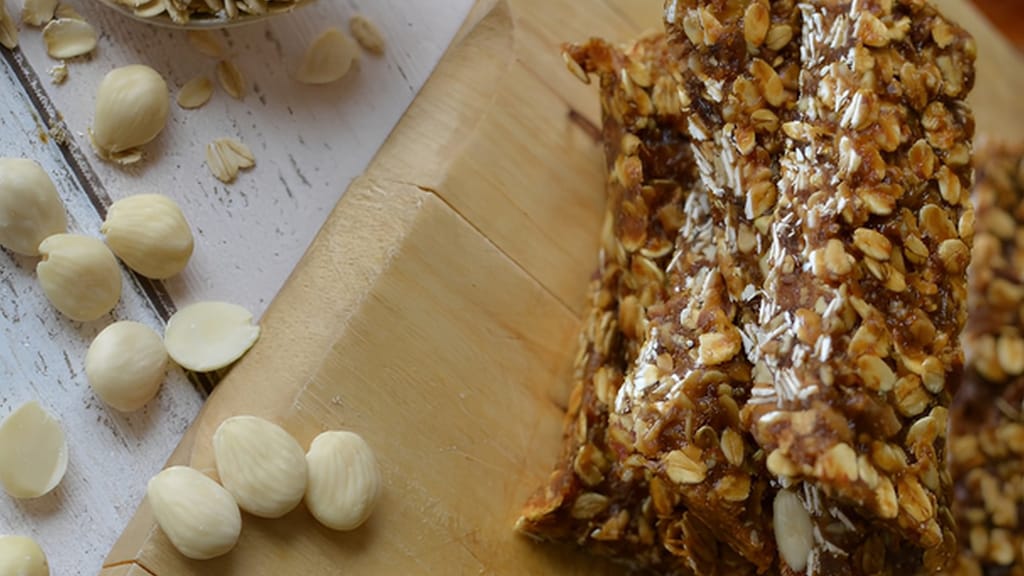
Homemade almond muesli bars
Homemade granola bars with almonds – a backpack snack that won't crumble apart.
Before you head out, run through six points: the right container for the food, sauces kept separate, a frozen gel pack, raw ingredients kept away from cooked, time outside the fridge under control, and reusable wraps. Use them to quickly double-check you've packed everything right:
Right container for the food: airtight plastic, glass, or a thermos
Dressings and sauces in separate pots
Frozen gel pack for perishable dishes
Raw ingredients kept separate from cooked food
Perishables eaten within 2 hours outside the fridge (1 hour if over 30°C/86°F)
Water and reusable containers instead of single-use ones
Perishable food in a travel container without cooling is safe for a maximum of 2 hours, or just 1 hour if it's warmer than 30°C (86°F). Below 5°C (41°F) with a frozen gel pack, or above 60°C (140°F) in a thermos, that window stretches to several hours. Shelf-stable items like bread, dried fruit, or bars can easily last all day.
A sandwich won't go soggy if you keep moist ingredients away from the bread. Put juicy tomato or cucumber slices between the cheese and meat rather than straight on the bread, or wrap them separately and add them just before eating. Wrap the whole sandwich in a wax wrap or baking paper, which lets the bread breathe, instead of plastic wrap, which traps moisture and makes it sweat.
Don't put hot food into a sealed container meant for the fridge – steam builds up under the lid, the food stays in the danger zone too long, and it spoils faster. Either let it cool down first before sealing and chilling it, or pour it boiling hot straight into a pre-warmed thermos, where it's meant to stay hot.
Foods that spoil quickly aren't suitable for travel without cooling: dishes with mayonnaise and raw eggs, fresh fish and seafood, raw or cooked meat, soft dairy products, and creamy desserts. Without a cooling pack, go for hard cheese, dried meat, bread, nuts, whole fruit and vegetables, or homemade bars instead.
Carry liquids and semi-liquids in a container with a screw-on or clip lid and a proper seal – never just a snap-on lid. Portion dressings and sauces into small screw-top pots, carry jars or thermoses lid-up, and wrap them in a tea towel inside your bag to catch any leaks and cushion against bumps.
One recipe worth heating the oven for, one tip, and one deal from the shop. Nothing else.