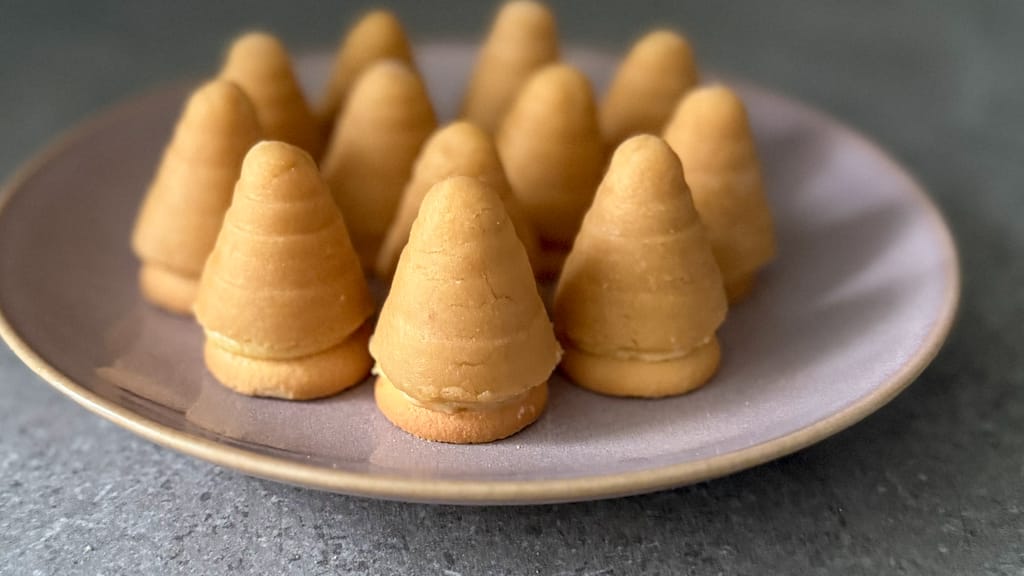
White chocolate wasp nests with mango and passion fruit
Wasp's Nest Cookie Dough: How to Press It into Molds So It Won't Crack and Unmolds Cleanly

Updated Oct 24, 2026
Wasp's nest cookie dough (Czech vosí hnízda) works when it's pliable like modeling clay: squeeze it in your palm and it holds together, doesn't stick to your fingers and doesn't crack at the edges. Press that dough into the mold in a 3–4 mm layer, chill it for 15–20 minutes, and after a light tap the nest slides right out. Here's everything about the shell – moisture, the cocoa version, thickness, chilling, unmolding and the chocolate rim that makes the nests look like they came from a pastry shop.
The dough should be pliable, cohesive and not sticky – the consistency of modeling clay, not a paste and not crumbs. Three things control that consistency: the dry component (ground ladyfingers, nuts, cocoa), the fat (butter) and the liquid (rum, milk, egg liqueur).
A rough ratio that's easy to work with:
dry component to butter roughly 3 : 1 – for example 300 g of ladyfingers and nuts combined to 100 g of softened butter,
liquid by the spoonful, usually 3–5 tablespoons in total, depending on how much the ladyfingers absorb,
room-temperature butter, not melted – melted butter leaks out of the dough and sets in the fridge into a hard, brittle shell.
The palm test: pinch off a piece the size of a walnut and squeeze it. It should stay in one piece, hold your fingerprints, and show not a single crack at the edges. Nothing should be left on your fingers except a slight greasy sheen.
Work the dough thoroughly with your hands for at least 2–3 minutes. The warmth of your palms spreads the butter among the crumbs, and only then does the dough come together – mixed with just a wooden spoon, it tends to stay crumbly even when it has enough liquid. We're still preparing a classic ladyfinger-and-nut dough recipe on Yumsto; here the point is to recognize when the dough is ready.
Cracking dough is too dry, sticky dough is too wet or too warm – and either can be fixed in a minute.
Cracks at the edges, crumbles: add 1 teaspoon of liquid, work it in and try the palm test again. Go by teaspoons, not tablespoons – the gap between "crumbly" and "sticky" is often just one tablespoon.
Sticks to your fingers and the mold: mix in 1–2 tablespoons of finely ground ladyfingers. They thicken the dough without changing the flavor.
Greasy and smears around the mold: it isn't short on dry ingredients, it's just warm. Wrap it in plastic and chill it in the fridge for 15 minutes. The butter firms up and the dough can be shaped again.
Cracked this morning, was fine last night: dough from the fridge is cold and the butter in it is hard. Leave it on the counter for 10–15 minutes, then knead it briefly.
The most common mistake is to keep pouring in rum until the dough "comes together". It only comes together when you knead it – if you add liquid before you've worked it in, you end up with a sticky mass that won't come out of the mold.
Cocoa dries out the dough – it soaks up liquid much like flour does, so cocoa wasp's nests need a little more moisture than purely nut ones.
For every 2 tablespoons of cocoa, count on roughly 1 extra tablespoon of liquid.
Use unsweetened Dutch-process (alkalized) cocoa, not a cocoa drink mix. The mix is mostly sugar and makes the dough sticky and too sweet.
A cocoa shell is dark, so fine hairline cracks don't show. That doesn't mean they aren't there – do the palm test just as carefully.
The bitterness of cocoa balances a sweet yolk or egg filling beautifully. If you want the contrast even stronger, replace part of the cocoa with finely grated dark chocolate – the dough will also be more elastic, because the cocoa butter in the chocolate acts as extra fat.
Press the dough into the mold in an even layer 3–4 mm thick, from the tip to the rim. A thinner wall cracks when you unmold; a thicker one is heavy, doesn't blend with the filling, and the nest tastes more like a nut ball.
Pinch off a ball of about 10–12 g (for standard metal molds around 4 cm across).
Place it in the mold and press it with your thumb from the center out to the walls in a circular motion until it reaches the rim.
Don't skip the tip – that's where the dough thins most often, and the top of the nest then caves in.
Level the rim exactly with the edge of the mold and trim off the excess with a knife. A rim that sticks out tears off when you unmold; a rim below the edge won't hold the filling.
Look at it against the light or press with a finger: where the dough is thin, add more – don't try to spread it there.
Wipe your hands on a dry towel between pieces. Greasy fingers leave a slippery spot on the wall that the next bit of dough won't stick to.
Wasp's nests unmold cleanly when the dough is chilled, the mold is prepared and you turn it out decisively, not gingerly.
Prepare the molds in advance. Grease them thinly with butter and dust with powdered sugar, tapping out the excess. The alternative is to line the mold with a small circle of plastic wrap – you then lift the nest out by the wrap and nothing sticks, though the surface won't be quite as smooth.
Chill. Put the filled molds in the fridge for 15–20 minutes. The butter in the dough firms up, the shell shrinks slightly and pulls away from the metal. Not the freezer – frozen dough is brittle and cracks when you tap it.
Tap. Turn the mold upside down and rap its rim sharply once on a cutting board. The nest should slide out on its own.
If it won't come out: stick a toothpick into the center (into the filling or the sponge base) and pull gently. Or hold the mold in a warm palm for 2–3 seconds – the thin layer of butter by the wall softens.
Metal molds unmold better than plastic ones: they chill faster in the fridge and the smooth metal releases the dough more willingly. If your nests only leak after filling, the problem is the filling, not the shell – we have a separate article on why wasp's nests leak and how to keep them together, and you'll find a choice of fillings that won't turn soggy in what to fill wasp's nests with.
Dip the nests chilled, holding them by the tip, about 5 mm deep with the wide rim into tempered chocolate, let the excess drip off, and set them rim-down (on the base) on baking paper. The dipped rim covers the seam between the shell and the sponge base, firms it up, and the nest looks neat.
What to dip them in – an honest comparison. You have four options: tempered chocolate, merely melted chocolate, supermarket baking chocolate and cocoa coating.
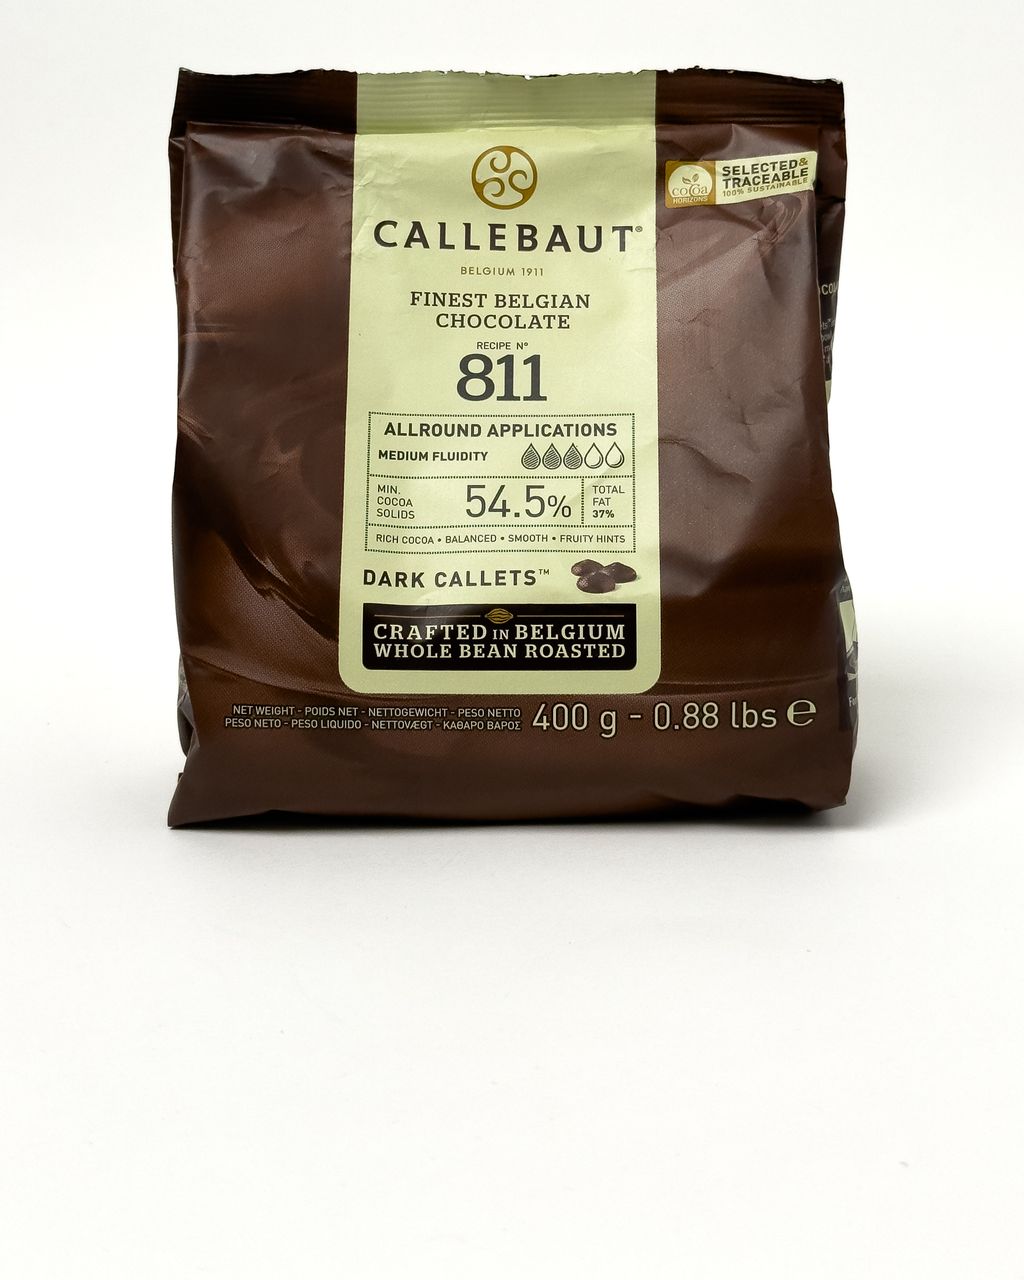
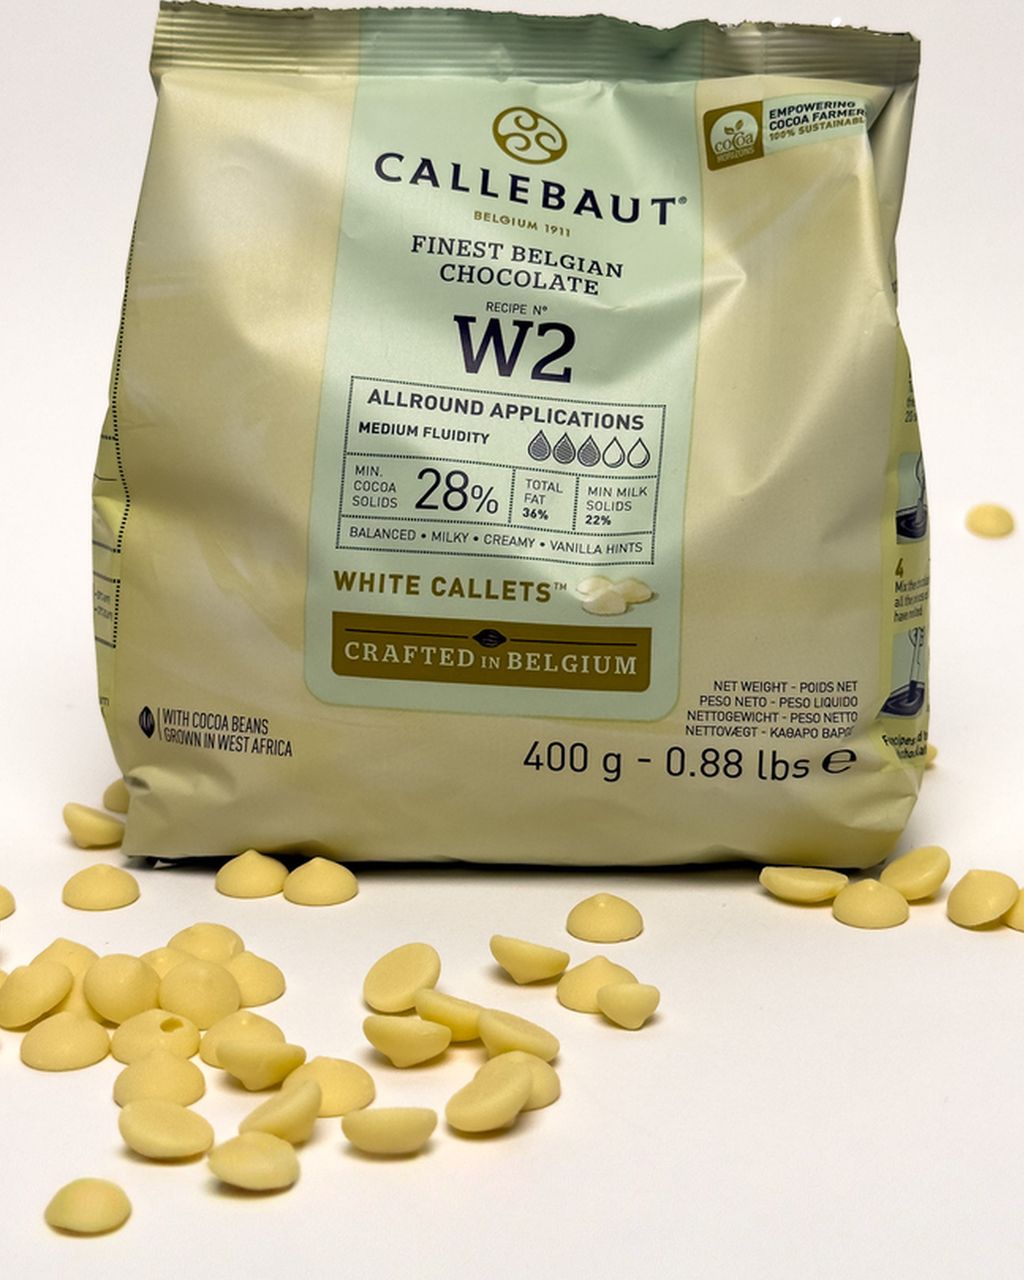
Real chocolate, tempered. The best flavor, shine and snap, and the rim doesn't smear on fingers. Dark Callebaut 811 has a working temperature of around 31–32 °C, white Callebaut W2 around 28–29 °C (according to the manufacturer). The callets weigh out easily and melt quickly and evenly.
Real chocolate, just melted. It works, but without tempering it tends to be dull, turns gray and sticks in the warmth. If you don't want to temper, add about 10% coconut fat to the chocolate – the rim will be shinier and softer, just not as crisp.
Supermarket baking chocolate. Usable, but it often has less cocoa butter, is thicker, and the rim comes out thicker and uneven.
Cocoa coating. The easiest: no tempering and it sets immediately. But it's made with vegetable fat instead of cocoa butter, so it tastes flat and waxy – a shame for cookies you bake once a year.
Dark chocolate is the classic with cocoa dough and a nut filling. White makes a striking contrast on a dark shell and suits fruity or vanilla fillings. Dip only chilled nests: on warm dough the chocolate takes a long time to set and runs down.
On Yumsto, our wasp's nest recipe so far is a modern white chocolate version: white chocolate wasp's nests with mango and passion fruit. The classic nut and cocoa recipe is in the works.
For more ideas for your holiday platter, browse our Christmas cookie recipes.
White chocolate wasp nests with mango and passion fruit
White chocolate wasp's nests with mango and passion fruit
Yes, the dough keeps wrapped in plastic in the fridge for 1–2 days. Before shaping, leave it on the counter for 10–15 minutes so the butter softens, then knead it briefly – cold dough otherwise cracks when you press it in.
Replace the rum with the same amount of milk or orange juice. A few drops of rum flavoring will bring back the rum aroma; add the liquid a teaspoon at a time, just as you would the rum.
Wasp's nest cookies turn out hard because of melted butter, a shell that's too thick or dough that's too dry. Melted butter sets into a firm crust in the fridge, a wall thicker than 4 mm doesn't have time to soften from the filling, and dough with too little liquid stays crumbly and hard. Time helps too: let the cookies rest for 1–3 days in a sealed box and the shell will soften from the filling.
Wasp's nest cookies are best after 1–3 days in a sealed box in the fridge. How long they keep overall depends mainly on the filling – a butter or egg yolk filling spoils sooner than the shell itself. The shell gradually absorbs moisture from the filling and softens, and the flavors come together during that time.
One recipe worth heating the oven for, one tip, and one deal from the shop. Nothing else.