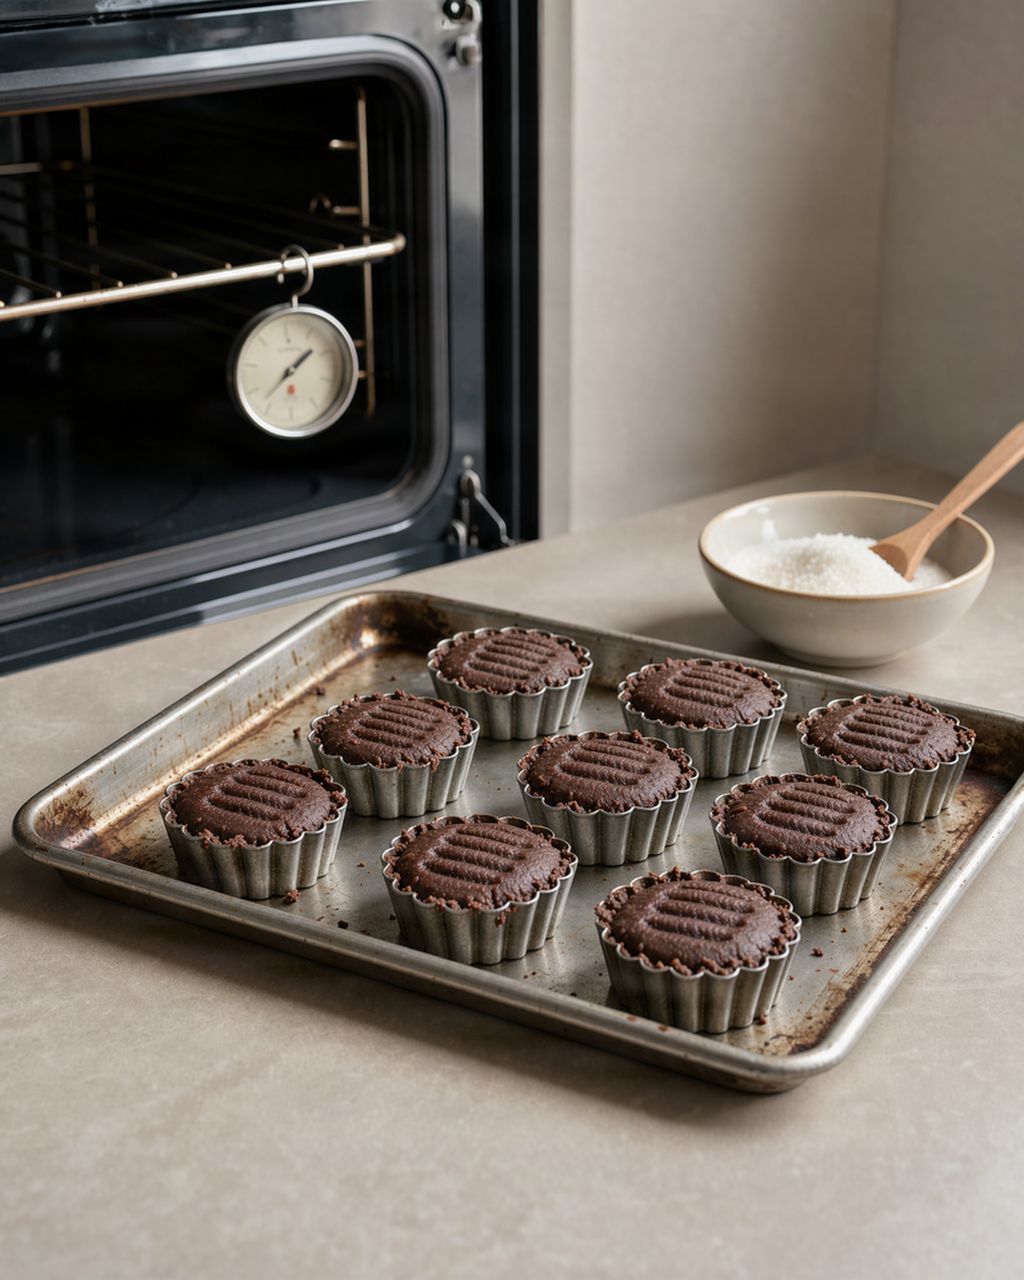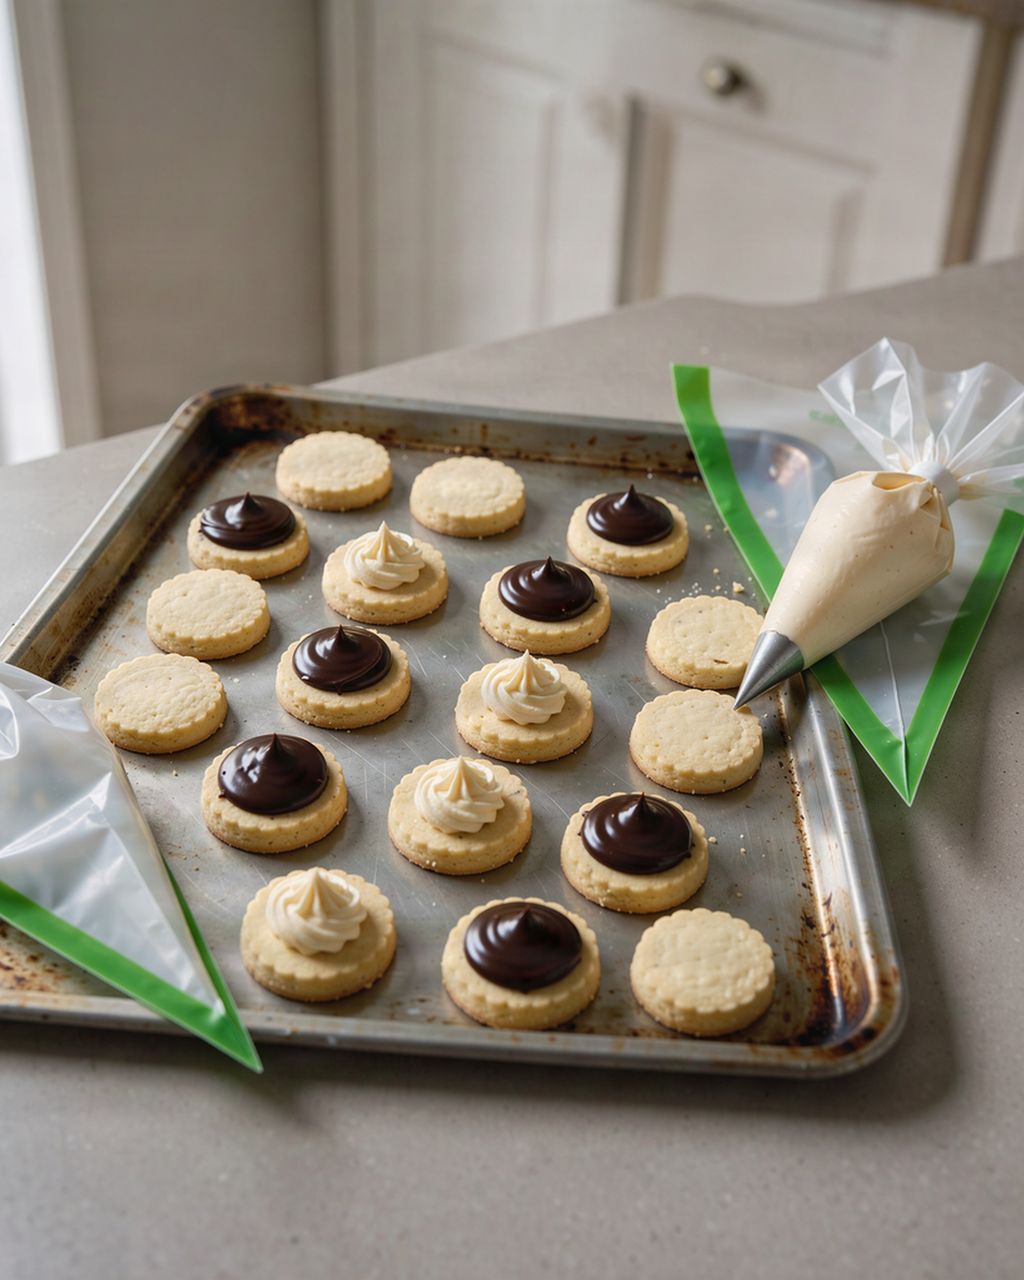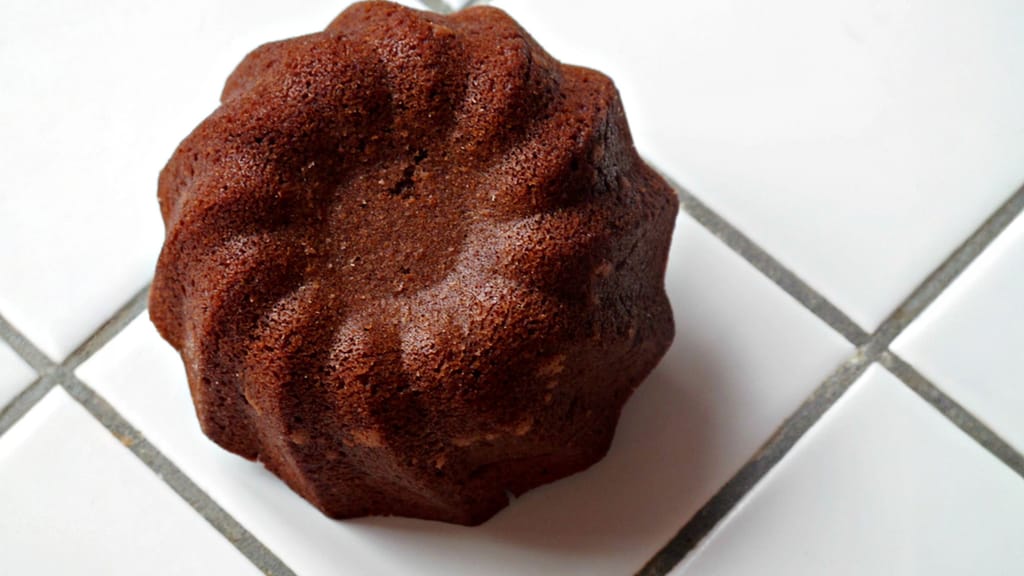
Little chocolate bundt cakes with ganache
How to Melt Chocolate Without Lumps: Methods, Temperatures & Rescue Tips

Updated Oct 17, 2026
How to melt chocolate without lumps: break it into evenly sized pieces and heat it gently, indirectly and dry — in a double boiler, in the microwave in 20–30 second bursts, or in a 50 °C (122 °F) oven — and watch the temperature: dark chocolate up to 45–50 °C (113–122 °F), milk and ruby up to 40–45 °C (104–113 °F), white up to 40 °C (104 °F) (manufacturers allow up to 45 °C / 113 °F). The common thread is always the same: gentle heat, not a drop of water and plenty of stirring.
A double boiler is the gentlest way to melt chocolate, the microwave is the fastest, and the oven is the most convenient for large amounts. An induction hob works too, but only if you watch it closely.
Double boiler — the safest; you keep the temperature under control even without a thermometer; about 5–10 minutes for 200 g.
Microwave — the fastest, ideal for 100–300 g in a glass measuring jug; roughly 1–3 minutes in short bursts.
Oven at 50 °C (122 °F) — convenient for 300 g and more, with almost no supervision; roughly 15–25 minutes.
Induction / hob — only on the lowest setting in a heavy-bottomed pan, or as the heat source for a double boiler.
Whichever you choose, you'll recognize a good result the same way: properly melted chocolate is smooth, glossy and runs off a spatula in a continuous ribbon.
A double boiler melts chocolate most gently — you set a bowl of broken chocolate over a pot of hot (not boiling) water so the bottom doesn't touch the water, and stir until it melts. The indirect heat from the steam keeps the chocolate below the critical threshold, so it won't scorch or turn grainy. That's why pastry chefs and home bakers alike rely on it: you keep the temperature under control even when you aren't measuring it.
Choose the right bowl. Use stainless steel or glass — both conduct heat evenly. It must be wider than the pot so it sits on the rim and doesn't let steam escape inside.
Prepare the water bath. Pour about two fingers of water (roughly 3–4 cm / 1–1½ in) into the pot, bring it to a boil, then turn it down to a gentle simmer. The bottom of the bowl must stay a couple of centimeters above the surface — it must not touch the water.
Break up and melt. Break the chocolate into evenly sized pieces (they'll melt evenly) and tip them into the bowl. Stir only occasionally at first, then steadily with a spatula toward the end, until the last lumps disappear.
Watch the steam and temperature. Once two-thirds is melted, lift the bowl off the pot and finish stirring away from the heat — the residual heat melts the rest and protects the chocolate from overheating.
Properly melted chocolate is smooth, glossy and runs off a spatula in a continuous ribbon. If it thickens or turns dull, the temperature got too high — below you'll find how to rescue it. After taking the bowl off, always wipe its bottom with a kitchen towel: drops of condensed steam are the most common way water gets into chocolate.
In the microwave, melt chocolate at medium power (around 500–600 W) in 20–30 second bursts, stirring after each one. It's the fastest method, but also the one where chocolate scorches most easily — hence the short bursts and stirring in between. As a rough guide: 100 g needs about 1–1½ minutes in total, 200 g about 2–3 minutes.
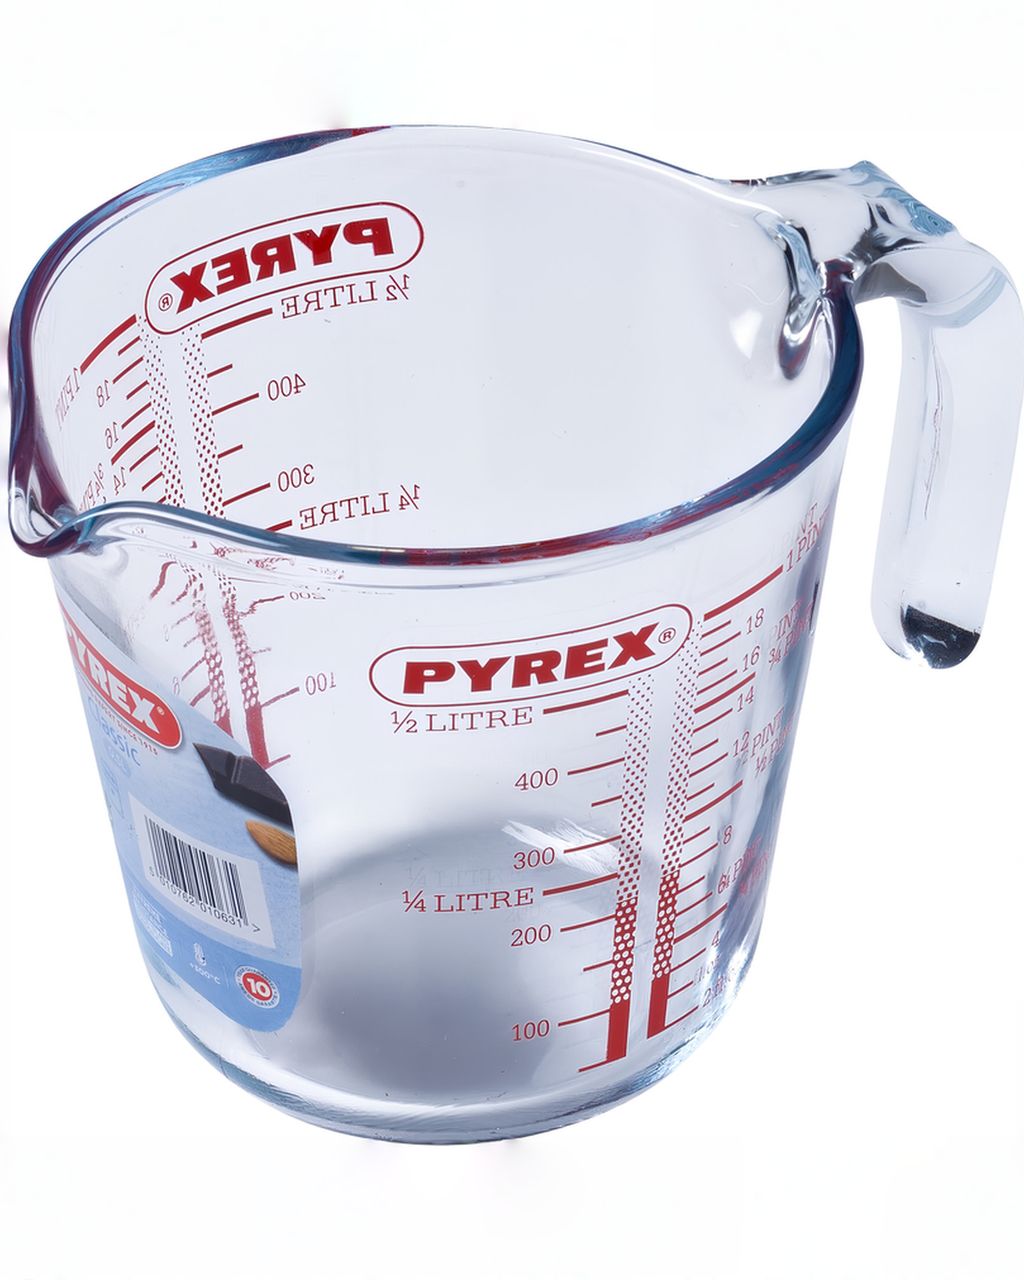
Melt it in a glass measuring jug. Glass doesn't absorb odors; a tall, narrow vessel keeps the chocolate in a compact layer, so it heats more evenly, and the spout lets you pour it straight out. A 0.5 l Pyrex glass measuring jug comfortably holds 200–300 g of callets. Just remember that glass holds heat — the chocolate keeps melting for a while after you take it out, so pull it out a little early.
Set medium power. Full power heats unevenly and creates hot spots. Half to two-thirds power slows the melting down just enough to keep it under control.
Heat in 20–30 second bursts. Use shorter bursts toward the end (10–15 s). Chocolate in the microwave holds its shape even after it has melted, so don't go by eye — you'll only know once you stir.
Stir after every cycle. A silicone spatula spreads the heat from the melted parts into the rest and melts the pieces that are still holding their shape. Stirring also exposes any graininess before it turns into a lump.
Stop in time. If you smell burning or see smoke, the chocolate is lost and can't be saved. It's better to take off a few seconds and add another burst than to run one too many. If just a few unmelted pieces remain, let them melt by stirring.
In the oven, you can melt chocolate at 50 °C (122 °F) in a glass or ceramic bowl in roughly 15–25 minutes, stirring every 5 minutes. It's the most convenient route for larger amounts (300 g and more) — the heat is dry and even, and it won't scorch the chocolate from any side.
Preheat the oven to 50 °C (122 °F) (top and bottom heat). Don't set a higher temperature, even if you're in a hurry — the chocolate would overheat around the edges of the bowl.
Spread the chocolate in a thin layer in a wide ovenproof bowl or a baking dish. The thinner the layer, the faster and more evenly it melts.
Stir every 5 minutes and check each time how much is left. As soon as most of it is liquid, take it out and finish stirring outside the oven.
Many ovens heat differently at such a low setting than the dial shows — easily by 10–20 °C (18–36 °F) more. If you're not sure, check the real temperature with an oven thermometer, or leave the door slightly ajar.
The safest way to melt chocolate on induction is to use the hob as the heat source for a double boiler; directly in a pan, use only the lowest setting, a heavy-bottomed pan and constant stirring. Induction heats the base of the pan itself very quickly, and the levels on the hob indicate power, not temperature — "1" doesn't mean 40 °C (104 °F), and the base can get far hotter within moments.
Chocolate reacts sharply to temperature — any rapid rise will scorch it on the bottom or seize it into lumps. So work on the lowest power, lift the pan off the hob every so often, and regularly scrape the chocolate off the bottom with a spatula so the heat spreads evenly and nothing sticks. Some hobs have a keep-warm or "melt" function (around 40–45 °C / 104–113 °F) — that suits chocolate best. If you want to be certain, monitor the temperature with an instant-read probe thermometer.
Each type tolerates a different temperature: melt dark chocolate up to 45–50 °C (113–122 °F), milk up to 40–45 °C (104–113 °F), ruby up to 40–45 °C (104–113 °F) and white up to 40 °C (104 °F) (manufacturers allow up to 45 °C / 113 °F). A simple rule applies — the more milk and sugar a chocolate contains, the more sensitive it is and the lower you need to keep the temperature. The difference lies in the proportion of cocoa solids, cocoa butter and milk components, which we explain in detail in our article on the differences between dark, milk and white chocolate.
Dark: melting 45–50 °C (113–122 °F), working temperature after tempering 31–32 °C (88–90 °F)
Milk: melting 40–45 °C (104–113 °F), working temperature 29–31 °C (84–88 °F)
Ruby: melting 40–45 °C (104–113 °F), working temperature around 29 °C (84 °F)
White: melting up to 40 °C (104 °F) (manufacturers allow up to 45 °C / 113 °F), working temperature 28–29 °C (82–84 °F)
These values are deliberately cautious — manufacturers such as Callebaut give melting up to 45 °C (113 °F) for milk, white and ruby; for a specific chocolate, it's worth checking the packaging, where the temperature curve is often printed.
Melt dark chocolate up to 45–50 °C (113–122 °F) — above that, the cocoa particles start to scorch and the flavor turns bitter. Of all the types, it withstands heat best, because it has the highest share of cocoa solids and the most pronounced flavor. On the packaging, fluidity is often marked with drops – the more drops, the thinner the chocolate after melting.
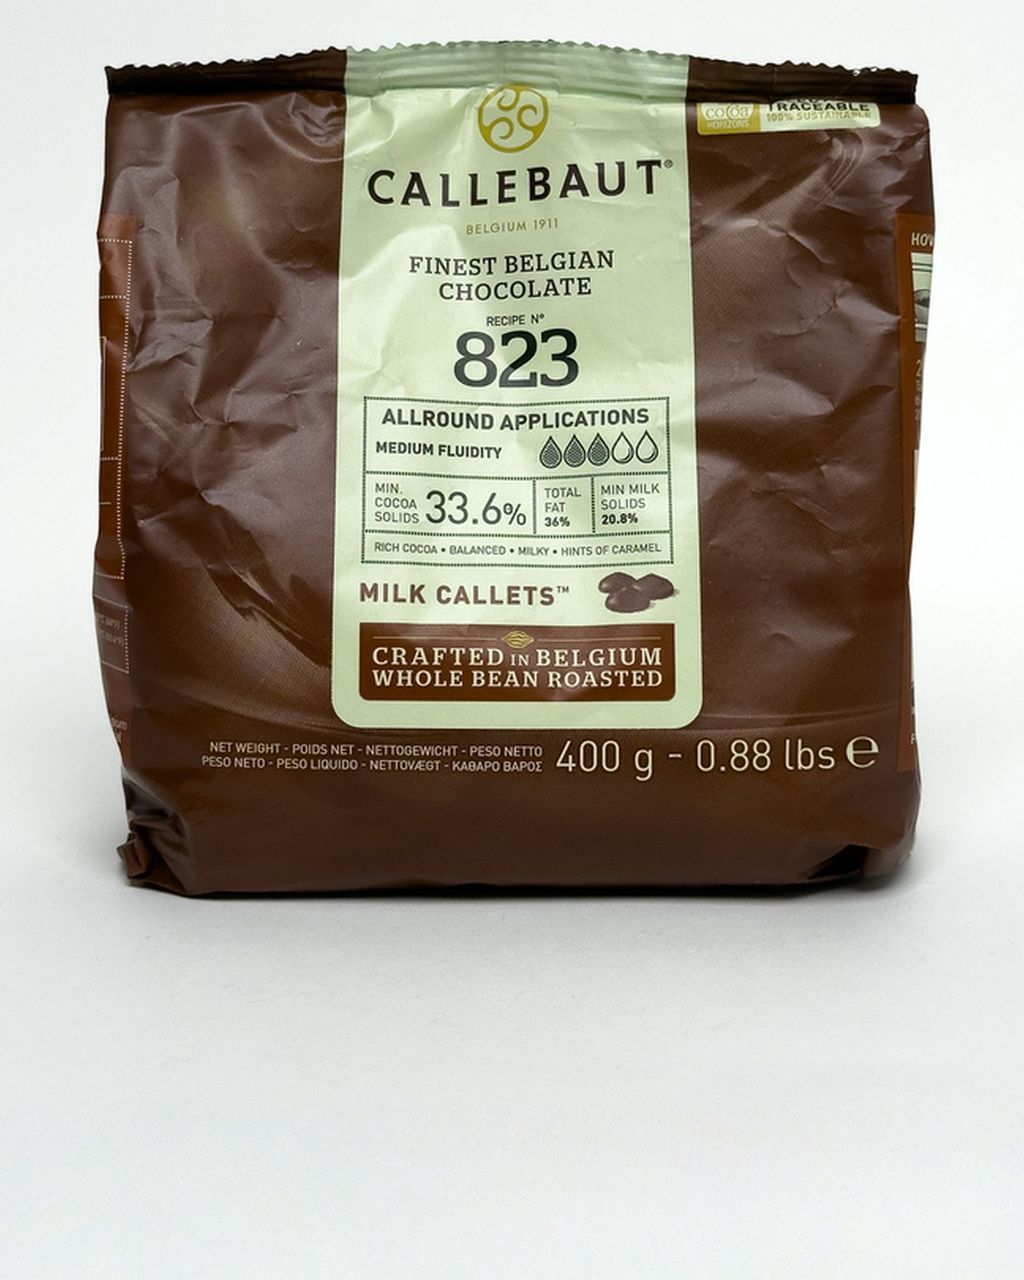
Melt milk chocolate at 40–45 °C (104–113 °F). It has fewer cocoa solids and more sugar and milk powder, so it scorches more readily than dark. At higher temperatures the milk proteins and sugar turn grainy and the chocolate thickens into a gritty paste — you can still rescue it with the method below, but once it starts to smell burnt, it's too late.
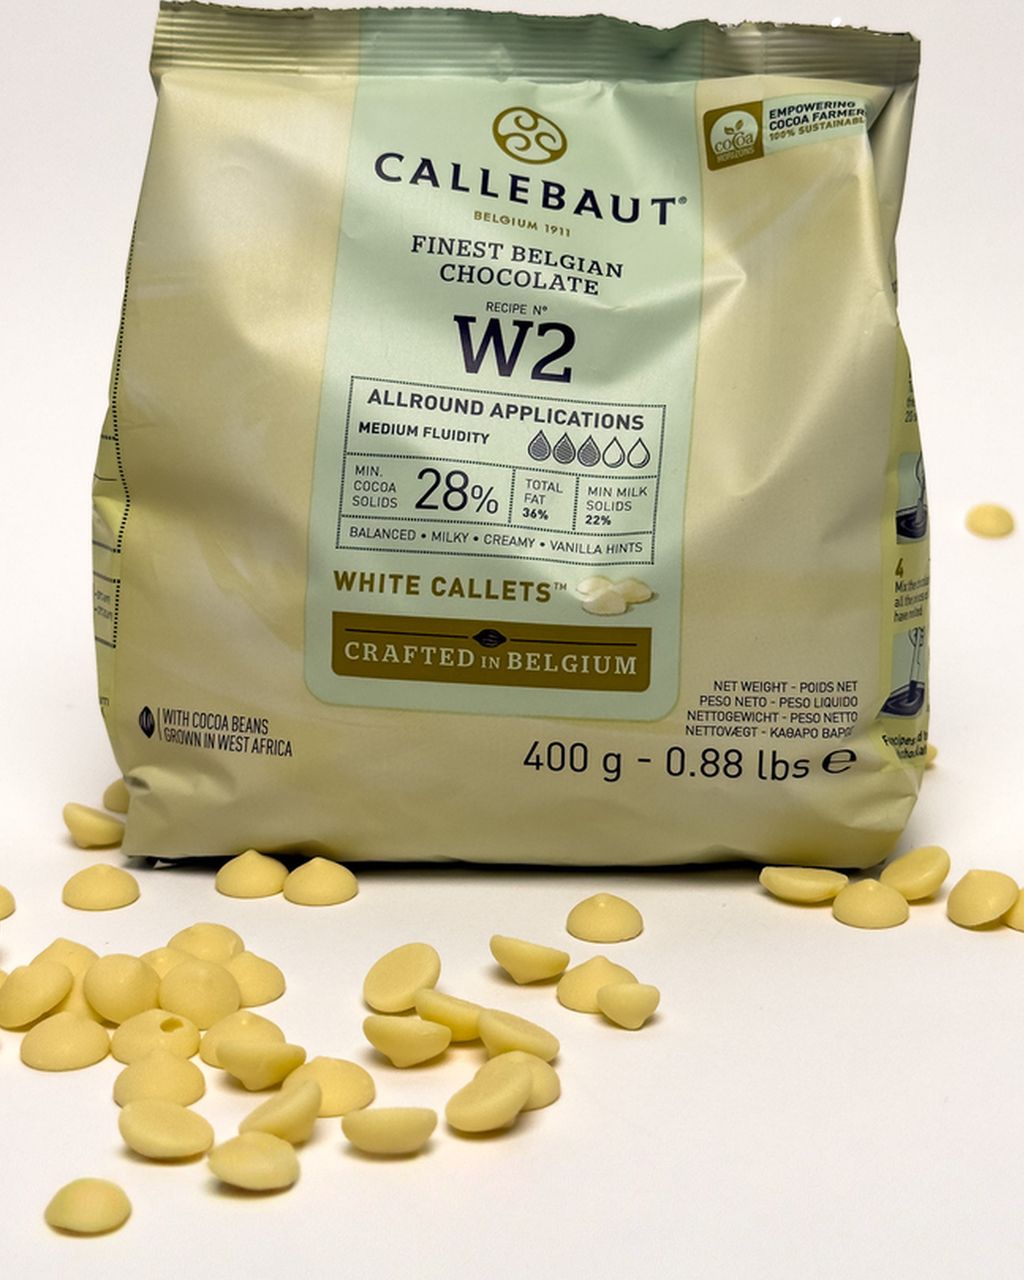
Melt white chocolate up to 40 °C (104 °F) (manufacturers allow up to 45 °C / 113 °F) and watch it more carefully than any other kind. It's made from cocoa butter, sugar and milk — it lacks the non-fat cocoa solids that would dampen the heat, which is why it's the most delicate; when overheated, it turns yellow, thickens and goes grainy. In a double boiler, take it off the heat early and finish stirring with the residual heat. You'll find all the tricks in our guide on how to melt white chocolate without it seizing.
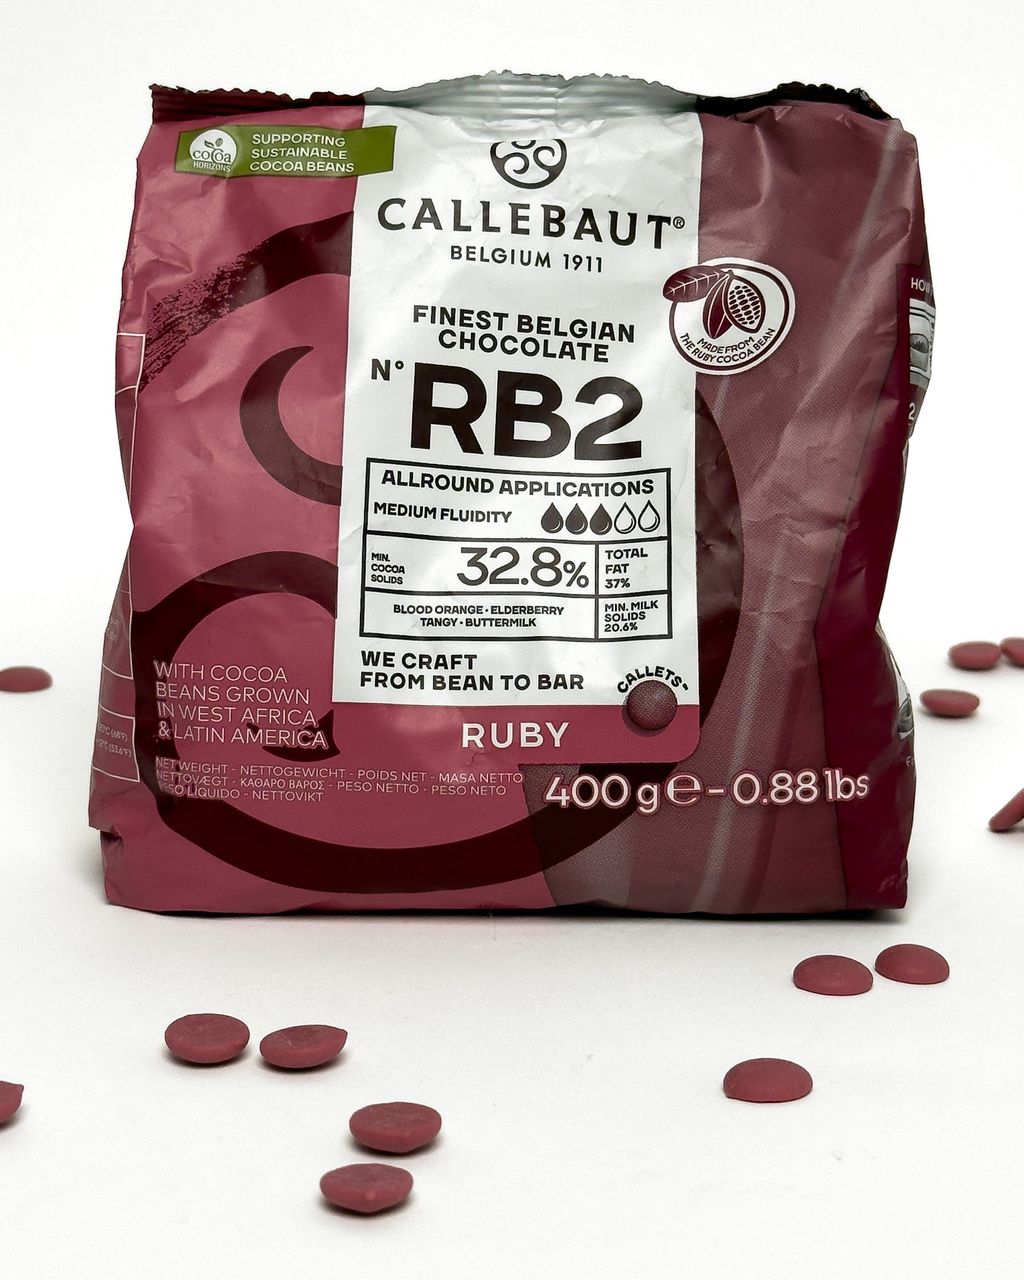
Ruby chocolate melts much like milk chocolate — up to 40–45 °C (104–113 °F), in a double boiler or in the microwave in short bursts. It's made from specially processed cocoa beans, and no coloring gives it its pink color or its fruity, slightly tart flavor. Both are sensitive: overheating turns the color brown and dull, and the flavor loses its freshness. So heat it slowly and don't let it sit in the warmth for long. If you'd like to try it for pralines or glazing, reach for couverture such as Callebaut Ruby RB2 callets — they melt evenly and have the temperature curve right on the packaging.
You only need to temper melted chocolate for pralines, decorations and chocolate that should keep its shine and snap once set; for a glaze you'll eat right away, tempering isn't necessary. Tempering is a controlled heating, cooling and reheating to working temperature (around 31–32 °C / 88–90 °F for dark, 29–31 °C / 84–88 °F for milk, around 29 °C / 84 °F for ruby, 28–29 °C / 82–84 °F for white), which lets the cocoa butter crystallize into a stable form. The result is a glossy surface and a crisp snap when broken. You'll find the whole method in our guide on how to temper chocolate for a perfect shine.
Four mistakes most often ruin chocolate: moisture, overheating, unevenly sized pieces and poor-quality ingredients — such as cheap cocoa coating made with cocoa butter substitutes. Luckily, all four are easy to avoid.
Moisture. Even a drop of water makes chocolate seize into a stiff, grainy mass. Use perfectly dry bowls and spatulas, don't cover the bowl with a lid, and in a double boiler make sure condensed steam doesn't drip into the bowl.
Overheating. Heat slowly and measure the temperature — dark up to 45–50 °C (113–122 °F), milk and ruby up to 40–45 °C (104–113 °F), white up to 40 °C (104 °F). A thermometer is more reliable than guessing by eye; if you don't have one, dab some chocolate on your lower lip — it should feel only lukewarm, not hot.
Unevenly sized pieces. Small pieces melt and overheat before large ones even soften. Break the chocolate into 1–2 cm (½–¾ in) pieces, or work with callets right away.
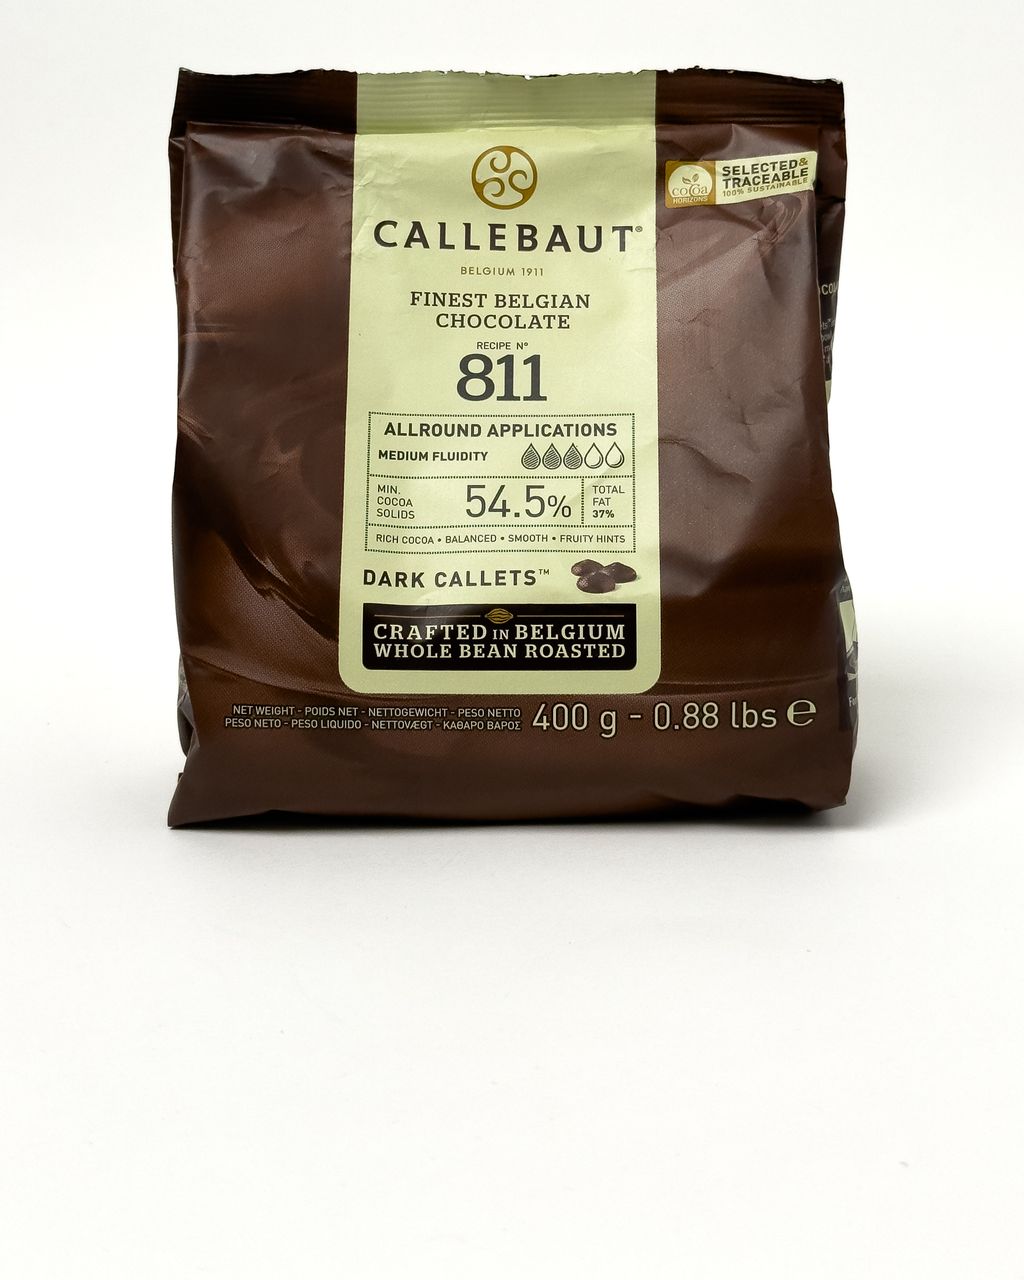
Ingredient quality. Good chocolate with real cocoa butter, such as Callebaut 811 dark chocolate callets, melts smoothly and evenly; cheap cocoa coatings with vegetable fats and too much sugar turn grainy and are harder to work with. On the packaging, look for cocoa butter in the ingredients and ideally the name chocolate coating – that's the legal designation for couverture (at least 31% cocoa butter). Beware of similar-sounding cocoa, fat-based or confectioner's coatings, which contain vegetable fats.
For a fluid, glossy glaze, you don't thin chocolate with water but with fat or a warmed liquid: cocoa butter (5–10% of the weight) for a pure chocolate glaze, unsalted butter or coconut oil (a teaspoon per 100 g) for a runny dipping glaze, cream or milk for a supple ganache-style glaze (roughly a 2:1 ratio), or a plant-based drink; glucose syrup then keeps the glaze flexible. The goal is always the same — the chocolate flows beautifully, spreads easily and doesn't stay hard or brittle once set. We cover the detailed ratios for each use in our article on how to thin chocolate so it flows better.
Cocoa butter is the best choice because it's a natural part of chocolate. Add 5–10% of the chocolate's weight and let it melt together — the glaze stays smooth and glossy.
Butter (unsalted only) adds smoothness and shine; about a teaspoon of softened butter per 100 g of chocolate is enough, stirred in slowly.
Coconut oil suits dipping glazes — a teaspoon per 100 g thins the chocolate. Don't overdo it, or the glaze won't set properly. Chocolate thinned this way coats soft honey gingerbread or the tips of vanilla crescent cookies beautifully; for how to do it without smudging, see our guide on dipping cookies in chocolate.
Whipping cream (at least 30% fat) makes the glaze supple and flexible, so it doesn't crack when you slice it. For a light softening, say for cookies, 1–2 tablespoons per 100 g of chocolate is enough. For a fluid, pourable glaze, keep a 2:1 ratio (two parts chocolate to one part cream, so roughly 50 g cream per 100 g chocolate). Warm the cream beforehand, but don't boil it — if it's too hot, it will seize the chocolate. If the finished glaze is too thick, add warm cream gradually in small amounts.
Milk should be added carefully and gradually to chocolate that's already melted; cold milk will seize it.
Condensed milk sweetens and thickens chocolate — great for fudge, but usually too thick for a classic fluid glaze.
Glucose syrup keeps the glaze flexible and stops it from hardening — a teaspoon per 100 g is enough, especially for glazes and soft decorations.
Plant-based drinks (almond, coconut, oat) are used much like milk, but they affect both flavor and consistency: coconut adds an exotic note, almond a light sweetness. Add them lukewarm and gradually.
The biggest mistake when thinning chocolate is water — even a small amount will seize it. Avoid sudden temperature jumps too: cold cream or milk poured into hot chocolate creates lumps. And add fats gradually — too much of them keeps the glaze from setting properly.
Little chocolate bundt cakes with ganache
Chocolate mini bundt cakes with glaze — melted chocolate in practice
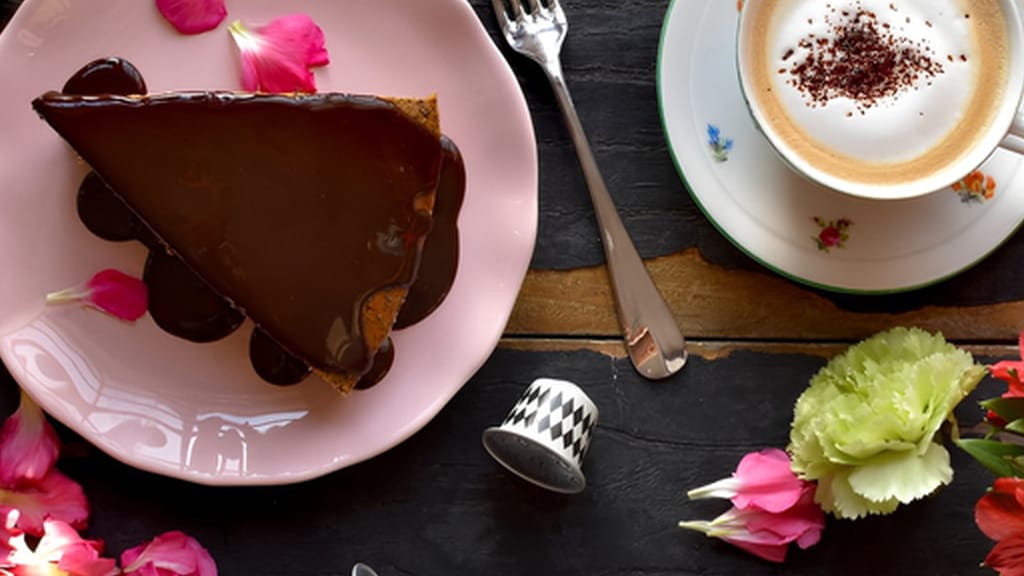
Quick whole poppy seed cake with chocolate ganache
Quick whole poppy seed cake with chocolate glaze
You can usually rescue seized chocolate by stirring in a warm liquid a spoonful at a time and whisking it smooth again — paradoxically, more liquid helps, not less. Choose the right approach depending on the cause:
seized from water or steam → add more hot liquid and turn it into a glaze,
overheated and grainy → cool it down and stir in fresh chocolate,
ganache or glaze turns lumpy, the fat separates or it's too thick → see the methods below.
The only chocolate you can't rescue is burnt chocolate — you'll recognize it by its bitter, smoky smell and dark, hard bits. Throw it away; you won't get the flavor back.
To rescue chocolate that has seized from water, stir in more hot liquid a spoonful at a time (about 1 teaspoon per 50 g) and whisk it smooth. When water or steam gets into chocolate, the sugar and cocoa solids soak up the moisture and clump together, and within seconds the mass thickens into a dull, stiff lump. So stir in boiling water, hot milk or cream one spoonful at a time and whisk vigorously until the mixture comes back together smoothly. Usually 2–4 teaspoons is enough.
The result is no longer pure chocolate but a thick sauce or soft glaze — great for a cake, for hot chocolate, for fudgy brownie batter or as a fruit dip. It's no longer suitable for tempering, pralines or dipping cookies that need to set hard.
To rescue overheated, grainy chocolate, immediately pour it into a cold, dry bowl and stir in about a quarter of its weight in fresh chopped chocolate. You can recognize it by the way it thickens, turns dull and feels gritty, but doesn't yet smell burnt. The cold bowl stops further heating, and the fresh chocolate lowers the temperature and adds smooth cocoa butter. If grains remain, strain it through a fine sieve. If it's very thick, a teaspoon of melted cocoa butter or neutral oil will help.
To bring lumpy chocolate and cream or milk back together, add a little more warm liquid and stir slowly from the center. Lumps form when there was too little liquid at the start or it was too cold, so the mixture didn't have time to come together into an emulsion. Pour in warm (not hot) cream or milk a tablespoon at a time and stir until the mixture comes together smoothly. If it stays grainy, warm it gently over a double boiler and keep stirring.
To bring separated fat in melted chocolate back together, stir in a little warm cream or milk and keep stirring until the mixture comes together. If that isn't enough, run an immersion blender on low speed through the mixture — it re-emulsifies the fat and brings back the chocolate's smoothness.
Thin chocolate that's too thick with small amounts of cocoa butter or coconut oil. It softens the chocolate so it can be spread again, without spoiling the texture.
The white or grayish coating is called bloom — cocoa butter or sugar that has crystallized on the surface. It is not mold. It appears when chocolate isn't tempered, is cooled too abruptly, or is stored somewhere warm and humid. It's harmless to the taste and just dulls the shine. To get rid of it, melt the chocolate again and temper it — if you only melt it without tempering, the coating will come back as it sets.
Ideally, use melted chocolate right away, but you can let it cool and set, then melt it again later — pure chocolate with no added liquid can take this repeatedly. Once you've stirred cream or butter into it, treat it as a glaze or ganache: keep it in the fridge and use it within a few days.
Only fat-based (oil-based) colorings belong in chocolate — water-based and gel colorings seize it into lumps instantly, because they act like added water. If you want to color chocolate, reach for a powder or an oil-based coloring made specifically for chocolate and stir it into the already melted chocolate.
Callets melt more evenly and quickly because they're all the same size and you don't have to chop anything — that's why pastry chefs use them. Bar chocolate works too; just break it into evenly sized pieces beforehand so it all melts at the same time. Either way, go for real chocolate made with cocoa butter, not a cocoa coating made with vegetable fat (on the packaging, you can tell because it isn't allowed to be called chocolate).
It's better to melt at least 80–100 g at a time — a small amount heats up faster than you can react and is easier to scorch. If you only need a few squares, say for decoration, melt them in a small bowl over a larger water bath and take it off the heat as soon as two-thirds are melted; the residual heat will melt the rest.
Chocolate with whole nuts or raisins melts normally, the pieces just stay in it — strain it through a sieve for glazing, or fish them out. Don't use chocolate with a creamy, caramel or liqueur filling for melting: the filling contains water and other fats that will seize the chocolate or keep it from setting.
One recipe worth heating the oven for, one tip, and one deal from the shop. Nothing else.