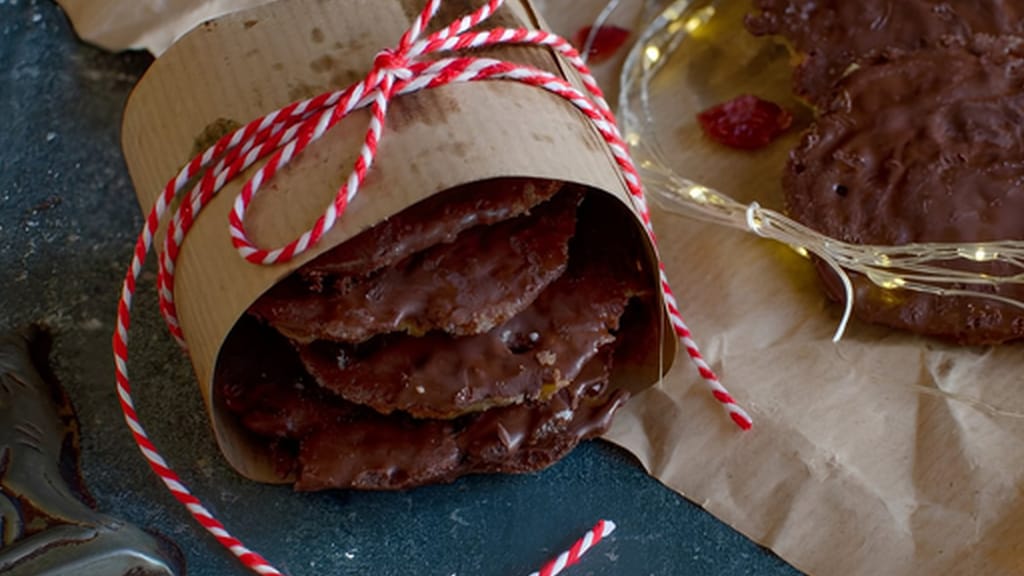
Chocolate-dipped marokánky (hazelnut florentine cookies)
How to Thin Chocolate So It Flows Better
Updated Sep 17, 2026
To thin chocolate, add fat — ideally cocoa butter at a ratio of 5–10 g per 100 g of chocolate, or half to a full teaspoon of a neutral oil. Never water or milk — and only use cream if you're making a ganache, not a coating that's meant to set with a snap. Often you don't need to add anything at all: just raise the temperature by a couple of degrees. Below you'll find exact ratios, working temperatures, and a simple test to tell when the consistency is exactly where you want it.
You thin chocolate with fat — cocoa butter, powdered cocoa butter, a neutral oil, hardened coconut fat, or (for ganache only) cream. Pick based on how you want the coating to set in the end:
Cocoa butter – 5–10 g per 100 g of chocolate. Keeps the shine and the snap, and doesn't affect the flavour at all. The best choice for dipped cookies, bonbons, and anything that should crack cleanly when bitten.
Powdered cocoa butter (Mycryo) – 1 g per 100 g; couverture manufacturers list 1% (10 g per 1 kg) as the standard dose. It dissolves instantly and is easy to dose precisely.
Neutral oil (rapeseed, sunflower, refined coconut) – recommended dose is ½ to 1 teaspoon, i.e. 2.5–5 ml per 100 g. You've probably got it at home already and it works instantly, but the coating stays softer and less glossy.
Hardened coconut fat – 5–10 g per 100 g; it melts at roughly 23–32°C depending on whether it's simply refined or genuinely hardened — so lower than cocoa butter. It stays solid at normal room temperature, but softens sooner than cocoa butter in the heat.
Cream or butter – only if you're after a ganache, filling, or sauce. You'll never get a coating that snaps out of these.
Always add fat to chocolate that's already melted, a little at a time, stirring between additions and waiting ten seconds. It melts more slowly than you'd expect, and it's easy to overpour. There's no taking it back out once it's in.
Only fat thins chocolate, because chocolate is essentially a suspension of sugar and cocoa solids in cocoa butter — water dissolves the sugar on the surface of those particles, they clump together, and the whole mass seizes. What determines how well chocolate flows comes down to one thing: how much fat there is relative to those particles.
Microscopic particles of sugar, cocoa solids, and sometimes milk powder float in melted cocoa butter. Add fat, and the particles get more slippery surroundings, so the mixture flows thinner. Water does the exact opposite: it glues the particles into clumps, and a smooth mixture turns into a dull, lumpy mess within seconds. It only takes a fraction of a percent of water to cause this — practically just a few drops of condensation from a water bath. The frustrating part is that seized chocolate looks like it needs thinning, so people pour in more milk and finish the job of ruining it.
There's an exception that proves the rule: if you add a lot of water (or cream) — roughly a quarter of the chocolate's weight or more, even more for dark chocolate above 60% cocoa — the particles disperse again in the liquid and you get a smooth ganache. But between "a little" and "a lot" there's a whole zone where the mixture is unusable.
Most "thick" chocolate isn't actually thick — it's cold, and all it needs is to be brought back to working temperature. Pastry schools work with these ranges:
Dark chocolate – melt up to 45–50°C, work at 31–32°C.
Milk chocolate – melt up to 40–45°C, work at 29–30°C.
White and Ruby – most sensitive; melt up to 40–45°C, work at 28–29°C.
Below the working temperature, cocoa butter starts crystallising and the chocolate visibly thickens with every minute it sits on the counter. There's an upper limit too: dark chocolate can handle 50–55°C, but milk and white chocolate start to spoil above 45°C — beyond these limits the mixture turns grainy and smells scorched.
In practice, that means keeping the bowl warm the whole time you're working — over a pot with the heat off, on a lukewarm surface, or returning it over steam for ten seconds every few minutes. And watch out for cold ingredients: cookies straight from the fridge will set the chocolate solid right where they touch it, leaving streaks behind. Let them come up to room temperature first.
Cocoa butter is the only thinner that leaves chocolate still tasting and behaving like chocolate — once set, it stays glossy, snaps cleanly, and melts in your mouth exactly as it did before. That's because it's the exact same fat already in the chocolate; you're just adding more of it.
Use 5 g per 100 g of chocolate if you just want a slightly runnier mixture for drizzling, and 10 g per 100 g for thin dipping, where the coating on your cookies should be barely noticeable. Grate or finely chop the cocoa butter and stir it into chocolate melted at the upper end of the temperature range — at 31°C a large piece won't melt properly and you'll end up with white streaks running through the mixture.
If you're tempering the chocolate, add the cocoa butter before tempering and then proceed as usual. Adding the same fat won't disrupt the crystallisation — it just makes the resulting layer thinner. The powdered version (Mycryo) gets stirred in at 34–35°C for dark chocolate (33–34°C for milk and white) — that is, before you cool the chocolate down to working temperature; that's why it also works as a seeding agent.
Oil thins chocolate instantly and reliably, but you pay for it with a softer coating. The recommended dose is 2.5–5 ml (½–1 teaspoon) per 100 g: start with half a teaspoon, mix it in, and only add the second half if it's still too thick.
The absolute ceiling is 15 ml (1 tablespoon) per 100 g. Beyond that, the coating stays tacky even after hours in the fridge: it smears when you're packing the cookies, drags when you cut into them, and softens completely in a warm room. Vegetable oils are liquid at room temperature, and they'll pass that liquidity on to the chocolate even after it's set.
Choose a neutral-flavoured oil — rapeseed, sunflower, or refined coconut. Extra virgin olive oil will overpower even dark chocolate, and butter has no place in melted chocolate at all, since it's about 16% water. Oil is ideal for a coating you'll be slicing through along with a cake: the softer layer won't crack or chip off the cut edge.
Chocolate-dipped marokánky (hazelnut florentine cookies)
Chocolate-dipped florentine biscuits – the perfect test for whether your chocolate is flowing as thin as it should
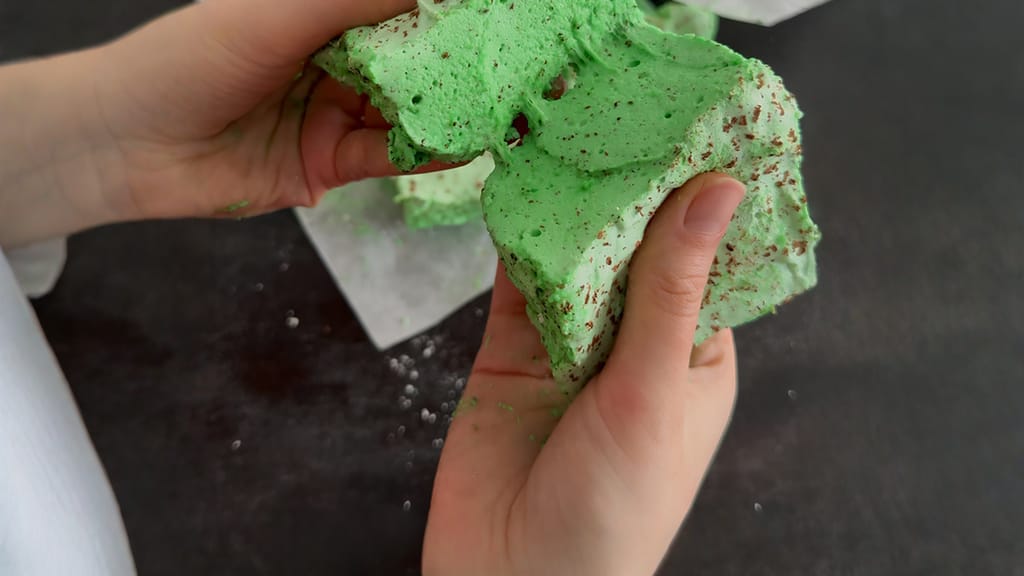
Homemade mint chocolate marshmallows
Homemade mint marshmallows dipped in chocolate: you'll need chocolate thinned with cocoa butter for dipping
Hardened coconut fat is a middle ground between oil and cocoa butter: it thins just as easily as oil, but stays solid at normal room temperature, so the coating holds its shape. Use 5–10 g per 100 g of chocolate.
This is the same principle behind the classic pastry-shop "fat glaze." It does come with two downsides you'll need to accept: it melts across a wide range, roughly 23–32°C depending on whether it's simply refined or genuinely hardened — not sharply at body temperature like cocoa butter. Because of that, it won't melt cleanly in your mouth and leaves a slightly waxy impression, and in a warm room the coating softens sooner than a chocolate one would. The second downside: a greyish fat bloom often appears on the surface after a few days. It doesn't affect the taste, but it does affect the look.
For cookies that go into a box and get eaten within a week, this is a perfectly fine choice. For bonbons you want to still look glossy a month from now, reach for cocoa butter instead.
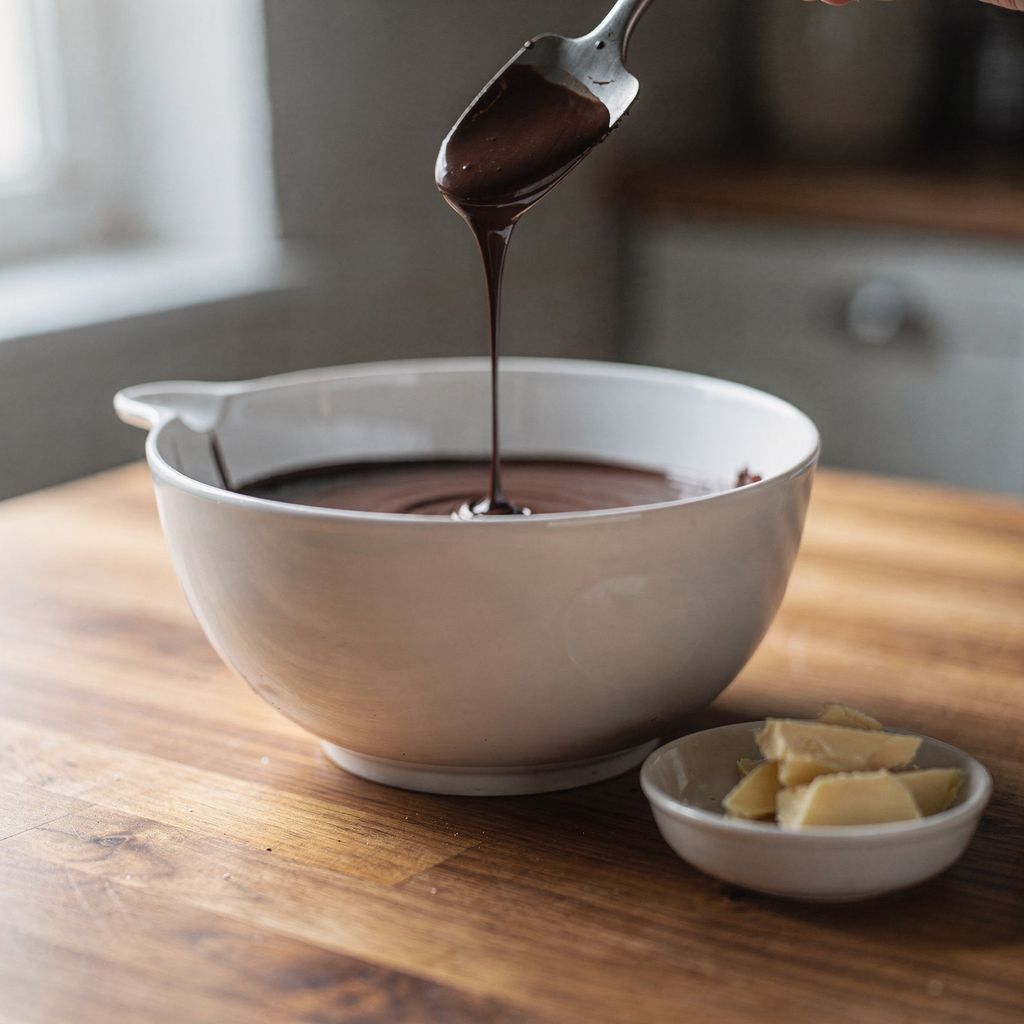
Lift the spatula above the bowl: properly thinned chocolate runs off it in a continuous ribbon that only breaks after two to three seconds. If it falls in drops, it's too thick. If it runs like cream and won't cling to the spatula at all, you've overdone it with the fat.
The target consistency depends on what you're using it for:
Dipping cookies and bonbons – the thinnest. Let a dipped piece drip off, and it should be left with a layer about 1–2 mm thick, with no pooling underneath.
Glazing a cake or bundt cake – medium consistency, thin enough to pour over the edge but thick enough to hold on the sides in a 2–3 mm layer.
Decorating, writing, lattice work – the thickest. Here you shouldn't thin it at all — work at a lower temperature instead.
Test it on a cold plate: spread a drop out, leave it in a cool spot for two minutes, and touch it. It should feel dry, with no greasy shine — a greasy film means there's too much oil in it.
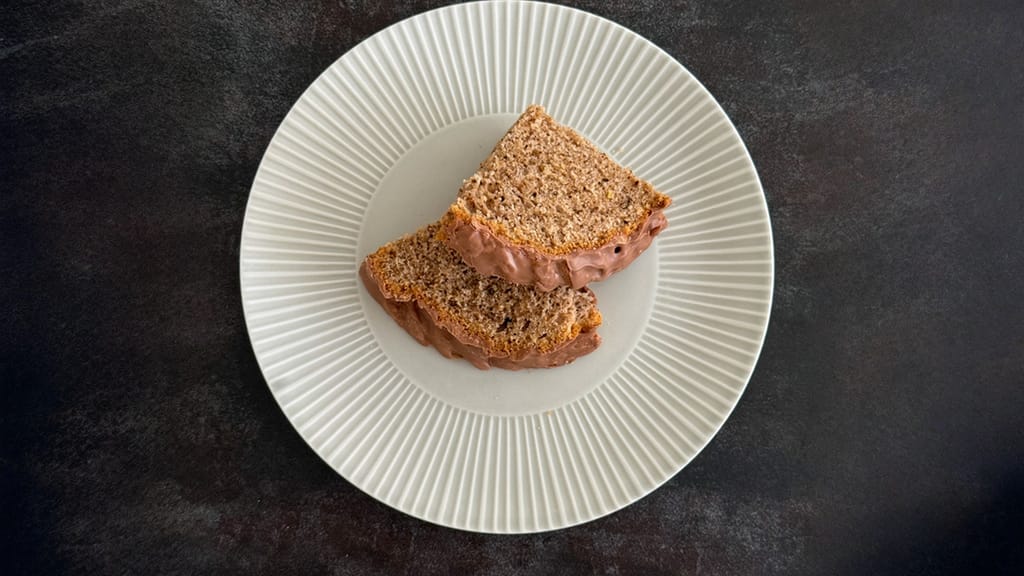
Traditional walnut easter lamb cake with chocolate glaze
Traditional walnut Easter lamb cake with chocolate glaze – an example of the right consistency for pouring
When chocolate thickens without you adding anything at all, it's almost always one of four things: moisture, cooling, overheating, or a cold ingredient.
Moisture. Condensation from a water bath, a damp spatula, a wet bowl. The mixture darkens, turns dull, and breaks into lumps. You'll know it's this because it happens within seconds.
Cooling. The chocolate dropped below its working temperature and the cocoa butter started crystallising. It thickens gradually and fixes itself once warmed back up.
Overheating. Above 50–55°C for dark chocolate, and above 45°C for milk and white, the mixture separates, sets into a grainy paste, and smells scorched. This is the one scenario with no way back.
A cold ingredient. Fruit, nuts, or biscuits straight from the fridge pull heat out of the chocolate locally, and it sets solid right where they touch.
Telling moisture apart from cooling matters, because each needs a different fix: gently rewarm chocolate that's gone cold, but never try to rewarm chocolate that's seized — you'll only end up scorching it on top of everything else.
You rescue seized chocolate by adding more liquid, not less — and accepting that what you'll end up with is a ganache, not a coating. It sounds backwards, but it works: enough liquid dissolves the sugar particles and the mixture comes back together into a smooth emulsion.
Here's how: take the bowl off the water bath, pour in hot cream (or boiling water) a teaspoon at a time, stirring vigorously after each addition. After roughly 25–35 ml per 100 g of chocolate, the mixture should come back together into a smooth, glossy ganache — for dark chocolate above 60% cocoa, you'll likely need the higher end of that range. Use it as a filling, for hot chocolate, as a cake glaze, or fold it into batter.
What you can't save: chocolate that's gone past its heat limit — above 55°C for dark, above 45°C for milk and white. It turns grainy, crumbly, and tastes scorched. Throw it out and start again — and next time, get a thermometer instead of guessing.
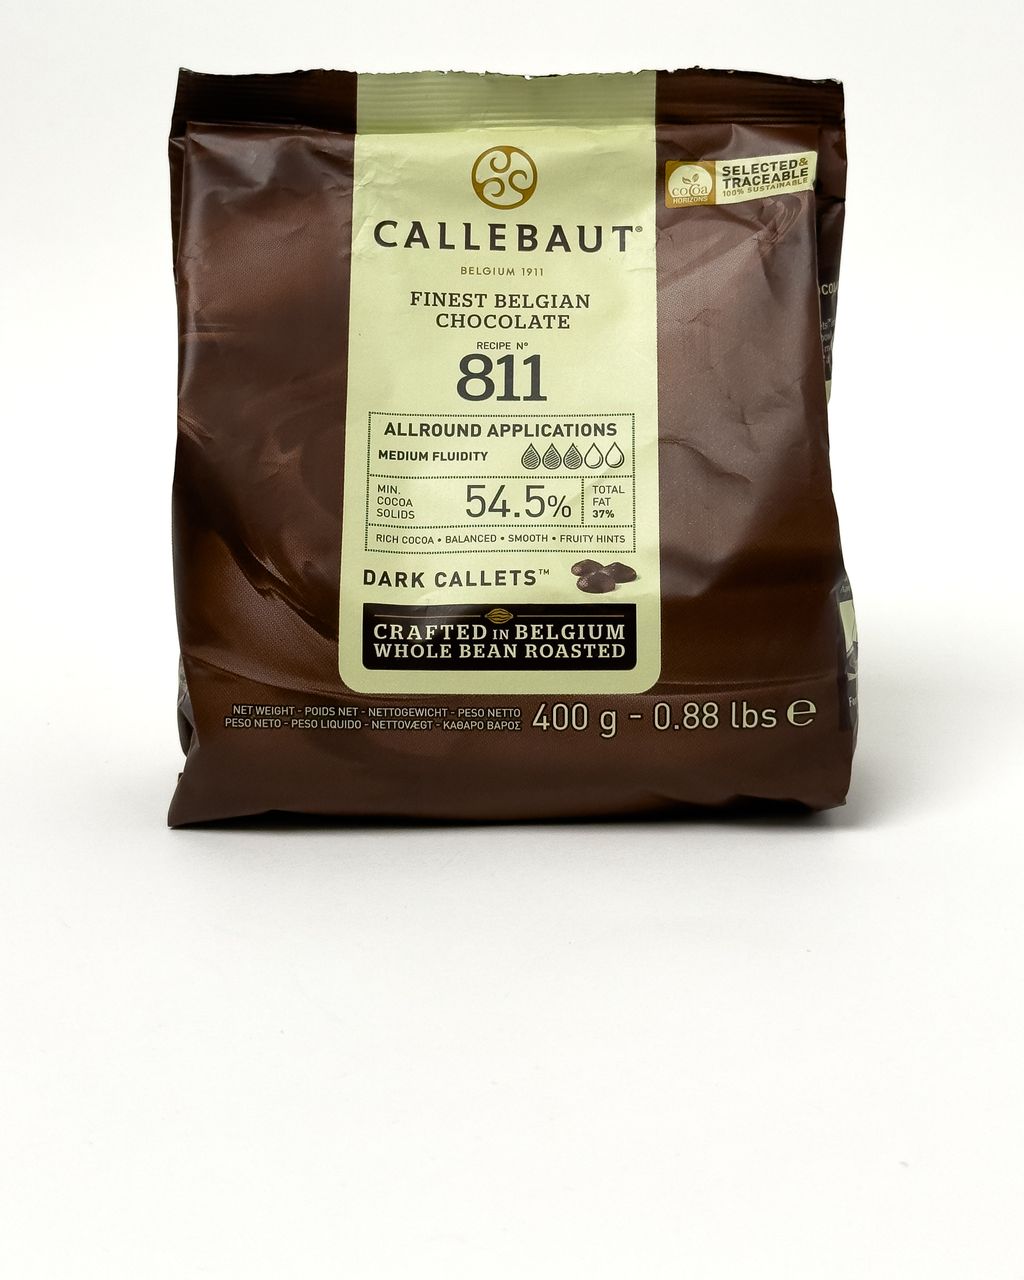
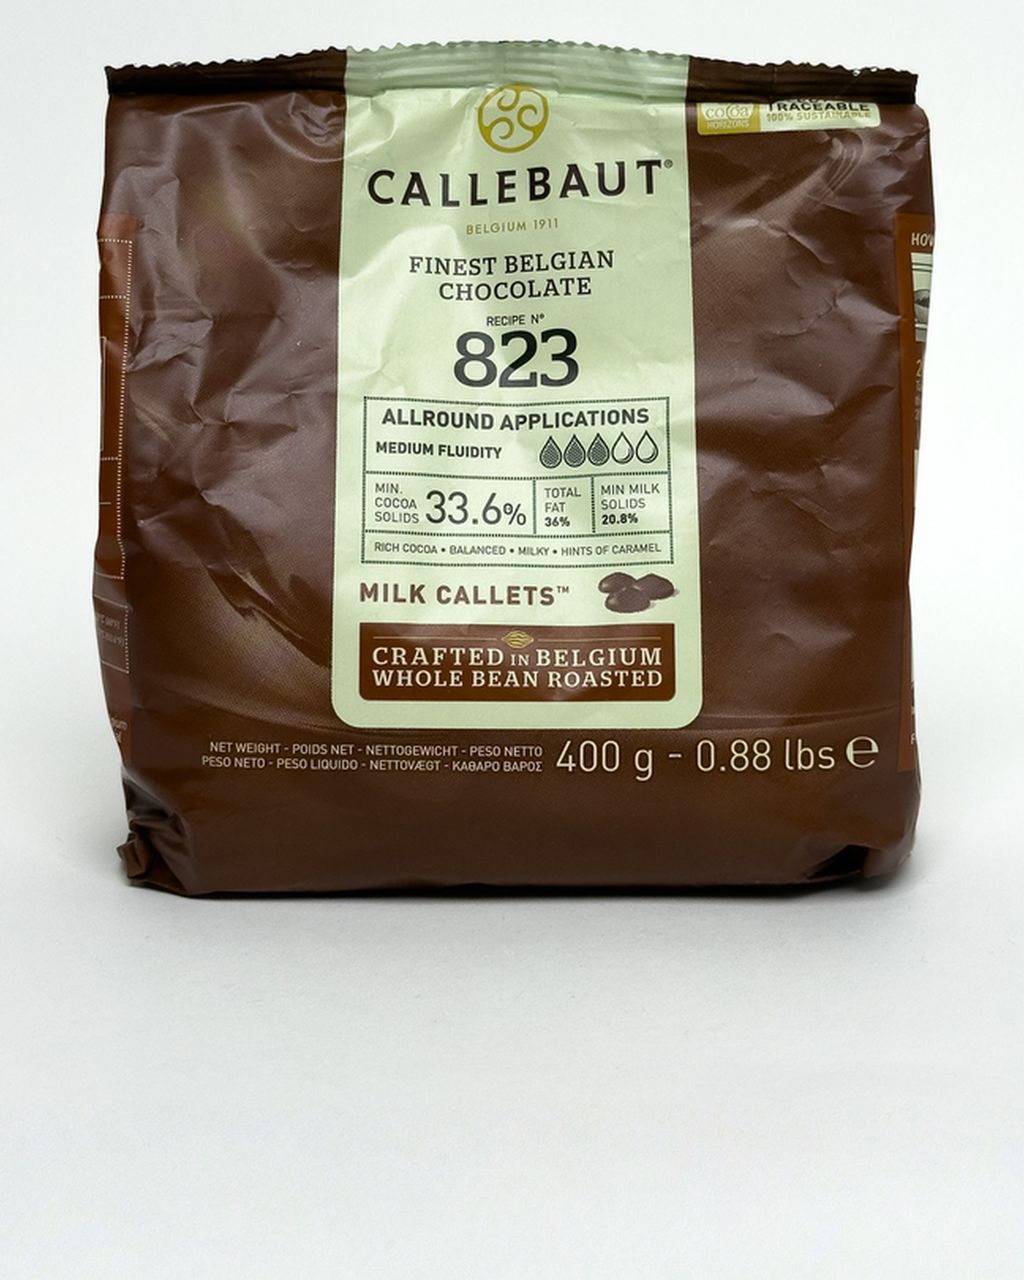
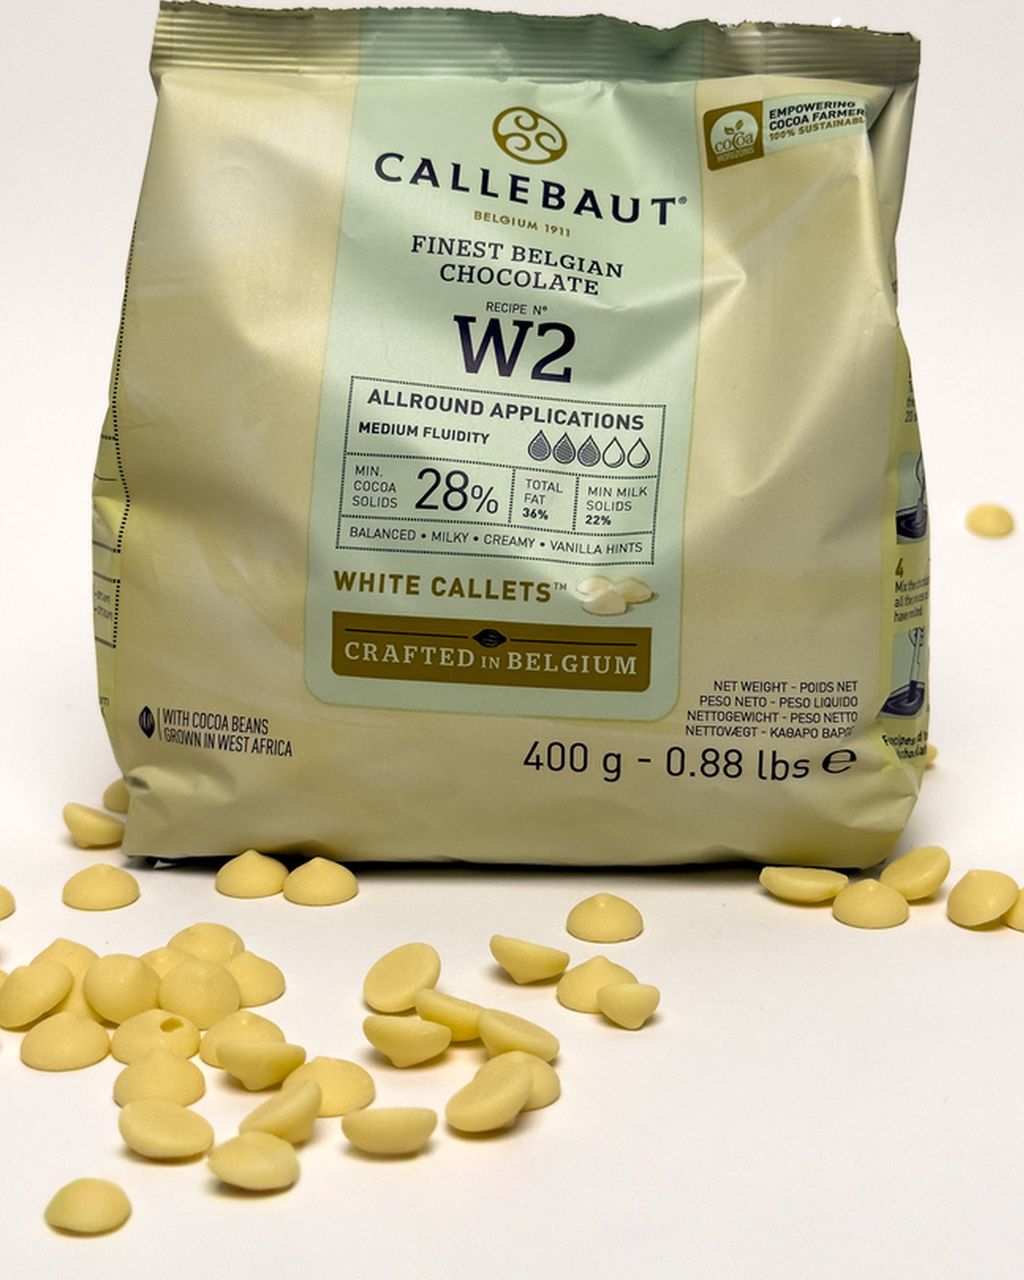
The most reliable way to avoid thinning altogether is to buy chocolate with a higher cocoa butter content — couverture is legally required to have at least 31%, and you can spot couvertures made for dipping by their 4–5 drop fluidity rating. The more fat, the thinner and glossier the layer, without you adding a thing.
Brands like Callebaut and Cacao Barry mark this on the packaging with a 1–5 drop scale: one to two drops means thick chocolate for fillings and baking, four to five means thin chocolate for dipping, moulding, and thin layers. Standard bar chocolate from the supermarket has the least cocoa butter of all, which is exactly why it's the one that forces you to thin it.
The second factor is the amount in the bowl. 300 g in a narrower, deeper bowl holds its temperature far more steadily than 80 g spread across a wide dish, where the chocolate will cool before you've even dipped the tenth piece. Better to melt more than you need — let the leftovers set and reuse them next time.
Chocolate callets have one more practical edge over bars: all the pieces are the same size, so they melt evenly and you won't be left with cold cores that tempt you into overheating the rest to compensate.
Cream, yes — milk, better not to. Either way, you'll end up with a ganache, not a coating that snaps. Always warm the cream to the same temperature as the chocolate and add it gradually; count on roughly 100 ml of cream per 200 g of dark chocolate. Milk has more water and less fat, so it risks seizing the chocolate, and the result is thinner and less stable. A splash of cold milk stirred into melted chocolate is pretty much the surest way to end up with lumps.
You can let thinned chocolate set and re-melt it several times without it going bad. Let it harden in a bowl, or spread it on baking paper, wrap it in cling film, and store it somewhere dry at 15–20°C — not in the fridge, where moisture will condense on it. It'll keep for months, though each time you melt it you'll need to temper it again to get back that shine. The fat you added stays in it, so there's no need to thin it a second time.
As a rough estimate, count on about 3–4 g of chocolate per piece, plus some extra on top. That extra isn't wasted: a shallow layer doesn't give you enough depth to dip properly, and you'll end up scraping the last few pieces through a dried-out crust at the bottom. Whatever's left over just sets and you use it next time. It's better to melt more in a narrower, deeper bowl — the temperature will stay stable for much longer.
For 100 g of white chocolate, 3–5 g of cocoa butter is enough — less than for dark chocolate. White chocolate already contains more cocoa butter than milk chocolate and flows well on its own; its real issue is heat sensitivity. Melt it to no more than 40–45°C and work at 28–29°C, or it will thicken and turn yellowish before you've managed to dip anything. The same goes for Ruby chocolate.
A dull surface and white streaks mean the chocolate set in the wrong crystalline form — this usually has nothing to do with thinning. The most common causes are cooling it too fast in the fridge, working with untempered chocolate, or a cold surface underneath. It helps to let the cookies set at room temperature, around 18–20°C, and to temper the chocolate before you start. That said, if you thinned it with hardened coconut fat, a greyish fat bloom will show up after a few days almost every time.
One recipe worth heating the oven for, one tip, and one deal from the shop. Nothing else.