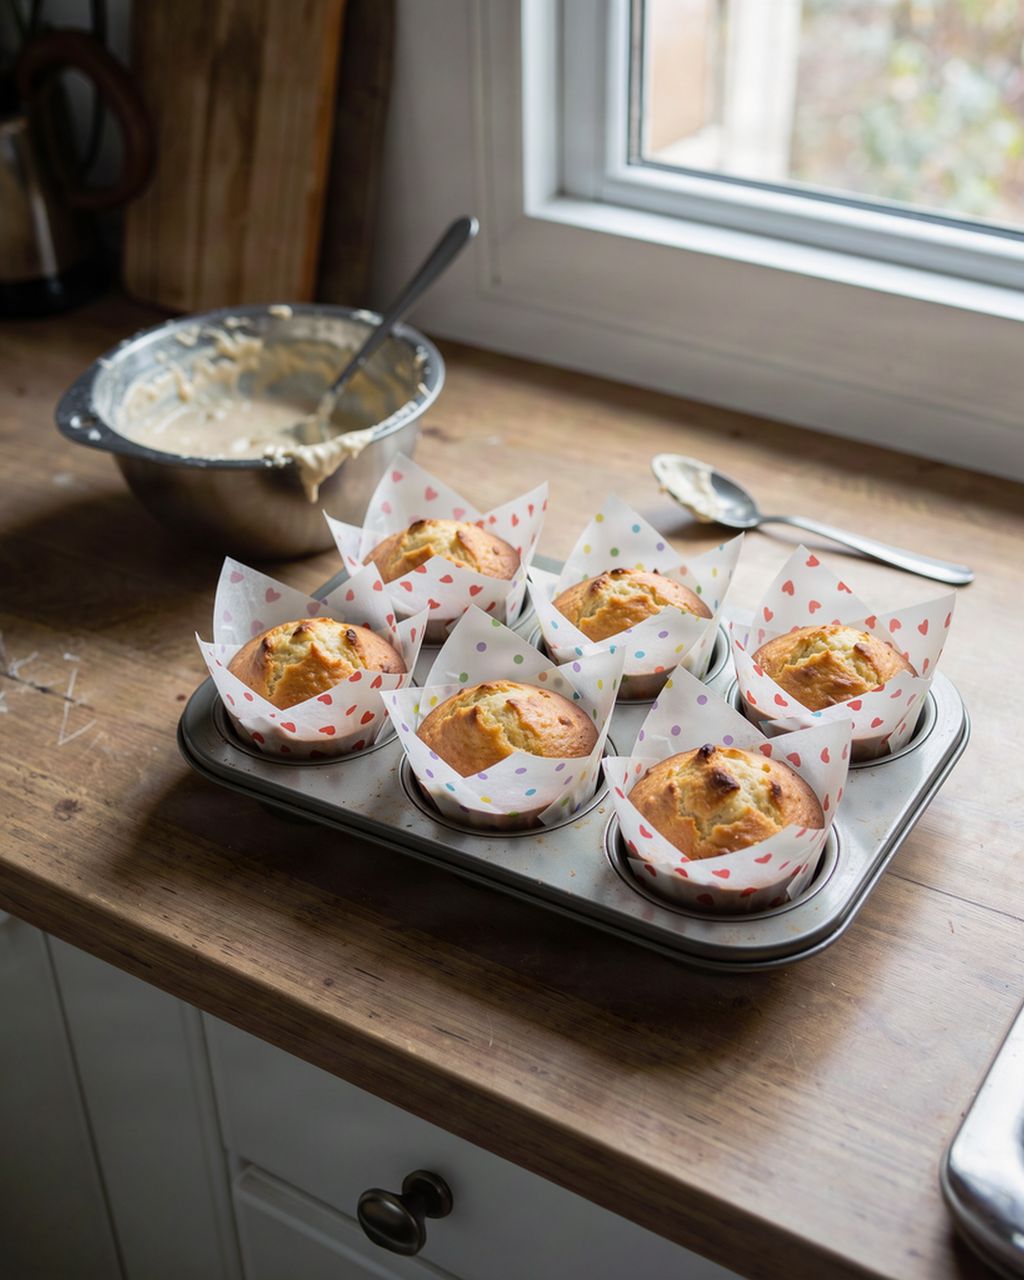
The best honey gingerbread cookies
Gingerbread House Step by Step: Template, Assembly & Decorating
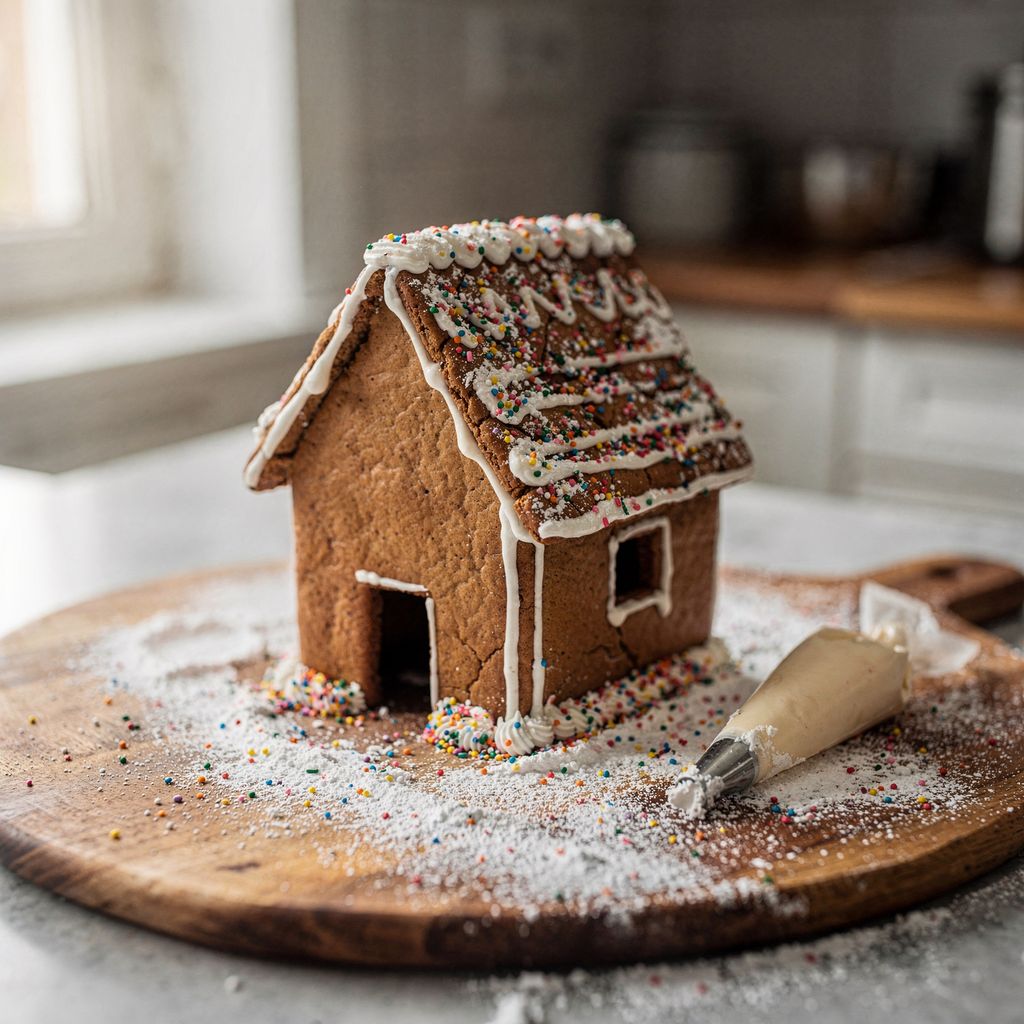
Updated Oct 8, 2026
A gingerbread house comes together in six steps: cut out a template, make a firm dough, bake sturdy pieces, glue the walls together with thick royal icing, fit the roof, and only decorate once the whole structure has dried solid. Plan for two days. It's not that any single step is hard, but both the icing and the gingerbread need time to set, and rushing is the single most common reason roofs slide off. Below you'll find piece dimensions, drying times, and what to do when something starts to go wrong.
A gingerbread house comes together in six steps, spread over two days:
Template. Draw and cut the pieces out of cardboard or heavy paper.
Dough. Roll out a firm honey gingerbread dough to 5–6 mm (¼ in).
Baking. Bake at 170°C/340°F (top/bottom heat), trim the pieces to the template as soon as they come out of the oven, then let them dry out overnight.
Gluing the walls. Join the walls with thick royal icing, prop them up, and let them set for 1–2 hours.
Roof. Fit the roof and let the whole structure dry for at least 4–6 hours, ideally overnight.
Decorating. Only now do the icing, sprinkles and snow go on.
Day 1: template, dough, baking, drying the pieces. Day 2: assembling and decorating.
For a smaller house (roughly 15 × 13 cm / 6 × 5 in), you'll need six pieces. These dimensions fit together neatly when the dough is 5–6 mm (¼ in) thick:
Front and back gable (×2): a 15 × 10 cm (6 × 4 in) rectangle topped with a pitched peak, 15 cm (6 in) tall at the tip
Side walls (×2): 12 × 10 cm (4¾ × 4 in)
Roof (×2): 15 × 11 cm (6 × 4¼ in), including about 1 cm (⅜ in) overhang on each side
Optional: chimney, door, shutters cut from the scraps
The gables stand on the outside, with the side walls fitted in between — that's why the side walls are shorter than the gables and the roof pieces are longer than the side walls.
Cut your template from heavy paper or cardboard (an empty cereal box works well). Parchment paper curls and won't guide a knife properly. Before you start baking, tape together a quick paper model from the template pieces. You'll immediately see whether the roof fits, and a mistake here won't cost you a whole batch of baked gingerbread.
For these dimensions, you'll need roughly 800 g–1 kg (1¾–2¼ lb) of dough, including a bit extra for the chimney and decorations.
For a house, you want a firm, rollable honey gingerbread dough — the same one you'd use for cut-out cookies, just rolled thicker, to 5–6 mm (¼ in). Thin pieces (3 mm/⅛ in, typical for cookies) will warp or crack under the weight of the roof.
Feel free to use our best honey gingerbread recipe as your base, and mix your spices according to the homemade gingerbread spice recipe.
A few things to watch for:
Go easy on the leavening. Baking soda makes gingerbread soft and gives it rise, but for building you want pieces that don't puff up or lose their sharp edges. Use about half the soda the cookie recipe calls for (around ½ teaspoon per 500 g/4 cups flour), or leave it out entirely. We go into why baking soda is used in gingerbread in the first place in Baking Soda in Gingerbread: Why Not Baking Powder.
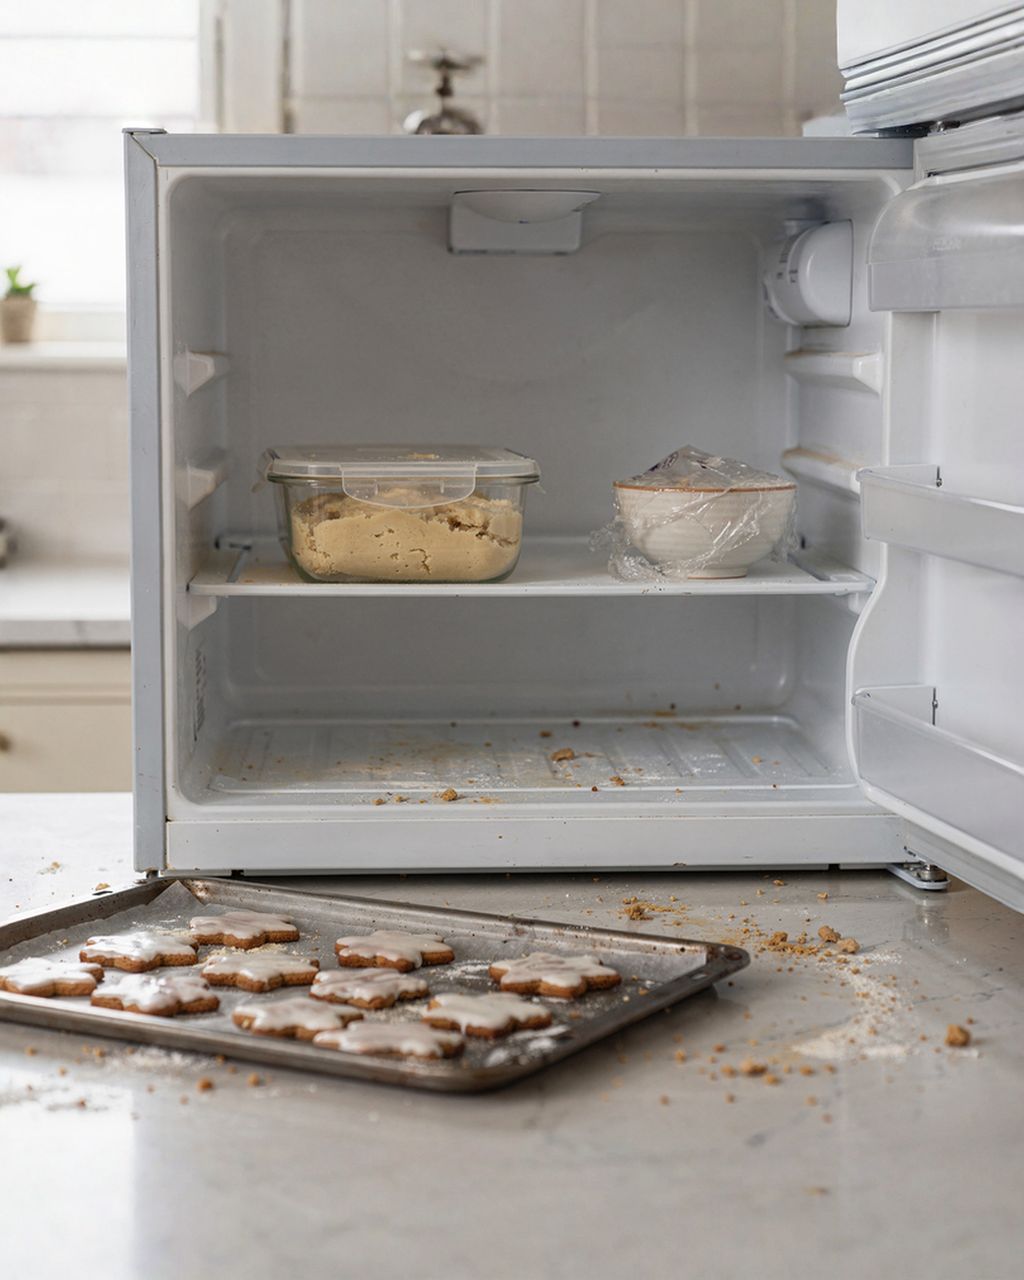
Let the dough rest. Honey dough rolls out more easily and spreads less in the oven after resting in the fridge, ideally overnight.
Softness isn't your friend here. Recipes designed to keep cookies soft are great for eating, but a wall made from that dough will sag over time. For a house, you want gingerbread on the drier, firmer side.
The best honey gingerbread cookies
Best honey gingerbread cookies: the base dough for a gingerbread house
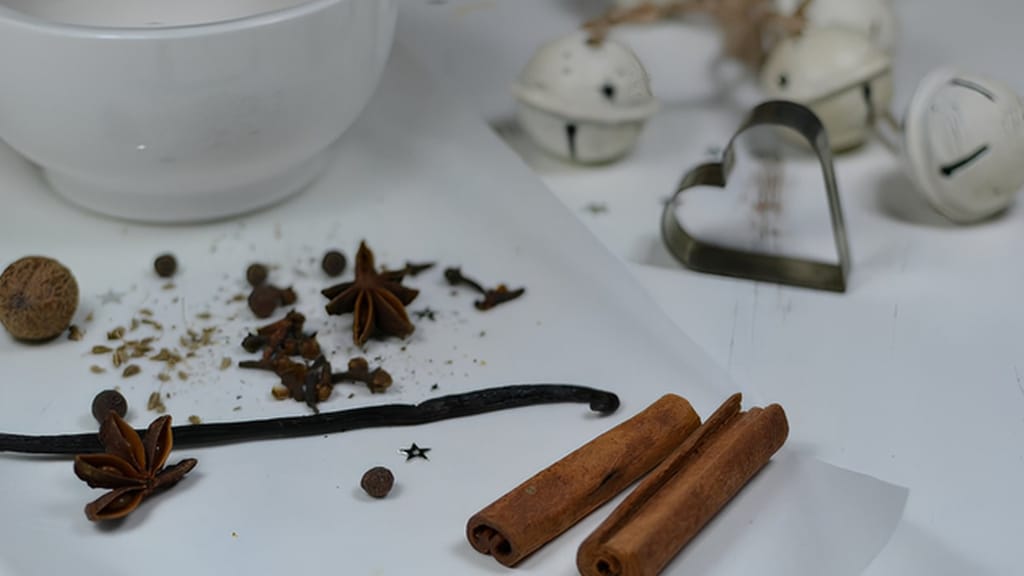
Homemade gingerbread spice mix
Homemade gingerbread spice mix for gingerbread house dough
Gingerbread house pieces hold their shape when you roll the dough directly on parchment paper, chill it before baking, and trim it to the template the moment it comes out of the oven. Gingerbread always spreads a little in the oven — but it cuts like butter while warm and simply snaps once it cools.
Roll the dough out on parchment paper to 5–6 mm (¼ in). Laying two strips of equal thickness along the edges as guides keeps the thickness even throughout.
Lay the template on top and cut around it with a sharp knife. Pull away the scraps, but don't move the pieces.
Chill the tray in the fridge for 15 minutes — cold dough spreads less.
Bake at 170°C/340°F, top/bottom heat (160°C/320°F fan) for about 12–18 minutes, depending on thickness. A piece is done when the edges are firm and lightly browned and the centre no longer springs back.
As soon as it's out of the oven, lay the template on again and trim off any spread.
Let the pieces cool on the tray, then leave them uncovered overnight to dry out fully. Damp gingerbread won't hold icing.
Window tip: cut out the openings, partially bake the pieces, then fill the holes with crushed hard candy for the last 5–8 minutes of baking. It'll melt into translucent "glass." Let the pieces cool completely on the tray — warm, the candy is liquid and sticky.
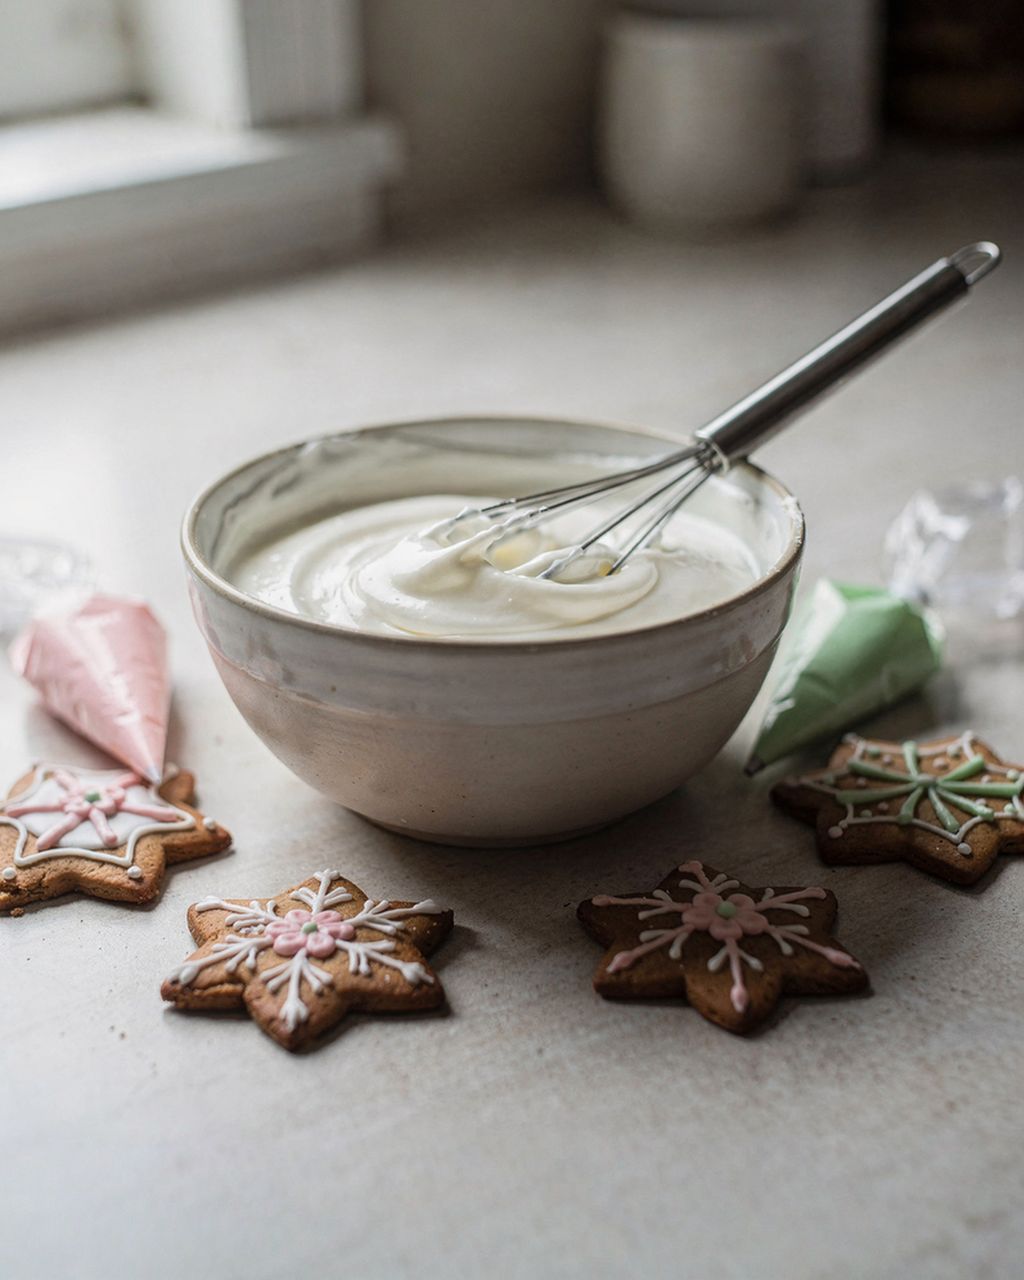
The best way to assemble a gingerbread house is with thick royal icing. It sets rock-hard, holds for weeks, and is white, so the seams already look like snow. Other options have their place, but also their drawbacks:
Homemade royal icing (1 egg white, about 30 g/1 oz, to 200–250 g/1¾–2 cups icing sugar, plus a few drops of lemon juice). Cheap and effective, though you'll need to fine-tune the consistency yourself. If small children will be eating the house, skip the raw egg white (see the warning below). Ratios and consistency are covered in detail in Royal Icing: Ratios, Consistency and Colouring.
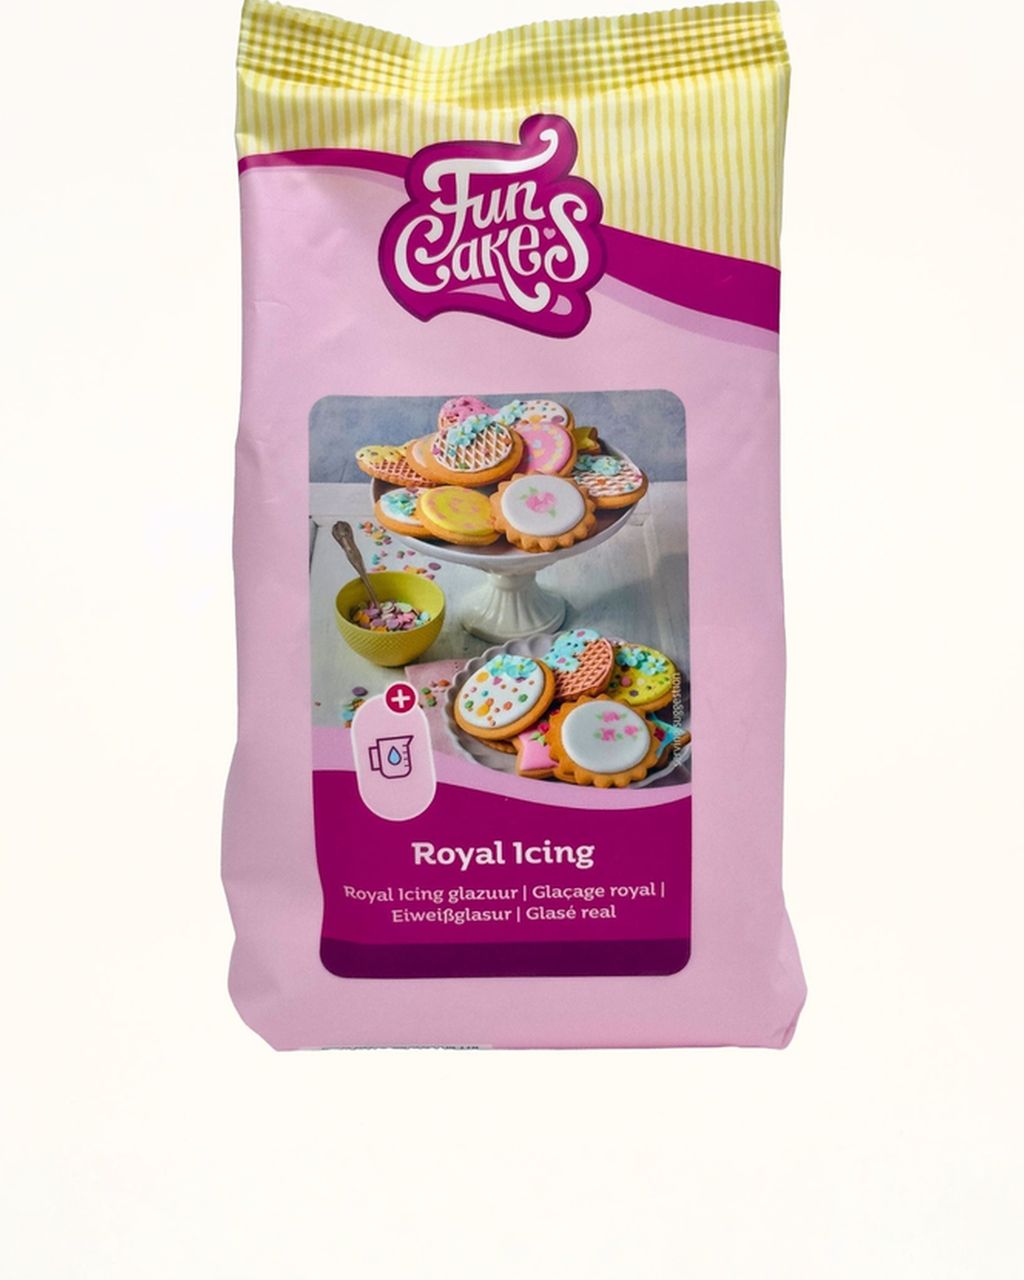
Ready-made royal icing mix, such as FunCakes Royal Icing Mix for Perfect Details (you'll find it among the tools at the end of the article). Just mix with water, it turns out the same every time, it's snow-white, and there's no raw egg involved. It costs more than sugar and egg white, but saves you the most hassle.
Caramel made from melted sugar. Sets instantly, no propping needed. But it's over 150°C/300°F, dangerous to touch, out of the question with kids involved, and it can soften over time in a humid room.
Melted chocolate. Tastes the best, but softens in a warm living room. Fine for small decorations, not for load-bearing joints.
Consistency test: icing for gluing should hold a sharp peak that doesn't droop, and a spoon should stand up in it for a moment. If it's too thin, stir in more icing sugar a spoonful at a time. For decorating, thin it afterwards with drops of water. For how to store icing overnight and how long it keeps, see Royal Icing: How to Store It and How Long It Lasts.
A gingerbread house is built from the walls up to the roof, and the icing needs time to set between stages. The walls need at least 1–2 hours, and the whole structure needs at least 4–6 hours, ideally overnight.
Base. A sturdy board, tray, or cake board. You won't be moving the house once it's built, so set it up exactly where it'll stay.
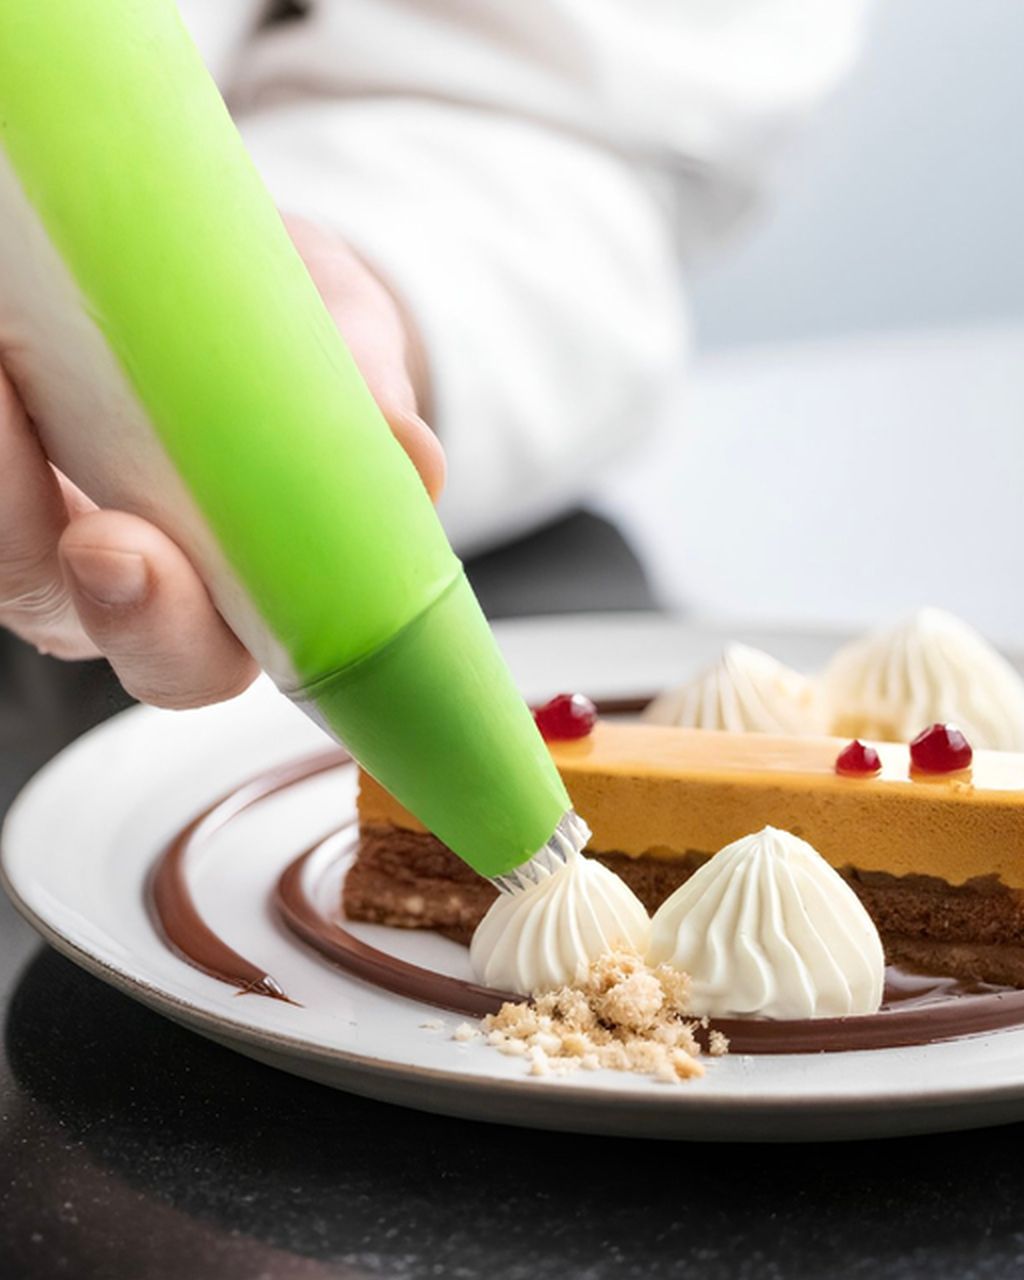
Load the icing into a piping bag and snip the tip to about a 5 mm (¼ in) opening. Spreading icing onto an edge with a knife goes on unevenly and weakens the joint.
First corner. Pipe a bead of icing along the bottom edge of a gable and along the side edge where the side wall will meet it. Stand both walls up at a right angle and hold them in place for a moment.
Prop them up. Set a can or mug against each wall, both inside and out. Without support, the walls will shift within minutes.
Add the remaining walls the same way. Run a bead of icing along the inside of every joint too — invisible reinforcement nobody will ever see.
Let it set for 1–2 hours, then carefully remove the props.
Roof. Pipe a thick bead along the sloped gable edges and the top edges of the side walls, set the first roof half in place, then the second, and seal the ridge with icing. Hold the roof in place for 2–3 minutes, or prop it up from below with a glass.
Let the whole house dry for at least 4–6 hours, ideally overnight, before decorating. Sprinkles and decorations add weight and can push into joints that haven't fully set.
Decorate a gingerbread house in five stages: outlines and details in icing, icicles, sprinkles pressed into wet icing, coloured accents, and finally snow. Work through the steps one at a time once the structure has fully dried.
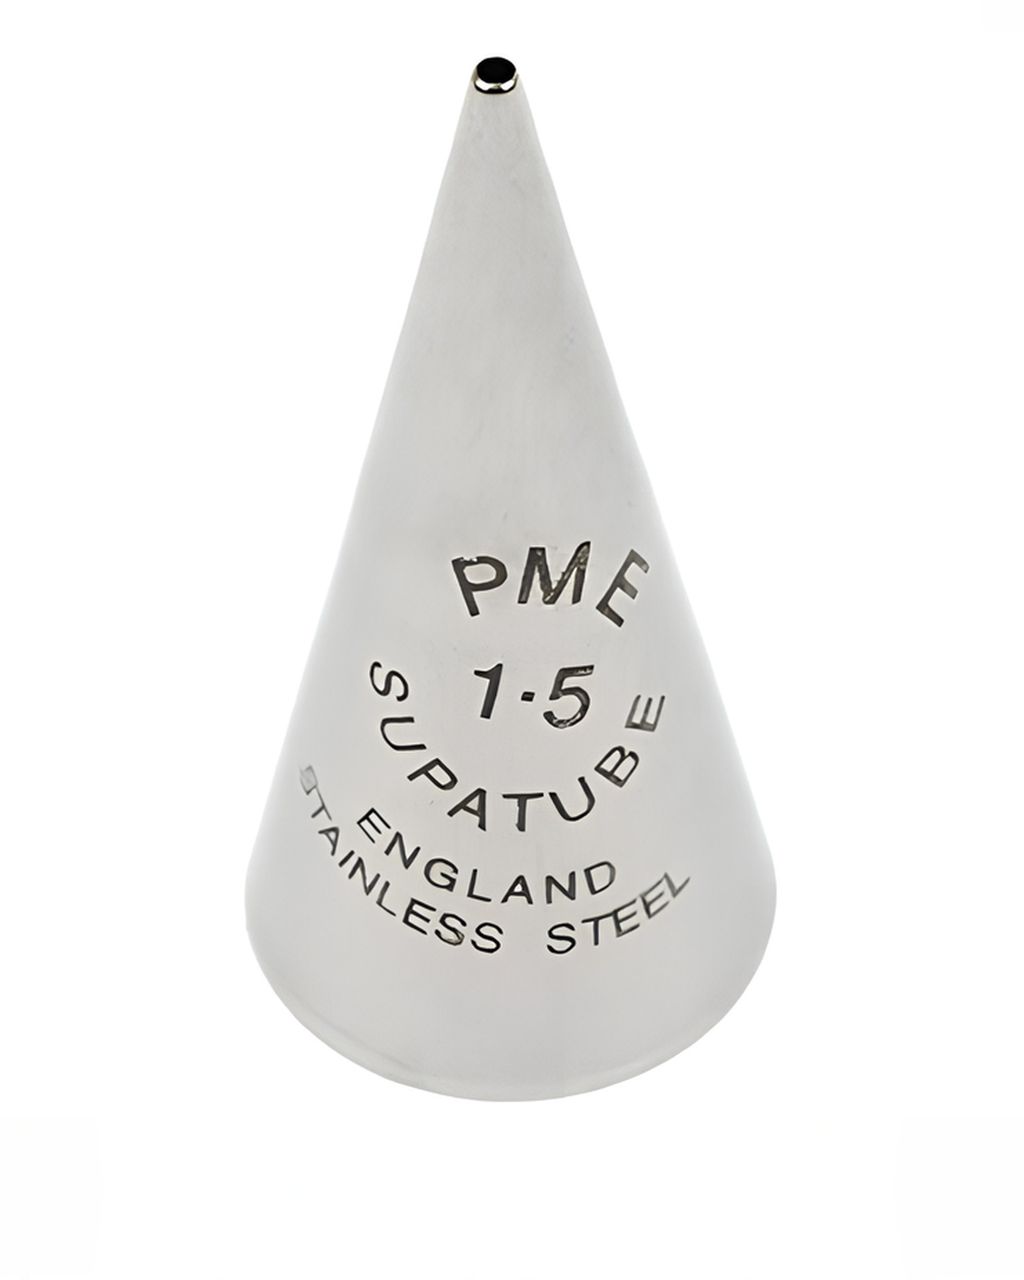
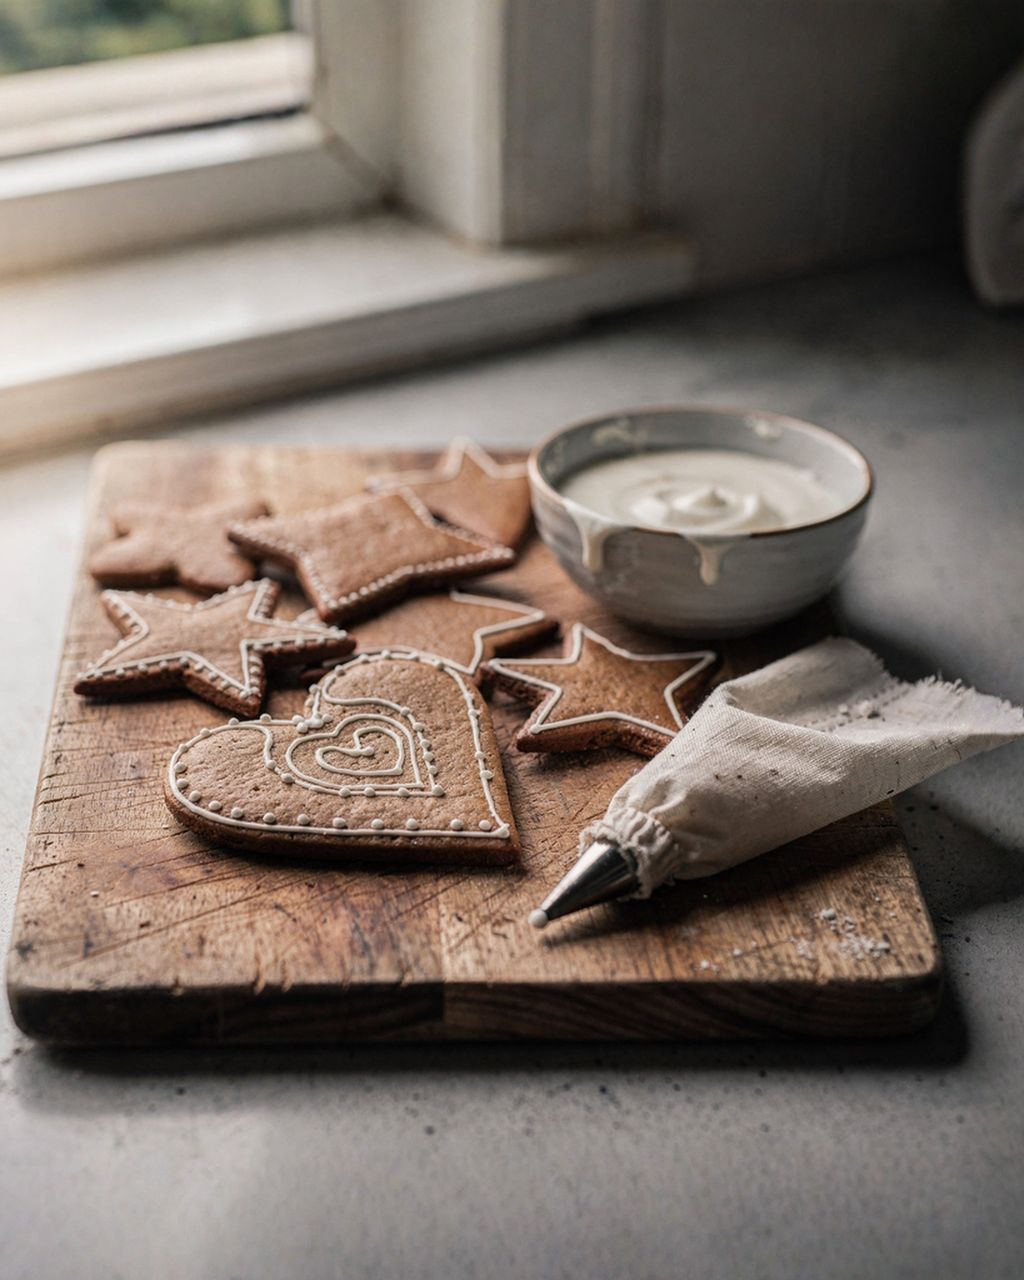
Outlines and details. Thin the icing with a drop of water to a toothpaste-like consistency and load it into a piping bag fitted with a thin round tip (1.5–2 mm). It draws a straighter line than a plain snipped tip. Use it for roof edges, roof tiles, and window and door frames. A disposable piping bag is the most practical choice, since icing dries fast and is a pain to wash out of fabric bags. A paper cone rolled from parchment works fine for a few lines too, it just gets soggy quickly. For more on bags, tips and patterns, see Decorating Gingerbread Cookies Step by Step: Icing, Bags, Colours and Patterns.
Icicles. Pull icing straight down from the roof edge, then pull the bag away sharply to break the drip off.
Sprinkles. Sugar sprinkles only stick to fresh icing. Pipe a small area and sprinkle or place them straight away with tweezers, since icing sets within minutes. Large sugar pearls work well as a chimney "ball" or buttons, while fine sprinkles suit the roof and garden. A cheaper alternative: almonds instead of tiles, coconut for snow, candy for a pathway. These all work well, though coconut and nuts pick up moisture sooner than sugar sprinkles do.
Coloured accents. Stir gel colour into a portion of the icing. Liquid food colouring thins the icing and slows down drying.
Snow. Finish by dusting the roof and base with icing sugar through a sieve.
Everything you need for gingerbread cookies and other Christmas baking, from decorating to sprinkles, is gathered together in one place.
A gingerbread house collapses because of thin icing, a roof added too soon, mismatched gables, untrimmed pieces, cracks, or damp. Most of these can be fixed.
Walls shifting apart. The icing is too thin. Thicken it with more icing sugar, prop the walls up again, and give them 2 hours. For what to do with icing that won't hold, see Royal Icing Too Thin or Too Thick.
Roof sliding off. Either the roof went on too soon, or the gables aren't matched evenly. Take it off, let the walls finish setting, and even out the gable edges with a cheese grater or a fine file.
Pieces not meeting properly. The gingerbread spread in the oven and wasn't trimmed while warm. Fill the gaps with icing and cover with a decoration — nobody will notice.
A cracked piece. Glue it from the back with icing, let it lie flat for 1–2 hours, then stand it up. Hide the crack on the front with a piped line or icicles.
The house softens after a few days. It's sitting somewhere damp, like near a stovetop or on a windowsill above a radiator with drying laundry. Move it to a dry room.
As a decoration, a gingerbread house will easily last 4–6 weeks in a dry room. For eating, it's best in the first 1–2 weeks, after which the gingerbread hardens and starts picking up smells from the room. If you plan to eat it, don't keep it in the kitchen near the stove — humidity softens it and makes it spoil faster.
Yes, a gingerbread house is entirely edible as long as you don't use inedible decorations and you glue it with icing that doesn't contain raw egg white (use pasteurized egg white or a ready-made icing mix instead). After a few weeks on display, though, it turns hard and dusty, so eat it while it's fresh, or just treat it as a decoration.
Yes, the baked pieces of a gingerbread house keep for about a week in a dry box, so you can put off the gluing and decorating. Store the pieces flat, with paper between them, so they don't warp. Once the house is assembled and decorated, don't put it in the fridge or freezer — the moisture would dissolve both the icing and any candy windows.
Put a small battery-powered LED tea light inside the gingerbread house. A real candle would dry out the gingerbread, could scorch the icing, and is a fire risk. The glow looks especially good with candy windows. Place the light inside before you fit the roof, or leave an opening in the back wall.
Build a no-bake gingerbread house from rectangular butter cookies or wafer biscuits glued with royal icing around an empty milk carton as a frame. The gluing and decorating work the same way, except you don't need to bake or trim any pieces, and the structure holds together far more securely thanks to the frame — making it ideal for building with kids.
One recipe worth heating the oven for, one tip, and one deal from the shop. Nothing else.