Sugar christmas cookies - delicate and crisp
Sugar Sprinkles: How to Use Them So They Stick and Don't Bleed Color
Updated Sep 17, 2026
Sugar sprinkles only stick to a damp surface — and that same dampness is exactly what pulls the color out of them and into the icing. The whole trick is timing: sprinkle onto icing that's still tacky but no longer runny (roughly a minute after applying it), then let the cookies dry completely undisturbed. The rest comes down to which type you pick. Sugar crystals and sprinkle sticks hold up to almost anything, while fine nonpareils will bleed color within a few hours.
Sugar sprinkles won't stick to a dry surface, and they bleed color on a damp one — water is behind both problems. They only adhere to a moist surface, but that same moisture starts dissolving them, and the dye on their surface along with it.
They won't stick when the surface is dry, set, or greasy. A baked cookie, dried icing, or cooled chocolate no longer offers anything for the sprinkles to grip, so they slide right off the moment you move the cookies into a box.
They bleed color when they sit on a damp surface too long. The dyes in the sugar coating are water-soluble, so moisture from the icing draws them out and spreads them into colored dots and streaks.
Royal icing is the worst offender. It's watery, and according to bakers' experience it soaks up color much faster than rich buttercream or chocolate. That's why the same sprinkles can still look fine on buttercream after two days, while on a gingerbread cookie they've turned into a smeared rainbow by morning.
Which gives us a simple rule: the less water in the 'glue' and the shorter it stays damp, the longer the color holds.
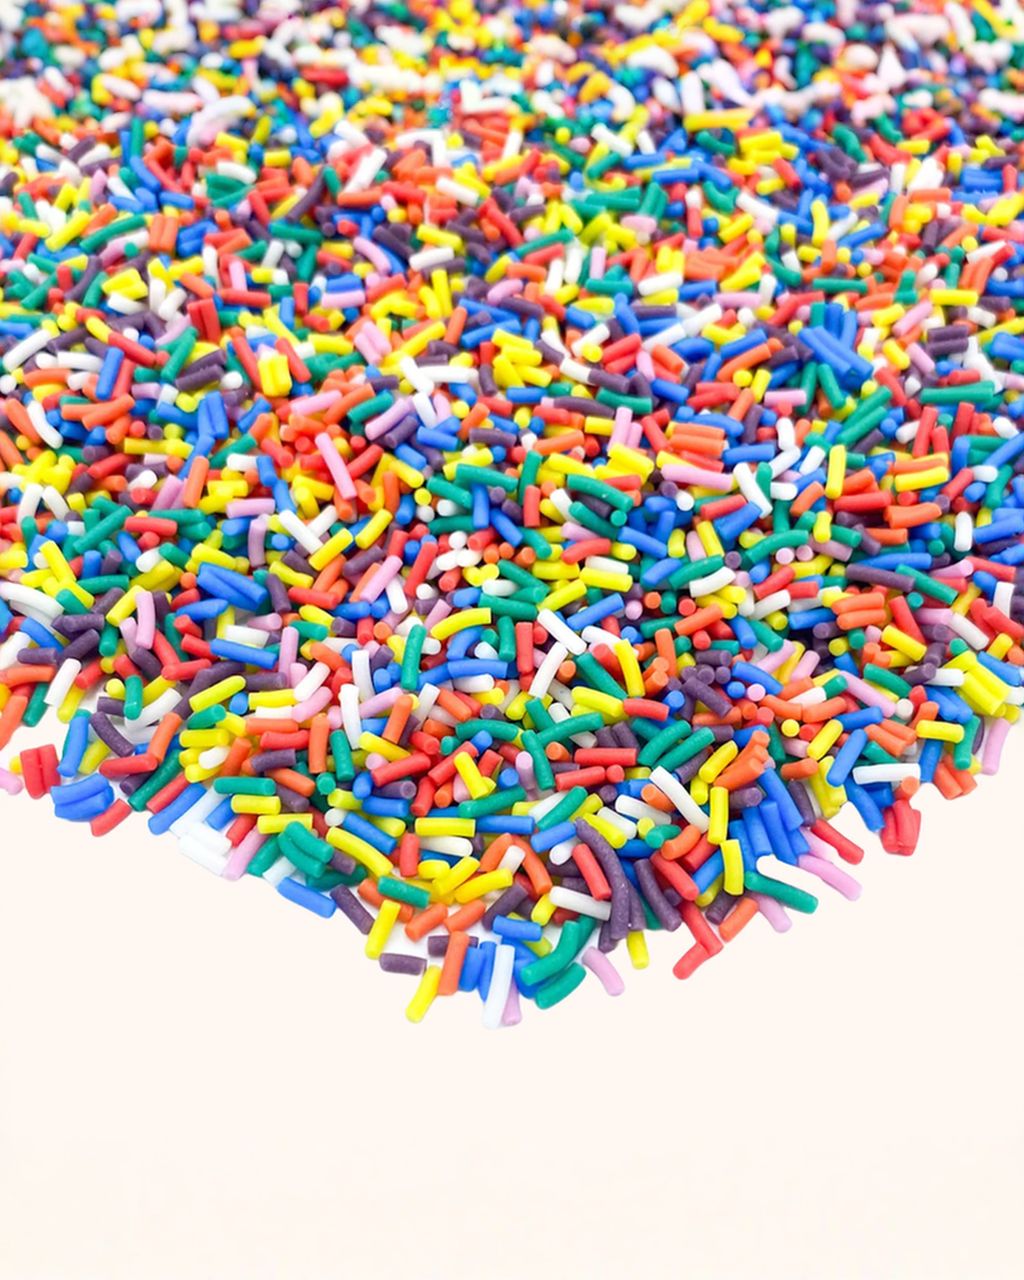
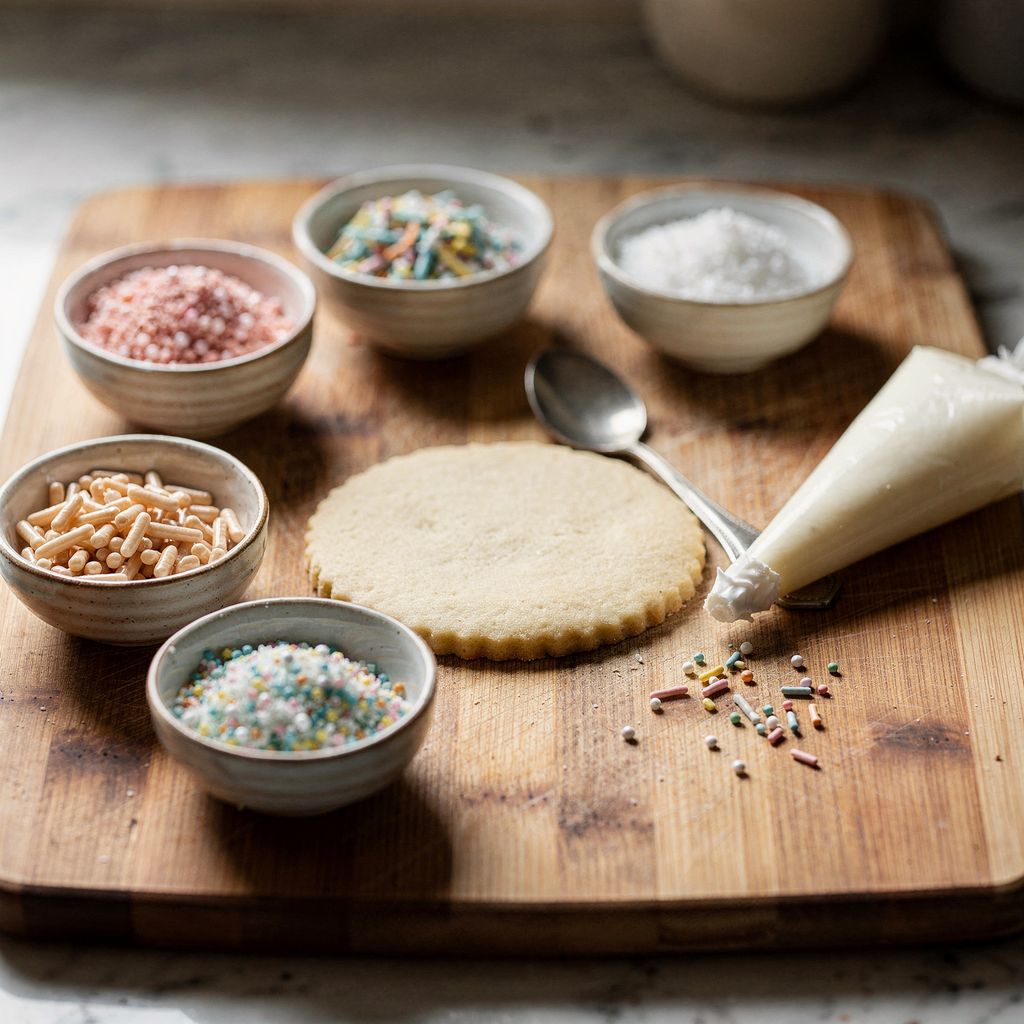
From the toughest to the most delicate: decorating sugar crystals, sprinkle sticks (jimmies), pearls and dragées, pressed shapes and confetti, and finally, fine nonpareils. The bigger the grain and the less color packed relative to its size, the better it holds its shape and shade.
Decorating sugar crystals — the toughest of them all. The grains are large, so they carry little dye relative to their size and dissolve slowly — meaning the color doesn't bleed as fast as it does from nonpareils. They can handle the oven and damp icing alike. They won't give you deep color, but they'll give you shine and texture that lasts for weeks.
Sprinkle sticks (jimmies) — the best balance of color and durability. Their surface is sealed with food-grade shellac (E904) or carnauba wax (E903), which acts as a water-repellent coating. They'll hold for days on icing without bleeding. In the oven, though, they bend and go soft.
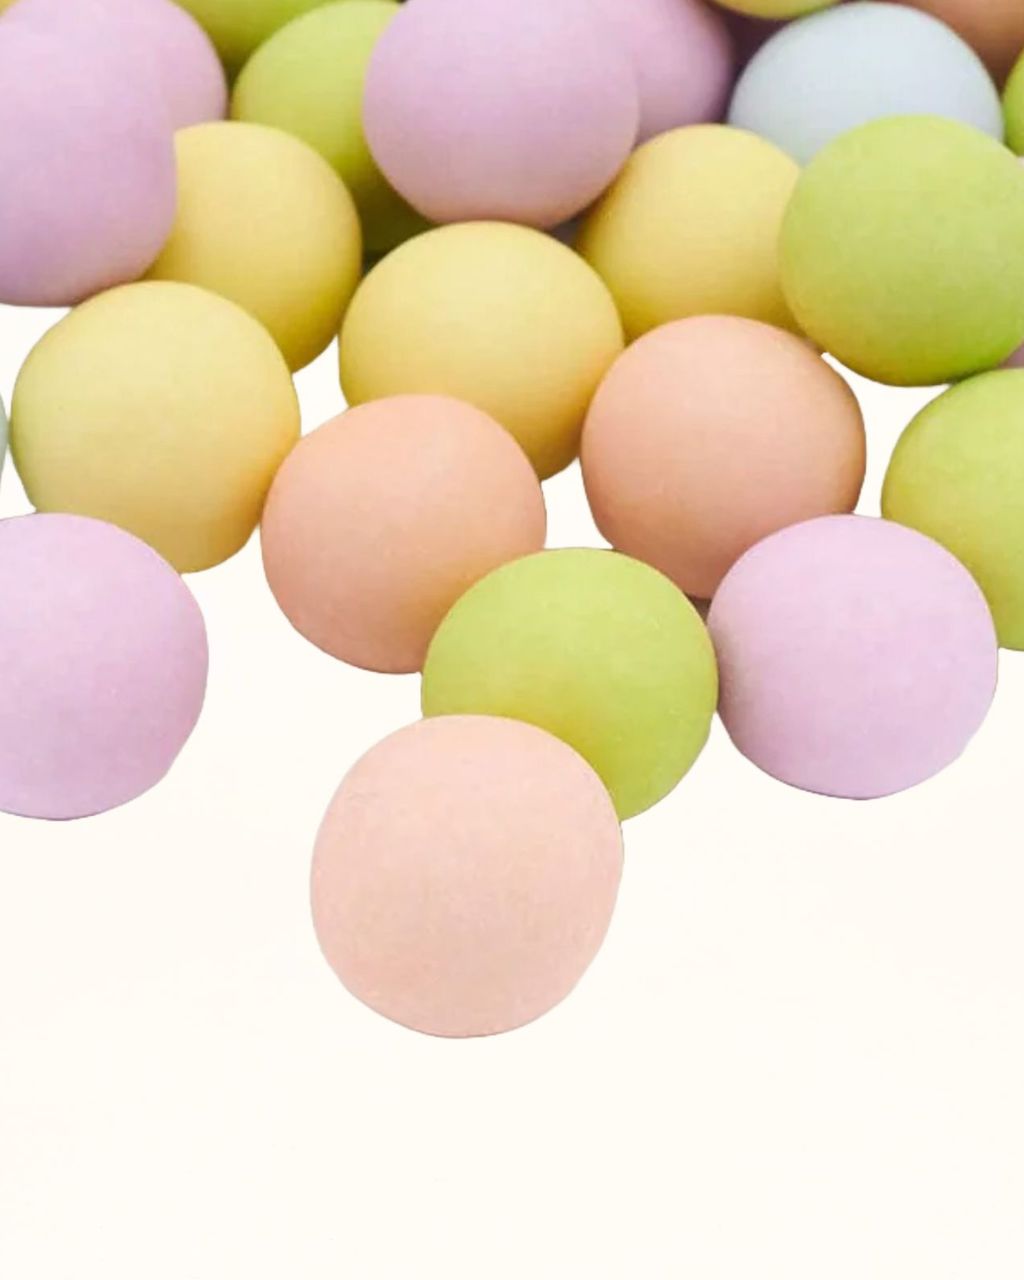
Sugar pearls and dragées — hard and shiny. White pearls and hard dragées barely bleed color at all; colored pearls do, just more slowly than nonpareils. They work best as a final accent, not a full coating. They're hard on the teeth, so watch out with kids and dental fillings.
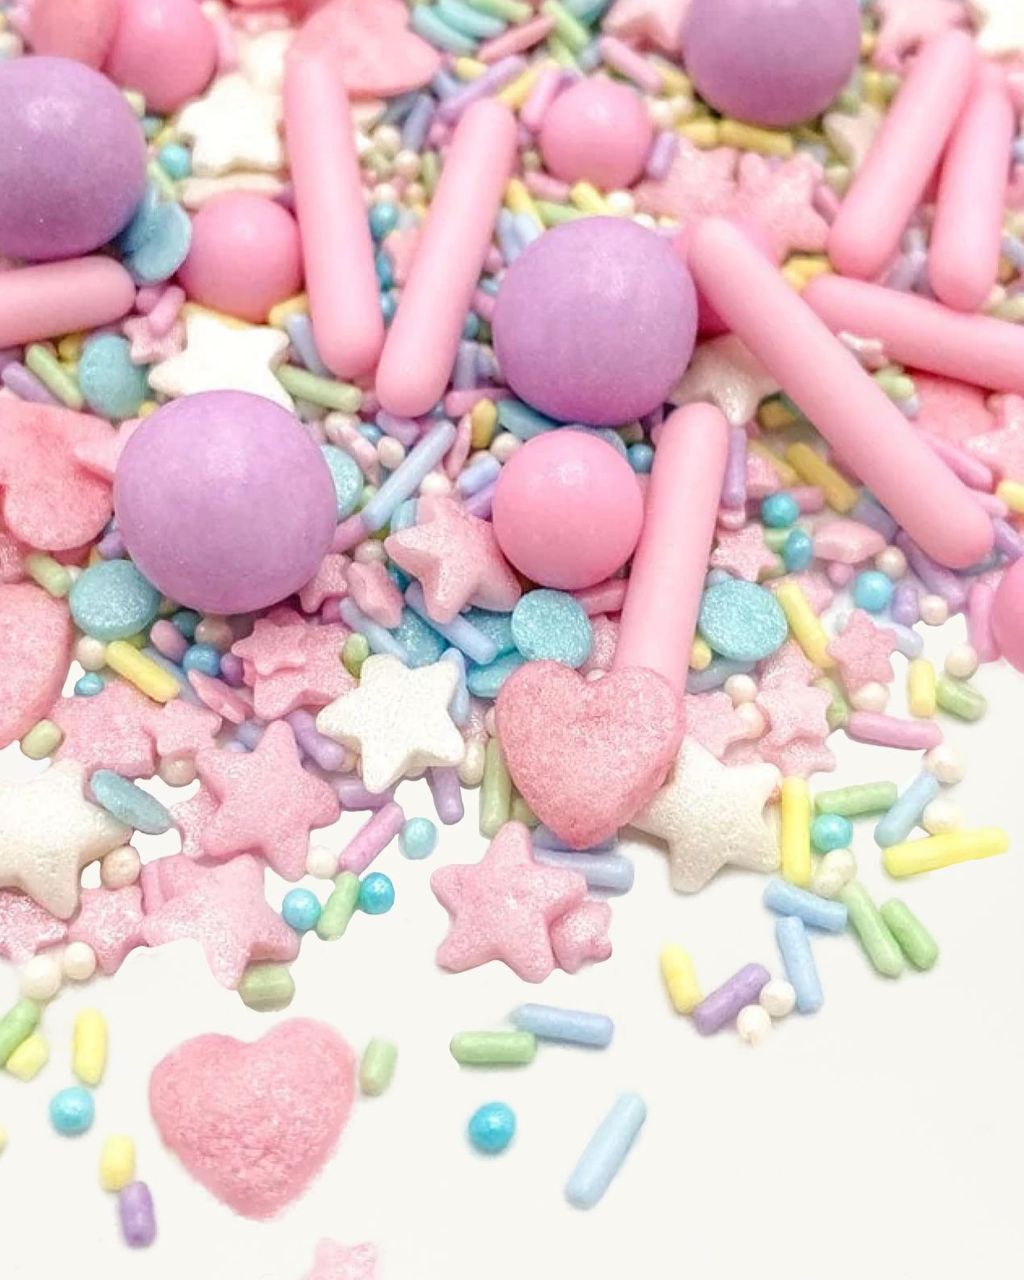
Pressed shapes, confetti, snowflakes, and edible eyes — flat pressed sugar, often printed. They hold color decently, but they melt into the icing in the oven and buckle on icing that's too wet. Place them once the icing has just started to set.
Fine nonpareils — the prettiest and the most problematic. They have the highest ratio of color to volume and a paper-thin shell, so they bleed color faster than anything else — on wet royal icing, within the hour. Save them for cookies that will be eaten by the next day.
Before baking, only sprinkle what can handle 150–180°C (300–350°F) — in practice, that means decorating sugar crystals. Everything else belongs on baked cookies, pressed into a layer of icing, chocolate, or jam.
Only decorating sugar crystals survive the oven without issue — the large grains don't melt at 150–180°C (300–350°F) and hold their color. Brush the cut-out shapes with beaten egg white or a whole egg mixed with a spoon of water, sprinkle on the crystals, and press them gently with your palm. The sugar stays grainy even after twenty minutes in the oven.
Sprinkle sticks can survive the oven, but they soften and lose their crisp shape — so save them for topping cookies after baking instead. Never put nonpareils or pressed shapes in the oven: nonpareils lose their color and bleed into the dough, and pressed shapes warp — creating exactly the colored streaks and smears that make people swear off sprinkles altogether. And since cookies are baked at a lower temperature specifically to stay pale, bleeding sprinkles undo that effort twice over.
After applying the icing, wait about a minute. Any sooner and the sprinkles sink and drown; any later and they won't stick at all. If you want to cover the whole surface, give the icing 3–5 minutes to firm up slightly so it can support a layer of sugar.
According to baking sources, royal icing starts forming a skin after 15–30 minutes, sets firm in about two hours, and is fully dry in 12–24 hours — longer for a heavily flooded surface. That means you have to sprinkle one cookie at a time: ice one cookie, sprinkle it, set it aside, move to the next. If you ice the whole tray first and only then reach for the sprinkles, half the cookies will end up bare.
One practical tip: sprinkle over a bowl or a sheet of baking paper and pour the excess back into the bag. You'll save a good chunk of the packet.
Sugar christmas cookies - delicate and crisp
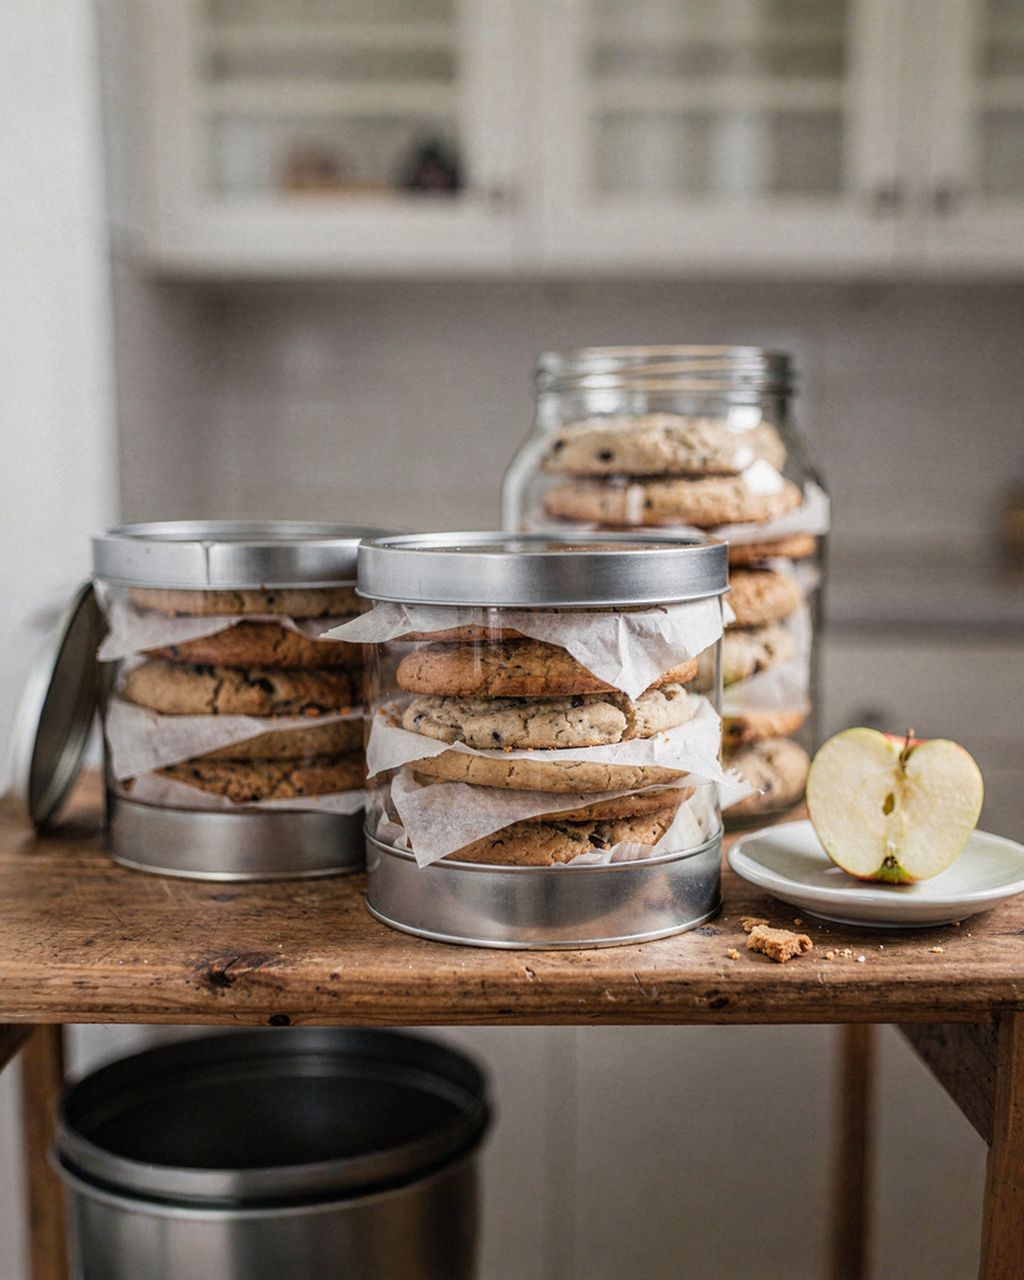
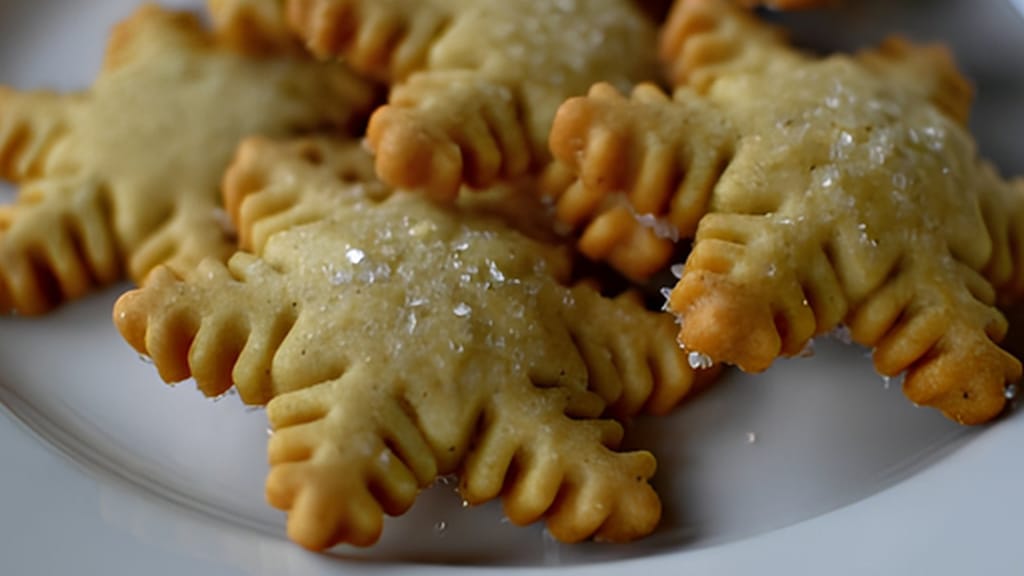
Sugar Christmas cookies — a crisp dough sturdy enough for pre-bake sugar sprinkles
Six things work: beaten egg white, royal icing, a simple sugar glaze from powdered sugar and water, melted chocolate, warmed jam, and honey thinned with water. Choose based on whether you're sprinkling before or after baking — and whether the sprinkles are color-sensitive.
Beaten egg white, or a whole egg with a spoon of water — the only adhesive that can go in the oven. Brush on thinly, sprinkle, press gently. Once baked, it holds like concrete.
Royal icing — the strongest bond after baking. It dries hard and locks the sprinkles in place. It's also the adhesive that pulls color the most, so stick with crystals and sprinkle sticks here, not nonpareils.
Sugar glaze (powdered sugar + water or lemon juice) — thinner and quicker-setting than royal icing, with less water, so it causes less bleeding. It holds better than you'd expect, but it can't handle a humid pantry.
Melted chocolate — the best choice for color-sensitive sprinkles. It's water-free, so it practically never pulls color. Dip the edge of the cookie, sprinkle, and let it set at room temperature.
Warmed, strained jam — sticks reliably and is the classic choice for linzer cookies, but it's watery. Stick to crystals here, never nonpareils.
Honey or syrup thinned 1:1 with water — a quick fix when you don't want to make icing. Brush on a very thin layer. It stays tacky, so don't stack the decorated cookies on top of each other.
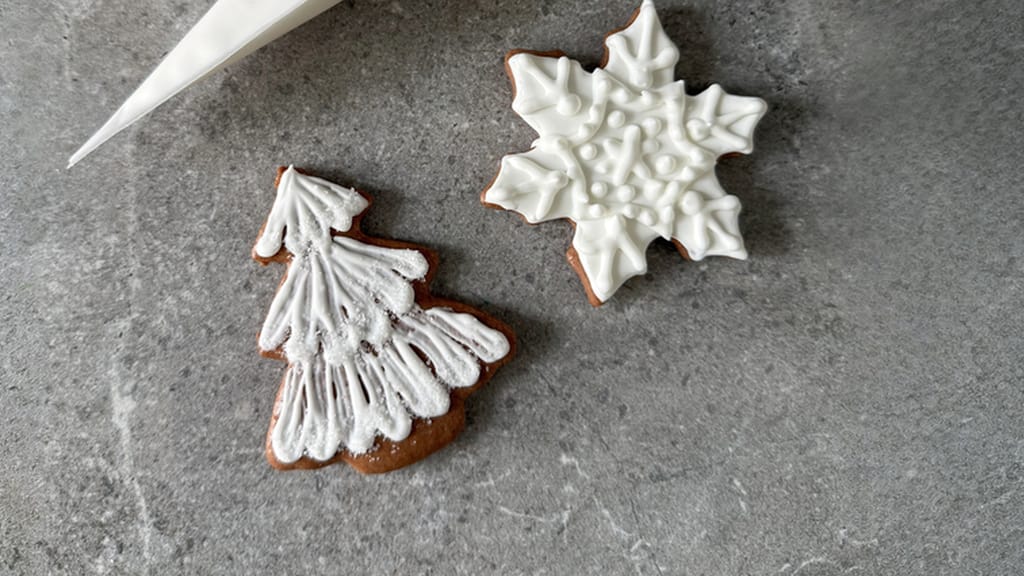
Royal icing for christmas cookies: the base for flawless decorating
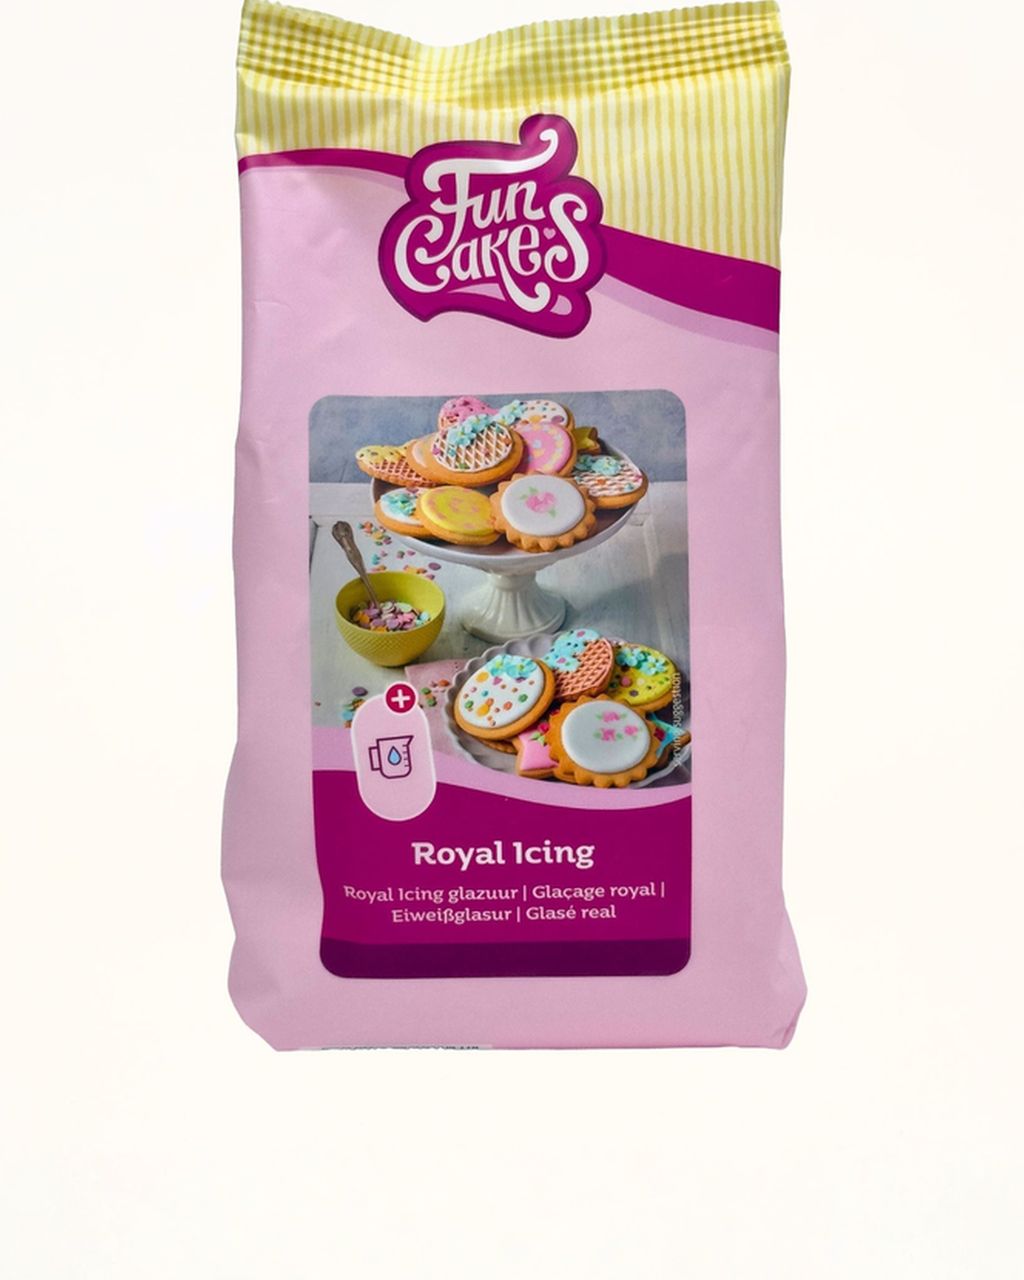
Royal icing for cookies — the most reliable adhesive under sugar sprinkles
To keep sugar sprinkles from bleeding color, pick a tough type (crystals, sprinkle sticks), sprinkle onto a water-free adhesive, and let the icing dry for 12–24 hours before sealing the cookies in a container. Eight rules decide the outcome: a tough sprinkle type, water-free adhesive, 12–24 hours of drying time, not pressing the grains into the icing, 40–60% room humidity, color contrast, saving nonpareils for the last moment, and never the fridge.
Pick a tough type. Crystals and sprinkle sticks for long storage; nonpareils only for cookies that will be eaten quickly.
Sprinkle onto a water-free adhesive whenever possible. Chocolate won't pull color; royal icing will.
Let the icing dry for 12–24 hours uncovered on a rack before boxing the cookies up. Sealed-in moisture is the most common cause of bleeding.
Don't press the sprinkles into the icing with your finger. Just place them and press gently with the back of a spoon. Pressed-in sprinkles are surrounded by wet icing on all sides and bleed color sooner.
Watch the humidity in the room. Ideal is 40–60%; at higher humidity the icing dries more slowly, giving color more time to bleed. Don't let cookies dry in a kitchen where something's currently cooking.
Don't pair dark sprinkles with white icing unless they don't need to last for weeks. Red, dark blue, and black bleed the most vividly, and it shows up most clearly against white.
Decorate with nonpareils only right before serving. They look great for a few hours, but not until Christmas.
Don't store decorated cookies in the fridge. Condensation on the cold surface will dissolve the color across the whole surface at once.
Gingerbread and linzer cookies call for tough crystals and sprinkle sticks; chocolate cookies and wasp nests can handle even fine nonpareils; vanilla crescents shouldn't get sprinkles at all. What matters more than the sprinkles themselves is the surface you're sprinkling onto.
Gingerbread. Royal icing, sprinkle one cookie at a time. Keep in mind that gingerbread softens over time and releases moisture into the icing from underneath — which makes the sprinkles bleed color even sooner. For soft honey gingerbread, stick with crystals and sprinkle sticks; we cover why gingerbread hardens and how to keep it soft in a separate article.
Linzer cookies. Jam in the middle and powdered sugar around the edge don't need extra sprinkles. If you want color, dip the edge of classic crumbly linzer cookies in chocolate and sprinkle onto that — the dough is buttery and dry, so it won't affect the color at all. If yours are crumbling or turning hard, first check out why linzer dough goes tough and how to keep it tender.
Sugar and butter cookies. The ideal base: firm enough to carry sprinkles before baking, and pale enough to let the color really pop.
Chocolate cookies and wasp nests. A water-free surface, so sprinkles stick well and barely bleed color at all. Here you can even get away with fine nonpareils — try them on white chocolate wasp nests.
Vanilla crescents and other coated cookies. Sprinkles don't belong here. Vanilla crescents are perfectly happy with just vanilla powdered sugar, and a colorful grain on top just looks like a mistake.
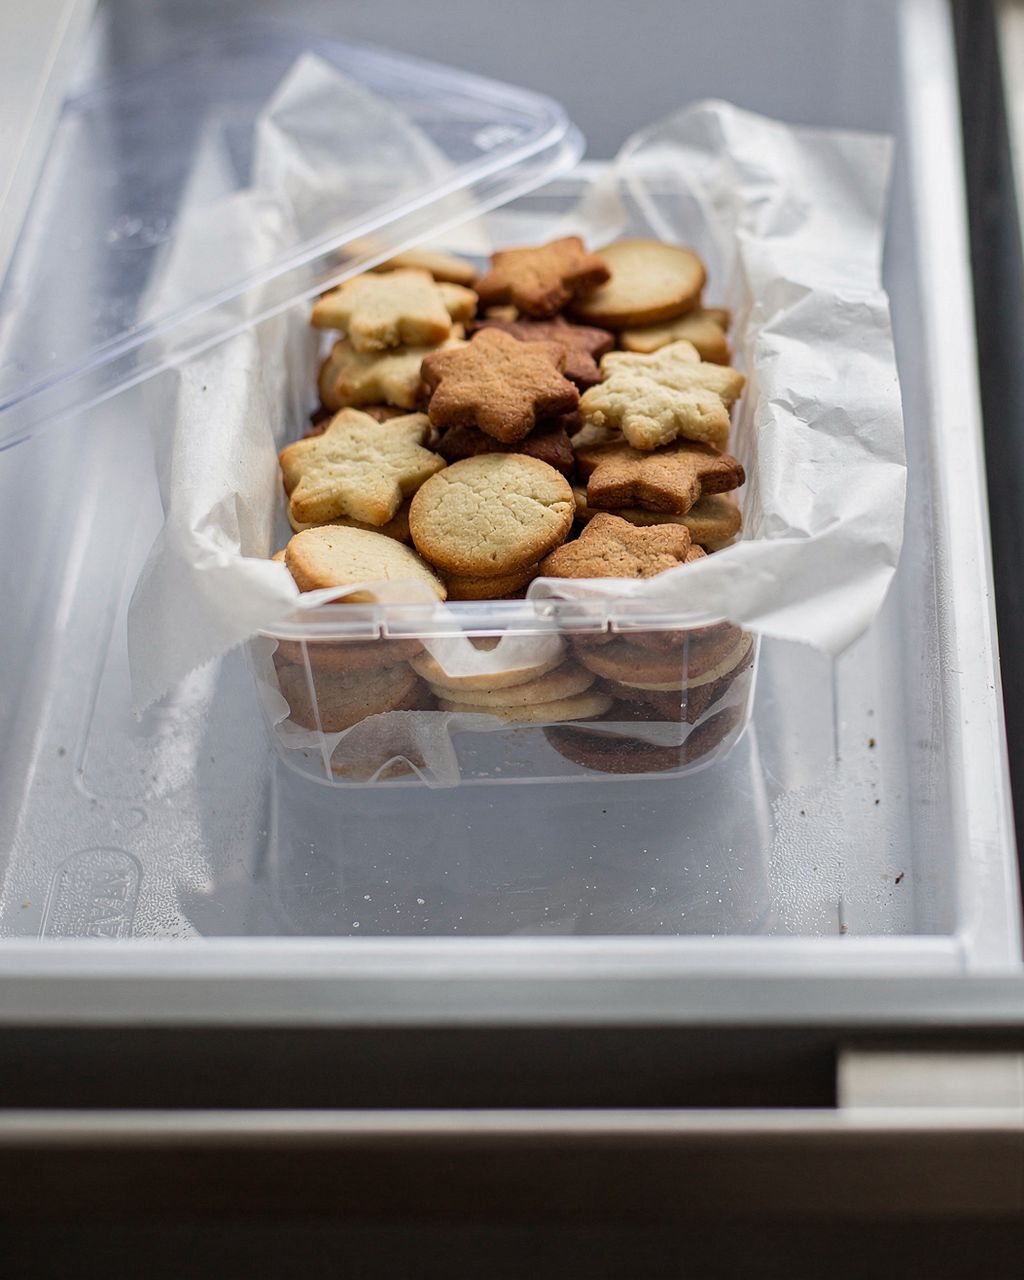
Let decorated cookies air-dry uncovered on a rack for 12–24 hours before stacking them in a tin, with baking paper between layers. Don't stack more than three layers — the bottom layer will leave an imprint in the icing.
A dry pantry, 15–18°C (59–64°F). Not the fridge, not a windowsill above the radiator, not a cupboard next to the stove.
Don't mix decorated cookies with soft ones. Gingerbread and honey cookies release moisture, and in a shared box they'll pass it on to their neighbors' icing.
Decorate as late as possible. Baking ahead is fine; decorating ahead isn't. For timing on what to bake when, check our Christmas cookie baking calendar.
The rest of the rules on containers, layering, and humidity are covered in our article on storing Christmas cookies.
You can make your own sprinkles from stiff royal icing in one evening: pipe thin lines, dots, or small shapes onto baking paper, let them dry for 24 hours, then snap the lines into pieces.
The advantage isn't durability — homemade sprinkles are still sugar with water-soluble dye and behave the same way on wet icing. The advantage is that you control the color intensity. Choose a lighter shade and any bleeding simply won't show. Plus you can make shapes you'd never find in a store-bought bag.
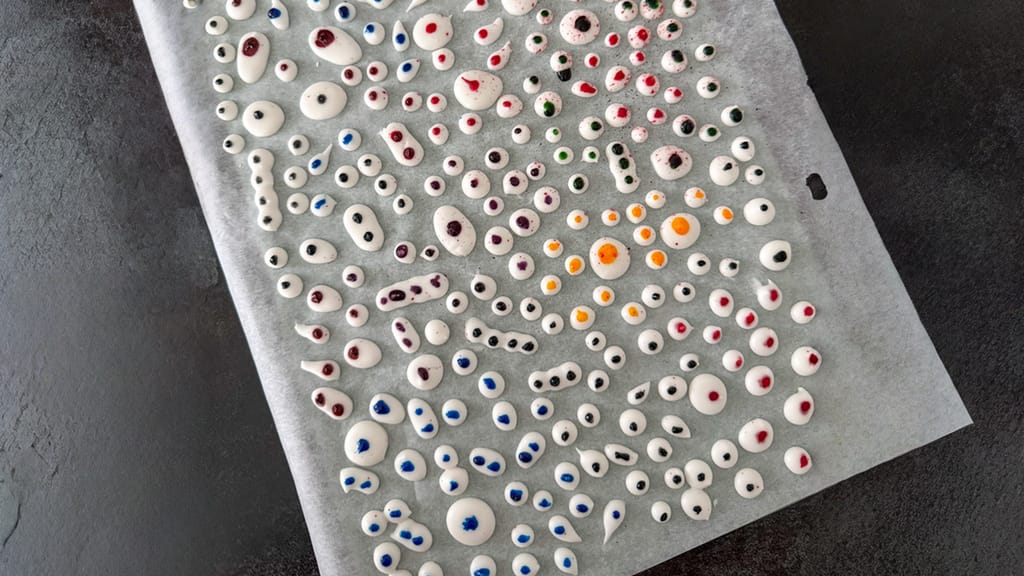
Homemade sugar eyes for decorating desserts
Homemade sugar eyes for decorating desserts — your own sprinkles made from royal icing
Sprinkles most often fail for three reasons: sprinkling too late onto icing that's already dried, decorating the whole tray at once, and boxing up the cookies before the icing has dried. The rest of the common mistakes are listed below.
Sprinkling onto icing that's already dried. Nothing sticks. The window is roughly one to five minutes.
Icing the whole tray first, then sprinkling. Decorate one cookie at a time instead.
Boxing up the cookies before the icing has dried. The fastest way to ruin your decorating.
Putting nonpareils on white icing and expecting them to last until Christmas. They won't. Swap them for sprinkle sticks.
Pressing sprinkles into the icing with your finger. Pressed-in grains are surrounded by moisture on all sides and bleed color sooner.
Putting nonpareils on jam and crystals on chocolate. Color-sensitive sprinkles belong on a water-free surface; tough ones can handle a wet one.
Leaving an open bag of sprinkles sitting in the kitchen. The sugar absorbs moisture, clumps together, and loses its shine before it even makes it onto the cookies.
Unopened, sugar sprinkles last for years; opened, about a year if you transfer them to an airtight container. They're essentially pure sugar, so they don't spoil — they just absorb moisture, clump together, and lose their shine. Store them somewhere dry and dark at room temperature, never in the fridge and never above the stove.
Not always — it depends on the coating. The base is sugar, starch, and vegetable fat, but the glossy shine on sprinkle sticks and dragées is often sealed with food-grade shellac (E904), a resin of insect origin. Carnauba wax (E903), on the other hand, is plant-based. If this matters to you, check the label for E904.
For a tray of about thirty cookies, plan on 2–3 tablespoons if you're only decorating the centers or edges, and 6–8 tablespoons if you're covering the whole surface. Actual usage tends to be noticeably lower, since any excess that lands over a bowl can go straight back into the bag.
Yes, as long as the icing is still wet: scrape off the sprinkles with a knife, wipe the icing away with a damp brush, then apply a fresh layer. Once the icing has dried, you can't pry sprinkles off without chipping away a piece of the icing itself — the only fix is to coat the whole surface again and start over.
They went dull from moisture — the thin sugary surface absorbed water from the air or from the icing and dissolved its own shine. The most common cause is sealing the cookies into a box before the icing fully dried, or storing them in a kitchen where cooking is going on. You can't bring the shine back, but you can save your next batch by letting decorated cookies air-dry uncovered for 12–24 hours.
One recipe worth heating the oven for, one tip, and one deal from the shop. Nothing else.