Simple chocolate cake
How to Decorate a Cake Without Piping Tips: 9 Ways
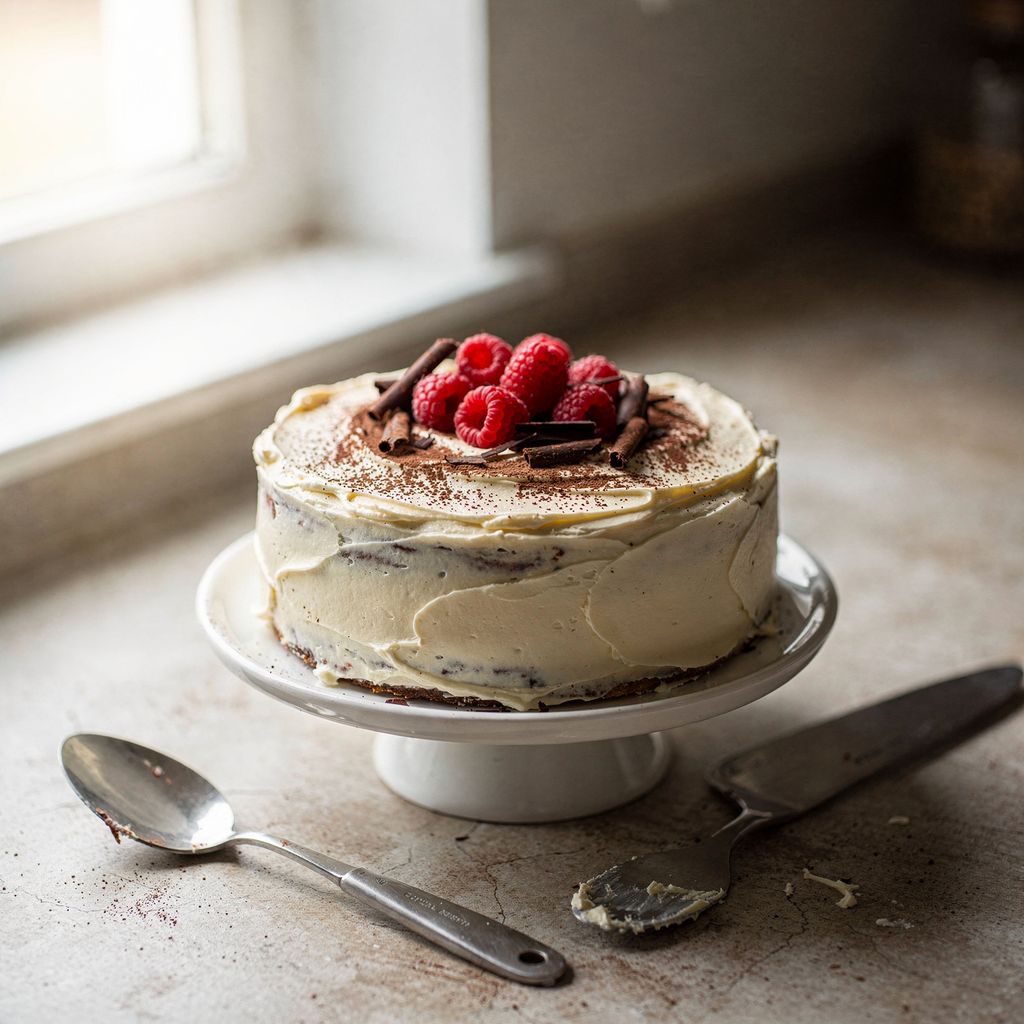
Updated Sep 18, 2026
There are nine ways to decorate a cake without piping tips: with a spatula or spoon, a fork, a bag with a snipped-off corner, chocolate drip, chocolate shavings, fresh fruit, dried edible flowers, dusting through a stencil, and crumbs pressed around the edges. Piping tips are good for exactly one thing — neat, repeating shapes. Everything else that makes a cake beautiful comes down to texture, contrast, and a few well-placed details, and for that, the tools already in your kitchen drawer are all you need.
You can decorate a cake without piping tips in nine different ways: with a spatula or spoon, a fork or knife, a bag with a snipped-off corner, chocolate drip, chocolate shavings, fresh fruit, dried edible flowers, dusting through a stencil, and crumb coating the sides. All of them just need ordinary kitchen tools you already own:
Spatula or spoon — waves, spirals, and a rustic swirl in the frosting
Fork, comb, or knife — vertical grooves and concentric circles
Bag with a snipped corner or a parchment paper cone — dots, beads, lettering
Chocolate drip running down the sides — done with a spoon, 1:1 ratio, at 84–90°F (29–32°C)
Chocolate shavings and curls — made with a vegetable peeler
Fresh fruit — raspberries, blueberries, redcurrants, physalis
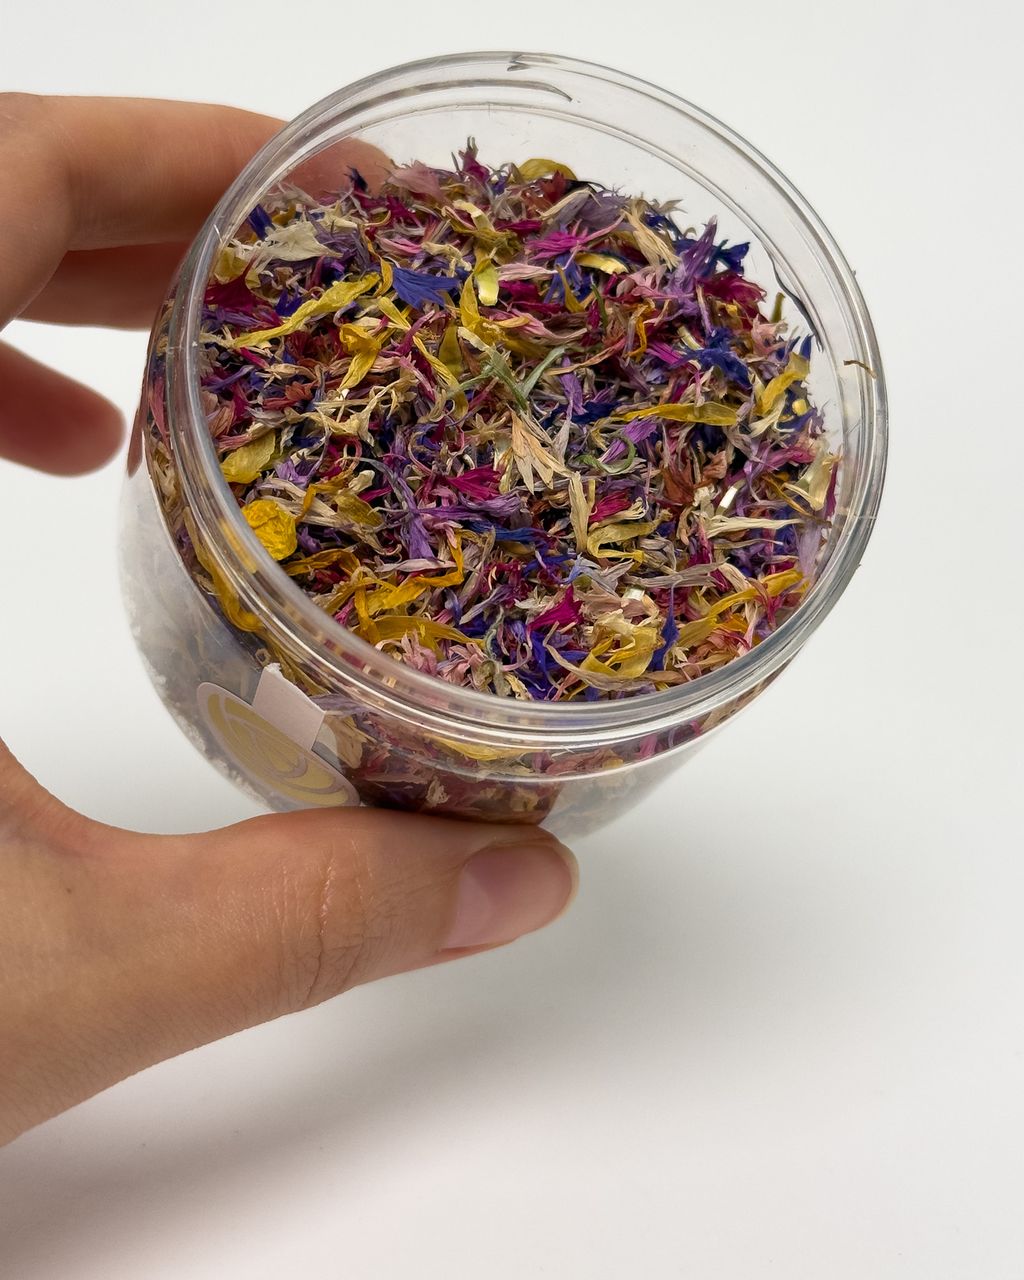
Dried edible flowers — cornflowers, pansies, daisies
Dusting with cocoa or powdered sugar through a hand-cut stencil
Crumbs, nuts, or biscuits pressed onto the sides
Below you'll find the method, exact ratios and temperatures, and — most importantly — where each technique most often goes wrong.
A pattern only holds in frosting that's the right consistency on a properly chilled cake — temperature matters far more than the tool you use. A cold cake does more for the final result than any piping tip ever could.
The method that always works:
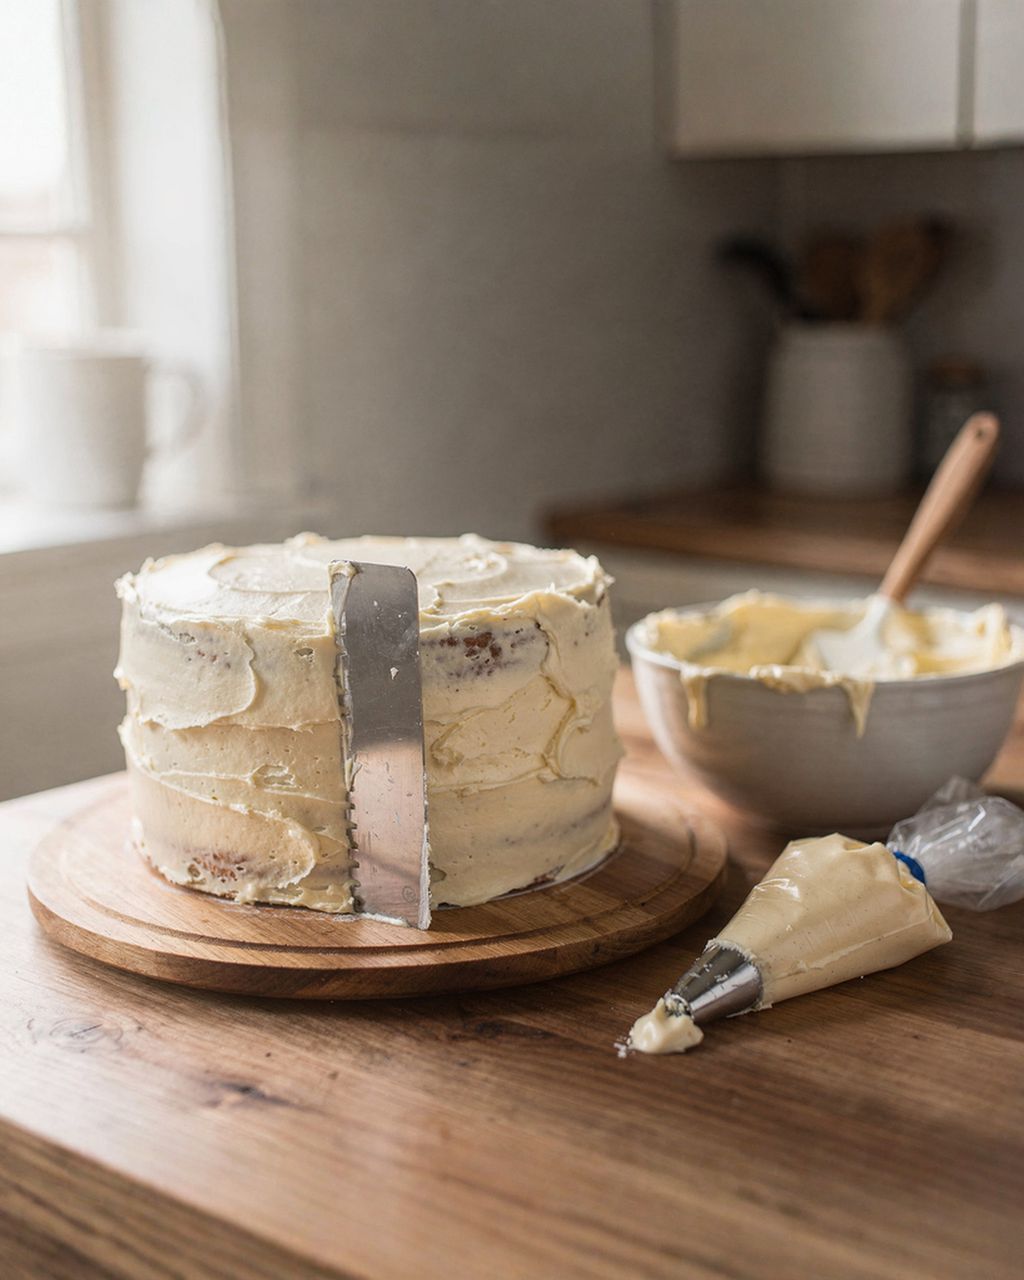
A thin crumb coat. Cover the cake with a thin, 2–3 mm layer of frosting. It doesn't need to look neat, just even.
Chill for 20–30 minutes in the fridge at 39°F (4°C). The frosting firms up and traps the crumbs inside — they won't work their way into the final layer.
Final layer, 4–6 mm thick. This is the layer you actually pattern. Under 4 mm there's nothing for the texture to hold onto; over 8 mm it collapses under its own weight.
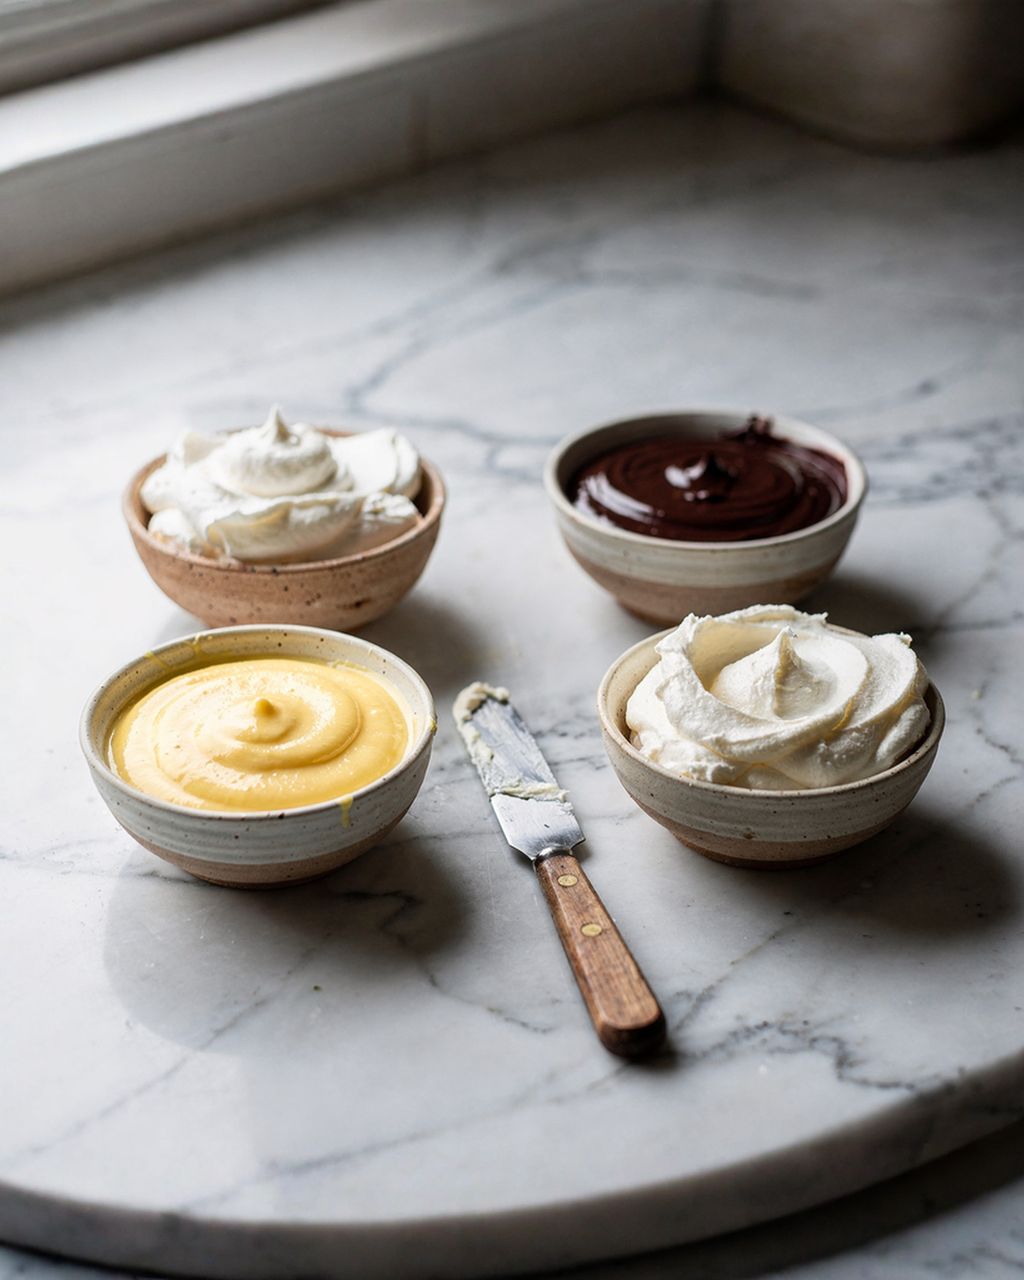
And the right consistency depends on the frosting:
Buttercream works best at 68–70°F (20–21°C). Too cold and it tears; above 75°F (24°C) it turns soft and the grooves blur together.
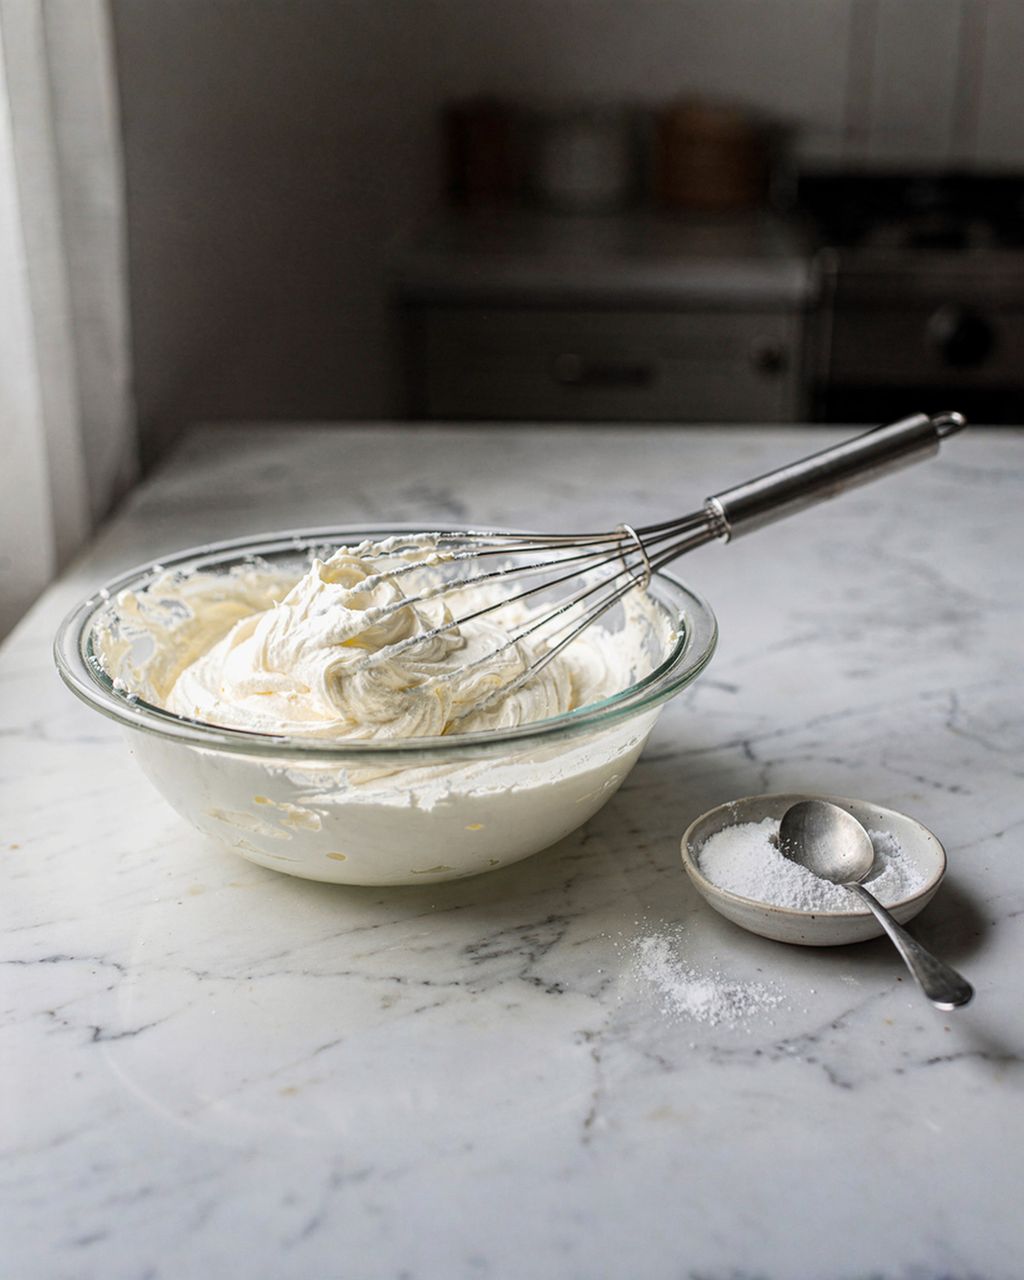
Whipped cream and cream-based frostings should be whipped in a bowl chilled beforehand and beaten to stiff peaks — softly whipped cream won't hold any shape.
Ganache should be at 84–90°F (29–32°C) for drips; for coating and modeling, let it cool to room temperature first.
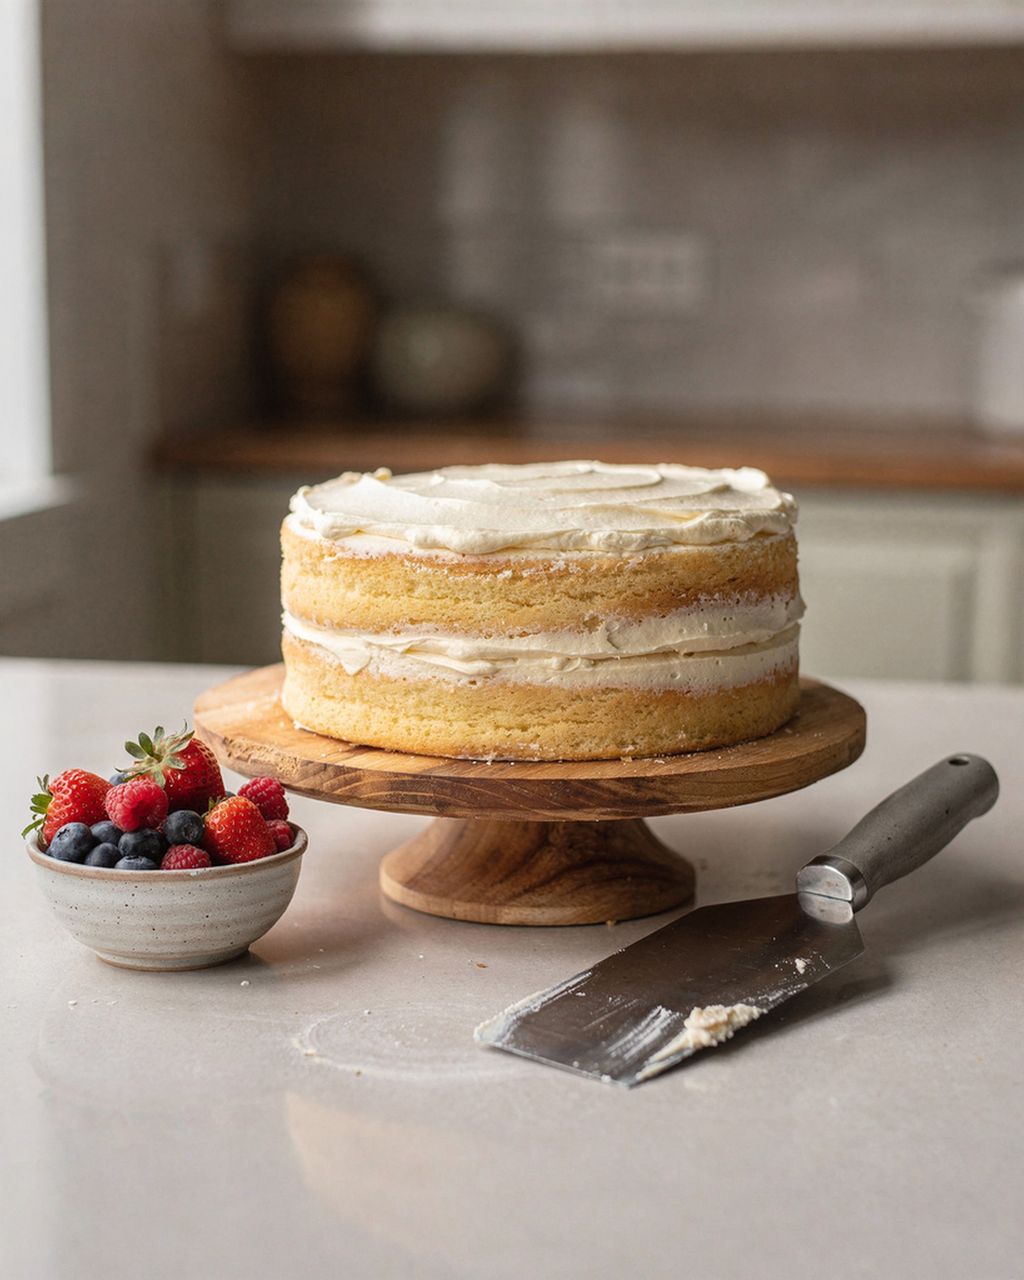
A great base for all this is a light, airy Génoise sponge — sturdy enough to carry the weight of frosting and fruit.
A regular tablespoon is the fastest way to turn a plain cake into one that looks deliberately styled. It's all about how light plays across the surface — the ridges in the frosting cast shadows, and that's really the whole trick.
Spiral (the easiest option): Place the back of a spoon in the center of the cake, press lightly, and slowly rotate the cake underneath it while gliding the spoon out toward the edge. One full turn of the cake should move the spoon about 2 cm — this creates a continuous spiral groove from the center out.
Waves and peaks: Press the back of a spoon into the frosting, twist your wrist a quarter turn, then lift. The frosting will rise into a peak. Move over and repeat, letting the waves overlap slightly. Work in concentric circles from the edge toward the center.
Rustic swirl with a spatula: Press the tip of a straight spatula against the side of the cake and rotate the cake — this creates an even, ribbed horizontal pattern. The same motion done vertically, top to bottom, gives you stripes instead.
Two things that make or break this technique:
Wipe your tool clean every three or four strokes using hot water, then dry it. Built-up frosting will smear the pattern.
Don't press too hard. If you cut through the final layer down to the crumb coat, a dark streak of cake will show through, and there's no fixing it with another pass.
A fork creates the same vertical grooves in frosting as a professional cake comb — just with wider spacing between the teeth. The pattern ends up bolder, but just as even.
Vertical grooves around the sides: Hold the fork perpendicular to the side of the cake and drag it in one smooth motion from top to bottom. One stroke, one groove — don't go back over it. Start the next stroke right next to it.
Concentric circles on top: Stick the tip of a knife in about 1 cm from the edge, hold it steady, and rotate the cake a full 360°. Move the knife 1.5 cm inward and repeat all the way to the center.
Checkerboard pattern: Run the fork across the whole surface left to right, then do a second pass top to bottom — this creates a grid.
Marbled glaze: Drizzle parallel lines of a contrasting color (melted chocolate, fruit purée) onto a smooth glaze, then drag a toothpick tip perpendicular across them, moving back and forth every 2 cm.
The same rule applies to all of these: wipe your tool after every stroke. And for marbling, you need to move fast — you've only got about 2 minutes before the glaze sets.
A piping bag without any tip at all can still do dots, beads, lines, grids, lettering, and even a classic pearl border around the base — which is really what most people want from piping tips anyway. The size of the opening is what matters:
2–3 mm — thin lines, lettering, chocolate spiderwebs, outlining
5–6 mm — dots, polka dots, grids
10–12 mm — beads and a pearl border along the base of the cake
15 mm and up — rough dollops on top, rustic mounds of frosting
To make a pearl border, hold the bag perpendicular to the cake, squeeze, let a bead of frosting form, stop squeezing, then pull the tip away to the side. Press the little tail down into the next bead with the flat side of a knife.
For a parchment paper cone for lettering and thin lines: cut a 20 × 20 cm square, fold it diagonally into a triangle, roll it into a pointed cone, tuck the edge in, fill it a third of the way, and snip the tip to whatever size you need.
One thing not to skimp on: use a sturdy bag. A thin plastic sandwich bag will burst halfway through your lettering under pressure, leaving a blob on the cake. A zip-top food bag or a proper piping bag will hold up fine.
A chocolate drip — those trickling streaks running down the sides of a cake — is the most dramatic decoration that needs no tool at all. All you need is a spoon and two numbers right: the ratio and the temperature.
Ganache ratios (chocolate : cream):
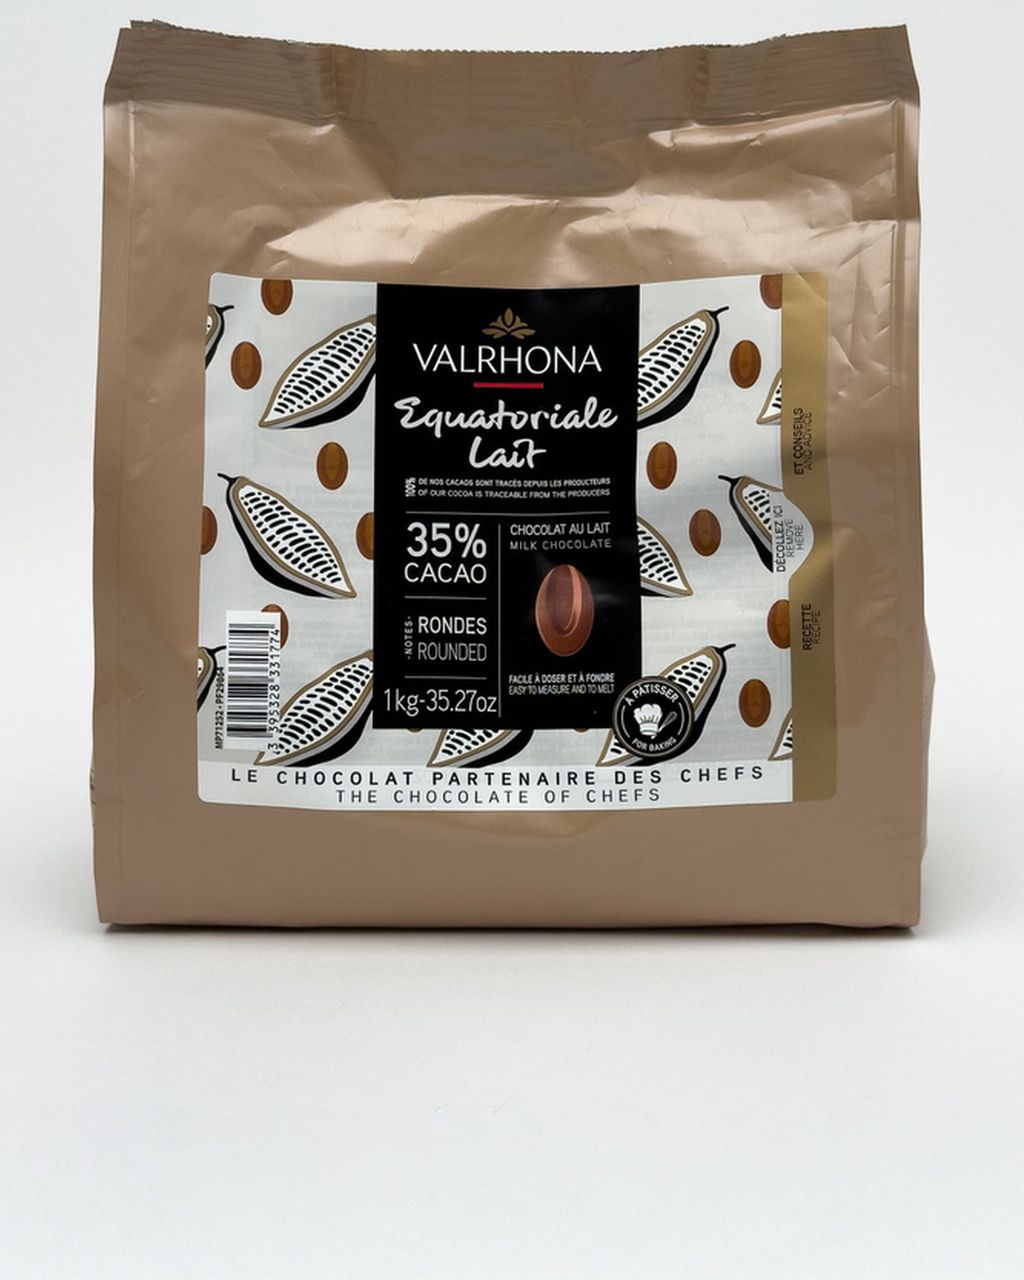
Dark and semi-sweet chocolate — 1:1, so for example 100 g chocolate to 100 ml heavy whipping cream (minimum 30% fat). For chocolate above 70% cocoa, add another 2 tablespoons of cream, or the drip will set too fast.
Milk chocolate — 2:1, so 100 g chocolate to 50 ml heavy whipping cream (minimum 30% fat).
White chocolate — 3:1, so 150 g chocolate to 50 ml heavy whipping cream (minimum 30% fat).
Why milk and white chocolate need less cream: white chocolate has no fat-free cocoa solids at all, and milk chocolate very little — and it's exactly those solids that firm up the ganache. They do have more sugar and milk solids though, which is why they set softer.
How to apply the drip:
Let the finished ganache cool to 84–90°F (29–32°C). Pastry experts agree on this range: above 95°F (35°C) the ganache runs straight down onto the tray and melts your frosting, while below 80°F (27°C) it sets a few millimeters short of the edge and looks cut off.
Test it on a chilled glass turned upside down. A drip should run 3–5 cm and then stop.
The cake needs to be cold, ideally chilled for 30 minutes beforehand. On warm frosting, the drips will run together into one puddle.
Scoop with a spoon and let the ganache spill over the edge. Make the drips irregular in length — perfectly even ones end up looking like a mistake.
Caramel works just as well: let homemade 4-ingredient caramel sauce cool to room temperature and use it exactly the same way.
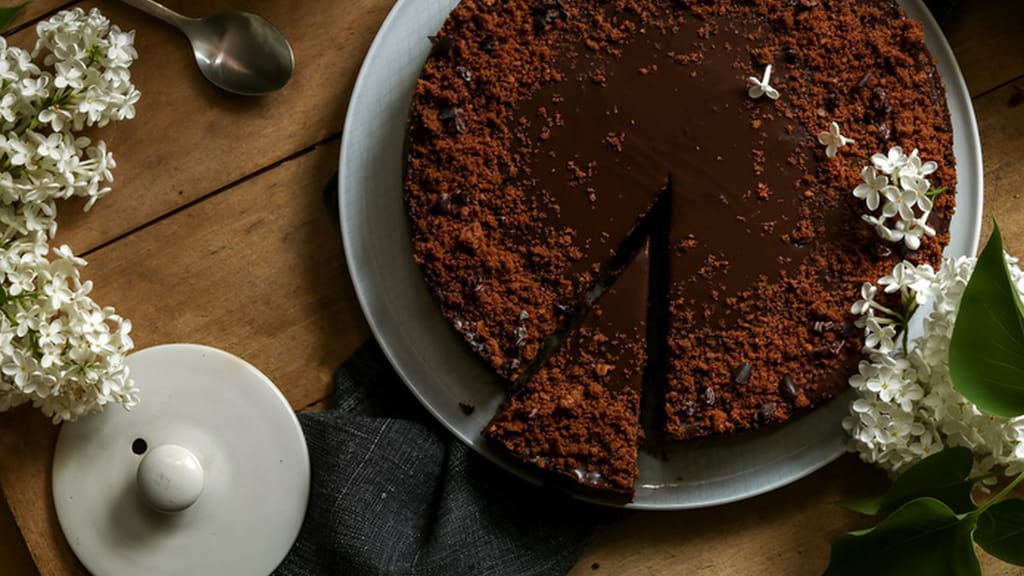
Simple chocolate cake
A simple chocolate cake — the perfect base for a chocolate drip without piping tips
A vegetable peeler turns a bar of chocolate into shavings in thirty seconds flat, and they'll cover up any unevenness in your frosting. The key is the temperature of the bar: 68–72°F (20–22°C), so room temperature.
Chocolate straight from the fridge crumbles into dust instead of curling. Let it sit at room temperature for at least an hour.
Chocolate that's too warm smears and sticks to the peeler.
Hold the bar over a sheet of parchment paper so the heat from your hand doesn't melt it.
The direction you peel controls the shape of the curl:
Along the narrow edge of the bar — tight, coiled curls
Along the flat side — long, thin ribbons
A coarse grater — fine flakes for dusting the whole surface
Use a plain bar with no filling, nuts, or fruit pieces — any of those will break up the curl. Lift the finished shavings with a spatula or two forks, not your fingers — they'll melt in your hand within a minute.
Stick to fruit with firm skins that won't weep juice: raspberries, blueberries, blackberries, redcurrants, physalis, grapes, sliced strawberries, and cherries. Arrange it right before serving.
What to avoid, and why:
Melon, orange, mandarin, and peach release water into the frosting and turn it soggy within an hour.
Kiwi, pineapple, and papaya contain enzymes (actinidin, bromelain, papain) that break down proteins — on a gelatin-set cake, this can stop the gel from setting at all, or make it turn liquid within a few hours. If you're adding these to a jelly layer, briefly cook them first; heat destroys the enzyme.
Banana and apple brown quickly; if you must use them, brush them with lemon juice.
Two tricks that make a real difference:
Pat the fruit dry with paper towel. A wet raspberry will leave a pink stain in the frosting.
Brush it with a thin layer of apricot jam warmed with a splash of water and strained. It gives the fruit shine and keeps it from drying out — this works even a few hours ahead.
Arrange from the largest pieces down to the smallest, and let the clusters look irregular: a solid carpet of fruit looks stiff, while an uneven cluster with gaps looks natural.
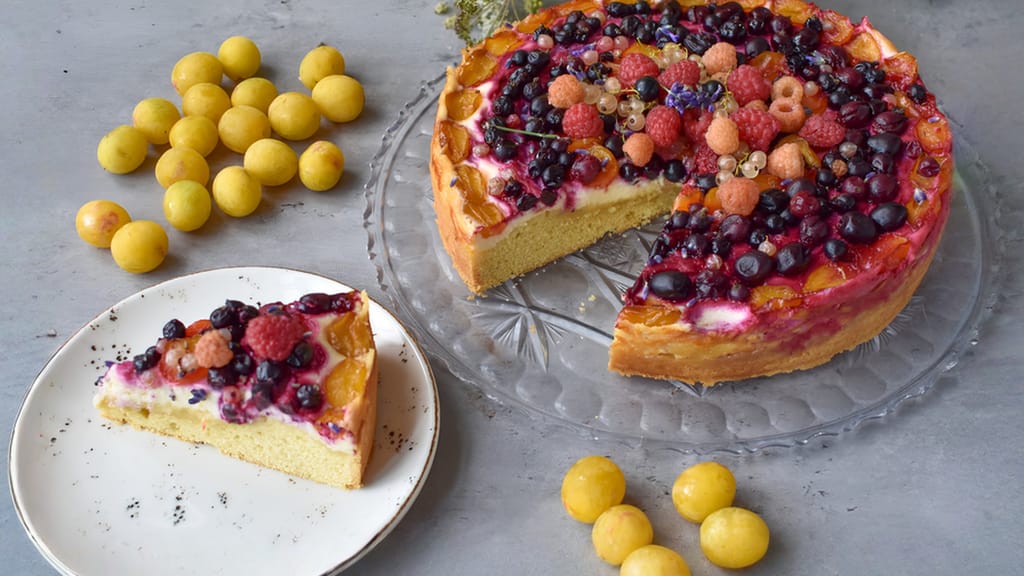
Summer cake with mascarpone, curd cheese and a mountain of fresh fruit
A summer mascarpone and fresh cheese cake piled with fresh fruit — decoration where the fruit does all the work
Only food-grade dried edible flowers belong on a cake — cornflower, pansy, daisy, marigold, rose petals, or lavender — and they go on right at the very end, just before serving. They give a cake color and a lightness no piping tip could ever achieve, and all you need to place them is a pair of tweezers.
Where to find them:
Cake decorating suppliers and online shops — look for labels that say "edible flowers" or "food safe." Dried ones are sold in small tins of just a few grams, and one tin will last you through plenty of cakes.
Herbal shops and tea shops — cornflower, marigold, and rosebuds are commonly sold as tea ingredients, meaning they're already food-grade.
From your own garden, as long as you're certain the plants haven't been sprayed. Pick them dry, in the morning, and air-dry them in the shade on paper.
Anything that isn't food-grade doesn't belong on a cake — florist or garden-center flowers aren't sold for consumption and are often treated with chemicals that have no business anywhere near food.
How to place them:
Use tweezers, not your fingers. Dry petals crumble easily, and moisture from your hands will curl them.
Set the flower on the surface and press very lightly just enough to make it stick. Don't push it into the frosting — it will soak up moisture and wilt.
Arrange them in irregular clusters using odd numbers — three, five, seven — ideally covering about a third of the surface or curving along the edge. Scattered evenly, they look like sprinkles; clustered, they look like a real arrangement.
Mix sizes: one larger flower as a focal point, surrounded by smaller cornflower petals.
A dry surface holds flowers better than a wet one. On set ganache or chocolate shavings, a flower stays looking fresh far longer than on freshly whipped cream.
When to add them: as the very last step, ideally right before serving. A dried flower on damp frosting will soak up moisture, lose its color, and go limp — and once that happens, there's no reviving it. If you're prepping the cake ahead, finish everything else first and keep the flowers in their tin until it's time to carry the cake to the table.
You can cut a stencil from paper in two minutes and get a crisp graphic pattern that no piping tip could match — stars, hearts, numbers, monograms, leaves.
Cut out your design from sturdy paper or parchment paper, about 2 cm wider than the cake.
Pick a contrast: powdered sugar on a dark chocolate surface, or cocoa, ground cinnamon, or finely ground pistachios on light-colored frosting.
Hold the stencil 1–2 cm above the surface, not directly on it. A stencil laid flat will stick to the frosting and tear off a chunk when you lift it.
Hold a fine-mesh sieve about 20 cm above the cake and tap the rim, not the bottom, for a more even dusting.
Lift the stencil straight up, not sideways.
And the timing mistake that trips people up most: powdered sugar on damp frosting absorbs moisture and the pattern disappears. Dust no more than 1–2 hours before serving. If you need to decorate earlier, use non-melting powdered sugar, which resists moisture. Cocoa reacts to moisture more slowly than sugar, making it the safer choice for a cake prepared ahead.
Coat the sides of the cake with toasted almonds, hazelnuts, pistachios, crushed sponge trimmings, or crushed biscuits — for an 8-inch (20 cm) cake, count on 150–200 g of loose decoration. Coating the sides this way hides absolutely everything while adding a nice crunchy contrast.
Good options include:
Toasted, chopped almonds, hazelnuts, or pistachios — the best balance of flavor and looks
Crushed sponge trimmings from leveled cake layers — this is exactly how the classic pistachio moss cake gets its look
Crushed biscuits or Oreo crumbs — strong visual contrast against light frosting
Shredded coconut, chocolate shavings, crunchy pearls
Technique: stand the cake on parchment paper or a large tray, scoop the decoration into your palm, and press it upward from the bottom against the side of the cake. Gather whatever falls onto the paper and reuse it.
You don't have to cover the whole side. Coating just the bottom third of the cake and leaving clean frosting above looks deliberate — and conveniently hides the spot where the bottom layer of frosting tends to bulge anyway.
Yes, but only with decorations that don't sink or weep liquid: wavy swirls and spirals, chocolate shavings, crumb coating on the sides, and chocolate drip all hold up fine in the fridge for 24 hours. Save fresh fruit, dried edible flowers, cocoa or powdered sugar dusting, and sugar sprinkles for the last minute — fruit makes the frosting damp, sugar dissolves, and colored sprinkles bleed color into the frosting. Keep the finished cake covered in the fridge and take it out 30–60 minutes before serving so the frosting softens and the cake actually tastes its best.
Without a bag or tips, a spoon, fork, knife, vegetable peeler, and sieve will cover five of the nine techniques in this article. Use a spoon for waves and spirals, a fork for vertical grooves around the sides, a peeler for chocolate shavings, a sieve with a cut-out stencil for cocoa dusting, and your hands for pressing crumbs or nuts onto the sides; a drip can also be applied with just a spoon. If you really need to write or make dots, roll a cone from parchment paper or snip the corner off a zip-top food bag — either one works exactly like a piping bag.
For covering and decorating an 8-inch (20 cm) cake, plan on 600–800 g of frosting — about 200 g for the thin crumb coat that seals in the crumbs, and 400–600 g for the final layer and texture. If you're doing dramatic waves or tall ridges, add another 150–200 g, since textured decoration uses noticeably more frosting than a smooth finish. For coating the sides with crumbs or nuts, set aside 150–200 g of loose decoration.
Eat a cake topped with fresh fruit within 24 hours, ideally the same day. Berries start releasing juice into the frosting after just a few hours, and sliced strawberries weep fastest of all, so add them right before serving. You can extend things a bit by patting the fruit dry before arranging it and brushing it with warmed, strained apricot jam, which slows both drying out and juice loss.
Chill the decorated cake for at least 2 hours before transporting it so the frosting fully sets, and carry it flat on the floor by the passenger's feet or in the trunk — never on a reclined seat. Use a box taller than your highest decoration so the lid doesn't touch anything, and line the bottom with a non-slip mat or a damp cloth. In heat above 77°F (25°C), buttercream and drip will start softening within 20–30 minutes, so plan for the shortest trip possible.
One recipe worth heating the oven for, one tip, and one deal from the shop. Nothing else.