Chocolate mousse
Chocolate Cups Made in Cupcake Liners: How to Make and Fill Them
Updated Oct 15, 2026
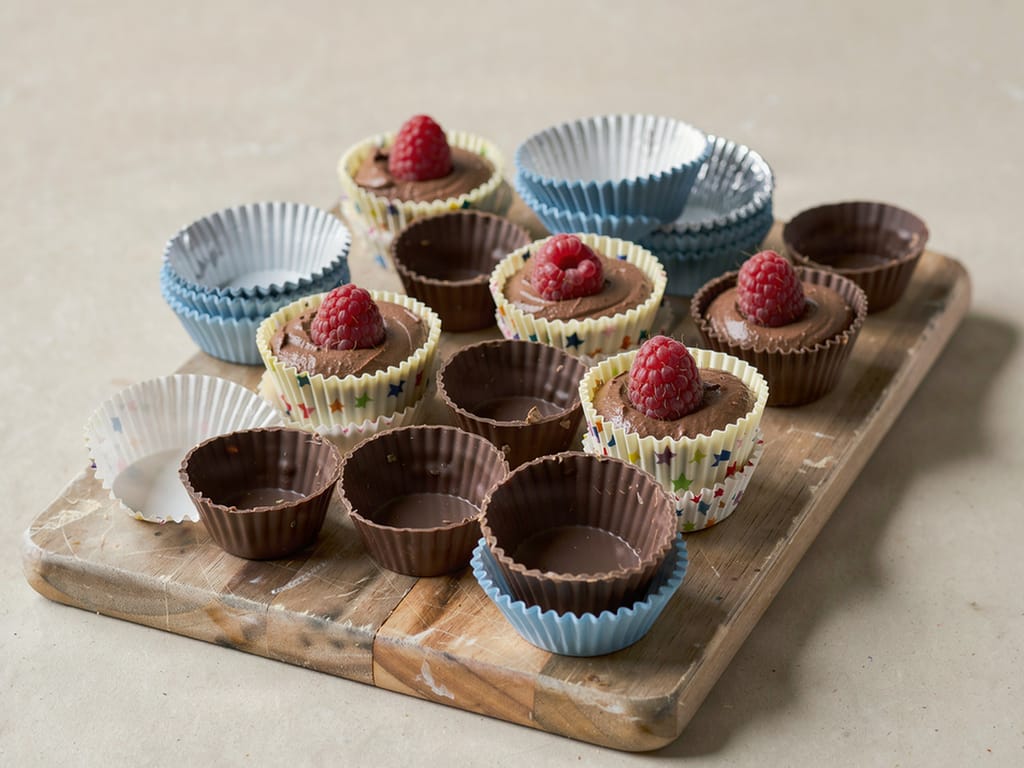
To make chocolate cups, brush tempered chocolate in two thin layers inside a paper or foil cupcake liner, let it set, then peel the liner away. They take about 30 minutes of hands-on work, plus chilling time. Fill them with mousse, cream or fruit and you have an edible dessert cup. A standard cup uses 20–25 g of chocolate, and a mini cup 8–10 g.
You make chocolate cups in 6 steps: temper, brush, chill, brush again, chill and peel off the liner. Here's how it goes in practice:
Prepare the liners. Stand foil-lined paper cups on a baking sheet or cutting board. Nest plain paper liners two together, or set them in a muffin tin so they don't curl.
Temper the chocolate. Without tempering, the cup sticks to the paper, stays soft and turns gray by the next day. You'll find the full method in our guide to tempering chocolate.
Brush on the first layer. Put a teaspoon of chocolate in a liner and use the back of the spoon or a brush to draw it up the sides to the top edge. Don't skimp on the rim, because that's where cups crack most often.
Chill. Give it 5–10 minutes in the fridge, until the chocolate turns matte and no longer feels sticky to the touch.
Brush on the second layer. Focus on the sides and rim, since the base is usually thick enough after the first layer. This fills in any see-through spots.
Let it set and peel off the liner. Chill for 15–20 minutes, or leave for an hour in a cool room (15–18 °C / 59–64 °F). Then gently peel away the paper (see below for how).
Two thin layers are stronger than one thick one. A thick layer runs down to the bottom, leaving you with a heavy base and a thin rim.
Recipe of the week, one tip that saves you time and one deal from the shop. Unsubscribe in one click.
The next issue goes out on Thursday, November 26.
The best choice is couverture, a chocolate with a high percentage of cocoa butter that you temper. The cup comes out glossy, snaps cleanly and doesn't go soft the moment you pick it up. On Czech packaging, dark couverture is often labeled "chocolate coating" and milk couverture "milk chocolate coating". By Czech regulation, a chocolate coating must contain at least 35% total cocoa solids, of which at least 31% is cocoa butter and at least 2.5% is fat-free cocoa solids. A milk chocolate coating must contain at least 31% total fat. Of the three options:
Couverture (dark, milk, white). It has the best flavor and shine, but you have to temper it. Dark Callebaut 811 (54.5% cocoa) has medium fluidity, so it spreads well on the sides and doesn't run down. White Callebaut W2 suits light-colored cups or coloring. The article Callebaut 811, 823, W2 and RB2 explains what the numbers on the packaging mean. You'll find more types in the baking and decorating chocolate category.
Supermarket bar chocolate. It works, but it tends to be thicker and harder to spread on the sides. You have to temper it too. If you can't get a thin layer, the chocolate is more likely the problem than you are.
Cocoa coating (fat instead of cocoa butter). You don't temper it and it always sets, so it's the easiest option. But the flavor is much weaker, it's waxy and it melts less pleasantly in the mouth. It's fine for a big kids' party, but not so much for a dessert where the chocolate should be the star. We don't sell it.
White chocolate is softer and overheats sooner. Brush it on a little thicker, or make three layers.
Foil-lined paper cups are the most reliable. They hold their shape, the chocolate releases cleanly from the foil and you can peel them off in one piece. Here's how the types differ:
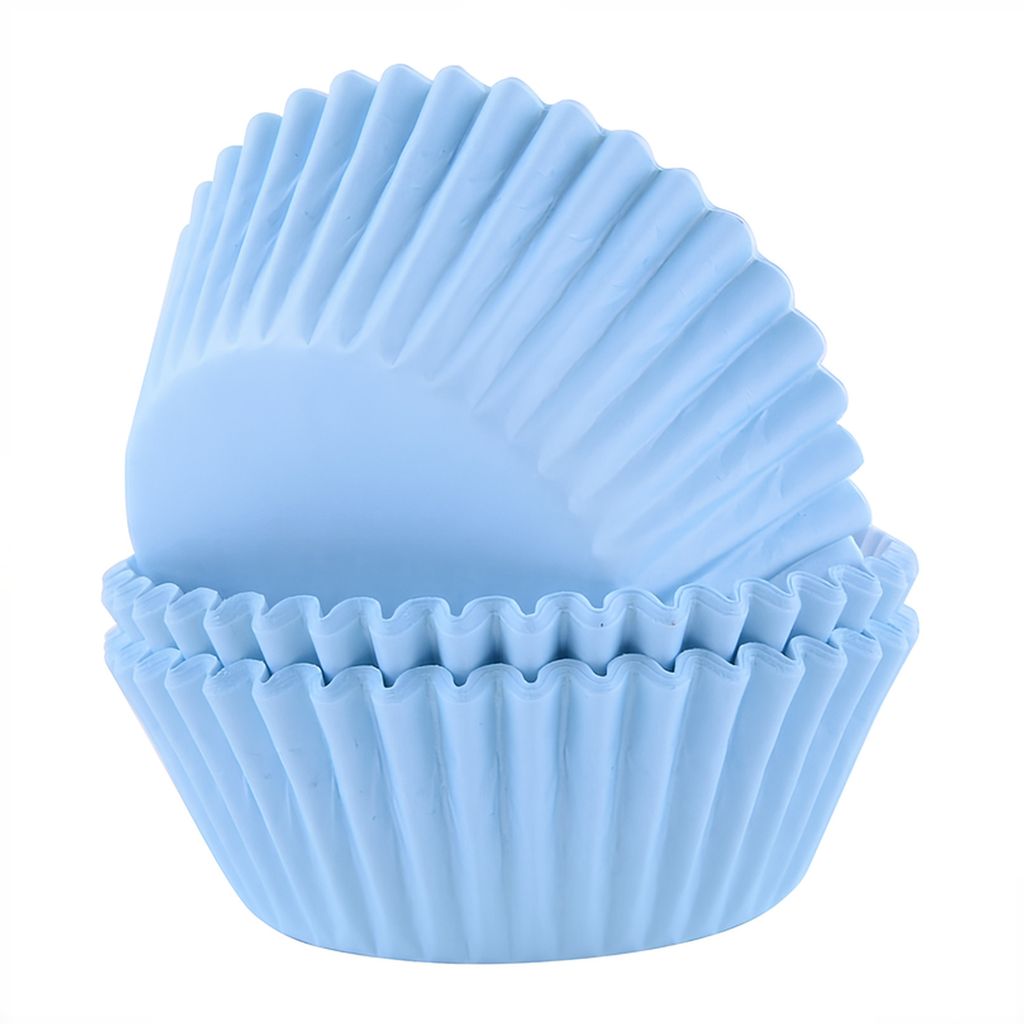
Foil-lined paper cups. They're stiff, so they don't sag under the weight of the chocolate, and they peel away most easily. We carry PME foil-lined paper cups with a star pattern, plus a mini version with flowers for canapés.
Paper liners. They're cheap and colorful, but thin. On their own they curl under the chocolate, so nest them two together or set them in a muffin tin. The paper can tear off in strips as you peel, and the finer the ridges, the slower it comes off. PME paper cups (60 per pack) work well.
Silicone molds. You can reuse them and the cup pops out of them most easily. They are soft, though, so set them on a baking sheet while you brush and chill. We don't sell them, but if you have them at home, go ahead and use them.
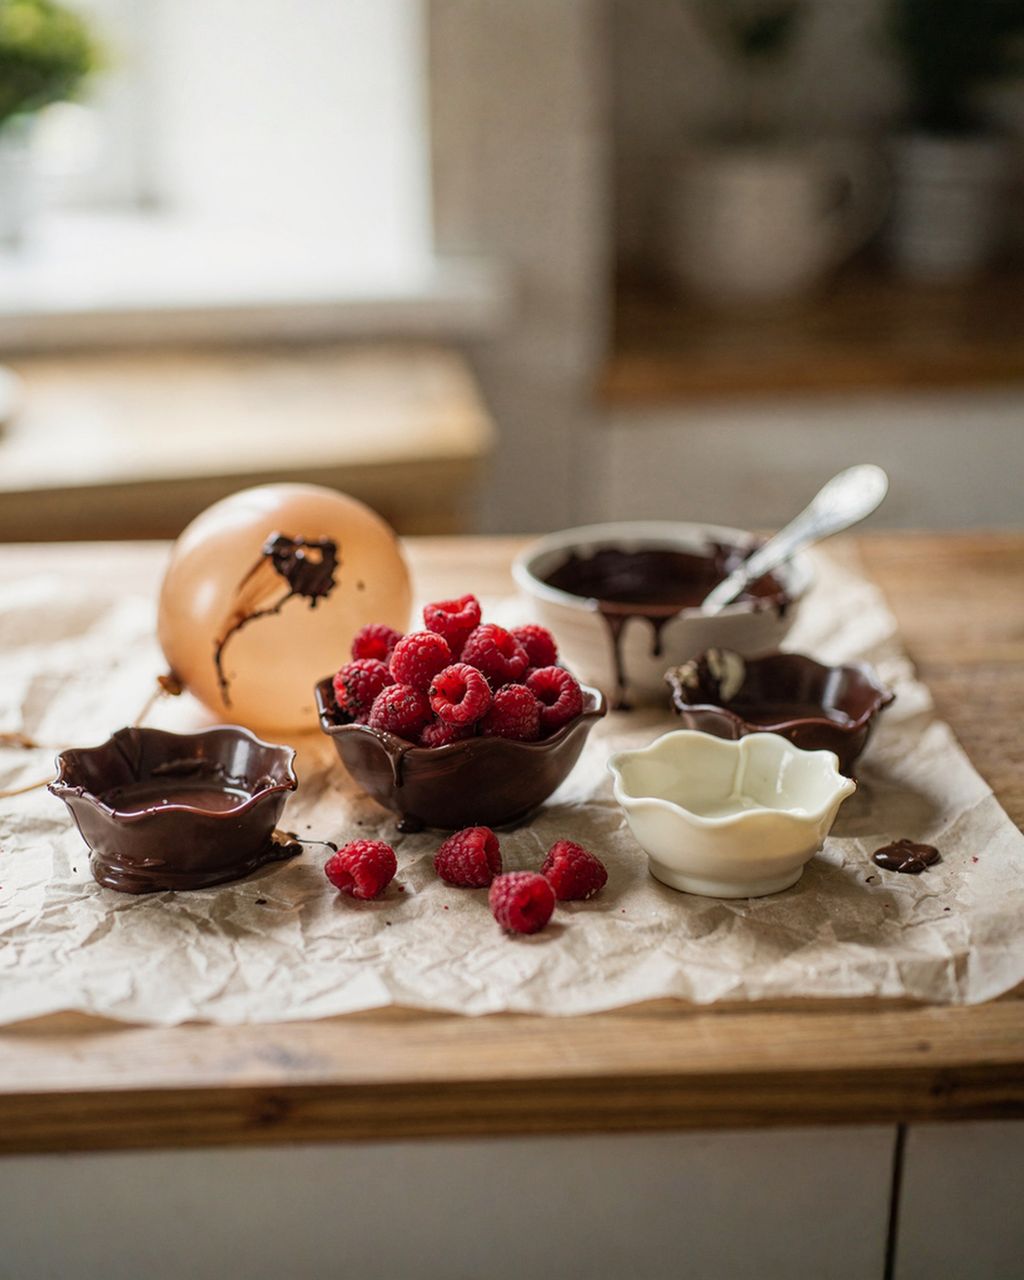
A large chocolate serving bowl won't fit in a liner. For that, use a balloon instead, as in chocolate bowls made on balloons.
Plan on roughly 8–10 g per mini cup and 20–25 g per standard muffin-size cup (both for two layers). As a guide:
Mini cups (base about 3 cm): 8–10 g each. 400 g of chocolate makes about 35–40 cups (some chocolate stays behind in the bowl).
Standard cups (base about 5 cm): 20–25 g each. 400 g of chocolate makes about 16–18 cups.
Always temper at least 300–400 g, even if you need less. A small amount cools quickly and falls out of temper before you've brushed all the cups. Let the leftovers set on baking paper and use them next time.
Peel the liner from the rim downward in small pieces, and hold the cup by its base, not the sides. Here's how:
Take the cup out of the fridge and let it stand for 2–3 minutes. Ice-cold chocolate is brittle.
Rest it upside down on your palm, or hold it with your thumb underneath and your index finger inside on the base.
Lift the paper at the rim and pull it toward you and down, one strip at a time. Don't pull the paper sideways, or you'll break the wall.
With a foil cup, you can first loosen the foil from the base (gently prick it with a toothpick) and then peel it upward in one go.
Work with thin gloves or cold hands, otherwise you'll leave fingerprints on the glossy walls. If the paper won't let go, put the cup back in the fridge for 10 minutes. A liner that won't release almost always means the chocolate wasn't properly tempered.
Cold, thick fillings hold up best: chocolate mousse, firm cream, ganache, or whipped cream with fruit. Here are a few tried-and-true ideas:
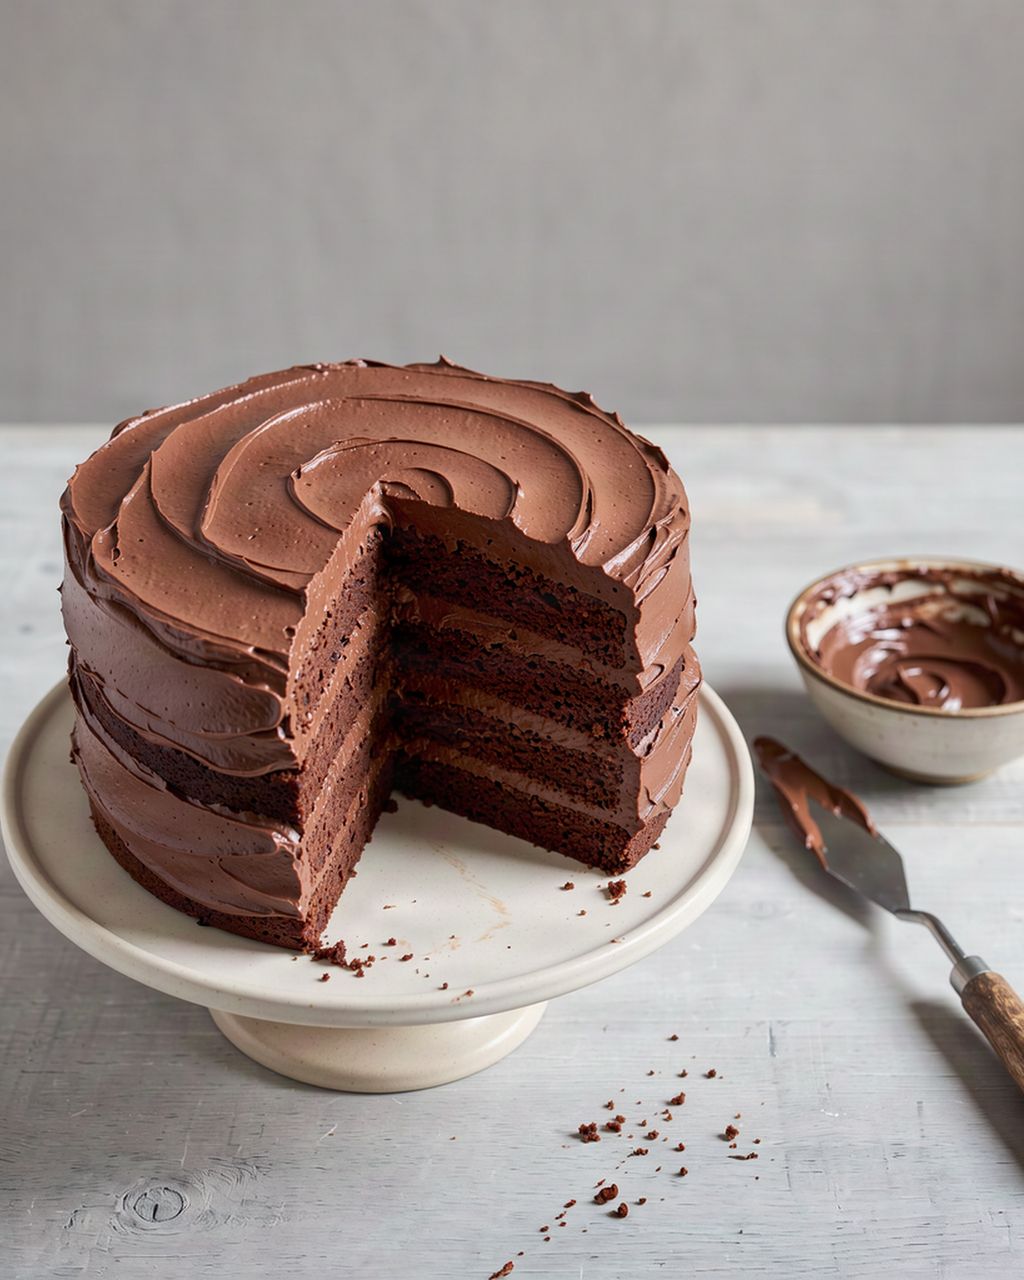
Chocolate mousse. A classic that you can pipe in even a day ahead. Try our recipe for chocolate mousse, or put white chocolate mousse in a dark chocolate cup, because the contrast looks great.
Firm cream. You can pipe it into the cup with a piping tip and it holds its shape for several hours. Our white chocolate and coffee cream works wonderfully. Whipped Parisian cream or a mascarpone and white chocolate cream also work well.
Ganache. Mix the cream and chocolate, let it cool to 25–28 °C (77–82 °F), and only then pour it into the cup. A warmer ganache will melt the wall from the inside.
Whipped cream and fresh fruit. Raspberries, blueberries, strawberries. Dry the fruit well, because water leaves spots on chocolate and softens it.
Fruit mousse or mascarpone with lemon zest. A fresh counterpoint to bitter chocolate.
Ice cream. Chill the cup in the freezer beforehand and fill it just before serving.
Add moist fillings such as whipped cream, fruit or pudding to the cup only 2–4 hours before serving. The chocolate gradually absorbs moisture from the filling and softens.
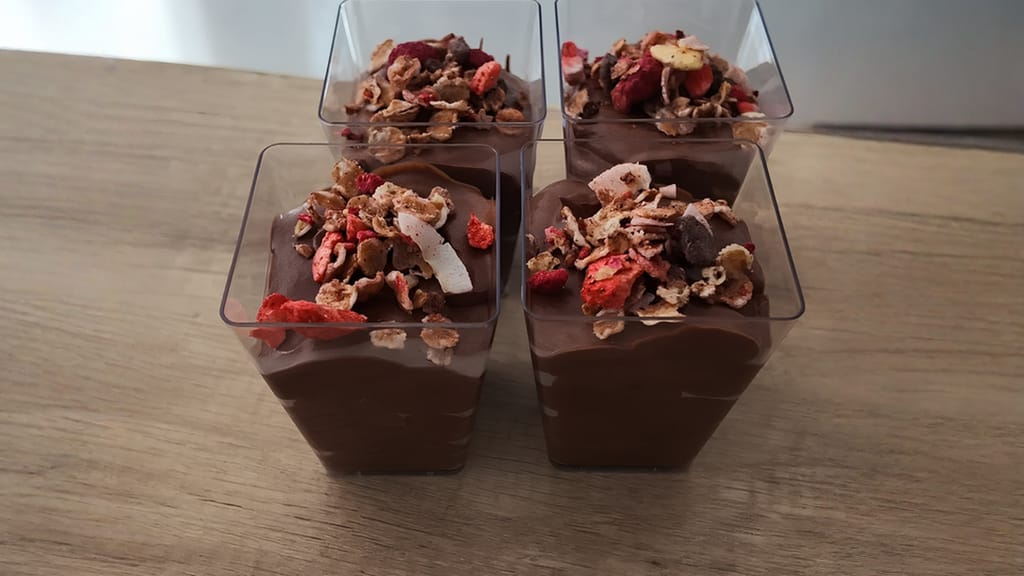
Chocolate mousse
Chocolate mousse as a filling for chocolate cups
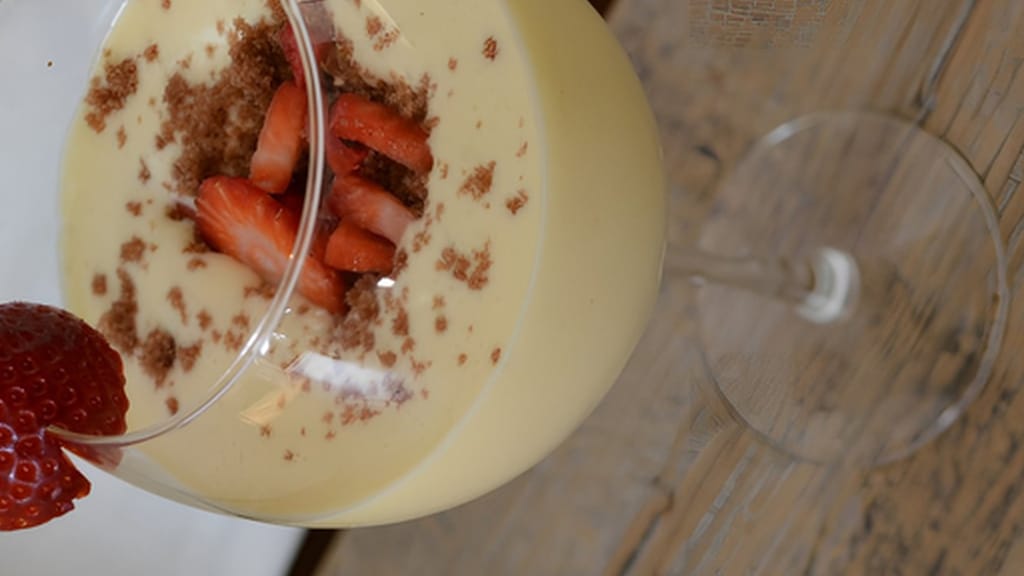
White chocolate mousse – light and fluffy
White chocolate mousse in dark chocolate cups
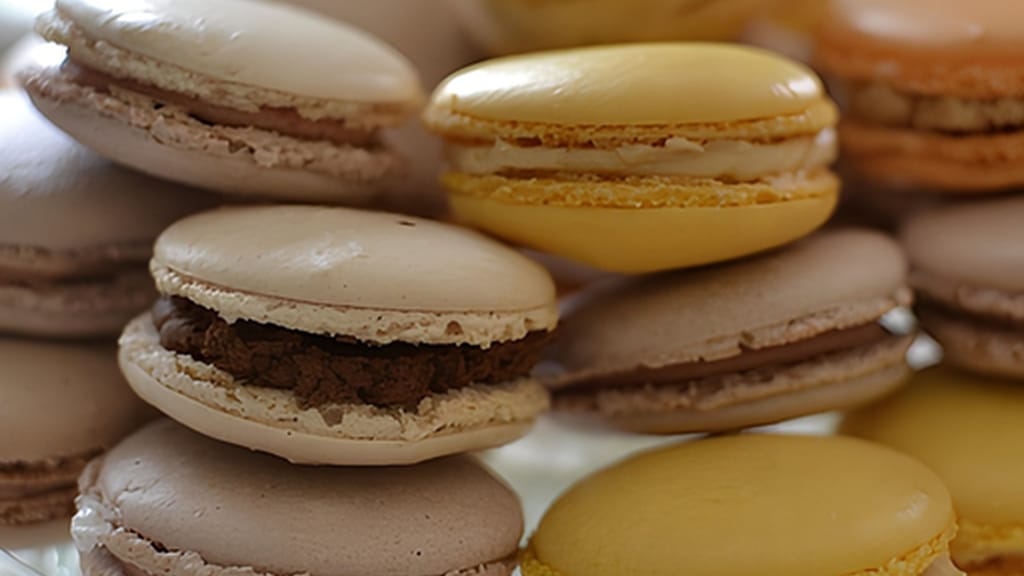
White chocolate and coffee cream - great in macarons and beyond
White chocolate and coffee cream for filling chocolate cups
Almost every problem comes down to one of three things: the chocolate isn't tempered, the layer is too thin, or the cups sat in the fridge too long. By symptom:
The cup cracks at the rim. The rim is too thin. When you add the second layer, put extra chocolate at the top, and don't hesitate to brush the rim a third time.
Gray smears or white streaks right after setting. The chocolate wasn't tempered properly. The article how to store chocolate and why it turns gray explains why this happens.
The cup sweats when you take it out of the fridge and has a whitish film the next day. It was in the fridge too long. 15–20 minutes is enough for it to set. If the empty cups stay there for several hours or overnight, they chill right down to fridge temperature. When you take them out, water condenses on them and dissolves the sugar on the surface, and once it dries, a grayish-white film is left behind. So move finished empty cups to a box in a cool place, not into the fridge.
The liner won't come off. The chocolate is under-tempered or hasn't set fully yet. Put the cup back in the fridge for another 10–15 minutes.
The cup goes soft and takes fingerprints. It's either not tempered or the room is too warm. Tempered dark chocolate is stable up to about 25 °C (77 °F).
See-through spots when held up to the light. It needs another layer. Brush it on while the cup is still in the liner, because you can't do it after peeling.

Callebaut
Callebaut White Chocolate Callets (W2) 400g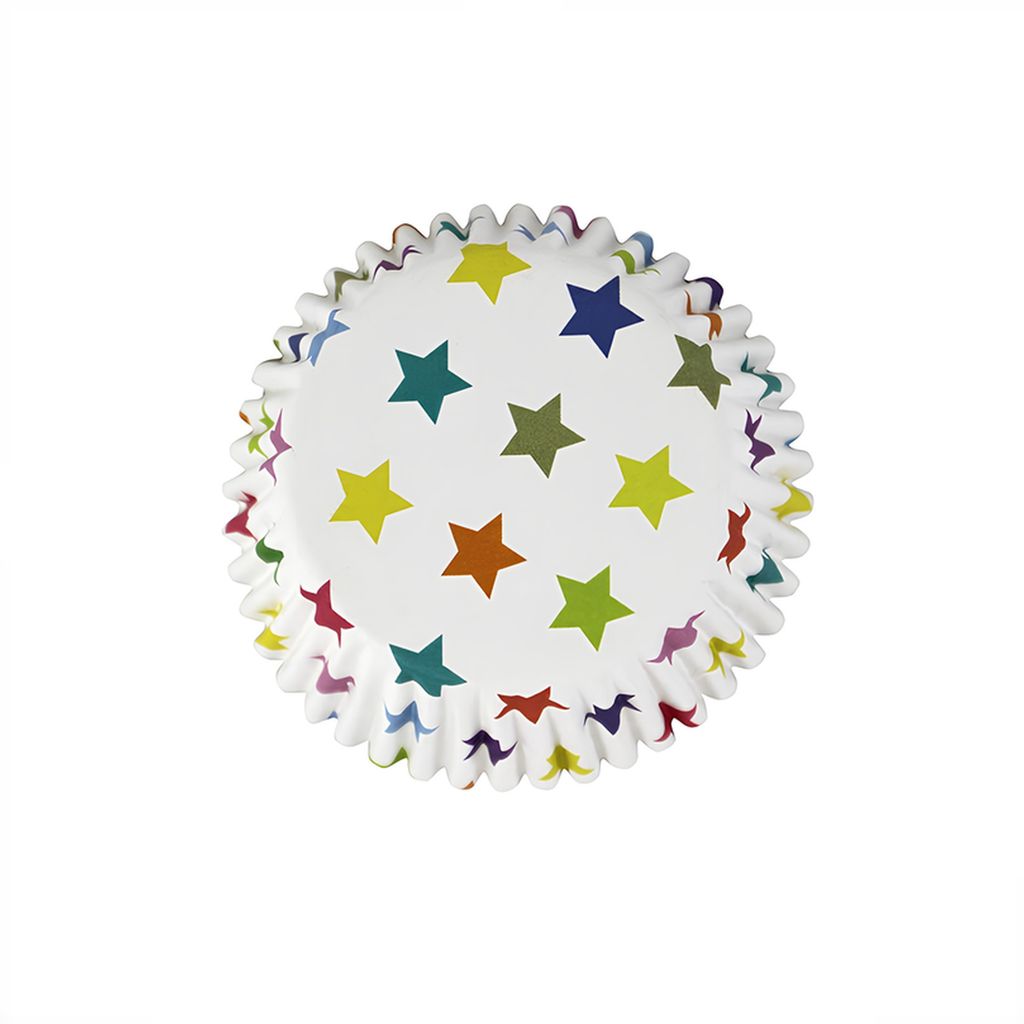
PME
Foil Cupcake Cases Stars (30 pcs)Empty cups made with tempered chocolate keep for 2–3 weeks in a closed box in a cool, dry place (15–18 °C / 59–64 °F), not in the fridge. In the fridge they pick up moisture and odors, and they sweat once you take them out. Filled cups belong in the fridge and should be eaten within 24 hours. If the filling is moist, ideally eat them the same day.
For a dessert table, plan on 2–3 mini chocolate cups per person. As a stand-alone dessert, one standard cup per person is enough. For 20 guests that works out to about 50 mini cups, or roughly 500–600 g of chocolate (including extra for tempering). Make a few more than you need, because one or two cups usually break when you peel off the liner.
The easiest way is to use ruby chocolate, which is naturally pink, or to color white chocolate with an oil-based or powder food coloring. Water-based gel coloring thickens the chocolate and makes it seize. The article how to color white chocolate covers colorings in detail.
Yes, you can make small chocolate cups in a rigid plastic praline mold, but the technique is different from using liners: instead of brushing the cavities, you pour the chocolate in. Fill the mold with tempered chocolate, then turn it over, tap it so the excess runs out, and scrape the rim clean with a scraper. After 15–20 minutes in the fridge the chocolate sets, shrinks slightly and drops out of the mold on its own. This only works with properly tempered chocolate.
One recipe worth heating the oven for, one tip, and one deal from the shop. Nothing else.