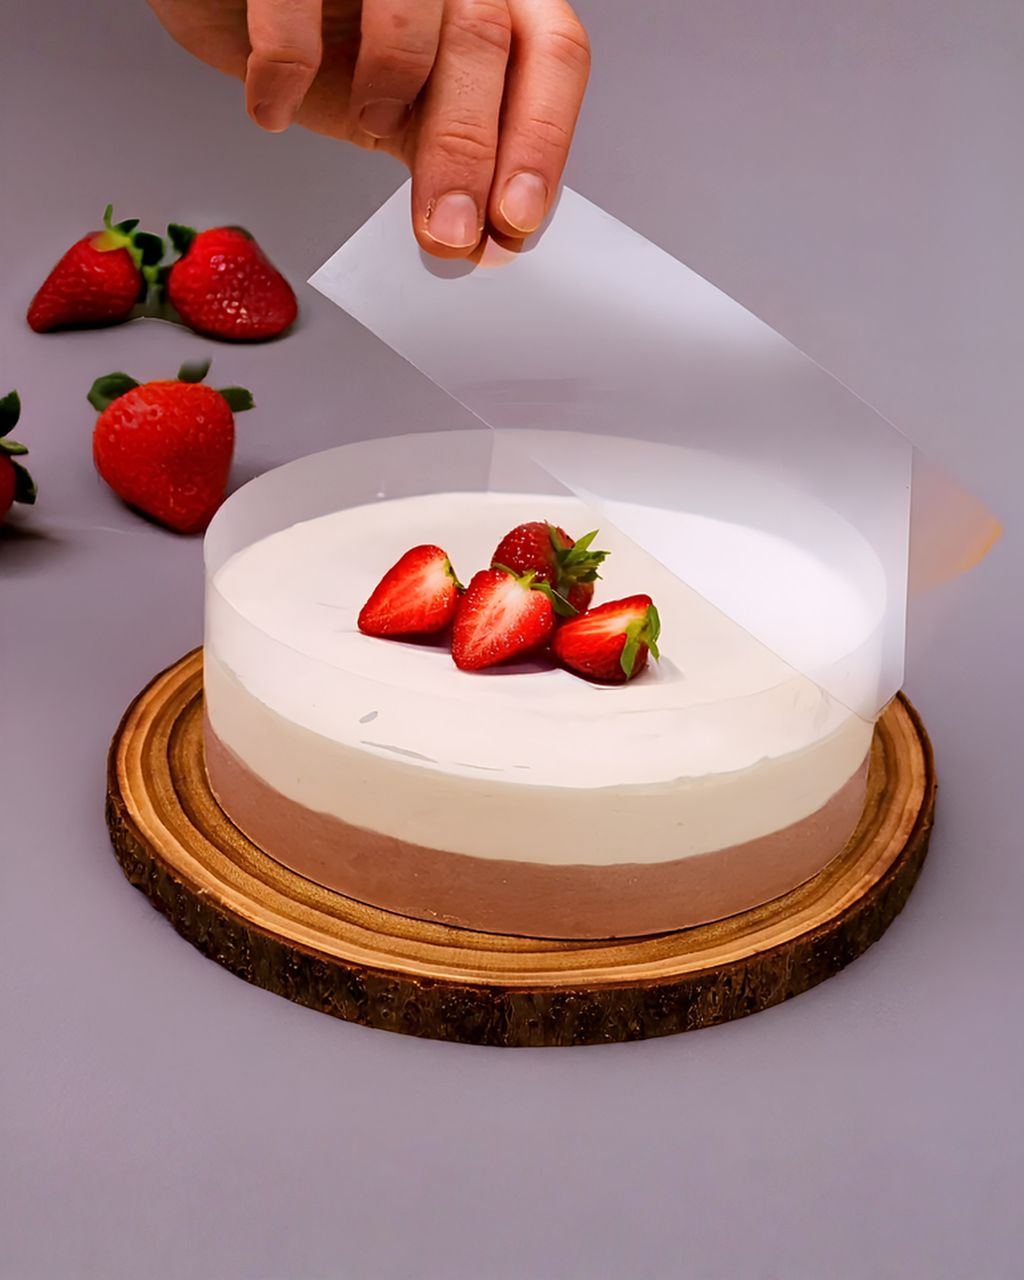
Acetate Cake Collar - 35 mm Roll (5 m)
Homemade Wedding Cake: How Many Tiers for Your Guest Count and How to Transport It Safely
Updated Oct 17, 2026
You can make your own wedding cake if you work out three things: how many servings you need, how many days ahead to start baking, and how the cake will get to the venue. If you're also serving a dessert table and cutting slim wedding slices of 2.5 × 5 cm (about 1 × 2 in), three tiers of 15, 20 and 25 cm (6, 8 and 10 in) will feed 31–60 guests. If the cake is the only dessert and you're cutting larger 5 × 5 cm (2 × 2 in) dessert portions, you need 20, 25 and 30 cm (8, 10 and 12 in) tiers for 36–55 guests. A fourth tier adds only about 7 servings, so it covers 60–65 guests at most; for more guests, add a 30 × 40 cm (12 × 16 in) sheet cake. Bake the cake layers 2–3 days ahead, decorate the day before, and transport the cake chilled, ideally one tier at a time. Below you'll find the numbers, a timeline and a step-by-step transport plan.
For 31–60 guests with a dessert table, a three-tier wedding cake of 15 + 20 + 25 cm (6 + 8 + 10 in) is enough. Without a dessert table, you need 20 + 25 + 30 cm (8 + 10 + 12 in) tiers for 36–55 guests. Here's the detail, depending on whether the cake is the only dessert:
With a dessert table (slim wedding slices): up to 30 guests, two tiers (15 + 20 cm); for 31–60 guests, three tiers (15 + 20 + 25 cm); for 61–110 guests, three larger tiers (20 + 25 + 30 cm); for 111–130 guests, four tiers (15 + 20 + 25 + 30 cm). For more than 130 guests, add a kitchen sheet cake.
Cake as the only dessert (larger dessert portions): up to 18 guests, two tiers (15 + 20 cm); for 19–35 guests, three tiers (15 + 20 + 25 cm); for 36–55 guests, three larger tiers (20 + 25 + 30 cm). Four tiers (15 + 20 + 25 + 30 cm) add only about 7 servings, so they cover 56 to 65 guests at most. Beyond that, don't add another tier. Add a 30 × 40 cm (12 × 16 in) kitchen sheet cake (48 servings) instead.
These numbers apply to round tiers 10–12 cm (4–5 in) tall (two cake layers, each split into 3–4 layers with filling). Plan around two portion sizes:
Slim wedding slice (about 2.5 × 5 cm, cut from a tall tier; a good fit when there's also a dessert table)
Larger dessert portion (about 5 × 5 cm, when the cake is the only dessert)
How many servings one tier gives (slim wedding / larger dessert):
15 cm: about 12 / 7 servings
20 cm: about 24 / 12 servings
25 cm: about 38 / 19 servings
30 cm: about 56 / 28 servings
For a rough idea of the combinations:
15 + 20 cm: 36 slim / 19 dessert servings
15 + 20 + 25 cm: 74 slim / 38 dessert servings
20 + 25 + 30 cm: 118 slim / 59 dessert servings
15 + 20 + 25 + 30 cm: 130 slim / 66 dessert servings
The slim-slice counts come from American wedding cake serving charts. The dessert portions are an upper estimate based on each tier's surface area. Because of the rounded edges, you'll actually get a few fewer, so keep a few servings in reserve.
If you have lots of guests but don't want to build four tiers, bake a small wedding cake for show and for the cake-cutting, plus a sheet cake in the same flavor to serve from the kitchen. A 30 × 40 cm (12 × 16 in) sheet cake gives about 48 pieces of 5 × 5 cm, bakes in a fraction of the time, and nobody can tell which cake their slice came from.
A second saving: if you're also building a dessert table, don't count a slice of cake for every guest. Servings for 80–90% of your guests are enough, because some people will choose another dessert. For how many desserts to plan, see the article Wedding Dessert Table: How Many Desserts per Guest and How to Set It Up.
A wedding cake is made in stages: cake layers 2–3 days ahead, filling and the first coat of frosting 2 days ahead, the final finish and supports the day before, and flowers and gold only on the wedding day. That way you never pile everything into a single evening.
One month ahead: a test cake. Bake one 15 cm (6 in) tier exactly as planned and cut it open. You'll find out whether the frosting holds, whether the cake slices well, and how much frosting you really use.
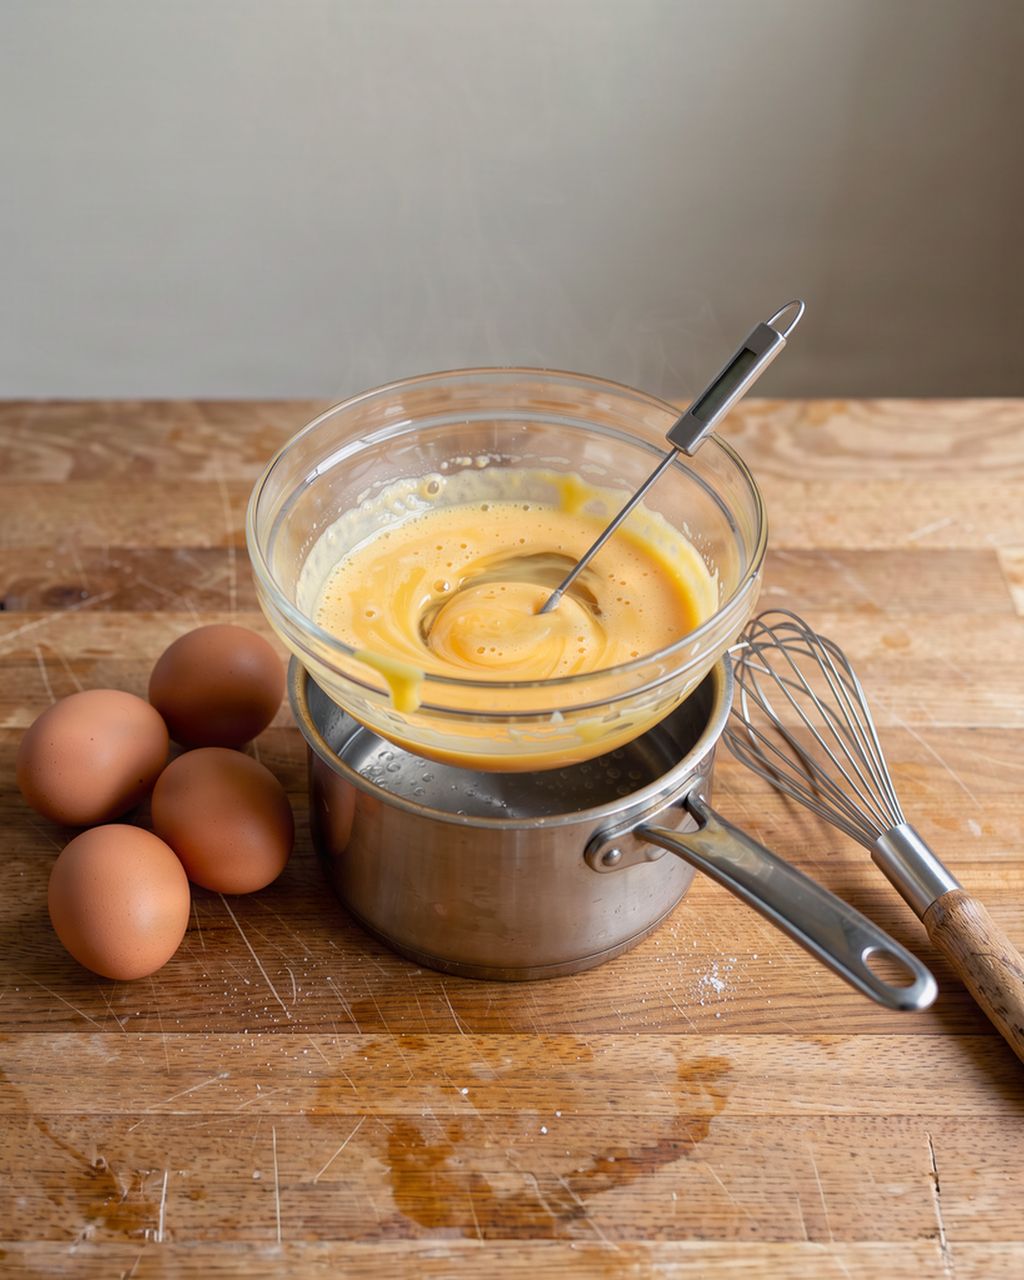
3–2 days ahead: cake layers. A day of rest does the layers good: they firm up and crumble less when you cut them. A reliable base is a fluffy Génoise sponge; why a sponge fails to rise or collapses is explained in Sponge Cake Batter: The Ratio of Eggs, Sugar and Flour. You can also bake the layers weeks ahead and freeze them, wrapped tightly in plastic wrap; thaw them in the fridge overnight, still wrapped.
2 days ahead: filling and the crumb coat. Fill each tier, cover it with a thin first layer of frosting to trap the crumbs, and leave it in the fridge overnight.
The day before: final coat and supports. Apply a second, clean layer of frosting (or a fondant covering), smooth the edges, and insert supports into the lower tiers. Chill each tier separately on its own board.
On the wedding day: assembly and decoration. Stack the tiers at the venue, and add the flowers, gold and ribbons there.
For how to place supports and boards properly so the tiers don't sink, see How to Assemble a Tiered Cake So It Doesn't Collapse: Supports, Boards and Method.
A wedding cake needs a frosting that firms up in the fridge and holds for at least a few hours outside it: buttercream (ideally Swiss meringue), ganache, or a mascarpone cream stabilized with gelatin. Whipped cream and light mousses don't belong on a tiered cake that has to travel. They give way under the weight of the upper tiers and in the warmth of the venue.
Swiss meringue buttercream is smooth, easy to finish, and as firm as cold butter when chilled. For the method, and for how to rescue curdled buttercream, see Swiss Meringue Buttercream: How to Make It and What to Do If It Curdles.
Ganache holds its shape best, but white ganache has a yellowish tint.
Fondant gives the cake a perfectly smooth surface and protects the frosting underneath; for how to cover a cake without cracks, see Fondant on a Cake: What Frosting to Put Under It and How to Roll It Out.
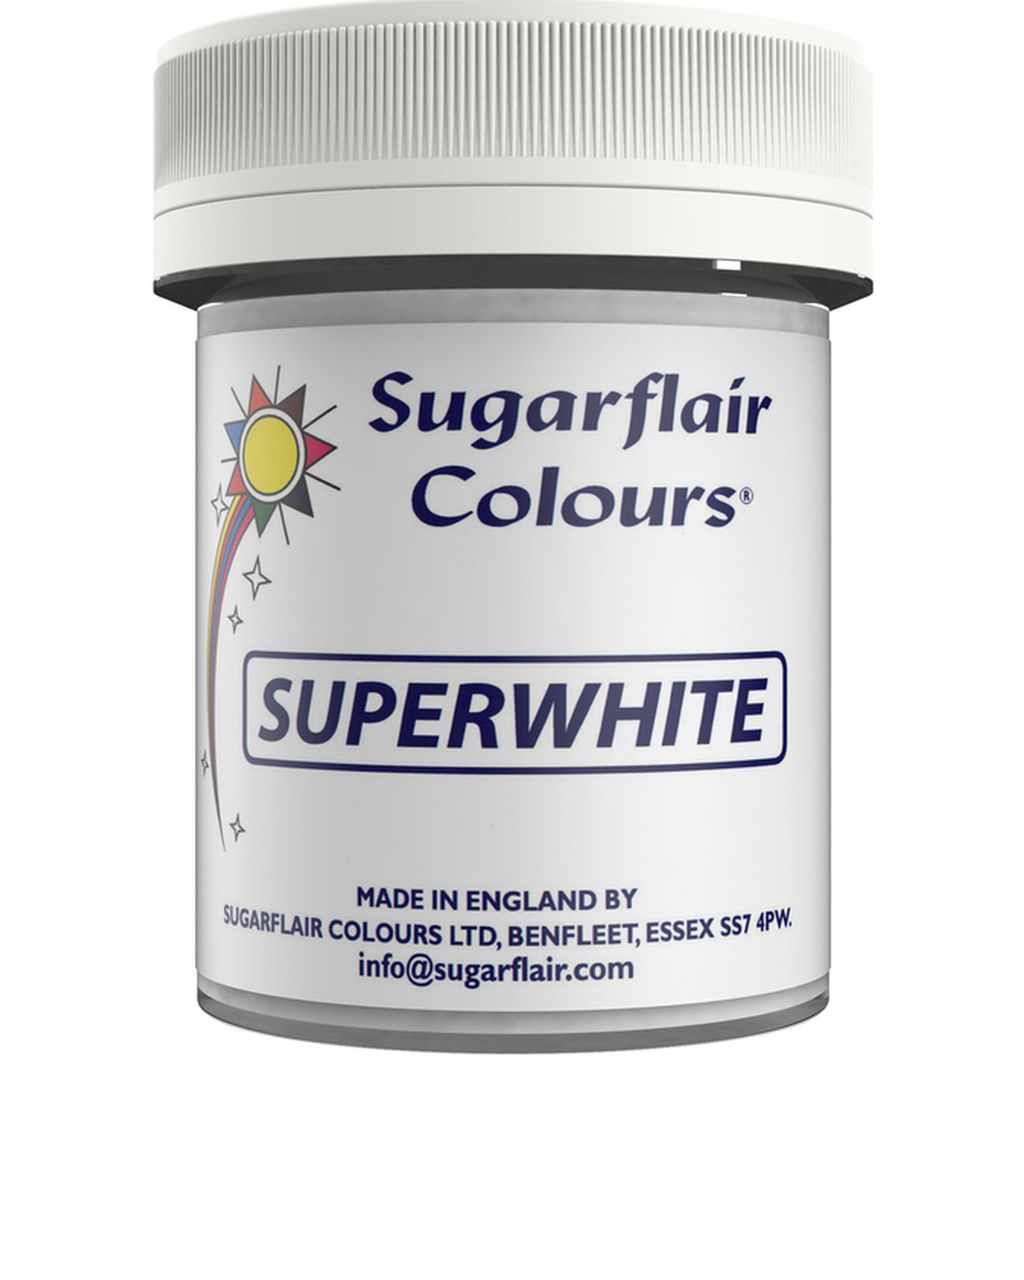
Which frostings tolerate heat and which don't is covered in detail in Cake Frosting That Holds Up Outside the Fridge. Buttercream has one flaw: the butter makes it yellowish. A pinch of Sugarflair Super White icing color powder nudges it toward the clean white most people want on a wedding cake. Add it a pinch at a time (ideally stirred into a drop of water or a little frosting) and keep mixing. You'll only see the final shade after a minute of whipping.
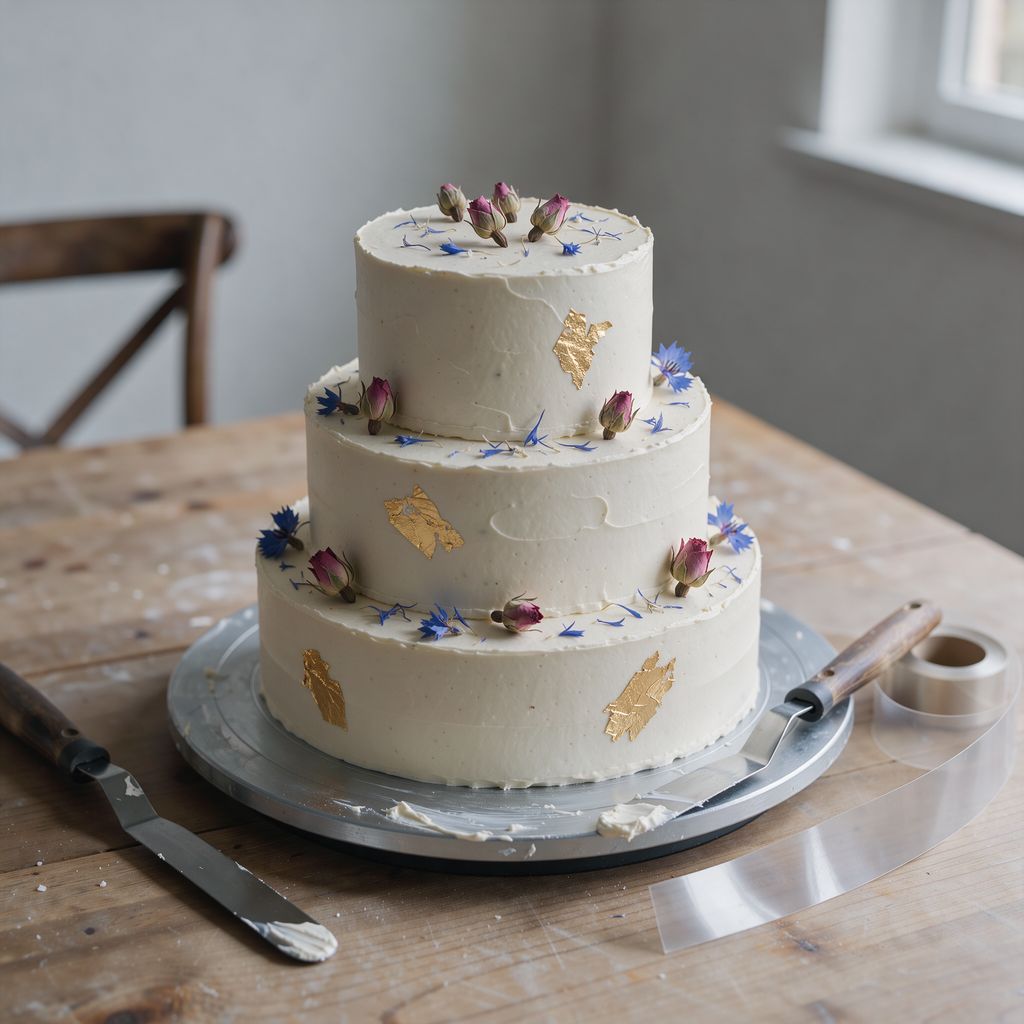
A modern wedding cake relies on a smooth white finish, a sharp top edge and restrained decoration: a few dried roses, cornflowers and a leaf of gold. Less is more, and it also travels well, because you add most of the decoration on site.
Clean edges. You get a sharp edge with a side scraper and a turntable: spread the frosting over the top edge, scrape the sides straight, and use a flat scraper to push the overhanging "collar" inward, while the cake is chilled. The seam between tiers is then hidden under a ribbon. You can make that ribbon from chocolate instead of fabric: spread a thin layer of tempered white chocolate onto 35 mm pastry tape, wrap it around the base of a chilled tier, and peel the tape off once it has set. You're left with a smooth, glossy band exactly 35 mm (about 1⅜ in) tall. Don't use the 35 mm tape as a collar for the whole side of a 10 cm (4 in) tier. For that you need acetate film at least as tall as the tier, because strips stacked on top of each other leave seams.
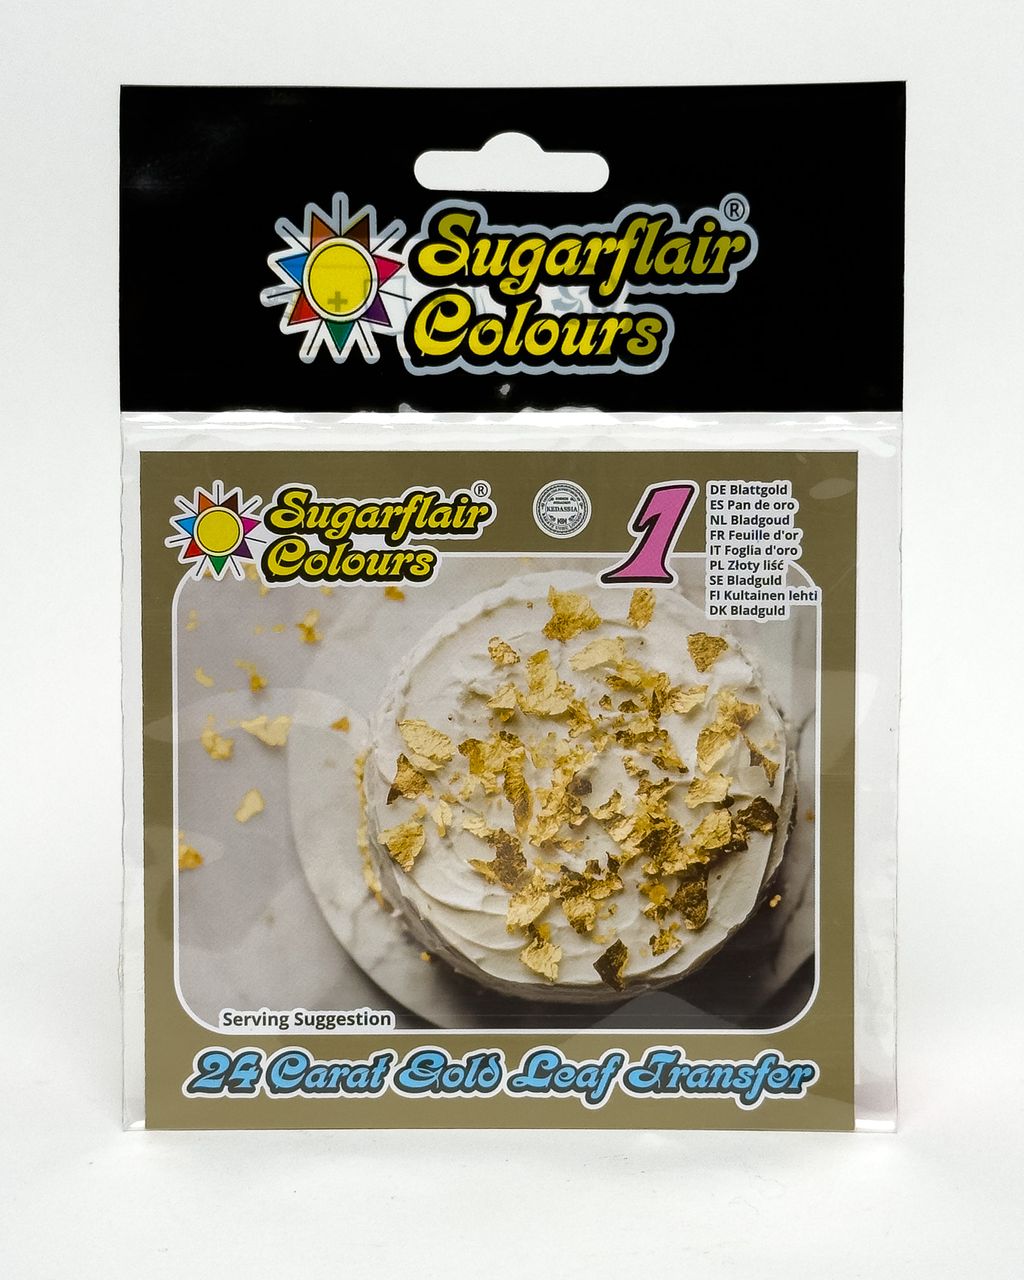
Edible gold. Apply genuine 24-carat edible gold leaf with a dry brush or tweezers, never with your fingers, because the leaf sticks to them instantly and tears. It holds best on chilled frosting that has just started to bead with a little condensation. Buy only gold explicitly labeled edible (E175). Decorative "gold" foils and powders labeled only "non-toxic" or "for decoration only" are not meant to be eaten.
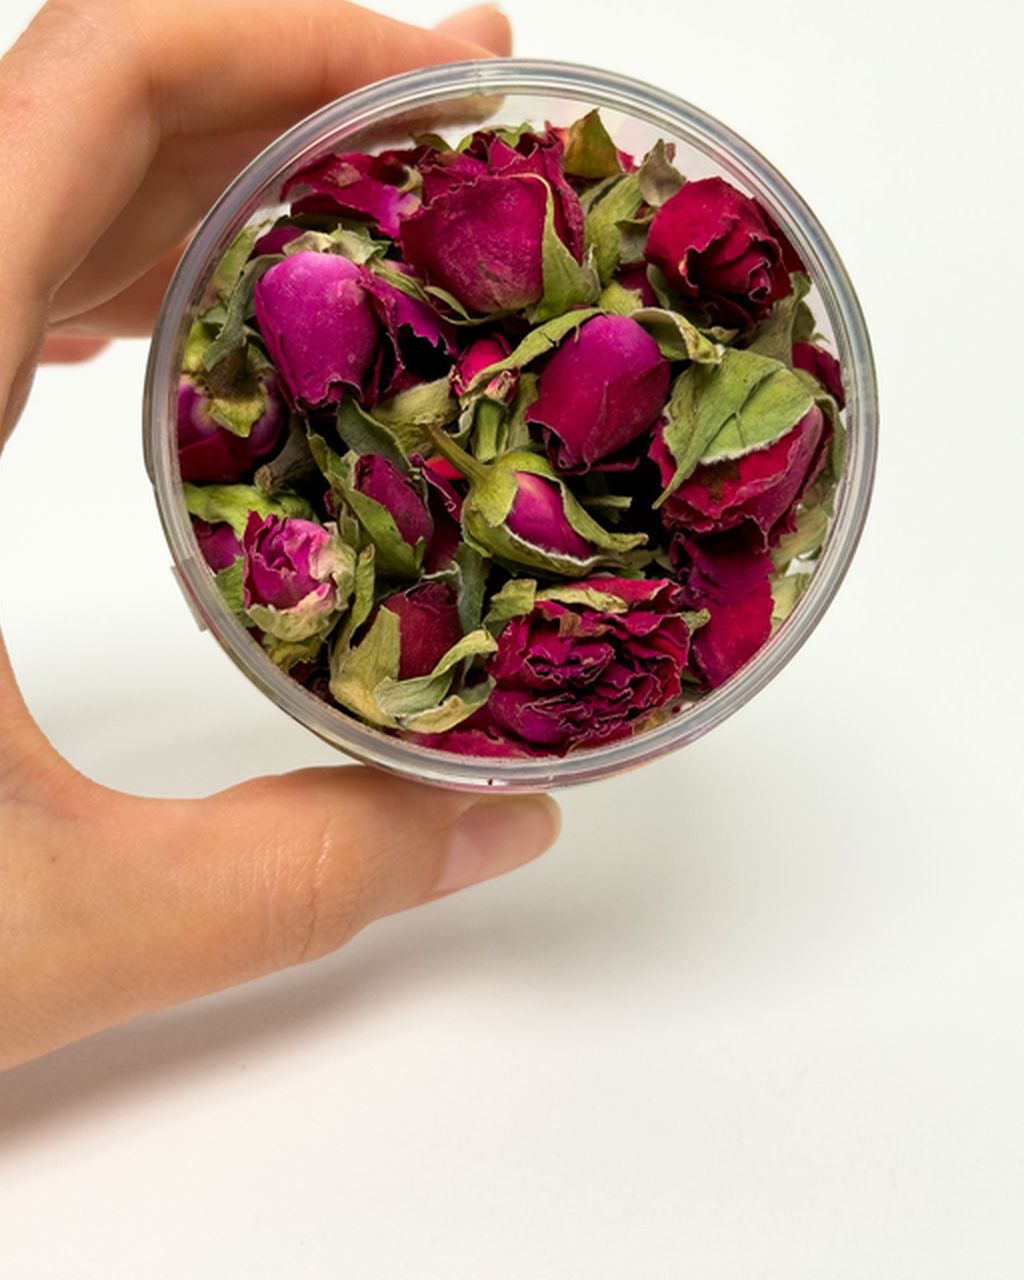
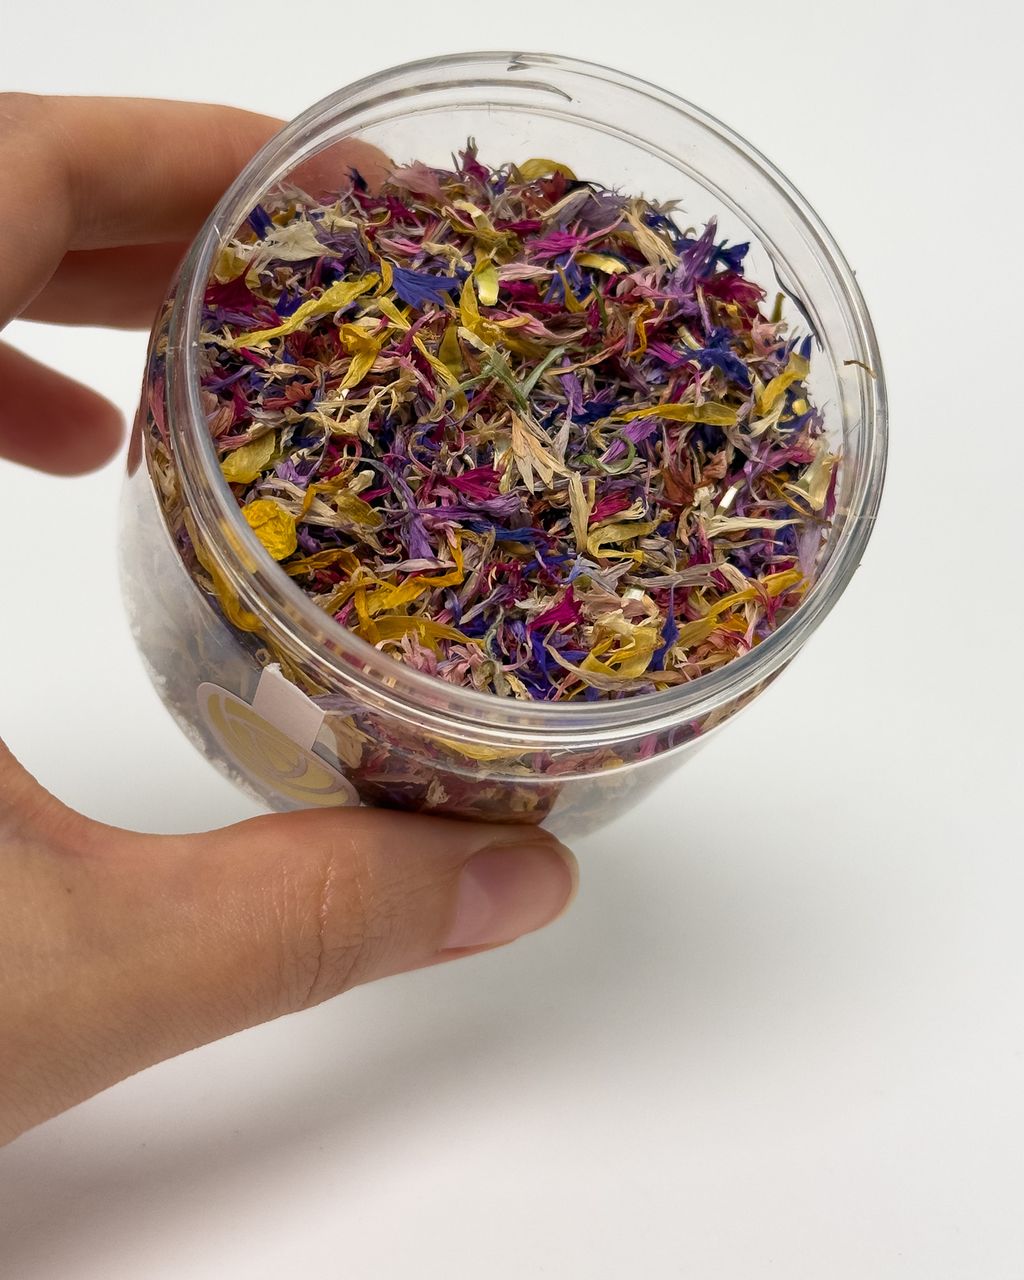
Dried flowers. Rosebuds and cornflower petals add color to the cake and, unlike florist flowers, are meant to be eaten. Buy them as food. You can choose from the whole range of edible flowers; the ones most often used on wedding cakes are rosebuds and dried cornflowers in the classic mix. Dried flowers draw moisture from the air and from the frosting, and within a few hours they soften and may bleed color, so add them only after the cake is assembled at the venue.
Transport a wedding cake chilled, one tier at a time, each on its own board in a box, on the flat floor of the car or in the trunk on a non-slip mat. An assembled cake of three or more tiers swings like a pendulum when you brake, while individual tiers are low and stable.
Cold is your insurance. Chilled buttercream is as firm as butter from the fridge, so a small bump won't leave a mark. Take the cake out of the fridge only just before you leave.
Two tiers can travel assembled. If they're reinforced with supports and a center dowel running through both tiers and the bottom board, a two-tier cake can make the trip in one piece. From three tiers up, assemble it on site.
Boxes taller than the tier. The lid must not touch the frosting. Put a rubber non-slip mat under each box.
Never on a seat or on your lap. Seats are tilted and springy. The best spot is the flat floor of the trunk or the space in front of the back seats.
Air conditioning at 18–20 °C (64–68 °F) and a car cooled in advance; in summer, shade the windows. Drive smoothly, brake early and take corners slowly.
Repair kit: a scraper, a piping bag of frosting with a tip, spare dried flowers, a brush and napkins. A single dinged corner can then be fixed in two minutes.
At the venue, set up the cake directly on the table where it will stand (sturdy, level, away from sun and heaters), and only then stack the tiers and decorate. Moving a finished tiered cake is the riskiest moment of the whole day.
Agree things with the venue in advance: how much fridge space there is, where the cake table will be, and when you can arrive. Ideally, 2–3 hours before cutting.
Check the table with a spirit level or a glass of water. Shim a wobbly folding table before you put a tiered cake on it.
Stack from the bottom up, tier by tier, each one centered on its supports. Cover the seams with a ribbon of frosting or a chocolate band.
Decorate last: dried roses and cornflowers, gold, and a cake topper if you're using one. Fix any dinged spots right away, while the frosting is still cold.
Return the cake to the cold if the venue allows, and bring it out onto the table only just before cutting.
Don't push fresh florist flowers straight into a wedding cake. They are often sprayed with chemicals, and some popular varieties, such as baby's breath, aren't suitable to eat. If you want them on the cake, wrap the stems in floral tape and slip them into plastic flower tubes so they never touch the frosting, and remove them before cutting. A safer choice is dried edible flowers sold as food.
Cut a tiered wedding cake from the top down. Pull out the center dowel (if the cake has one), lift off the top tier along with its board, remove the supports from the exposed tier beneath it, and only then cut that tier. Cut each tier in concentric rings: slice off a ring about 5 cm (2 in) from the edge, cut it into strips, then repeat with a smaller ring inside. Finally, slice the small center like an ordinary cake. Dip your knife in hot water and wipe it clean between cuts.
A wedding cake with buttercream or ganache keeps in the fridge for about 3–4 days, while a cake with whipped cream or a quark filling keeps for 1–2 days. Cover any leftovers so they don't absorb fridge odors. If you want to follow the tradition of eating the top tier on your first anniversary, wrap it in several layers of plastic wrap and freeze it. After a year, though, expect the flavor and texture to be nothing like fresh.
The bottom tier belongs on a sturdy cake drum, not a thin cardboard round: it carries the weight of all the tiers and won't bend when you carry the cake. Use thin cake boards under the upper tiers, which sit on supports and come off together with their boards when you cut. Choose a drum wider than the bottom tier so you can grip the cake without touching the frosting.
One recipe worth heating the oven for, one tip, and one deal from the shop. Nothing else.