Homemade bread
Bread Machine and Stand Mixer Dough: Times, Temperatures and Method
Updated Sep 18, 2026
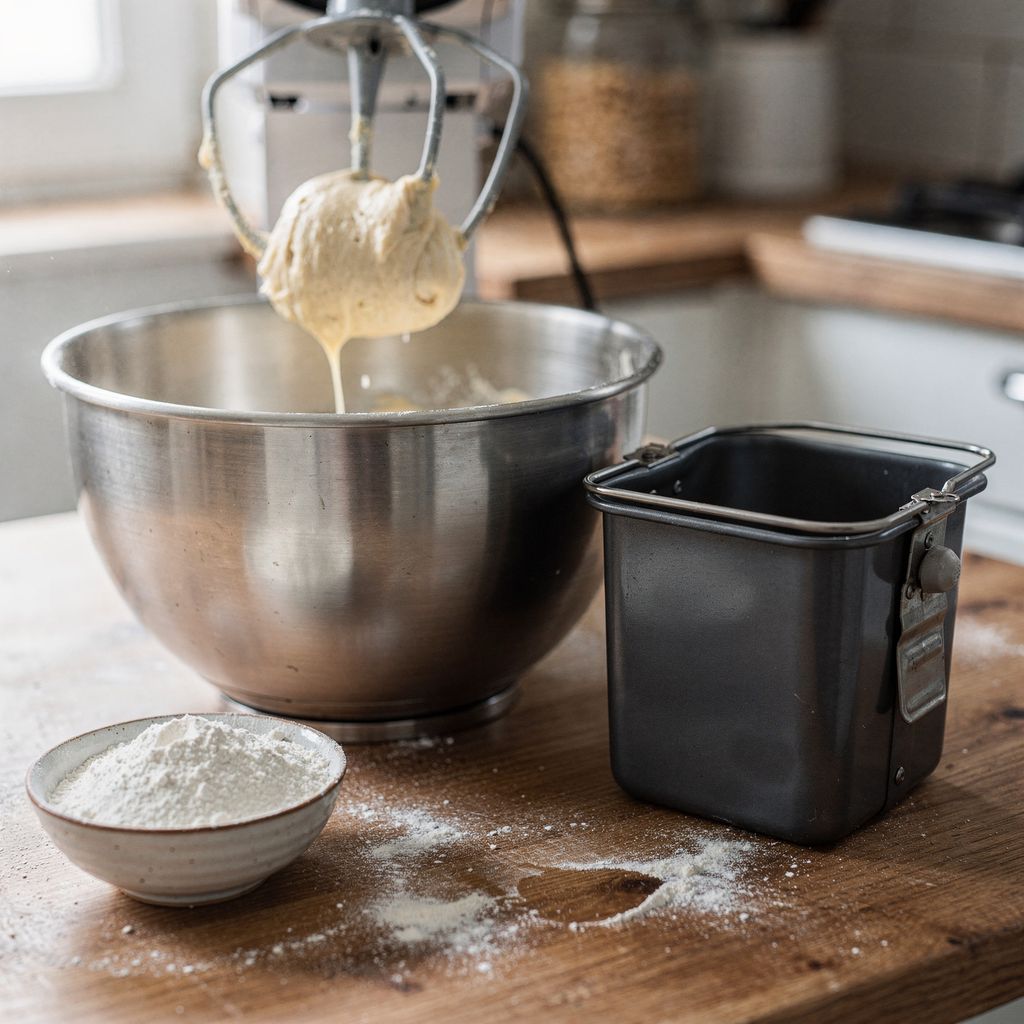
In a bread machine, you can make yeast dough on the Dough setting in roughly an hour to two, depending on the model, with zero hands-on effort. In a stand mixer, it's 8–12 minutes of kneading plus 45–60 minutes of rising in the bowl. The bread machine saves you attention; the mixer saves you time. Both do exactly what your hands would do — just more consistently and for longer. Below you'll find the exact times, speeds, water temperature, and how to tell when to stop.
Pick the bread machine when you want dough with zero effort and no watching; pick the stand mixer when you want it ready fast and under your control. The difference isn't in dough quality — both knead it equally well — but in what each one saves you.
Bread machine: pour everything in, hit the Dough setting, and in about an hour and a half (1–2 hours depending on the model) you'll have risen dough ready to go. It kneads and proofs in the same warm space, so there's no hunting for a warm spot in the kitchen.
Stand mixer: kneading 8–12 minutes, then rising in the bowl 45–60 minutes. You can see the dough as it works, add flour or liquid anytime, and handle batches too big for a bread machine.
The bread machine wins for morning bakes, dumpling dough, and any time you don't want to hover in the kitchen.
The stand mixer wins for large batches, richer doughs loaded with butter and eggs, and when you need dough ready in under 15 minutes.
And there's one thing neither machine can do for you: judge when the dough is actually ready. That's still on you — and it's the entire difference between a fluffy bake and a rubbery one.
The method has four steps: pour in the liquids, add the flour, add yeast and salt separately, and start the Dough setting. That's all the bread machine needs.
Liquids first. Room-temperature milk or water (20–24°C / 68–75°F, or 26–28°C / 79–82°F in a cold kitchen), melted and cooled butter or oil, egg yolks.
Flour on top. Add enough to fully cover the liquids. For sweet dough, mix the flour with the sugar first.
Yeast in a well in the center of the flour, salt in a corner of the pan — as far from the yeast as possible.
Start the Dough cycle (usually labeled Dough, often setting 8 or 13). Start it and walk away.
When it beeps, take the dough out right away. Leave it in the warm machine and it will keep proofing and turn sour, with a beery edge.
This order keeps the yeast away from the salt and stops it starting too early. Salt draws water away from yeast cells, and direct contact weakens them; the flour between them acts as a buffer until everything gets mixed together.
The same logic applies to yeast and liquid: if the yeast sat in the milk for the entire delay before a scheduled start, it would start working before kneading even began, and the dough would collapse in the machine.
On machines with a delayed-start timer, this is the only order that works. For an immediate start, it's more good habit than strict necessity — but it's a habit that will never let you down.
The Dough cycle takes roughly 1 to 2 hours, depending on the model. Roughly, it breaks down like this:
Kneading: 20–30 minutes — often in two stages with a short rest in between, giving the flour time to absorb the water.
Resting: 5–30 minutes depending on the model.
First rise: 45–60 minutes in a gently warmed pan.
Times vary by model, so check your manual for exact figures. For the first five minutes, stand by the machine and look inside the pan — this is the only window where you can still fix things. The dough should form one smooth ball that pulls cleanly away from the sides. If it stays slack and sticks all around the edges, add flour one tablespoon at a time. If it's crumbly with dry flour left in the corners, add water one tablespoon at a time.
Knead with the dough hook on speed 2 for 8–12 minutes. Don't use the paddle (flat beater) or whisk attachment for yeast dough — they won't knead it properly and you risk bending them.
A method that works with any stand mixer:
Dry ingredients into the bowl, salt on one side, yeast on the other.
Speed 1 for about 1–2 minutes, just to bring everything together into a rough mass. At this speed it's not really kneading, just mixing.
Speed 2 for another 6–10 minutes — this is where the gluten develops.
Butter goes in last, a piece at a time, once the dough is already smooth. Fat added at the start coats the flour and slows down gluten development.
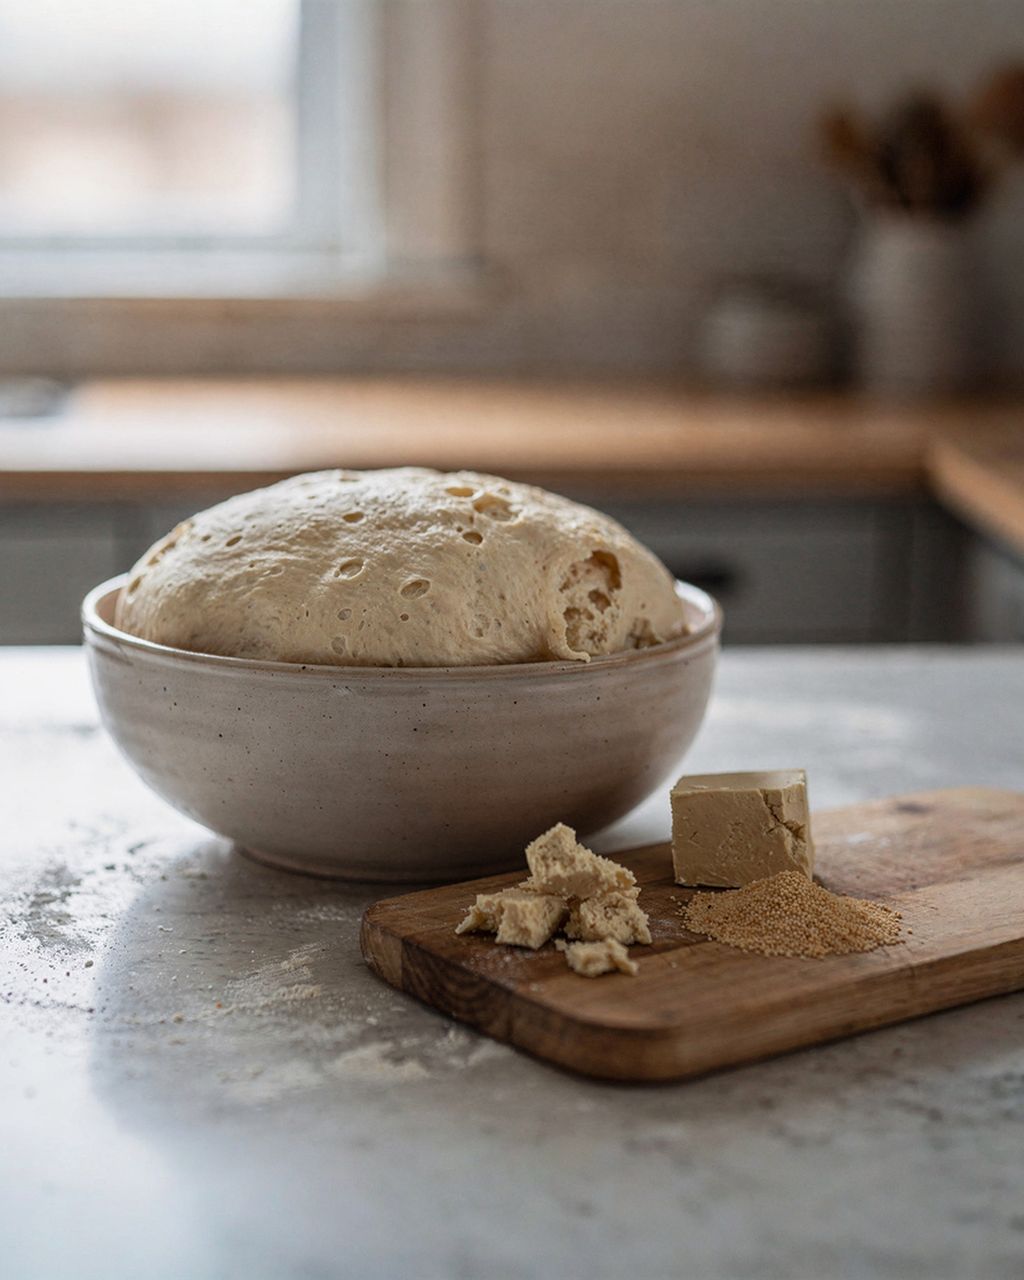
Rise in the bowl covered with plastic wrap or a tea towel, 45–60 minutes at room temperature, until doubled in size.
Anything below speed 2 doesn't work — the hook just spins in place and the dough never pulls away from it, so it's not really being kneaded.
Knead lean dough 4–6 minutes, lightly enriched dough 6–8 minutes, and rich yeast dough 8–12 minutes, all on speed 2. The reason is simple: fat coats the flour's proteins and slows gluten formation, while sugar binds water — the more of both, the longer kneading takes.
Lean dough (flour, water, yeast, salt — bread, pizza): 4–6 minutes on speed 2 once the dough has come together.
Lightly enriched dough (milk, a bit of oil — rolls, buns): 6–8 minutes.
Rich yeast dough (butter, eggs, sugar — sweet buns, cakes, festive braided bread): 8–12 minutes, sometimes longer.
Incidentally, Czech food regulations only distinguish between standard and enriched baked goods (Decree No. 18/2020 Coll.): enriched dough must contain at least 8% anhydrous fat or at least 5% sugar by weight of the milled cereal products used. For kneading purposes, though, the three-way split above is more useful.
Treat time as a guideline, not a rule. What matters is how the dough looks and behaves — more on that below.
In a stand mixer with a 4–5 litre (roughly 4–5 quart) bowl, knead at least 400 g of flour; in a bread machine, stay under 500–600 g of flour (depending on the model). Below the lower limit, it's better to knead by hand: with too little dough at the bottom of the bowl, the hook can't reach it and just smears it up the sides.
For the upper limit on a stand mixer, watch the motor, not the volume: if the mixer slows down while kneading, starts rocking on the counter, or you can feel it heating up, the batch is too big or the dough too stiff. Split it into two.
For a bread machine, the limit is set by the pan size — check your manual for the exact figure. An overfilled pan means the kneading paddle jams and dry flour is left unkneaded in the corners.
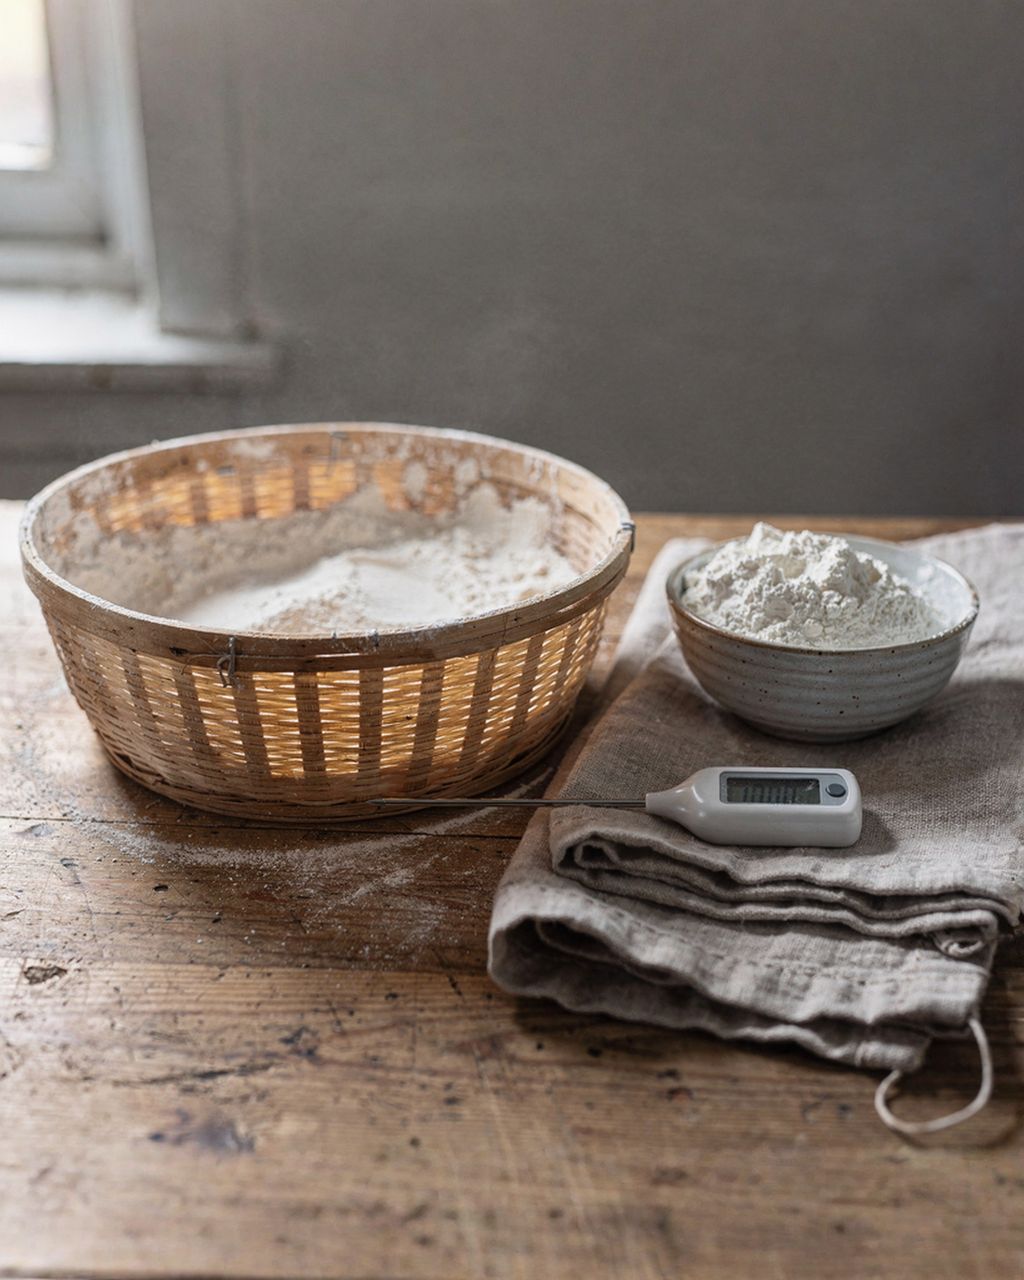
Finished, fully kneaded dough should sit at 24–26°C (75–79°F). Bakers track this with a thermometer because it predicts how the rise will go far more reliably than any clock time. Colder dough rises slowly and stays dense; warmer dough takes off too fast and picks up a sour edge.
The machine itself warms the dough — friction from the hook or paddle is work that turns into heat. In a stand mixer, expect roughly 10–15°C (18–27°F) of warming over eight minutes of kneading, and even more with long kneading of rich dough (by comparison, hand-kneading only warms the dough by about 3–4°C / 5–7°F). A bread machine also actively keeps the pan warm on top of that.
The one thing you can easily control is the liquid temperature — and since the machine adds so much heat on its own, keep that low:
Cold kitchen (below 20°C / 68°F): milk or water at 26–28°C (79–82°F).
Average kitchen (21–23°C / 70–73°F): 20–24°C (68–75°F), i.e. room-temperature liquid.
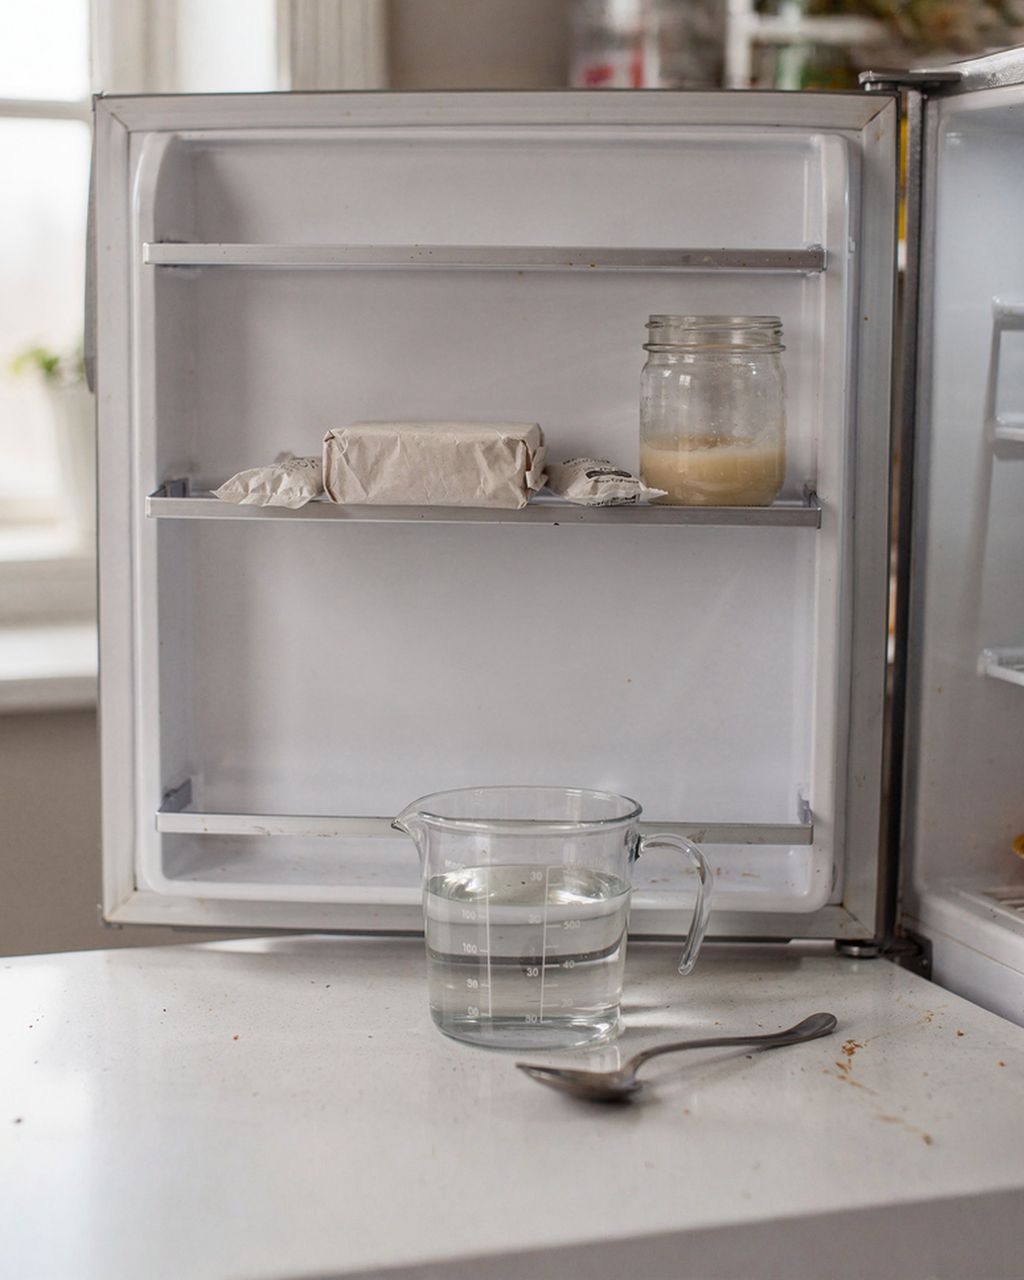
Hot summer weather (above 26°C / 79°F): liquid straight from the fridge, and you can even chill the flour for half an hour beforehand.
And a line you shouldn't cross: above 45°C (113°F) yeast starts to struggle, and around 55°C (131°F) it's dead. Hot liquid won't speed up your dough — it'll just kill it.
There are three signs: it pulls away from the sides of the bowl, it passes the windowpane test, and a poked dimple slowly springs back. Properly kneaded dough is smooth, springy, only lightly sticky to the touch, and stretches rather than tears when you pull it.
Pulls away from the sides. In both a stand mixer and a bread machine, the dough gathers around the hook and leaves the bowl or pan nearly clean. A small sticky patch on the bottom is fine.
Windowpane test. Tear off a walnut-sized piece, let it rest for a minute, then slowly stretch it out from the center. Properly kneaded dough will stretch into a thin, translucent membrane you can see light through. If it tears too soon, knead for another 2 minutes and test again.
Springs back. Poke a finger into the surface — the dimple should spring back slowly but completely.
Overkneading is rare at home, but it happens: the dough suddenly seems wet, spreads out rather than holding shape, and loses its springiness. The gluten network has torn and there's no fixing it. Watch for this with rich doughs kneaded for over 15 minutes.
Most problems with machine-kneaded yeast dough come down to one of four causes: wrong temperature, wrong flour-to-liquid ratio, salt touching the yeast, or the wrong setting. By symptom:
Dough stayed slack and sticks all over the bowl or pan → not enough flour, or the flour is damp. Add flour one tablespoon at a time during the first five minutes of kneading only — not later.
Dry flour left in the corners, dough is crumbly → not enough liquid. Add water one tablespoon at a time, again only in that first five-minute window.
Barely rose at all → expired yeast, liquid that was too hot, or salt sprinkled directly onto the yeast. Check the yeast's expiry date and watch the 45°C (113°F) limit next time.
Rose, then collapsed → left in the warmth too long. Take the dough out immediately once the cycle ends.
Tastes sour or beery → over-proofed. Shorten the rise time, or use a third less yeast and let it rise in a cooler room.
Baked goods turned out dense and heavy → underkneaded dough. Next time, run the windowpane test before the kneading cycle ends.
We cover the flour, liquid, and yeast ratios all of this is based on in our article Yeast Dough: Basic Ratios and How to Work With It.
The Dough cycle and the stand mixer can handle exactly the same recipes as kneading by hand — just with different logistics. A few specific directions:
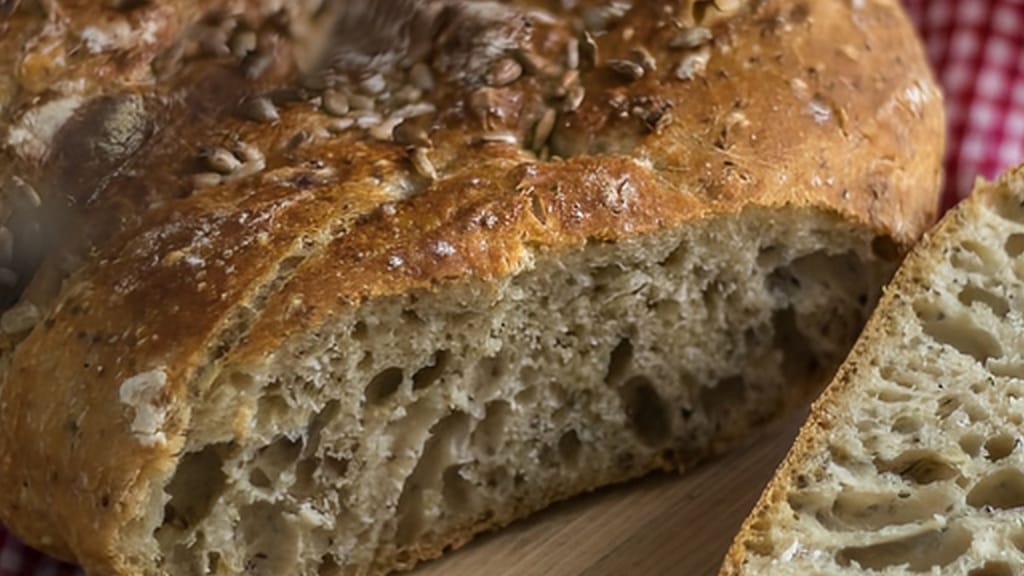
Bread and sandwich loaves. Lean dough that the bread machine can handle start to finish. Check out our homemade bread or these excellent homemade sandwich loaves.
Buns and rolls. Lightly enriched dough, ideal for the stand mixer — one batch makes soft, pillowy homemade burger buns.
Sheet-pan cakes. Rich dough where those extra 10 minutes of kneading pay off: classic yeasted plum cake with streusel or yeasted blueberry cake with curd cheese.
Sweet dumplings. Bread machine dough works best here — just turn it out, divide, and shape. Try fruit-filled sweet dumplings or soft sweet buns with vanilla custard sauce.
Pizza. The leanest of the bunch — just 4–6 minutes of kneading is enough: perfect homemade pizza.
Homemade bread
Homemade Bread: Yeast Dough the Bread Machine Handles Start to Finish on the Dough Setting
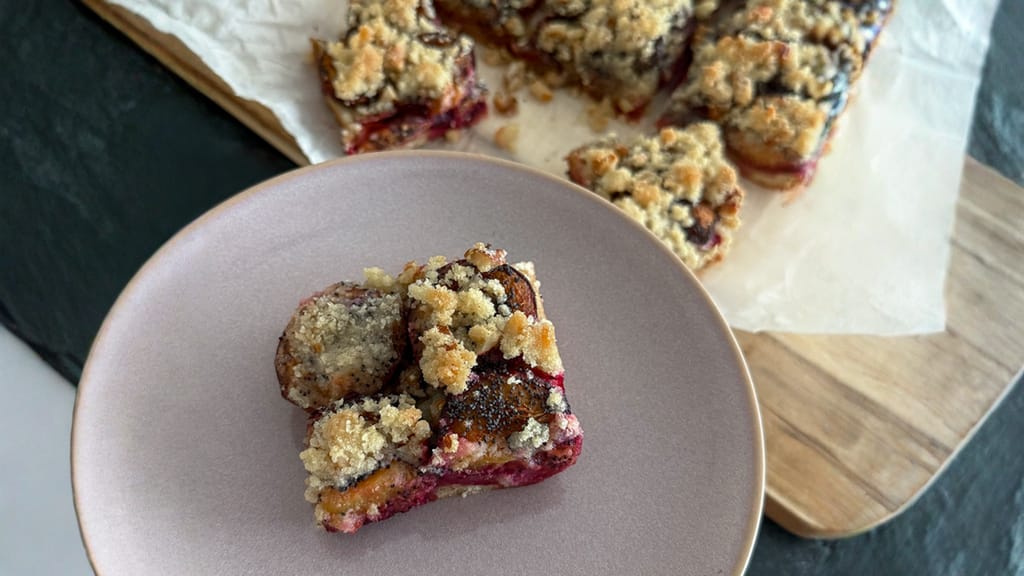
Classic yeasted plum sheet cake with crumble topping
Yeasted Plum Sheet Cake: Rich Dough Worth 10 Minutes in the Stand Mixer
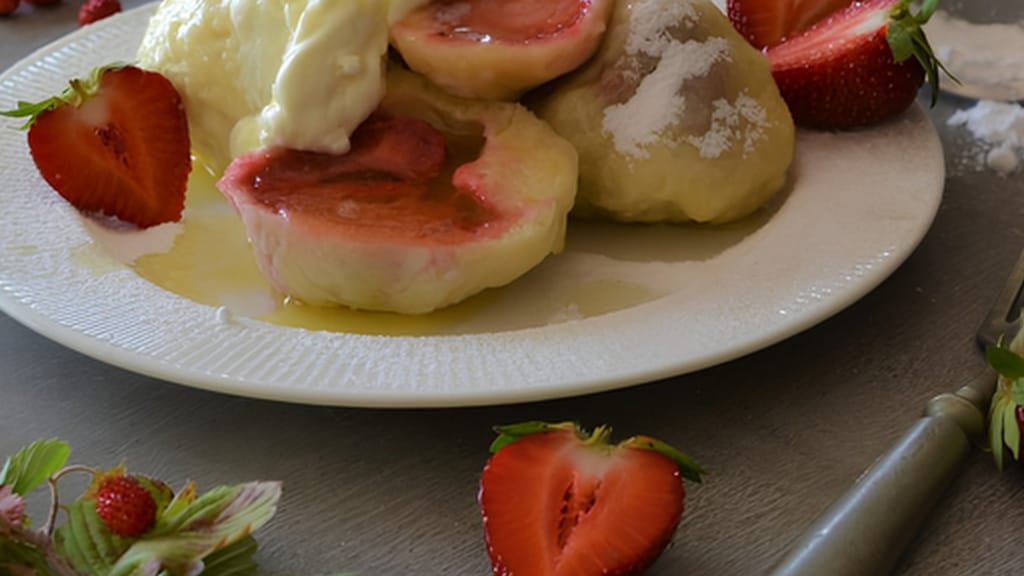
Summer craving: steamed yeast dumplings with fruit
Fruit-Filled Sweet Dumplings: Just Turn Out and Shape Bread Machine Dough
No — take the dough out within 15 minutes of the cycle ending. In the warm bowl it keeps rising, and after a few hours it collapses and picks up a sour, beery flavor. If you need to prep dough ahead, take it out after the cycle, wrap it in plastic, and refrigerate — at 4°C (39°F) it keeps for 12–24 hours. Let it warm up at room temperature for about an hour before shaping.
Yes, ideally right after kneading, before the first rise. Divide it into portions, wrap each in plastic, and freeze for up to 4 weeks — the longer it's stored, the weaker the rise, since ice crystals gradually damage the yeast and the gluten network. Thaw overnight in the fridge, then let it rise at room temperature — this takes 30–60 minutes longer than with fresh dough. To compensate, add about a quarter more yeast to the dough from the start.
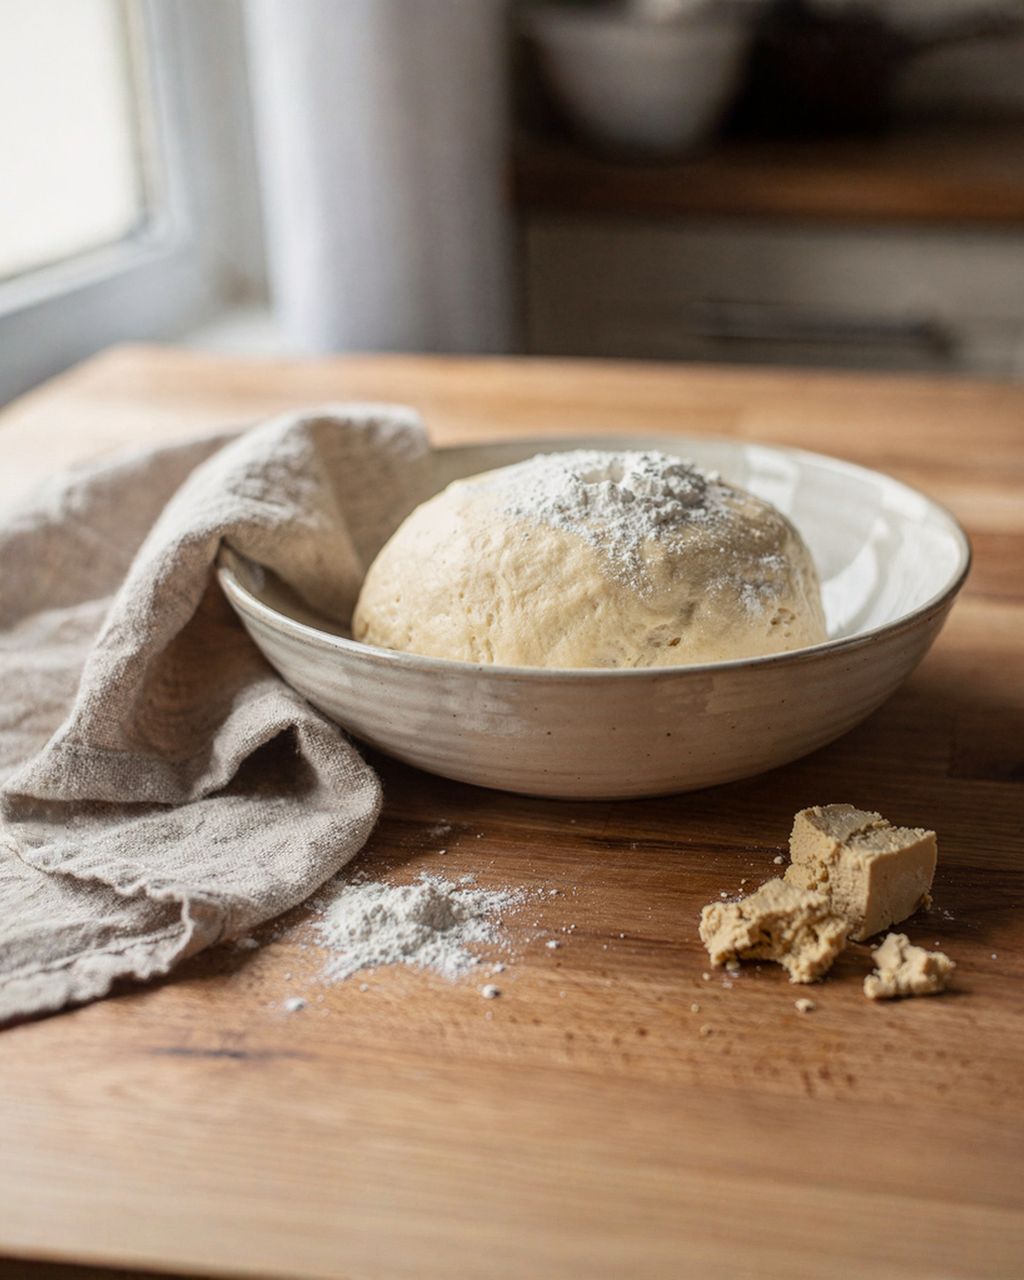
Yes — just crumble it into the well in the flour instead of sprinkling in dry yeast. The conversion is roughly 3:1 — for 7 g of dry yeast, use 20–21 g of fresh yeast, about half a standard cube. There's no need to dissolve fresh yeast in milk beforehand; the machine's kneading action will break it down on its own.
It can, but only for small batches of up to about 300–400 g of flour, and only for softer doughs. A hand mixer's dough hooks don't have a stand mixer's torque, and with a stiff dough you'll quickly overheat the motor — most manuals cap continuous use at 3–5 minutes. A practical workaround: combine the ingredients with the hand mixer for 2 minutes, then finish kneading by hand on the counter for another 5 minutes.
Most bread machines have a short memory backup — around 10 minutes, depending on the model — and will resume the cycle automatically once power returns. If the outage lasted longer, the cycle won't restart on its own: open the lid and check what stage the dough is in. If it's already smooth and fully combined, just let it finish rising in the bowl at room temperature for 45–60 minutes and bake as normal. If it's still rough and not fully combined, finish kneading by hand or in a stand mixer (speed 2, 6–8 minutes), then let it rise. Don't restart the whole Dough cycle from scratch — the dough would end up overworked and over-proofed.
One recipe worth heating the oven for, one tip, and one deal from the shop. Nothing else.