Royal Icing Mix for Flawless Decorating Detail
Marbled Icing for Cookies and Cakes: How to Keep the Pattern from Bleeding
Updated Oct 8, 2026
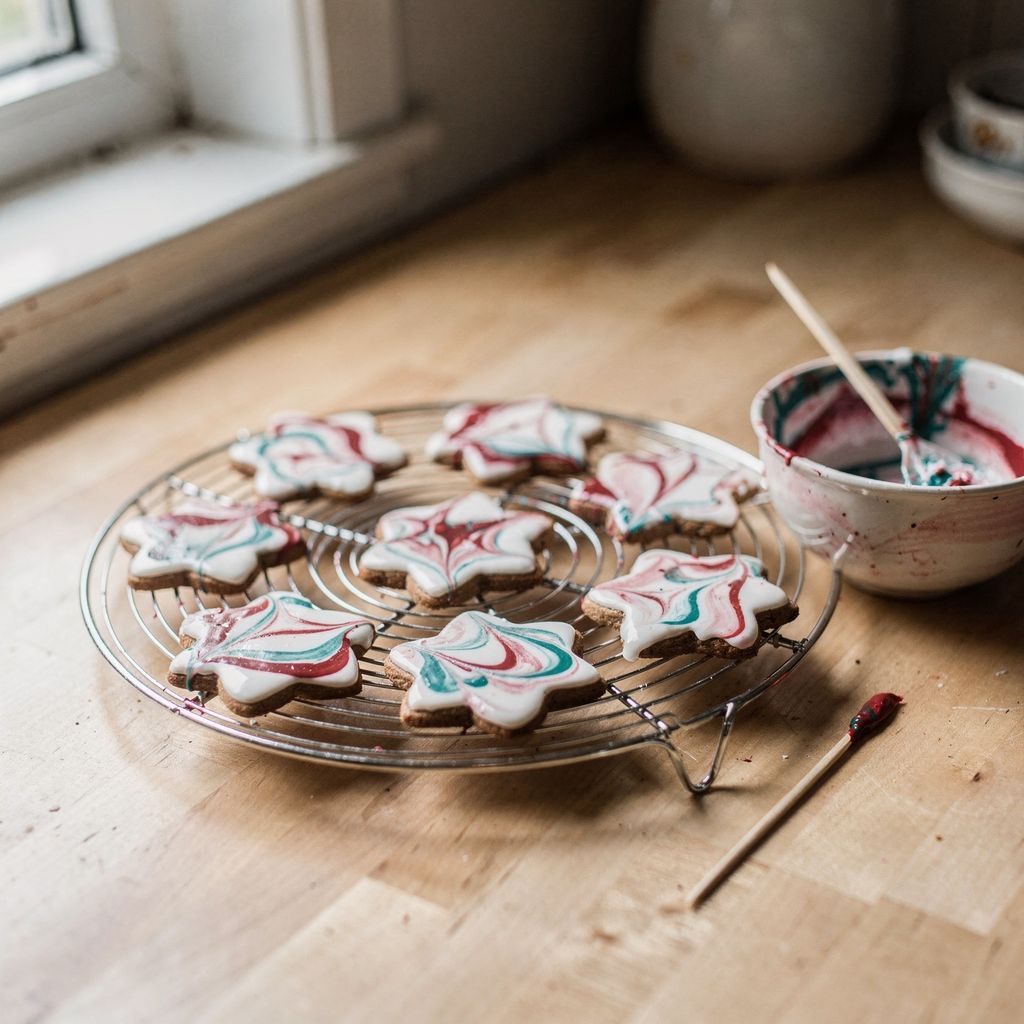
Marbled icing happens when you drop or drizzle a second colour of icing onto a still-wet base of the same consistency, then drag a toothpick through it. The colours never mix — they just swirl into each other. The whole trick comes down to three things: both icings need to flow at the same rate (roughly 8-10 seconds for a toothpick trail, 5-8 seconds for dipping), you need to work within a minute before the surface sets, and you need to drag lightly. We'll show you three methods — dipping or toothpick marbling for cookies, and pouring for cakes — plus why the pattern bleeds and how long the icing takes to dry.
There are three ways to create marbled icing: dragging a toothpick across the surface of a cookie, dipping the cookie into a bowl of marbled icing, or pouring two colours of icing over a cake at once.
Toothpick method (wet-on-wet): gives you the most control over the pattern, so it's best for larger cookies, hearts and decorative shapes. Allow about a minute per piece.
Dipping: the fastest method, with every cookie turning out a bit different. Works best on round, flat cookies without sharp points.
Pouring over a cake: using mirror glaze or fondant icing, marbled either while pouring or right after.
All three rely on the same principle: both colours need to be wet and the same consistency, so one sinks into the other and the surface settles flat. If one icing is thicker, the pattern stays raised like a line. If it's too thin, the colour bleeds into a smudge.
Royal icing made from egg white (or egg white powder) and icing sugar is the best choice for marbled cookies. It holds colour well, sets into a firm, matte finish within a few hours, and lets you stack and pack the cookies afterwards. You'll find the basic method in our royal icing for cookies recipe.
An honest comparison of your options:
Homemade from fresh egg whites: the cheapest option. You'll need to fine-tune the consistency with drops of water, and raw egg white isn't suitable for everyone (see the note below).
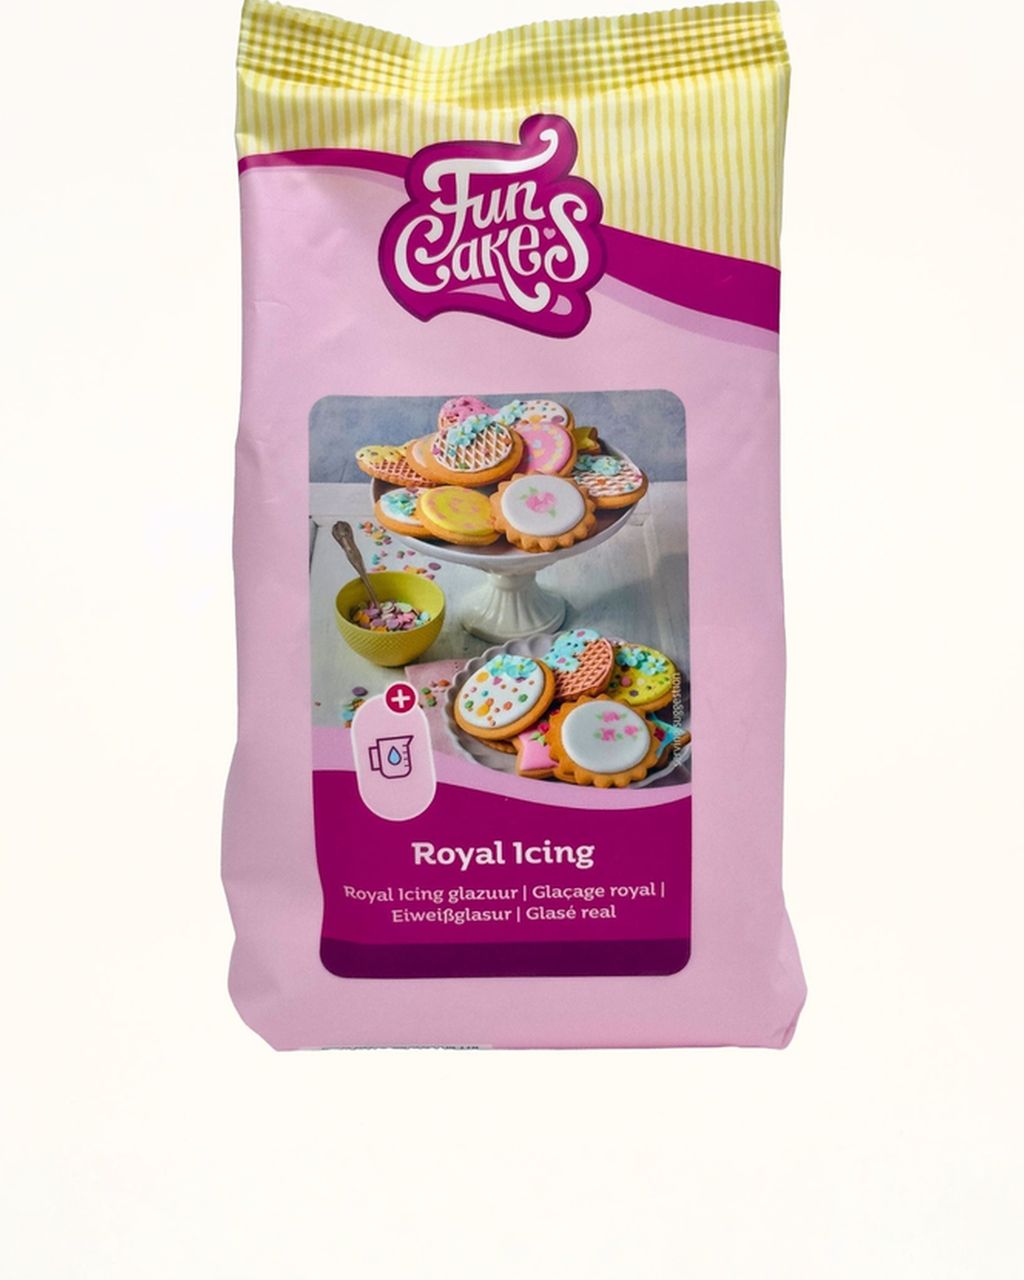
Ready-made royal icing mix: just add water, and it turns out the same every time. For snow-white mixes that let your colours really pop, check out our cookie icings and glazes category.
Water icing (icing sugar with water or lemon juice): this can be marbled too, but it never fully hardens. It stays more translucent and tacky, so you can't stack the cookies. Good for quick, same-day decorating.
Chocolate: works on cookies, but marbles differently, and melted chocolate can't be coloured with gel colouring (more on why under the cake section below).
Consistency matters more than the recipe. Drag a knife through the icing and count how many seconds it takes for the trail to disappear. For toothpick marbling, we've found around 8-10 seconds works well; for dipping, go slightly thinner, around 5-8 seconds. Treat this as a guide rather than a fixed number — the main thing is that both colours flow at the same rate. If it's too thick, add water a teaspoon at a time. If it's too thin, stir in a tablespoon of icing sugar. For troubleshooting icing that just won't behave, see our article on royal icing that's too thin or too stiff.
Use gel colouring for marbled icing, not the liquid kind from the supermarket. Gel is concentrated, so a few drops give you a rich shade without thinning the icing. Liquid colouring is mostly water, so you'd need so much of it to get a deep colour that it waters down the icing and the pattern ends up bleeding.
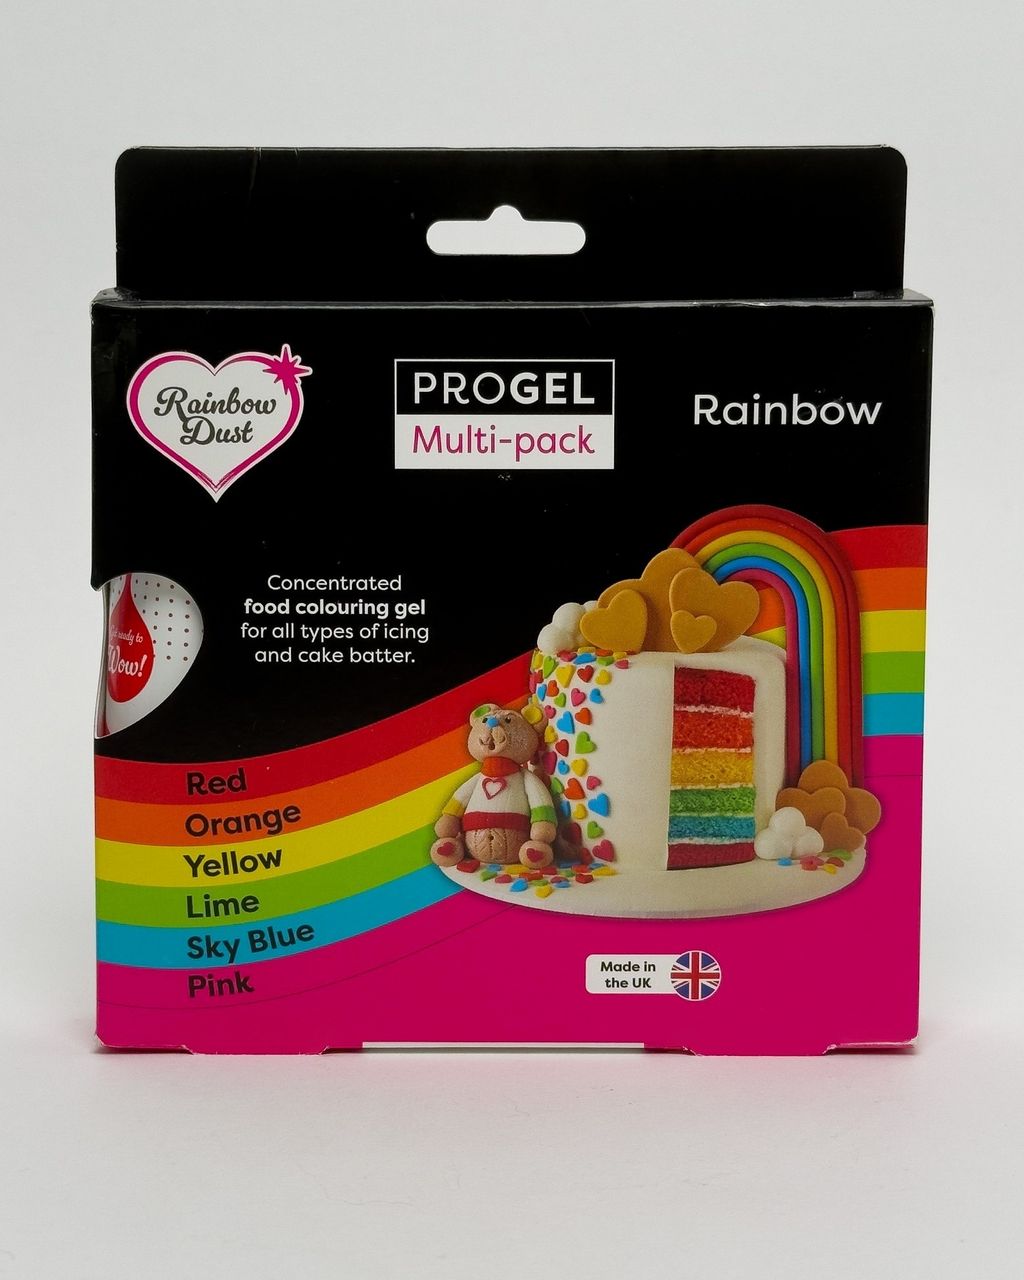
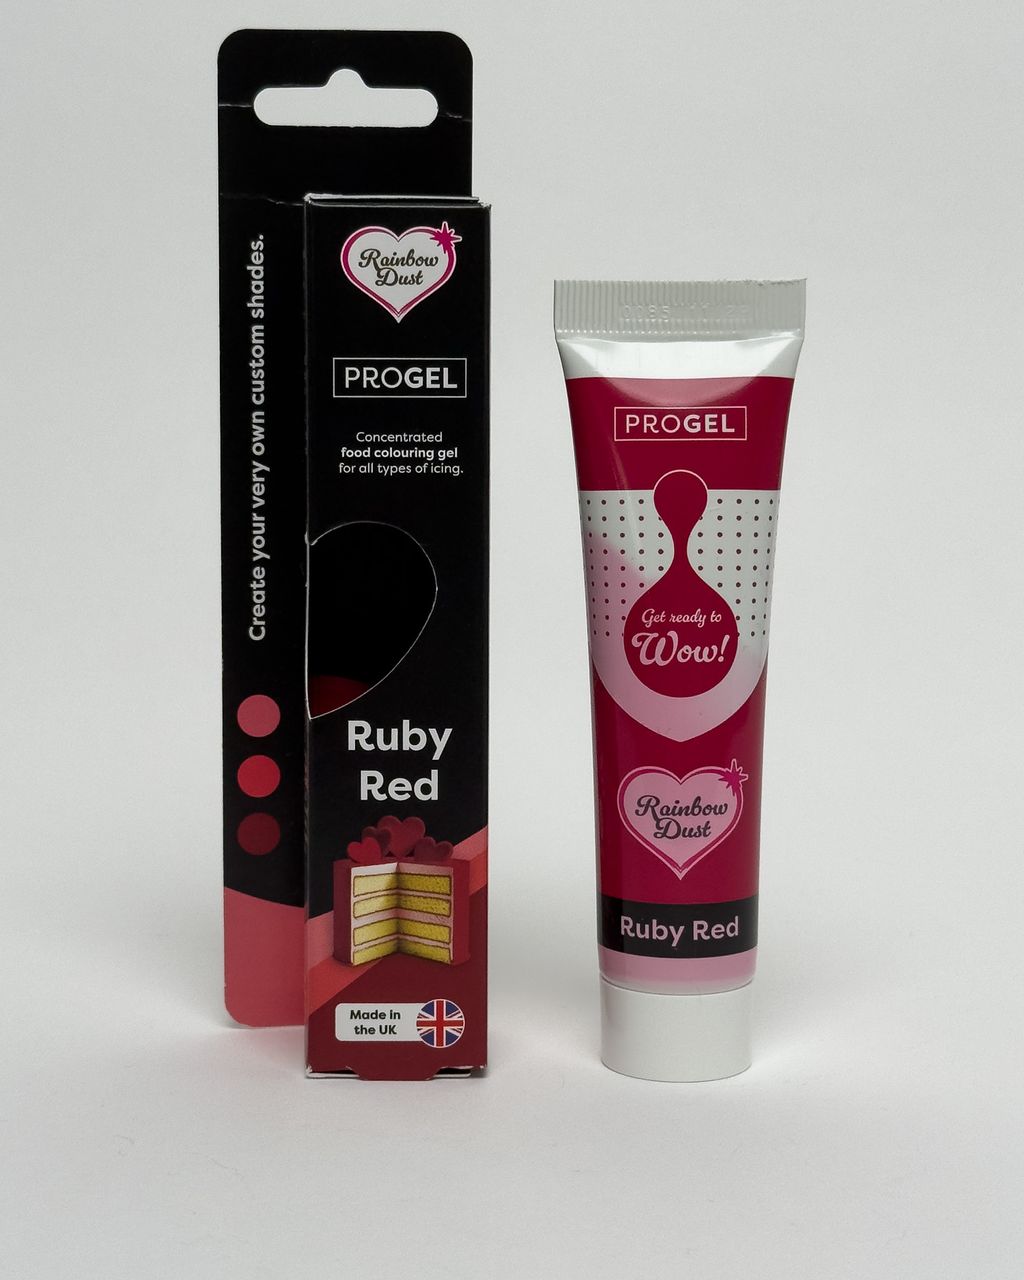
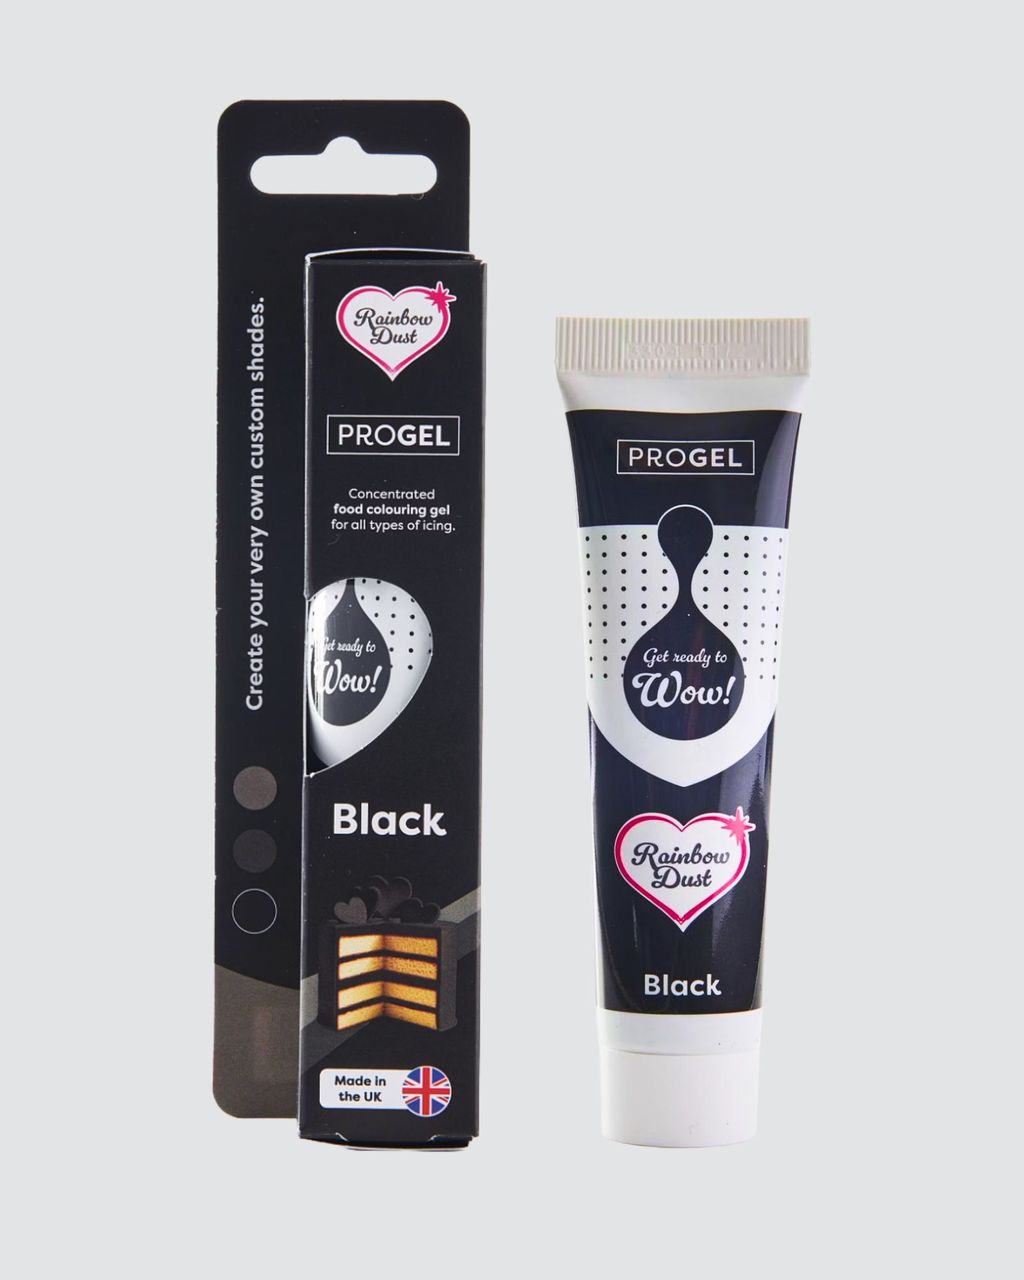
We stock Rainbow Dust ProGel gel colours. They have a fine nozzle, so you can add colour drop by drop, which is ideal for marbling:
Pastel marble: one drop of ProGel per roughly 100 g of icing.
Bold contrast: 3-5 drops per 100 g, added gradually.
Red and black: dark shades keep deepening over 1-2 hours. Mix them one shade lighter than you want the final result and let them sit for a while. For tips on getting red without a bitter taste, see our article on deep red cookie icing, and for black, see black buttercream and black icing.
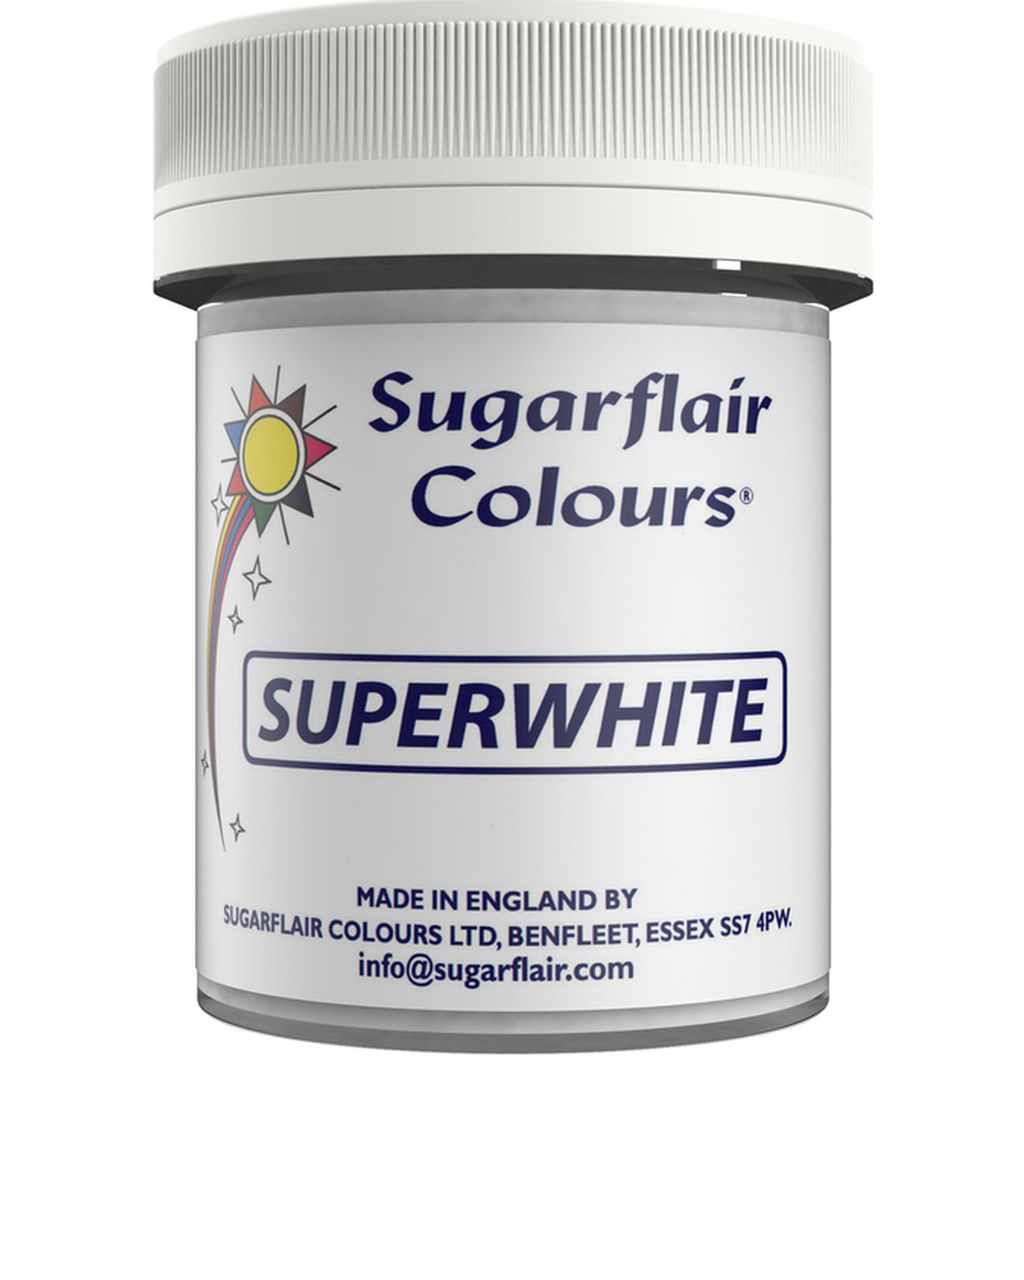
White base: homemade icing often has a creamy tint. A drop of super-white icing colour will brighten it up, making the coloured marbling stand out more cleanly.
Powdered colour works too, but it needs to be dissolved completely, or you'll end up with specks in your marbling. Natural colourings (beetroot, spirulina, turmeric) can be marbled as well, but they're paler and will fade over time. You can read more about them in our article what to use instead of food colouring.
How many colours? Two to three. A base colour plus one contrasting shade looks elegant. Add a fourth colour and the pattern usually muddies into a brownish grey.
Spread the base icing, add dots or lines of the second colour while it's still wet, and drag a toothpick through them within a minute, using one or two strokes. In detail:
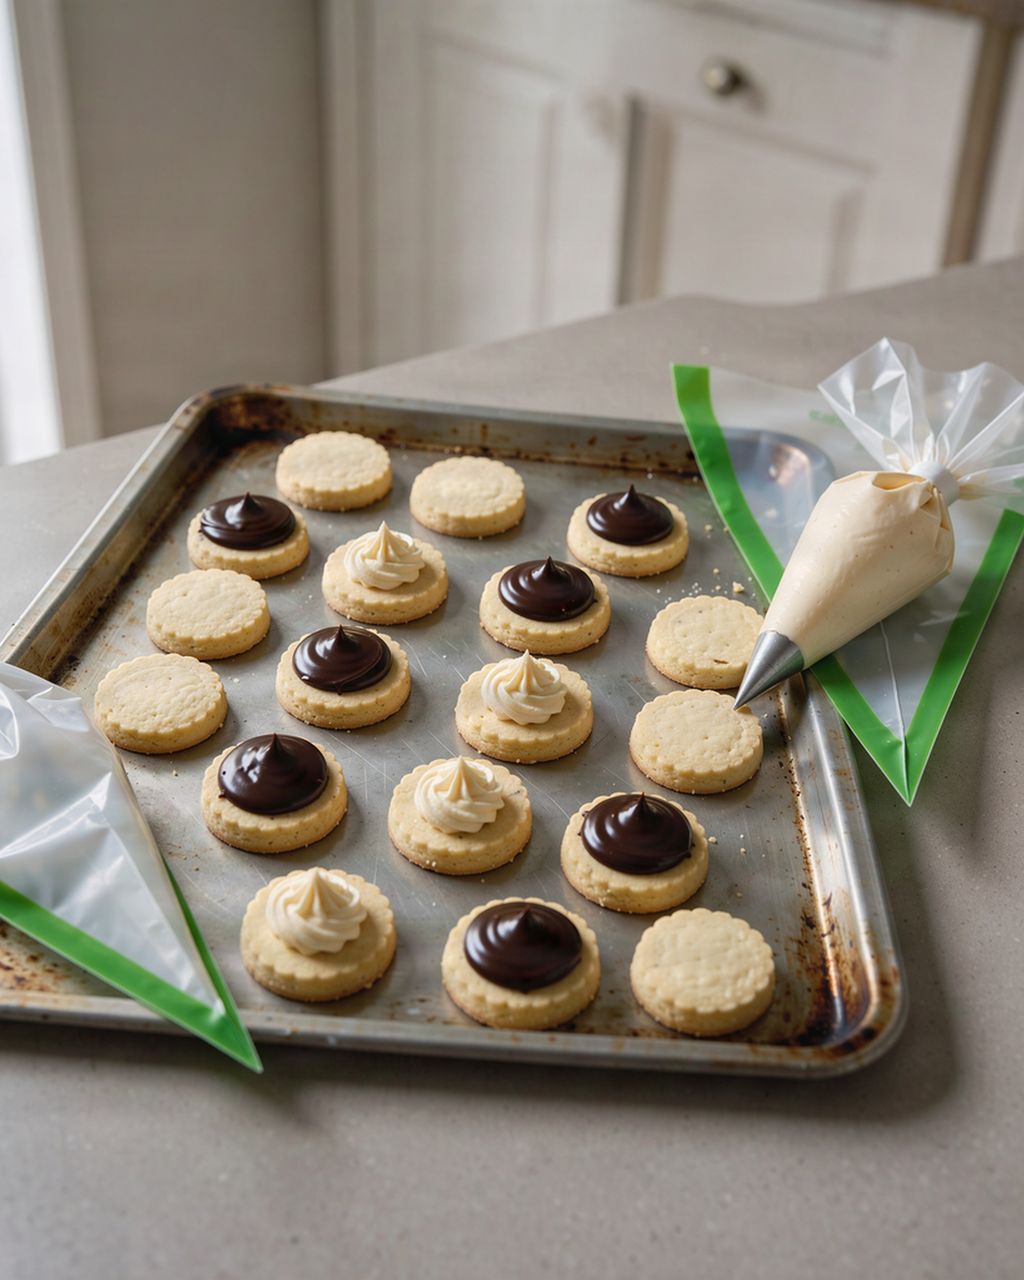
Prep everything in advance. Fill piping bags with both the base and contrasting colours, snip the tips to 1-2 mm, and have a toothpick and a damp cloth ready.
Outline and fill. There's no need for a separate outline. If the icing flows in about 8-10 seconds, just pipe it a little away from the edge and spread it towards the border with a toothpick. The cookie should be evenly covered, about 2-3 mm deep.
Add the second colour straight away. Pipe dots, horizontal lines, or a spiral while the base is still glossy and wet. You have roughly 30-60 seconds to do this.
Drag the pattern. Pull the toothpick across the lines in one smooth stroke, perpendicular to them. Dragging up and down alternately creates a "feather" effect. Pulling through a dot makes a heart shape. Random swirling gives you a loose, free-form marble.
Wipe the toothpick after every stroke, or you'll drag colour where you don't want it.
Tap the cookie on the table and give it a gentle shake. This settles the icing and brings any air bubbles to the surface, which you can then pop with the toothpick.
The best cookie dough for this is one that doesn't puff up during baking and bakes flat. Try our soft honey cookies that never go hard or our extra-soft gingerbread cookies. For more patterns and techniques, see our article decorating cookies step by step.
For dipping, you pour icing into a shallow bowl, add a few drops of colour, swirl it gently, and dip the cookie face-down into it. This lets you decorate dozens of cookies in an hour.
Pour about 150 g of icing with a consistency of around 5-8 seconds into a shallow bowl at least 3-4 cm wider than the cookie.
Let it sit for a few minutes so any air bubbles rise, then run a spatula over the surface.
Drop 2-4 drops of coloured icing or gel colouring directly onto the surface and drag a toothpick through it once or twice in a figure-eight motion. Don't stir.
Hold the cookie by its edges, dip the face in about 2-3 mm deep, and lift it straight back out immediately.
Let the excess drip off, then turn the cookie over and wipe any drip from the edge with a finger or toothpick.
After 3-4 cookies, the marbling effect will fade. Add a few more drops of colour and drag the toothpick through again. If the icing in the bowl has gone grey, pour in a fresh batch.
Dipping works best on flat shapes. On stars with sharp points, the icing will run off the tips and expose the dough underneath.
On a cake, marbling is most often done with a mirror glaze: a light base poured together with coloured streaks all at once. The other classic option is a fondant or sugar glaze with dragged chocolate lines. Both follow the same rule as with cookies: both layers need to be wet and roughly the same consistency.
To make a marbled mirror glaze, pour a white base and coloured portions side by side into the same jug, without mixing, then pour them over a frozen cake at 32-35°C.
The cake needs to be frozen, typically a mousse cake, or the glaze won't set properly and will slide off.
Split your glaze into a white base and 1-2 smaller coloured portions. Pour the colours into the jug alongside the base and don't stir them together — they'll blend on their own as you pour.
Pour at 32-35°C. Below 32°C, the gelatine starts to set and the glaze stops flowing smoothly. Above 35°C, it's too thin and the layer ends up thin and translucent. Check the temperature with a thermometer.
Pour from the centre outwards in one continuous circular motion. You can run a palette knife across it once right afterwards, but don't touch it again after that.
If you'd rather not make your own, ready-made FunCakes mirror glaze just needs warming up and colouring with gel. For why a mirror glaze won't pour evenly or forms bubbles, see our article mirror glaze not pouring smoothly.
For this version, pipe lines of melted chocolate onto freshly poured white icing and immediately drag a toothpick through them. You'll recognise this pattern from traybakes and the classic Esterházy cake.
Pour white fondant or thick sugar icing over the cake, then immediately pipe concentric circles or straight lines of melted chocolate on top, and drag a toothpick alternately from the centre outwards and from the edges inwards. This creates a spider-web or feather pattern. The chocolate needs to be roughly the same consistency as the icing, or the lines will stay raised or spread out too much.
You can only colour marbled white chocolate icing with gel if it already contains cream or water, as in a ganache or mirror glaze. Melted white chocolate (and the same goes for candy melts) can't be coloured with gel: the water in the gel will make it seize into lumps.
Ganache and mirror glaze: gel colouring mixes in easily since they already contain a liquid component.
Pure melted chocolate: needs an oil-based or powdered chocolate colouring instead. Find out more in our article how to colour white chocolate.
If you just need stripes running down a bundt cake, try our bundt cake glaze that drips in neat stripes.
Most marbling mishaps come down to mismatched icing consistency, overworking the pattern, or slow drying. Specifically:
The pattern bled into a smudge: the colour was thinner than the base. Thicken it with a teaspoon of icing sugar so both icings take the same number of seconds to settle.
The lines stayed raised: the colour was too thick, or the base had already started to set. Work faster and decorate 3-4 cookies at a time rather than a whole tray at once.
The marbling turned grey or brown: too many strokes, or too many colours. Two to three strokes is enough — any more turns the marble muddy.
The colour bled into the white: the icing was too thin, or it dried somewhere humid. Dry the cookies in a dry room, ideally under a fan or in an oven with just the light on.
The icing cracked: the layer was too thick, or the cookie was still shifting after decorating. We cover this in full in our article why cookie icing cracks.
Dots and craters: air bubbles. Let the icing rest for 5 minutes before using it, and tap the cookie on the table after coating it.
The surface of royal icing sets within about 30 minutes, the full layer hardens in 6-8 hours, and you should wait until the next day before stacking the cookies. A fully coated layer (2-3 mm) takes much longer to dry than thin outlines and lines, and since marbling always sits on top of a full coating, you can't speed this up with a thinner layer.
Dry the cookies flat, uncovered, in a dry room at room temperature.
Don't put them in the fridge. Moisture softens the icing and causes the colours to bleed.
A fan on its lowest setting adds shine and speeds up surface drying, so the colours don't have time to bleed.
Only pack finished cookies once they're completely hard. Packing them too soon traps moisture and makes the icing go cloudy.
No, marbled icing only works with the wet-on-wet technique — on a dried base, the colours won't swirl together. You can, however, paint marbling onto dried icing with a brush: thin a drop of gel colour with a few drops of vodka or another clear spirit and paint on fine veins with a soft brush. Don't use water — it dissolves dried royal icing and leaves pits in the surface. The result is flatter, but it looks just like real stone.
Yes. Royal icing for marbling made from fresh egg whites keeps covered in the fridge for 2-3 days; made from egg white powder or a ready-made mix, it lasts longer, usually 1-2 weeks. Press plastic wrap directly onto the surface so it doesn't form a skin. Stir it before using and check the consistency again, as it separates and thickens while sitting. It's best to colour the icing on the day you decorate, since darker shades keep deepening over time.
Yes, cookies with marbled icing can be frozen, but only once the icing has completely hardened and the cookies are sealed well in a container. Thaw them still sealed, at room temperature. If you open the container right away, moisture condenses on the cold icing and the colours can bleed.
Cookies with royal icing usually keep for 2-3 weeks in a sealed container at room temperature. It mainly depends on the dough, though. The icing itself won't spoil — it may just fade slightly in light over time.
Marbled icing runs off the edge of a cookie when it's too thin (the trail disappears noticeably faster than around 8 seconds) or when you've applied too much. Pipe the icing a little away from the edge so it only just reaches the border as it spreads. If it's running over the edge, thicken it with a tablespoon of icing sugar.
One recipe worth heating the oven for, one tip, and one deal from the shop. Nothing else.