Oat bars with dried fruit
How to Make Dried Apple Rings in the Oven or a Dehydrator
Updated Oct 6, 2026
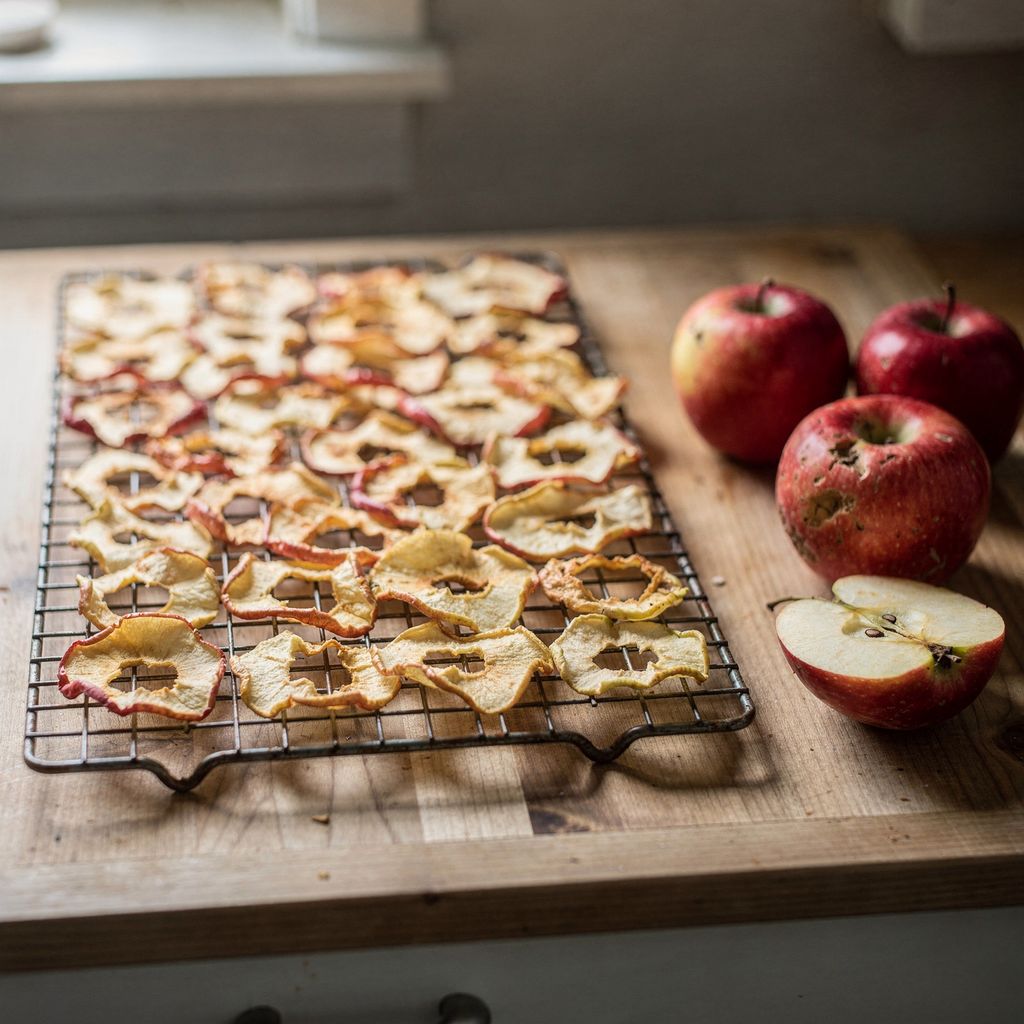
Here's how to make dried apple rings at home: slice apples into rounds 3–5 mm (⅛–¼ in) thick, dunk them briefly in lemon water, then dry them in a dehydrator at 55–60°C (130–140°F) for roughly 6–10 hours, or in the oven at 50–60°C (120–140°F) with the door slightly open for 5–8 hours. They're ready when the slices are leathery and pliable, with no moisture released when you snap one in half. Below you'll find which apples to pick, why slice thickness matters more than temperature, and how to store the rings so they last right through to spring.
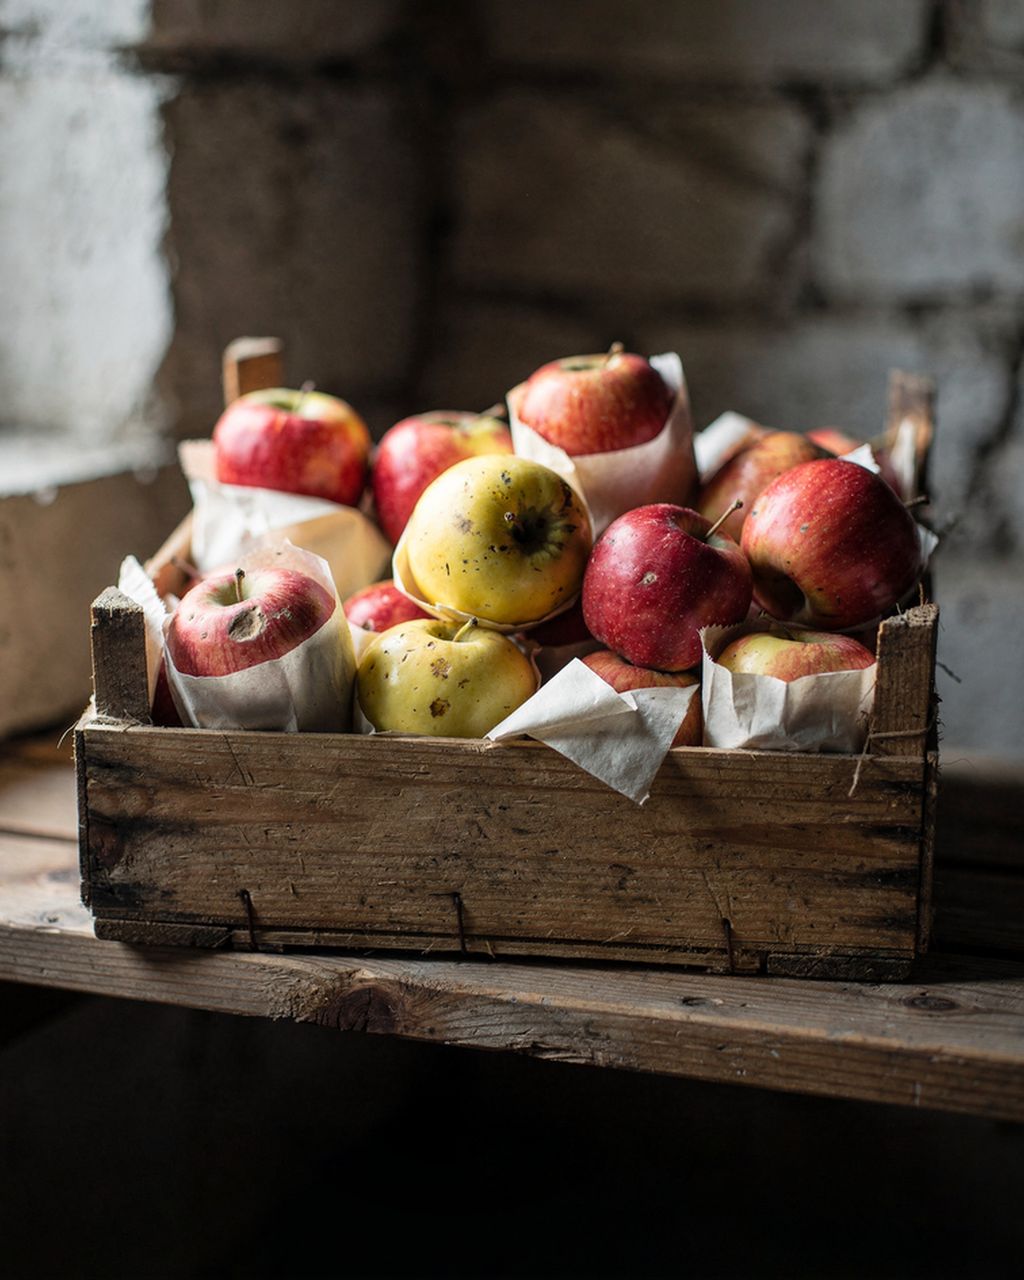
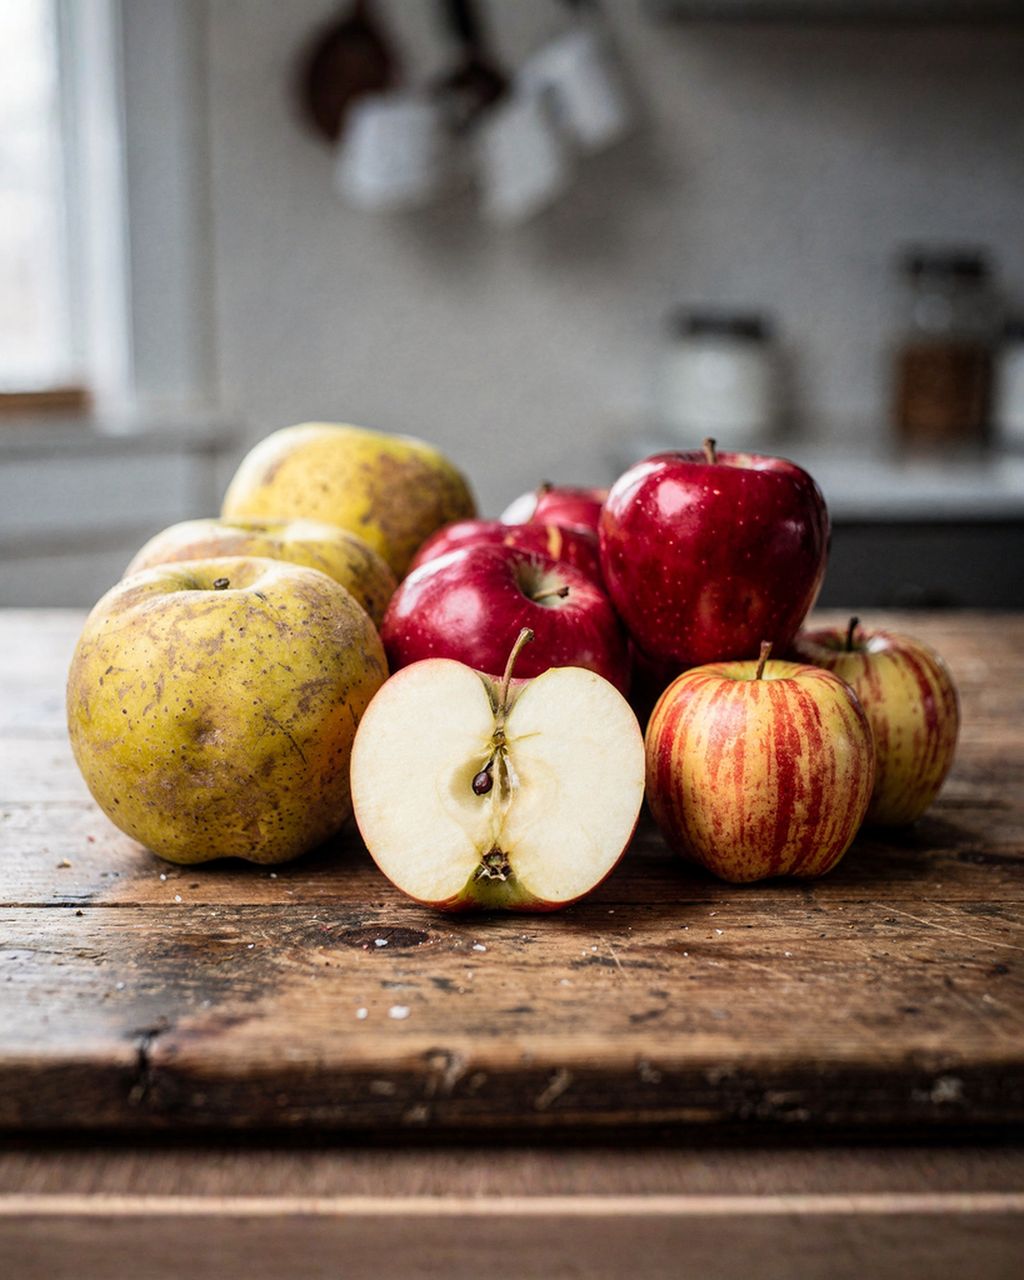
The best apples for dried apple rings are firm, aromatic apples with a sweet-tart flavour — drying concentrates the taste, so whatever stands out in the fresh apple will be even more pronounced in the dried rings.
Jonagold, Gloster, Rubin – sweet-tart and firm, they hold their shape once dried.
Idared – easy to find and dries well, with a milder flavour.
Golden Delicious – sweet with pale flesh, makes lovely golden rings.
Boskoop and other tarter apples – bold and fresh, great for tea or baking.
Mealy, soft apples shrink into thin, bland slices when dried — better to turn those into purée or apple butter instead. Windfall apples are perfect for drying; just cut away any bruised or rotten spots generously. For more ideas, see our article on what to do with windfall apples. And if you're not sure about your variety, check out apple varieties and what they're best used for.
Cut the apples into slices 3–5 mm (⅛–¼ in) thick, all the same size — even thickness means everything dries at the same rate, so you won't end up with scorched edges next to raw centres on the same tray.
Wash and dry the apple.
Use an apple corer to remove the core, or cut the apple in half and scoop out the core with a spoon.
Slice crosswise into rounds (the classic dried apple rings with a hole in the middle), or into wedges.
A mandoline (slicer) is the most reliable way to get even thickness, though a knife works too, just more slowly. Thinner slices (2–3 mm / ⅛ in) will turn out crisp like chips, while thicker ones (5–6 mm / ¼ in) stay chewy and pliable.
No need to peel. The skin holds the slice together and adds colour and flavour. Only peel apples with thick, waxy, or damaged skin — peeled rings are a bit more delicate, but it's extra work.
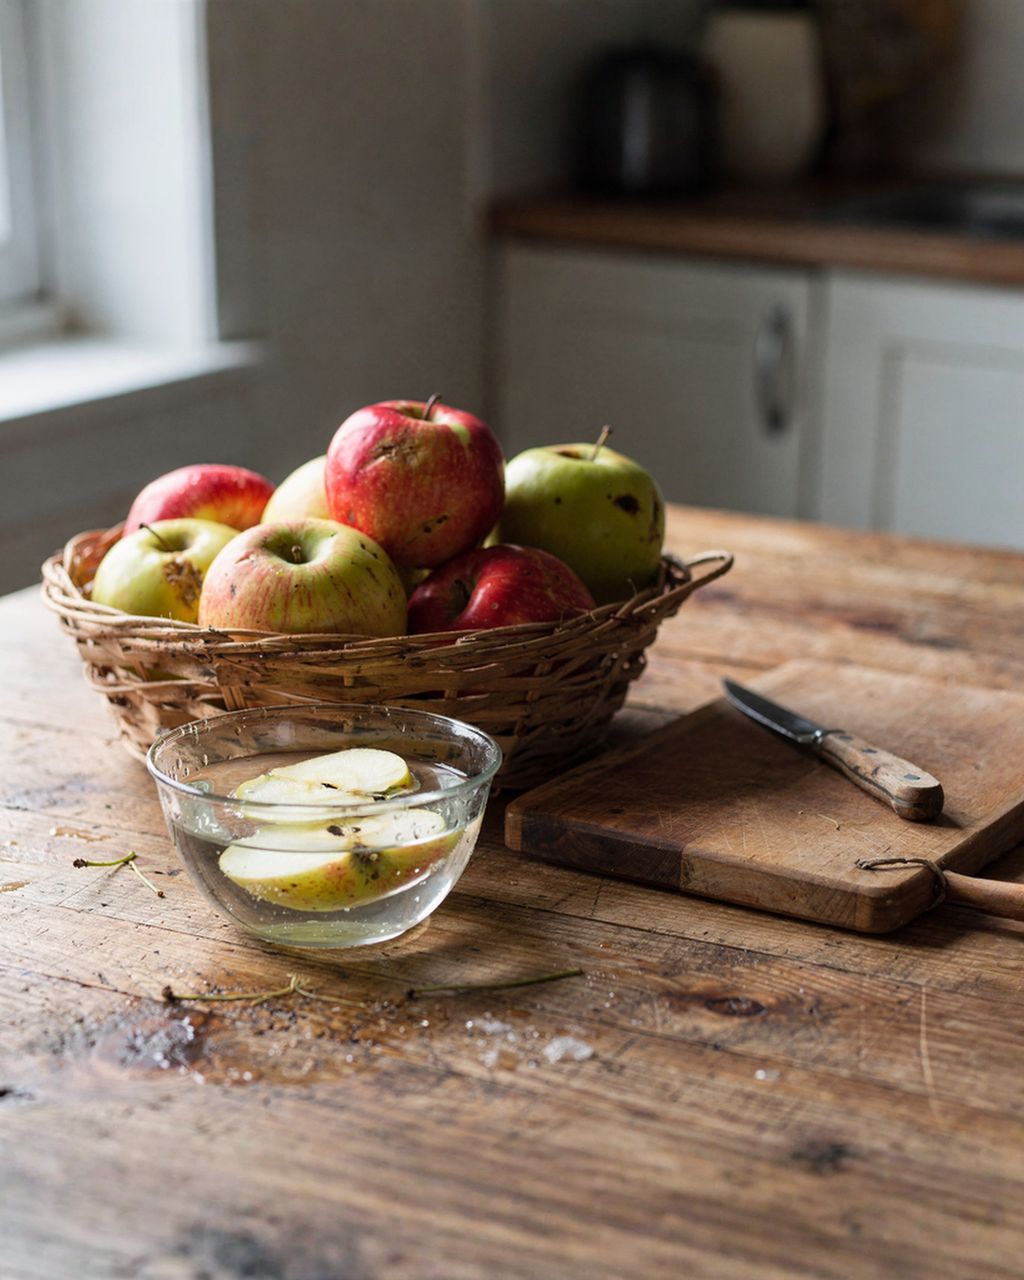
To keep the rings from browning, dunk the freshly cut slices in acidulated water for 5–10 minutes: juice from 2 lemons (about 80–100 ml) per 1 litre of cold water, or 1 level teaspoon of citric acid (about 5 g) per 1 litre.
Browning is an enzymatic reaction — the enzyme polyphenol oxidase in the flesh reacts with oxygen in the air once the apple is cut. Acid slows this down, keeping the slices pale and golden.
Slice straight into the bowl of acidulated water so the pieces don't sit exposed to air.
Once you lift them out, pat them dry with a tea towel — wet slices take longer to dry and stick to the tray.
Lemon leaves a faint flavour behind; citric acid is neutral.
If a slightly darker colour doesn't bother you, you can skip this step. The rings will taste the same, just darker.
In the oven, dry the rings at 50–60°C (120–140°F) with the fan on and the door slightly open, for roughly 5–8 hours. Without a fan setting, go for 60–70°C (140–160°F) and lean towards the longer end of the time range.
Lay the slices out in a single layer on a rack lined with baking paper, or on a lined tray. Don't let them overlap.
Wedge a wooden spoon in the oven door to leave a 2–3 cm (1 in) gap — moisture needs somewhere to escape, otherwise the apples steam instead of drying.
After 2–3 hours, flip the slices and swap the trays (top to bottom) if you're drying on more than one level.
Start checking from the 5-hour mark. Thin slices may be done sooner; thick ones can take up to 8 hours.
Don't go above 70–75°C (160–165°F). At higher temperatures the surface seals and caramelises before the centre dries out — dark on the outside, damp inside, and rings like that will go mouldy in the jar. An oven is fine for a tray or two of apples, but for larger batches a dehydrator is more efficient, since it doesn't have to heat a whole oven cavity for hours on end.
In a dehydrator, dry the rings at 55–60°C (130–140°F) for about 6–10 hours, depending on slice thickness and the power of your machine.
Arrange the slices on the trays in a single layer, with small gaps between them so air can circulate.
If your dehydrator only blows air from the top or bottom, rotate the trays every 2–3 hours, otherwise the bottom layer will finish hours ahead of the rest.
A lower temperature (50°C/120°F) is gentler on colour but takes longer; above 65°C (150°F) you risk the same surface-sealing problem as in the oven.
A dehydrator is the most foolproof option: it holds a steady temperature, draws moisture away efficiently, and can handle 3–5 kg of apples at once.
They're ready when the slices are leathery and pliable, bend without snapping, and release no moisture when torn in half. If you'd rather have them crisp, keep drying until they crack and rustle when bent.
Test on a cooled slice — a warm one always feels softer than it really is.
A sticky or wet centre means you need at least another hour of drying.
Dark, bitter edges mean the temperature was too high.
From 1 kg of fresh apples you'll end up with roughly 120–180 g of dried rings — apples are mostly water, and drying removes about 80–90% of their weight.
Once cooled, store the rings in a well-sealed glass jar or container, somewhere dry, dark and cool — they'll keep for roughly 6–12 months this way. In the freezer, in a sealed bag, they'll last even longer.
Before sealing them away for good, let the rings sit for a week to even out moisture in the jar — this step is what separates a proper home-dried batch from a mouldy jar come January:
Fill a jar about ¾ full with the dried rings and seal it.
Shake it once a day for a week. This lets moisture even out between the drier and damper slices.
If you see droplets or fogging on the lid or sides, pop the rings back in the dehydrator or oven for 1–2 hours.
Paper or cloth bags look charming but let moisture through and are an open invitation to pantry moths. Check the jar now and then — any webbing or tiny larvae mean it's time to throw the batch out. And if you'd rather keep some of your harvest fresh, read up on how long apples keep and how to store them over winter.
You can flavour dried apple rings before drying — sprinkle the spice on right after patting the slices dry, so it sticks as they dry.
Cinnamon rings – a light dusting of ground cinnamon, a classic with tea.
Gingerbread spice – a pinch on the tray brings Christmas scents well before December.
Pears – dry exactly the same way, just cut ripe pears a bit thicker, around 5 mm (¼ in), as they're juicier and take longer to dry.
Quince – firm and fragrant; cut into 3 mm (⅛ in) slices and allow extra drying time.
Don't coat the slices in sugar or honey — it makes them sticky, more prone to scorching, and harder to keep well in the jar afterwards.
Dried apple rings are great for snacking, in granola and oat bars, in tea, in stewed fruit, and in baking.
At breakfast – diced and stirred into homemade cocoa granola or porridge.
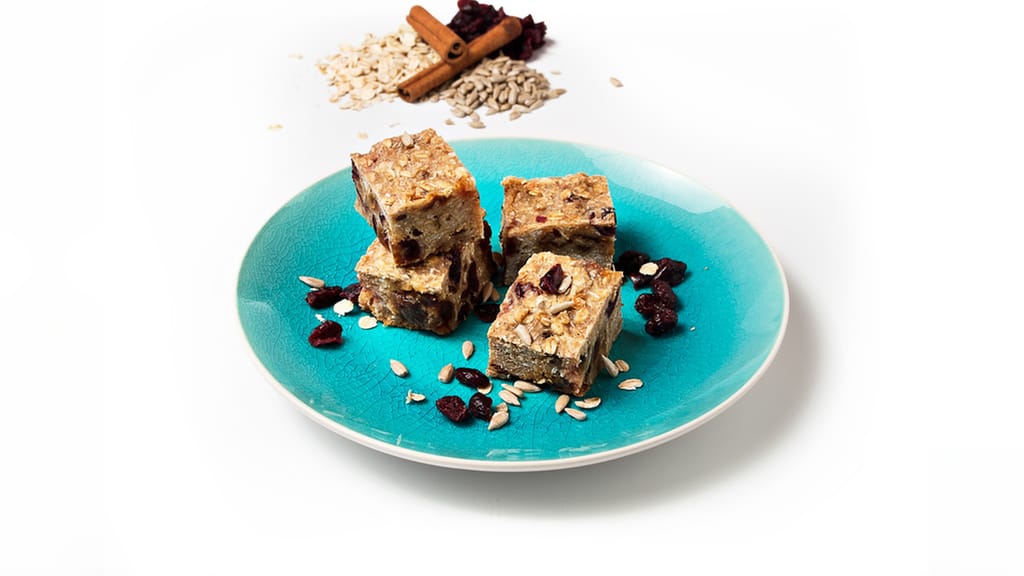
In baking – use as the dried fruit in oat bars with dried fruit.
In tea – a few slices with a bit of cinnamon, steeped in hot water.
For stewed fruit or fillings – soak for 20–30 minutes in warm water or apple juice; they'll plump up and soften.
Oat bars with dried fruit
Oat bars with dried fruit – chopped homemade dried apple rings are perfect here
You can dry apple rings on a radiator or above a stove in 2–4 days, but relying on the sun isn't reliable in Czech autumn weather. On a radiator, string the slices on a thread or spread them in a single layer on a rack so air can reach them from every side. Outdoors in autumn, drying is hampered by damp air and cold nights, and insects tend to be drawn to the apples.
Store-bought pale dried apples are often treated with sulphur dioxide (labelled E220 or sulphites on the pack), which prevents browning. Homemade rings made without sulphuring are naturally golden to light brown, and dipping them in lemon water helps keep them paler.
In an air fryer, yes, as long as you can set a low temperature around 60–70°C (140–160°F); lay the slices in a single layer and allow a few hours. A microwave tends to cook the apples and scorch them in places, so it's not suited to drying apple rings.
Sticky rings are usually under-dried, or were cut too thick, or came from very sweet, juicy apples. Pop them back in the dehydrator or oven at 55–60°C (130–140°F) for 1–2 hours, and next time cut thinner slices (3–4 mm).
Leaving an oven running unattended all night isn't recommended, but you can pause the drying process overnight without issue. Turn the oven off, leave the slices on the rack with the door closed, and continue at the same temperature in the morning. Apples are acidic and partly dried after a few hours, so a pause won't harm them — just expect the total drying time to run a bit longer. If you want to dry continuously overnight, an electric dehydrator is the safer option for that.
One recipe worth heating the oven for, one tip, and one deal from the shop. Nothing else.