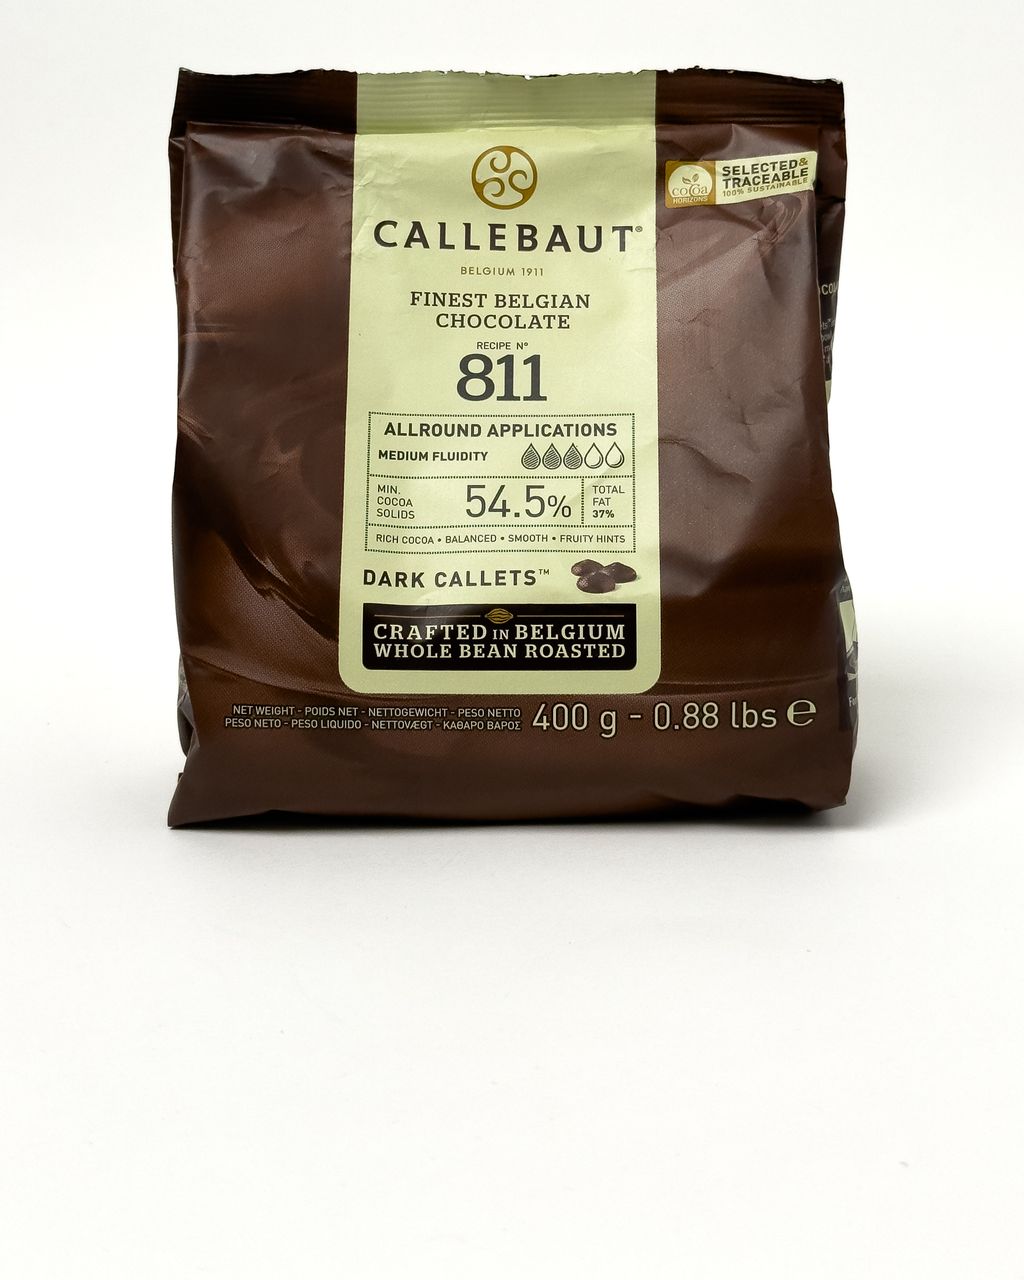
Callebaut Dark Chocolate Callets (811) 400g
Hot Chocolate Bombs and Hot Chocolate on a Stick: A Homemade Gift
Updated Oct 15, 2026
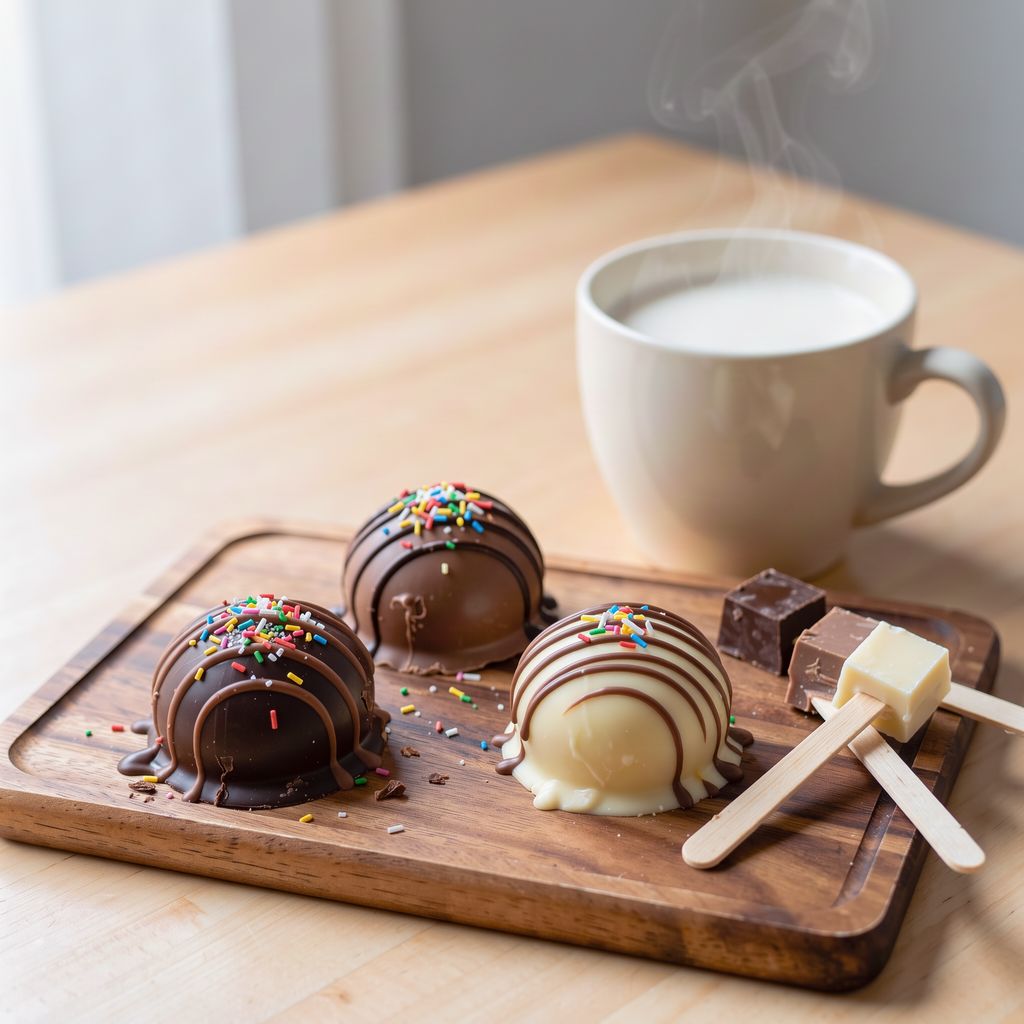
Hot chocolate bombs are hollow chocolate spheres filled with cocoa and marshmallows: pour hot milk over one, the shell melts away, and you have a mug of hot chocolate. Their simpler cousin, hot chocolate on a stick, is a block of thick ganache on a stick that you stir into milk. You can make either one in an afternoon, they keep for weeks, and they make better gifts than most things from a shop. Here's which chocolate and mold to choose, how many grams to count per piece, what to fill them with and how to package them so they arrive in one piece.
A chocolate bomb is a 6–7 cm (2½-inch) sphere made from two chocolate half-shells, with cocoa, sugar and mini marshmallows inside. Set it in a mug, pour over 250 ml (1 cup) of hot milk, and within 20–30 seconds the shell melts through, the filling floats to the top and all you have to do is stir.
Hot chocolate on a stick (in Czech called "chocolate on a spoon") is a block of thick ganache or plain chocolate set on a stick or spoon. You dip it into hot milk and stir until it dissolves, which takes about a minute.
How they differ:
The bomb is the show: it opens up before your eyes, which makes it perfect as a gift for kids or as the finale to a dinner. It needs a mold and a bit of patience with the shell.
Hot chocolate on a stick is the sure thing: it can't break, needs no tempering or special mold (a silicone ice cube tray is enough) and contains more chocolate, so the drink is thicker.
Both are mainly a carrier: the actual flavor of the hot chocolate comes down to the ratio of chocolate to milk. That's covered in detail in our article on hot chocolate made with real chocolate: the ratio per mug. Here we focus on the shells and the sticks.
For chocolate bombs, use real couverture in callet (chip) form. It melts evenly, is fluid enough for a thin shell, and tastes like chocolate in milk, not like fat. An honest comparison:
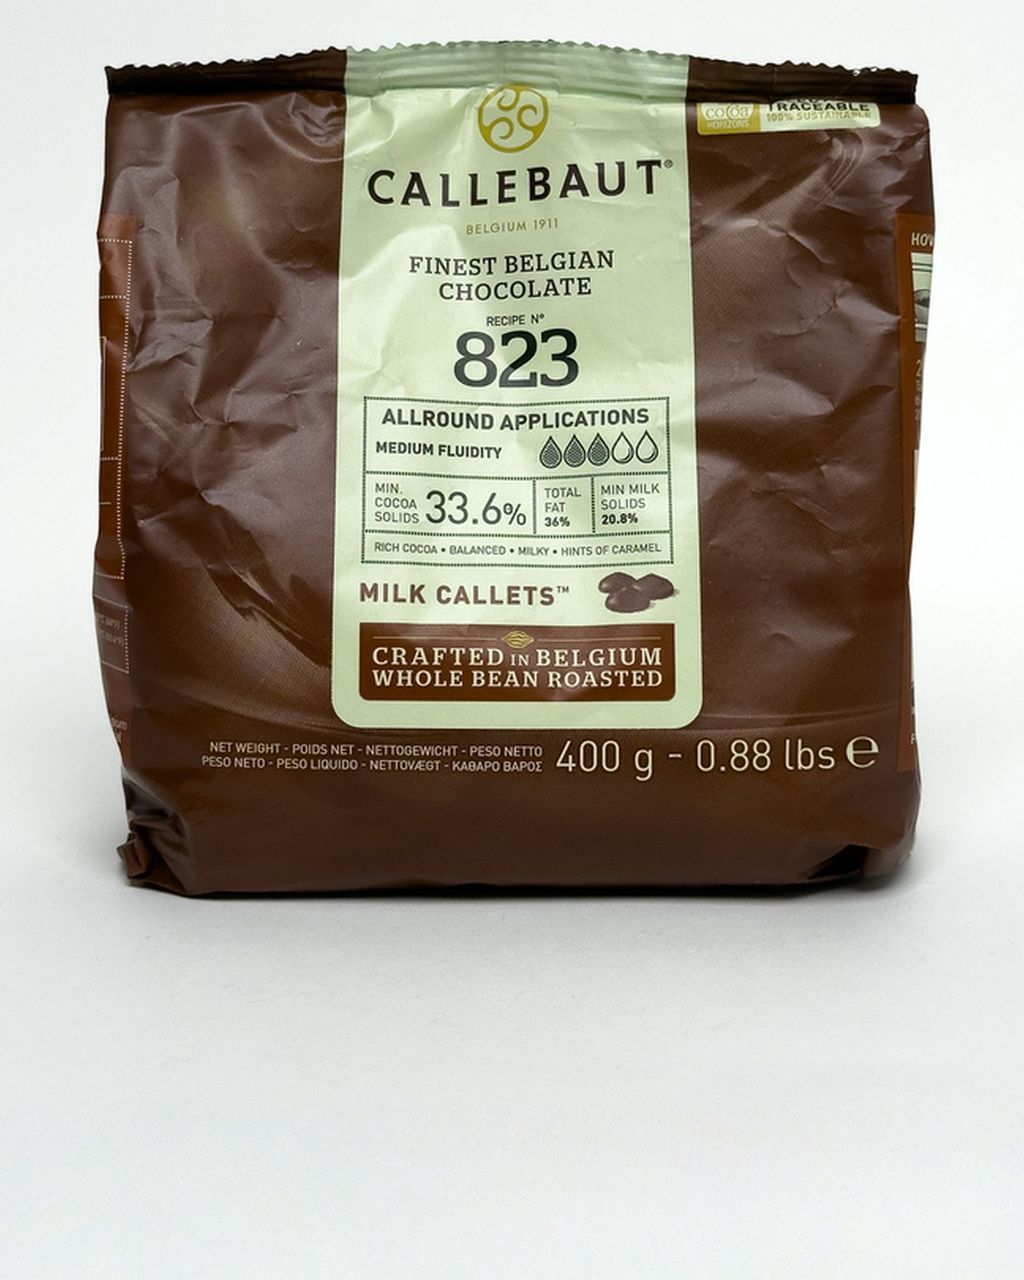
Dark Callebaut 811 (54.5% cocoa): the sturdiest shell, least sticky on your fingers, and it holds its shape even in a warmer kitchen. The flavor is bold but not sour; in milk it gives you a classic "grown-up" hot chocolate. If you're making bombs for the first time, start with this one.
Milk Callebaut 823 (33.6% cocoa): the most popular flavor, especially with kids. It's softer, so make the shell a layer thicker and work in a cooler room.
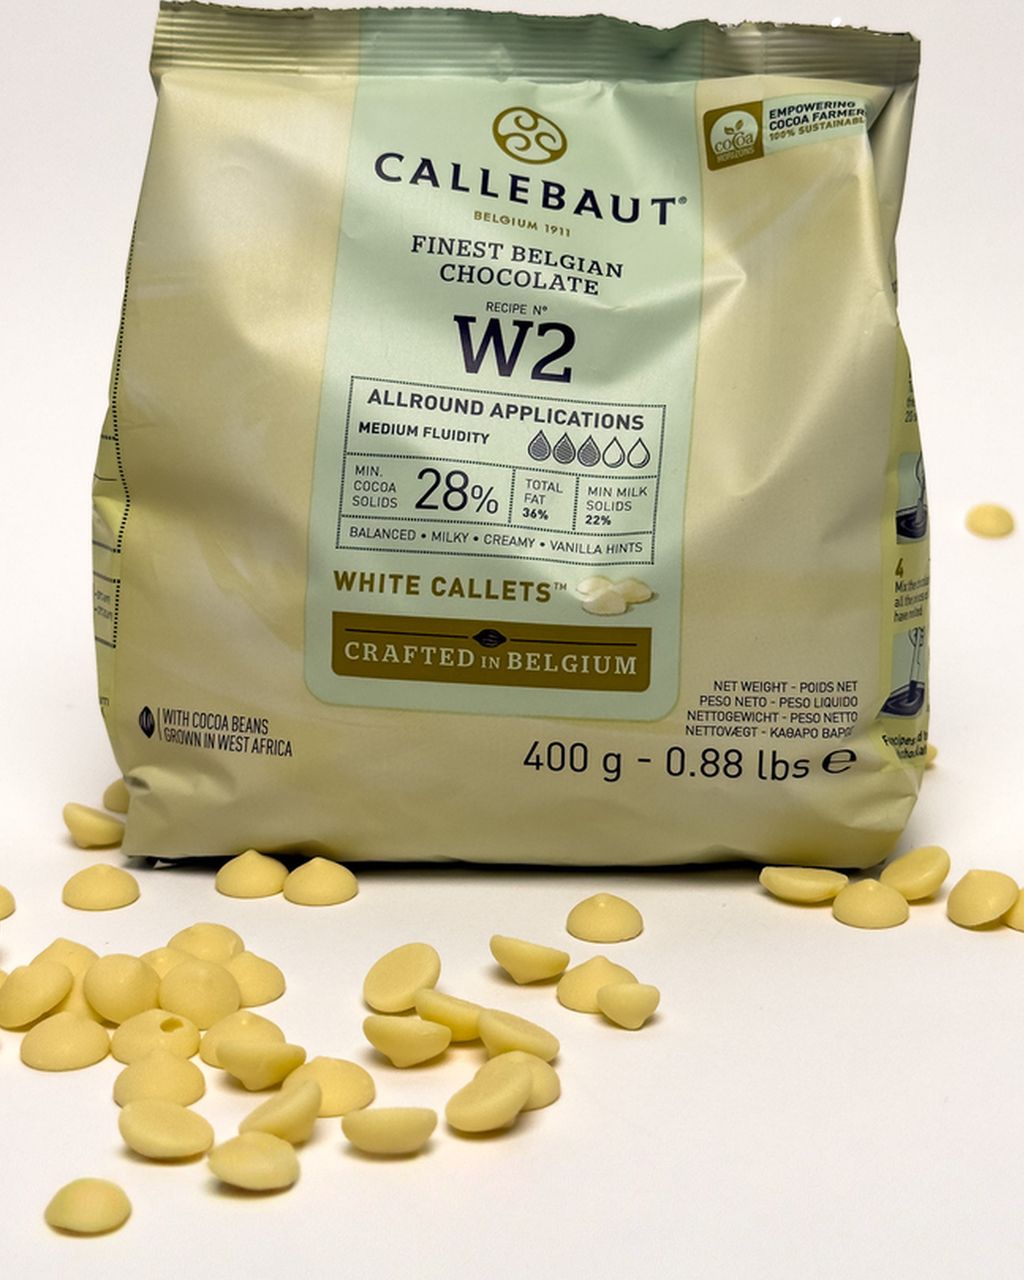
White Callebaut W2 (28% cocoa butter): the sweetest and the most sensitive to overheating; it clumps above 45 °C (113 °F). It takes fat-soluble chocolate colorings beautifully and is ideal for contrasting stripes over dark bombs. On its own it makes a very sweet drink in milk, so fill it with bitter cocoa.
Cocoa (compound) coating: it doesn't need tempering, so it's the easiest for beginners. The price is flavor and texture: instead of much of the cocoa butter it contains another vegetable fat, leaves a greasy film in milk and tastes bland. It's fine for decoration but not for a shell you're going to drink. Note: in Czech shops, "chocolate coating" on the label actually means real chocolate (couverture), while you can recognize a compound coating by the vegetable fat at the start of the ingredients and by the fact that the word chocolate isn't in its name.
Supermarket bar chocolate: it works, but it tends to be thicker (less cocoa butter), so the shell comes out heavier and doesn't melt as easily. If you use it, pick one with the shortest ingredient list. Any chocolate (even bar or cooking chocolate) may contain, besides cocoa butter, up to 5% of the weight of the finished product in other vegetable fats (only certain ones, such as palm or shea fat). On the packaging you'll see this in a bold-printed notice that, besides cocoa butter, it contains vegetable fats.
To temper or not to temper? A tempered shell is glossy, releases nicely from the mold and keeps for weeks at room temperature. An untempered one sticks to the mold, looks matte, turns gray after a few days and melts in your hand. For gifts, tempering is worth it; you'll find the method in the complete guide to tempering chocolate. For bombs you'll drink that same evening, you can skip it.
Count on 40–50 g of chocolate per bomb with a diameter of 6–7 cm, including what's lost on the scraper and in the bowl. For six bombs, prepare about 300 g.
For chocolate bombs you need a half-sphere mold with a diameter of 6–7 cm (2½ inches). A smaller sphere (5 cm) holds only a spoonful of filling and isn't enough for a mug, while a larger one (8 cm or more) won't fit in a regular mug and the milk will overflow.
Silicone mold: the best choice for a home kitchen. You pop the half-spheres out by turning the mold inside out, so the shell won't break even without perfect tempering. The shine is slightly less.
Polycarbonate mold: the professional standard for pralines, with a mirror shine and sharp edges. Tempered chocolate releases from it on its own, but untempered chocolate sticks and the half-sphere cracks when you pry it out. It's only worth it if you temper.
Thin plastic (blister) mold: cheap, but it flexes, so the shell cracks easily during filling. Fine for one test run.
We don't have half-sphere molds of this size on offer yet, so buy them wherever suits you. For hot chocolate on a stick you don't need a special mold at all, see below.
The mold must be completely dry and clean. A drop of water makes the chocolate seize into lumps, and fingerprints show up on the shell as matte spots. Don't wipe silicone with a dish towel (it picks up lint); let it air dry and wipe the inside with a cotton pad.
You make a chocolate bomb in seven steps: melt the chocolate, brush on the first and second layers of the shell, unmold the half-spheres, fill half of them, seal them over a warmed plate and decorate. In detail:
Melt and temper the chocolate (or just melt it if you're skipping tempering, in which case don't heat dark chocolate above 45–50 °C (113–122 °F), or milk and white chocolate above 40–45 °C (104–113 °F)).
First layer. Put about a tablespoon of chocolate into each half-sphere and spread it up to the rim with a brush or the back of a spoon. Turn the mold upside down over parchment paper so the excess runs off. Let it set in the fridge for 5 minutes.
Second layer. Brush on again, this time mainly the edges, since they carry the seam and crack most often. The finished wall should be 2–3 mm thick. Thinner will crack during filling, thicker won't melt in milk. Let it set in the fridge for 10–15 minutes, or at room temperature if the chocolate is tempered.
Unmold the half-spheres. Gently pop silicone out by turning it inside out; with polycarbonate, turn it over and tap it lightly on the countertop. Wear gloves, as fingers leave prints.
Fill half of the shells (see the next section). Don't overfill: the filling must not rise above the rim, or the other half won't sit on top.
Seal. Warm a plate or an empty pan (30 seconds in the microwave or on the hob is enough). Press the rim of an empty half-sphere onto the plate for 1–2 seconds so the edge melts, then immediately set it on a filled half. Hold for 10 seconds.
Decorate. Drizzle stripes of another chocolate from a piping bag over the finished bombs, and while the chocolate is still soft, top them with sprinkles. The stripe also covers the seam.
Serving: put the bomb in a mug of at least 300 ml (1¼ cups) and slowly pour over 250 ml (1 cup) of milk heated to 70–80 °C (160–175 °F). That means hot, with steam rising from the surface and tiny bubbles forming around the edges, but not yet boiling. Cooler milk won't melt the shell, and boiling milk will splatter it. Stir after 30 seconds.
A chocolate bomb needs three things: something to flavor the drink, something sweet and something that floats to the top when it opens. For one 6–7 cm bomb, count on:
Base (1–2 heaped teaspoons): unsweetened cocoa mixed with sugar 1:1, or 15–20 g of chopped chocolate of the same type as the shell. Grated chocolate gives a thicker, fuller drink than cocoa alone.
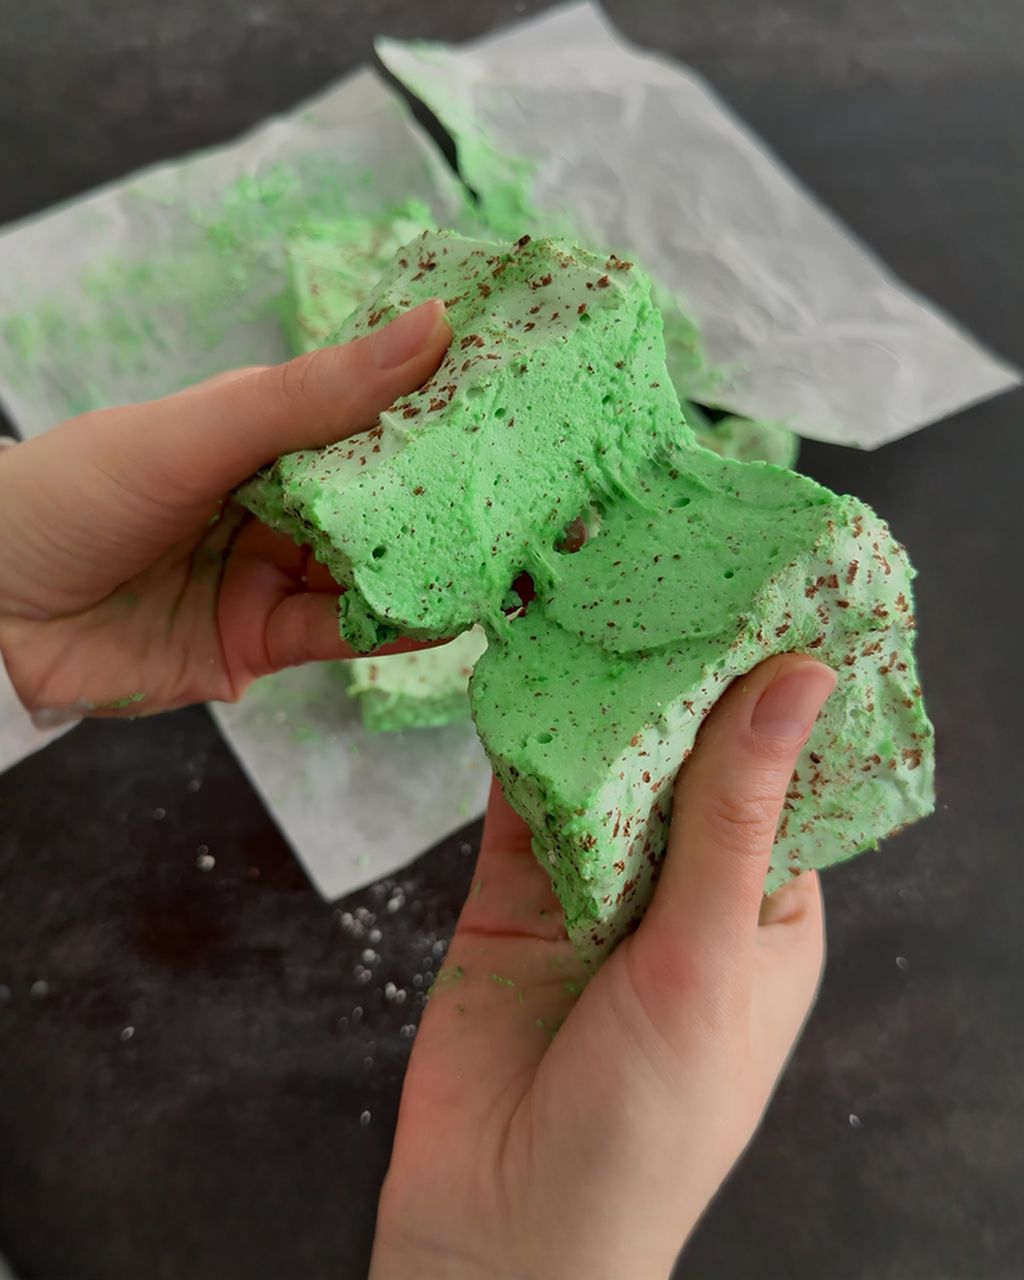
Marshmallows (5–8 mini ones): they float to the surface and create the effect. Try fruity or mint ones: you can make our homemade mint marshmallows with chocolate from the recipe, or buy them ready-made and cut them into 1 cm cubes. Paired with dark chocolate 811, it's a combination straight out of a pastry shop.
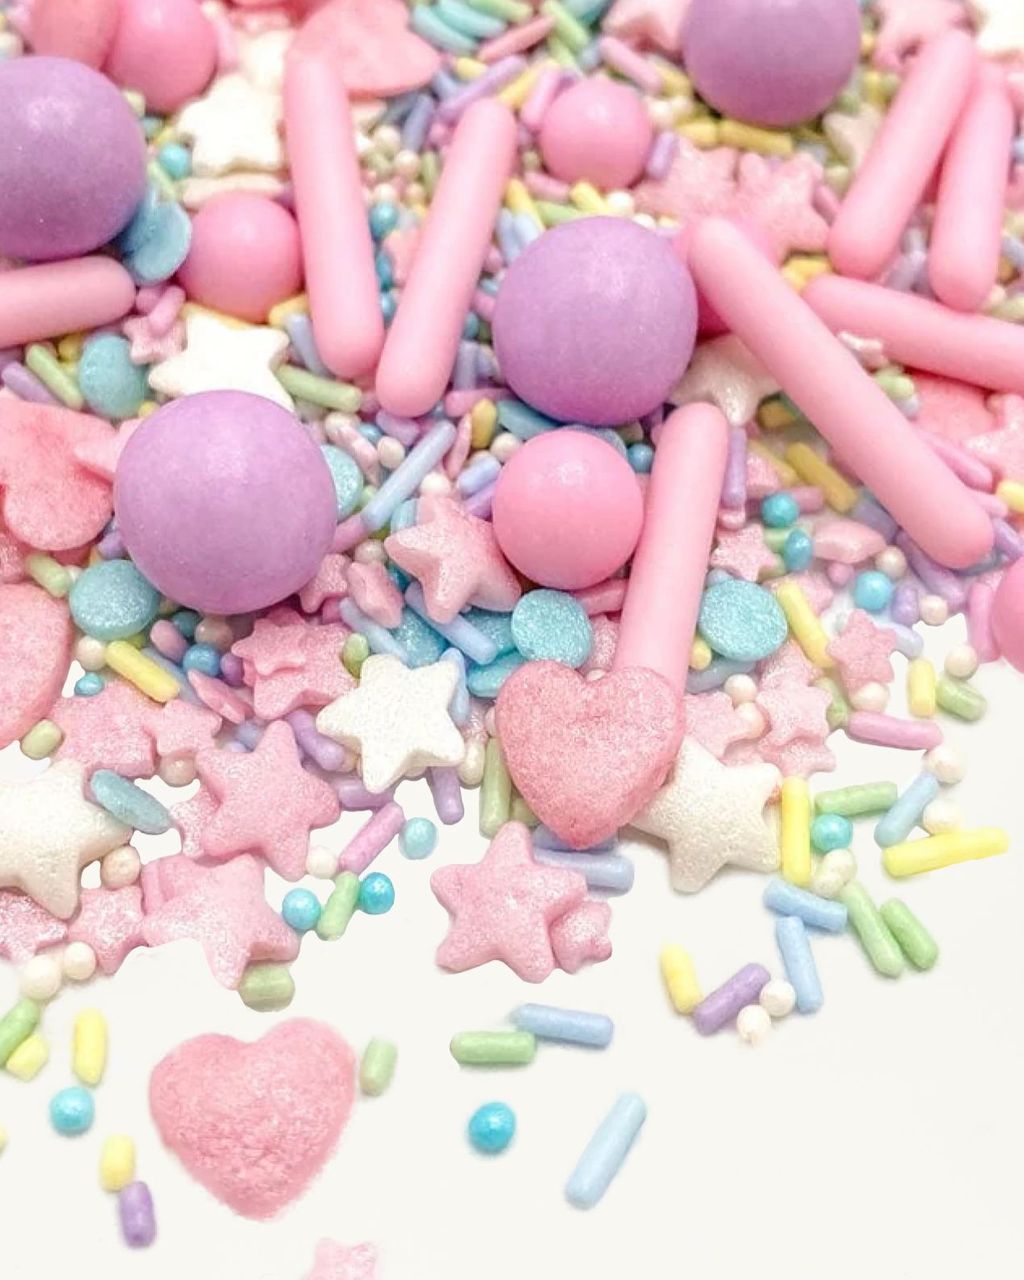
Surprise (a pinch): popping candy, colored sprinkles that melt in the milk into colorful streaks, or a pinch of cinnamon, chili or sea salt.
What to leave out: nothing liquid or wet (syrup, caramel, liqueur), because it dissolves the shell from the inside, and moisture with sugar forms a sticky mass. Add flavored syrup to the mug instead: gingerbread or vanilla, for example, following the article on homemade coffee syrups.
Combination ideas:
Classic: dark shell, cocoa with sugar, mint marshmallows.
For kids: milk chocolate shell, grated milk chocolate, colored sprinkles and mini marshmallows.
White winter: W2 shell, grated white chocolate inside, cinnamon and ground cardamom.
For adults: dark shell, cocoa, a pinch of chili and sea salt; then a tablespoon of rum in the milk.
To make hot chocolate on a stick, pour thick ganache into a silicone ice cube tray or paper cups and push a stick into each block. Once set, unmold the block and you're done. One block of 40–50 g is enough for a 250 ml (1 cup) mug.
To keep the ganache firm enough to hold in your hand, stick to this ratio of chocolate to cream:
Dark 811: 2 parts chocolate : 1 part 33% cream (for example 300 g chocolate + 150 g cream = 9–10 blocks).
Milk 823: 2.5 : 1. Milk chocolate has less cocoa, so it needs less liquid, otherwise it stays soft.
White W2: 3 : 1, for the same reason.
The preparation itself takes four steps:
Heat the cream to just below boiling and pour it over the chocolate callets. Let it stand for 1 minute, then stir from the center outward until you have a smooth, glossy mixture.
Stir in 1 tablespoon of cocoa for every 100 g of chocolate. The block will be even firmer and the drink thicker. You can flavor the mixture with cinnamon, vanilla or coffee.
Pour into the mold, let it set partially for 20 minutes, and push in the stick so it stands straight.
Let it set in the fridge overnight. Then unmold and decorate: dip the top in melted chocolate and roll it in sprinkles, or press pieces of marshmallow into it.
Cream-free version: cast the block from melted chocolate mixed with cocoa and sugar alone (100 g chocolate + 1 tablespoon cocoa + 1 teaspoon powdered sugar). It's harder and dissolves more slowly, but it keeps for months, which makes it ideal for gifts sent by post. If you want it glossy, temper the chocolate first.
The principle of the inserted stick and the bagging is the same as for chocolate lollipops, so if you can do one, you can do the other.
A chocolate bomb most often fails because of shell thickness or temperature. A rundown of mistakes and fixes:
The shell cracks during unmolding or filling: it's too thin, especially at the edges. Brush the second layer mainly onto the rim, since it carries the whole seam.
The shell sticks to the mold and breaks: the chocolate isn't tempered or hasn't cooled enough. With untempered chocolate, leave the mold in the fridge for 15 minutes and pop the shell out right after taking it out.
The bomb won't melt in milk: the shell is thicker than 3 mm, or the milk isn't hot enough (below 70 °C / 160 °F). Pour in a bit more hot milk and stir.
The milk splashes or overflows: the mug is too small, or the bomb is bigger than 7 cm. Use a mug of at least 300 ml and pour the milk slowly down the side, not straight onto the top of the sphere.
The bombs turn gray after a few days: untempered chocolate (fat bloom) or condensation from the fridge (sugar bloom). The taste is the same, but it doesn't look good as a gift.
The seam shows and crumbles: the plate was too cold, or the rim sat on the plate too long and got thin. 1–2 seconds is enough, then cover the seam with a stripe of chocolate.
Chocolate bombs made with tempered chocolate keep for 4–6 weeks in a dry place at 15–18 °C (59–64 °F). Hot chocolate on a stick made with ganache keeps for 1–2 weeks in the fridge, and blocks made of plain chocolate for months.
Bombs: wrap each one individually in clear cellophane bags, or put them in paper cups in a box with sturdy dividers, otherwise the spheres knock against each other. Add a card with instructions: "Put in a mug, pour over 250 ml of hot milk, wait 30 seconds, stir."
Hot chocolate on a stick: put it in a bag, tie a ribbon around the stick and refrigerate; tell the recipient to keep it somewhere cool.
Combined gift: a mug, two bombs and a block on a stick in one box. Together with a jar of cookie mix, it makes a lovely winter package.
You'll find more hot drinks, chocolates and everything to go with them in the hot chocolate category.
Yes, if you swap three things: make the shell from dark chocolate with no milk in the ingredients, leave out regular marshmallows, and pour over plant-based milk. Marshmallows contain gelatin, so use vegan ones or skip them. Check the label on dark chocolate, too, because even chocolate with no milk in the ingredients often carries a "may contain traces of milk" warning. Heat the plant-based milk to 70–80 °C (160–175 °F) as well; oat and soy milk give the creamiest result.
Don't put alcohol inside the bomb. Add it to the finished drink in the mug instead. For 250 ml (about 1 cup) of hot chocolate, 1–2 tablespoons of rum, whisky or a cream liqueur is enough, stirred in once the shell has melted. If you're giving the bombs to adults, include a small bottle on the side and write on the instruction card how much to pour in.
Yes. In hot coffee with milk, a chocolate bomb melts just like it does in milk and gives you a mocha. It works best with a dark chocolate bomb and a mix of one espresso and 200 ml (about 3/4 cup) of hot milk. In plain black coffee the marshmallows dissolve faster and the drink turns out thinner, so don't skip the milk.
Yes. Kids from about five years old can do the filling and decorating on their own, but leave melting the chocolate and sealing the halves over the hot plate to an adult. For kids, it's easier to use untempered chocolate that you set in the fridge, or to go straight to hot chocolate on a stick, where nothing can break. What they love most is sprinkling and choosing the fillings.
One recipe worth heating the oven for, one tip, and one deal from the shop. Nothing else.