White chocolate mousse – light and fluffy
Caramelized White Chocolate: How to Make It in the Oven
Updated Oct 8, 2026
Caramelized white chocolate is made by leaving white chocolate in the oven at 120°C (250°F) for 45–60 minutes, stirring every 10 minutes. The sweet, milky chocolate turns into a golden-brown mixture that tastes of caramel, biscuits and toasted nuts, and is noticeably less sweet. All you need is good-quality white chocolate, a baking dish, a spatula and a bit of patience. Below you'll find the full method, how to pick the right chocolate, why it goes lumpy halfway through (and why that's nothing to worry about), and what to do with it once it's ready.
Caramelized white chocolate is just ordinary white chocolate that you've slowly "toasted" in the oven until it turns golden brown. You're not adding anything — you're simply transforming what's already there.
Strictly speaking, it isn't really caramelization at all. Sugar (sucrose) only starts to caramelize at around 160–170°C (320–340°F), but in the oven you're working at just 120°C (250°F). The colour and flavour actually come from the Maillard reaction: milk proteins and milk sugar (lactose) from the milk powder react together to create brown pigments and new aromas. It's the same chemistry that browns a loaf of bread or makes dulce de leche.
The result:
Colour: anywhere from straw to deep gold, depending on how long you bake it.
Flavour: caramel, buttery biscuits, toasted milk, with a faint salty edge.
Sweetness: the sugar content stays exactly the same, but the toasty notes balance it out, so it tastes noticeably less sweet.
A ready-made version does exist — the best-known is Valrhona Dulcey, often called "blond" chocolate. It's excellent and already tempered, but pricier. At home, in about an hour, you can get very close to the same result, and you get to decide exactly how dark it turns out.
For caramelizing you need genuine white chocolate with a high cocoa butter content (ideally around 28–30%) and a good amount of milk solids (20% or more). Cocoa butter keeps the mixture fluid, while milk solids provide the colour and flavour — without both, it simply won't work.
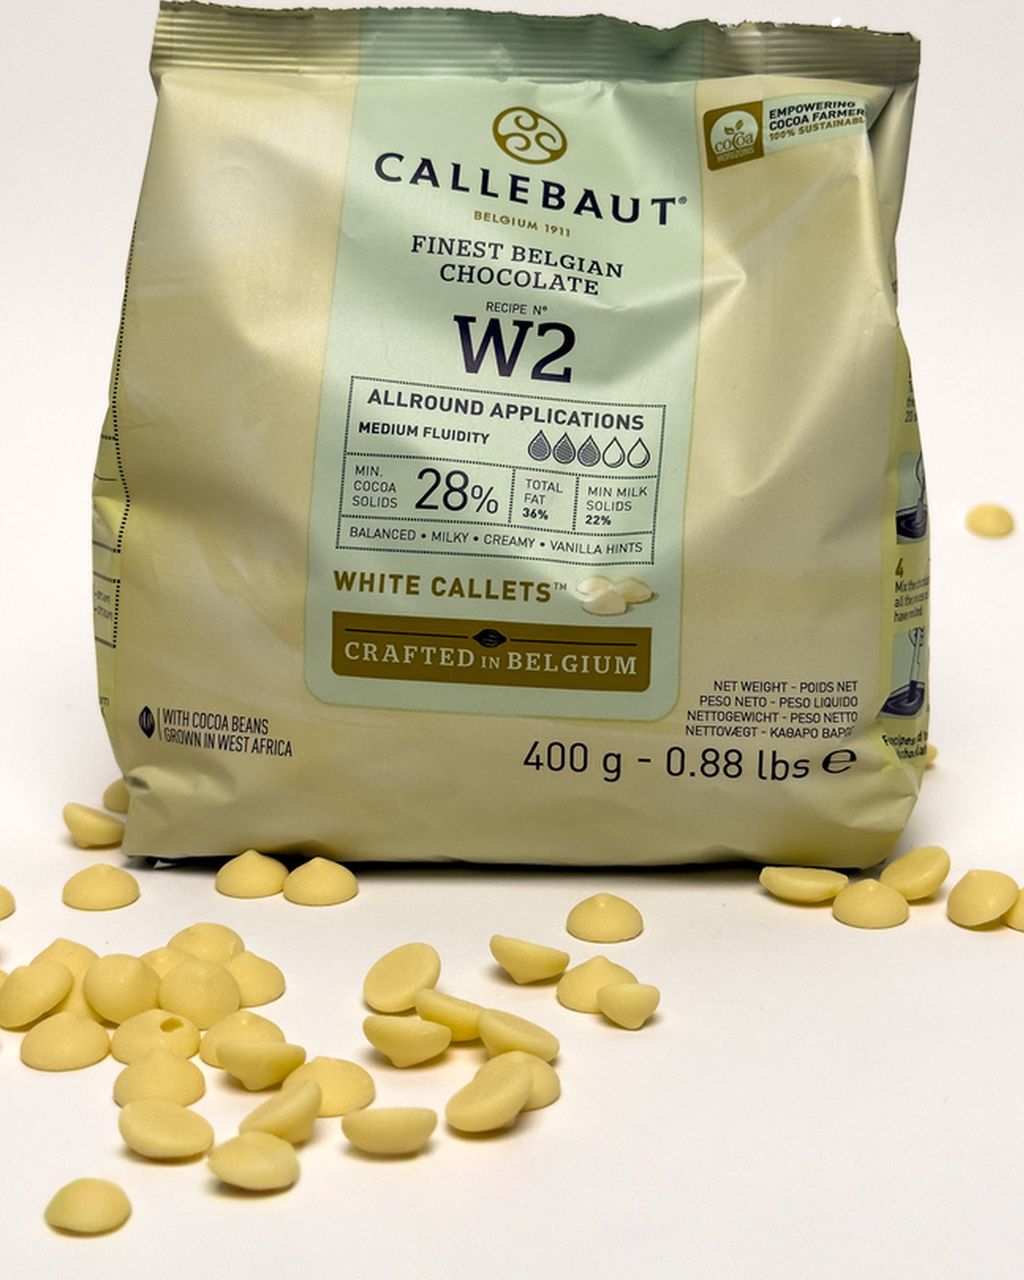
Professional white chocolate callets — the best choice. Callebaut W2, for example, has 28% cocoa butter and 22% milk solids according to the manufacturer, with total fat around 36%. The callets melt evenly and there's no chopping required. Browse the full range in our white chocolate for baking and pralines category.
Good-quality supermarket white chocolate bars — works, with a caveat. Under EU rules, white chocolate must contain at least 20% cocoa butter and 14% milk solids. Bars sitting right at that minimum tend to be thicker and clump more. Check the ingredients list: cocoa butter should appear right after sugar, and the more of it, the better.
Valrhona Dulcey and similar blond chocolates — for when you don't want to bake. Already caramelized and ready to use straight away. A great shortcut, but it's more expensive and harder to find, which is why this article focuses mainly on the homemade version.
White compound coating or baking "chips" made with vegetable fat — these don't work. Instead of cocoa butter they contain vegetable fat and often very little milk. In the oven they either fail to brown at all or the fat separates out, leaving a sandy, grainy mess.
If you're unsure what codes like W2, 811 or RB2 actually mean, we break them down in our article on Callebaut 811, 823, W2 and RB2.
To make caramelized white chocolate, spread 300–500g in a thin layer in a shallow, dry dish and bake at 120°C/250°F (110°C/230°F fan) for 45–60 minutes (up to 90 minutes for a darker colour), stirring every 10 minutes.
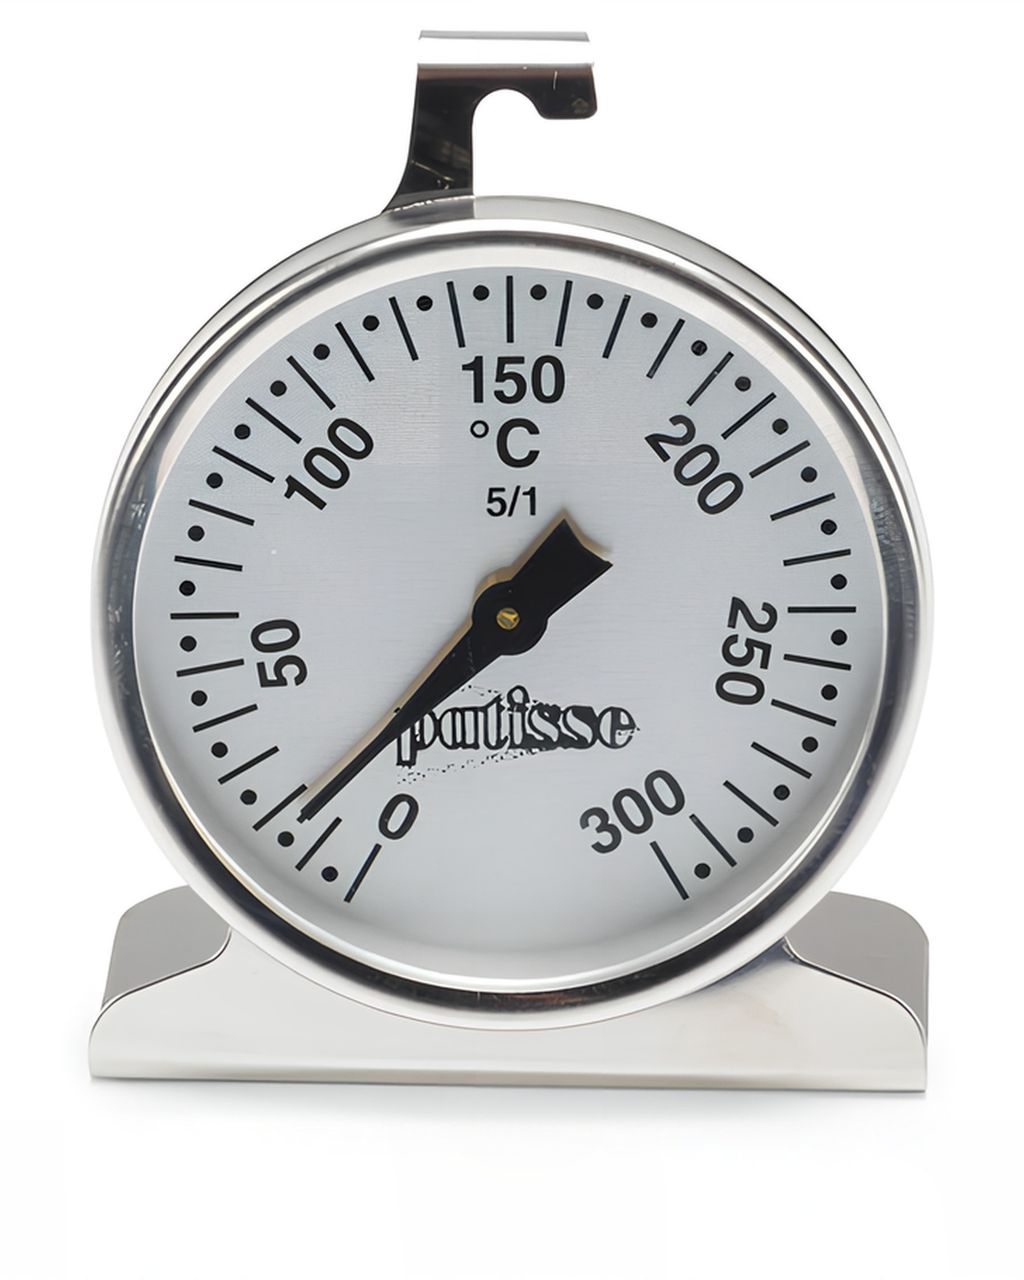
Preheat the oven to 120°C/250°F (conventional, top and bottom heat). Ovens commonly run 10–20°C hot or cold, and here it matters — 20°C too hot and the chocolate will scorch at the edges. If you don't trust your oven's dial, use an oven thermometer.
Tip the chocolate into a shallow, completely dry dish. A ceramic or glass baking dish works well, or a rimmed baking tray lined with a silicone mat. Aim for a layer about 1–3cm deep. Not a single drop of water — it will seize the chocolate instantly.
For the first 10 minutes the chocolate will simply melt. Take it out and spread and stir it with a spatula, scraping the edges and base too.
Repeat every 10 minutes. The edges and base brown first, so stirring spreads the colour evenly. Scrape the sides each time.
Around the 20–30 minute mark it will turn lumpy. It'll look chalky and crumbly, almost as if it's spoiled. That's completely normal — keep stirring vigorously, and it will smooth out again as baking continues.
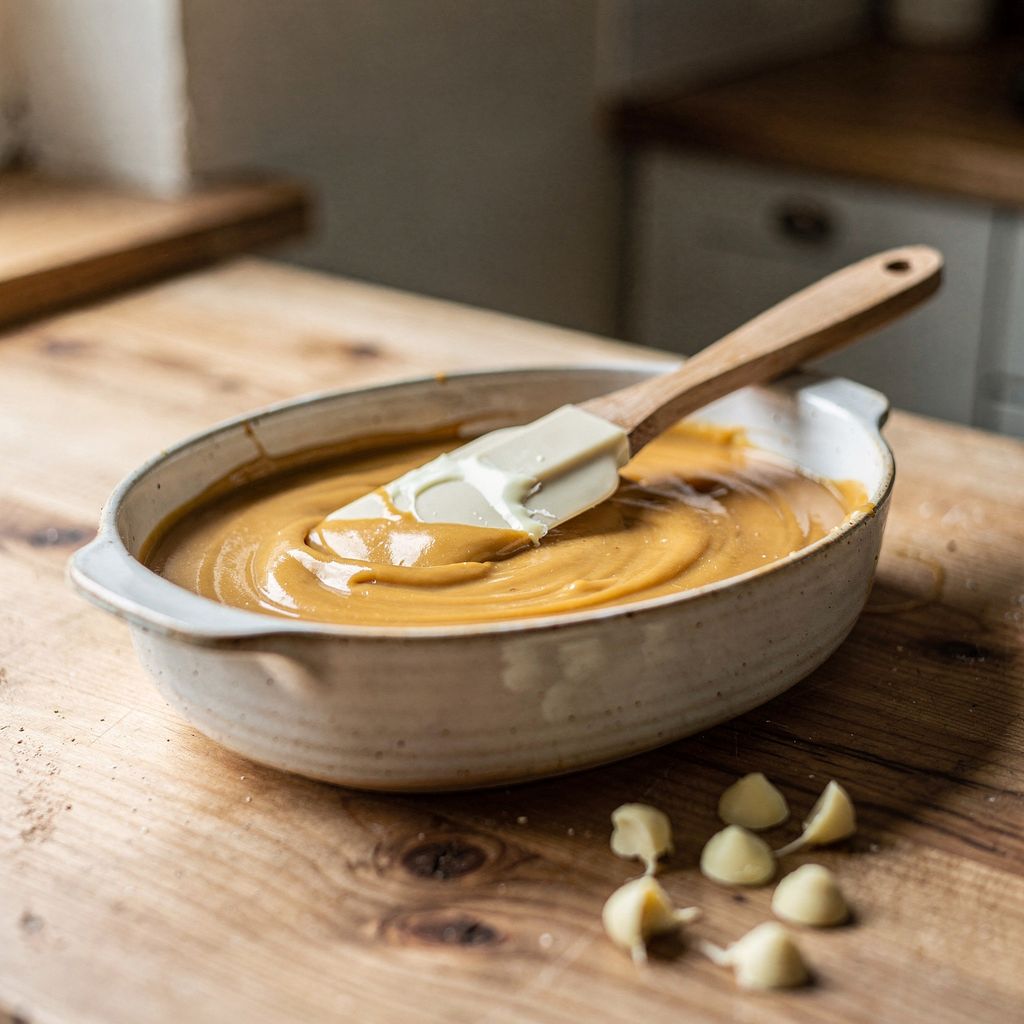
After 45–60 minutes it should be the colour of peanut butter and smell of caramel and biscuits. If you want a darker, deeper flavour, keep going in 10-minute increments up to 90 minutes.
Finish it off. Take it out and give it a brief stir while still warm. If it's still grainy, blitz it with a stick blender, or stir in 1–2 teaspoons of melted cocoa butter or a neutral oil.
Add a pinch of salt (about 1g per 300g) — it brings out the caramel flavour beautifully. Optional, but recommended.
The lumps that form partway through baking happen because the Maillard reaction releases a small amount of water from the milk solids, causing the milk proteins to curdle. The mixture loses its smoothness for a while — but with more stirring and more time in the oven, it will usually sort itself out.
If it's still grainy at the end:
A stick blender or small chopper — 30–60 seconds while the mixture is still warm will turn sand into silk. The most reliable fix.
A little fat — 1–2 teaspoons of melted cocoa butter or a neutral oil per 300g of chocolate. Cocoa butter is the better choice if you plan to temper it afterwards.
Straining — push it through a fine sieve to catch the last lumps; use the leftover bits in a cream or filling where texture doesn't matter.
What you can't rescue: chocolate that's burnt (dark patches, bitter, sharp smell), or chocolate that water has gotten into and seized into a stiff, dull mass. Don't add either to anything delicate — the bitterness or grittiness won't blend away.
Caramelized white chocolate is ready when it's a golden-brown, peanut-butter colour, has become smooth again, and smells of caramel and buttery biscuits. Go by taste, not the clock — start tasting from the 30-minute mark.
Light gold (around 30–40 min): delicate, milky, lightly caramel. Good for when you don't want to darken a cream too much.
Peanut-butter colour (45–60 min): pronounced biscuit and caramel flavour. The most versatile stage.
Deep gold to light brown (70–90 min): deep, almost nutty, with a hint of dulce de leche. Great in ganache, where you want the flavour to really stand out.
Keep in mind it will look a shade lighter and taste sweeter once cooled than it does while still warm.
You only need to temper caramelized white chocolate if you want to make bars, dipped sweets or pralines with a glossy finish and a proper snap. For creams, ganache, mousses and batters, you can use it straight away, no tempering needed.
Baking breaks down the crystal structure of the cocoa butter, so once it sets the chocolate will look matte, feel slightly soft, and may develop grey streaks. Tempering works just as it would with regular white chocolate — melt it to around 40–45°C (104–113°F), cool to 26–27°C (79–81°F), and work with it at 28–29°C (82–84°F), or use the seeding method with a few unmelted W2 callets straight from the bag. For tips on achieving a good shine and clean edges, see our article on how to dip sweets in chocolate for a glossy finish.
You can use caramelized white chocolate anywhere you'd use regular white chocolate, and the result will be less sweet and more complex. It really shines in ganache, mousses, creams, hot chocolate and as a spread.
Ganache and truffles — the classic white chocolate ratio (roughly 3:1 chocolate to cream for truffles) works just as well here. More in our article on chocolate truffles: ganache, coating and shelf life.
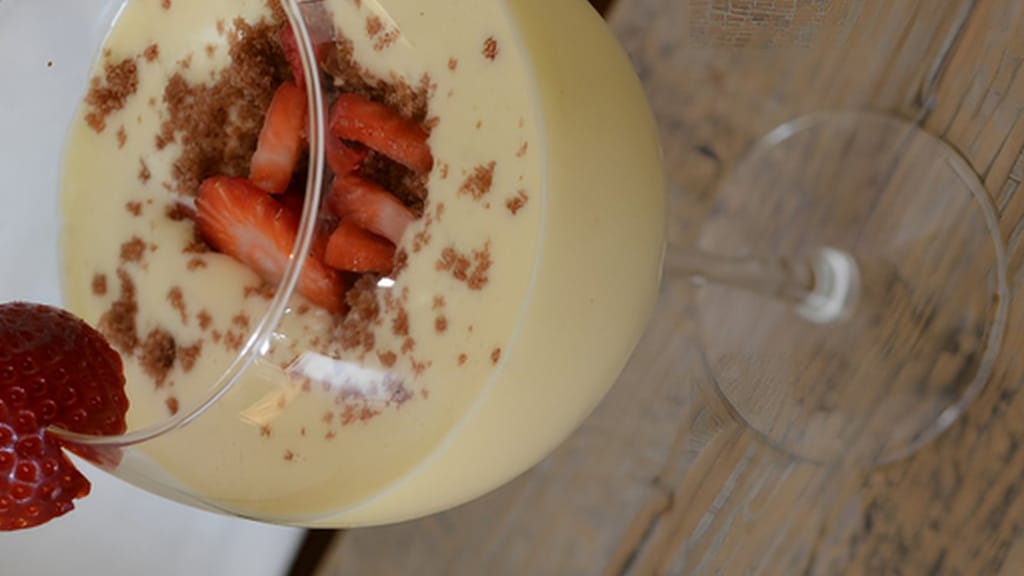
Mousse — in our recipe for light white chocolate mousse, swap in caramelized chocolate 1:1; the mousse will come out beige and taste of caramel.
Coffee cream — coffee and toasted milk are a match made in heaven. Try it in our white chocolate and coffee macaron filling.
Spread — mix the warm chocolate with cream or milk (about 300g chocolate to 100–150ml) and a pinch of salt. Keeps in the fridge for about a week.
Hot chocolate — melt it into milk in place of regular white chocolate; find ratios per mug in our article on hot chocolate made with real chocolate.
Mix-ins for batter — once cooled, chop it up and fold into cookies or blondies. Since it hasn't been tempered, it will soften faster in the oven, but flavour-wise it's a sure bet.
White chocolate mousse – light and fluffy
White chocolate mousse — swap in caramelized chocolate 1:1
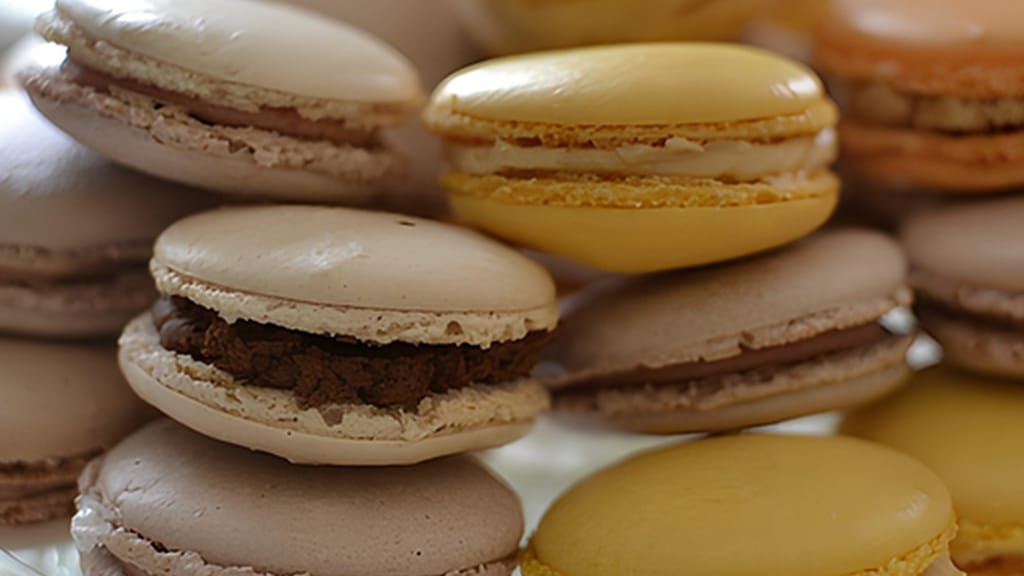
White chocolate and coffee cream - great in macarons and beyond
White chocolate and coffee filling — made with caramelized white chocolate
Yes, you can caramelize white chocolate in the microwave at around 50% power, in 30–60 second bursts with stirring in between, for a total of 15–25 minutes. Stir thoroughly between each round, since it's easy for the centre to scorch. A 120°C (250°F) oven is slower, but much more reliable.
Set, caramelized white chocolate keeps for several months in a sealed container somewhere cool and dry (15–20°C/59–68°F), much like ordinary white chocolate. Keep it away from moisture and strong odours. Once you've mixed it with cream or milk, treat it as a fresh product — store it in the fridge and use it within about a week.
You can caramelize milk chocolate, but the difference in flavour is smaller, since it's already brown and has toasted notes from the cocoa. Dark chocolate doesn't need caramelizing at all — it doesn't have enough milk solids, and baking it would just make it bitter. This technique really only makes sense with white chocolate.
Yes, you can always bake set caramelized white chocolate further to deepen the colour. Break it up into a dry dish, put it back in the oven at 120°C/250°F, and carry on as before — stirring every 10 minutes and tasting as you go. It tends to get grainier on a second bake, so finish it off with a stick blender at the end.
Break or chop a bar of white chocolate into smaller pieces before caramelizing it. Smaller pieces melt evenly and are easy to spread after the first 10 minutes, whereas a whole bar melts more slowly and the edges brown well ahead of the centre. Callets don't need chopping.
One recipe worth heating the oven for, one tip, and one deal from the shop. Nothing else.