Beef Gelatin Powder 200 Bloom
Mirror Glaze Won't Flow Smoothly: Why It Happens and How to Fix the Bubbles
Updated Oct 6, 2026
Mirror glaze most often won't flow smoothly because the temperature is off – above 95°F (35°C) it's too thin and runs straight off, below 86°F (30°C) it's too thick and leaves ripples. The next culprit is bubbles from blending, and the third is a cake that isn't frozen or smooth enough. We'll go through every cause, show you how to spot it from how the glaze looks, and tell you how to fix it before it's too late.
An uneven, dull, or patchy glaze almost always comes down to one of these six things:
Wrong temperature – glaze that's too warm runs off and turns translucent, too cold and it sets in ripples.
Bubbles – air whipped in by the stick blender that won't pop on its own in thick glaze.
A broken emulsion – the chocolate and fat haven't combined, leaving the glaze streaky or greasy.
Lumps of gelatine – gelatine that hasn't bloomed properly or was overheated.
An unprepared cake – not frozen enough, with an uneven surface, or covered in frost.
Poor pouring technique – glaze poured in stages, from too great a height, or smoothed over afterwards.
The good news: you can spot most of these before you even pour the glaze, and almost all of them can be fixed.
Pour mirror glaze at 86–95°F (30–35°C), with 90–93°F (32–34°C) being the most commonly recommended range. At this point it's fluid enough to flow all the way around the cake, yet thick enough to settle into an even layer.
Above 95°F (35°C): the glaze is as thin as milk, almost all of it runs off, and what's left on the cake is a thin, see-through layer that shows every edge and bump underneath.
Below 86°F (30°C): the gelatine is already starting to set, so the glaze flows sluggishly, leaves streak marks, and forms ripples and drips down the sides.
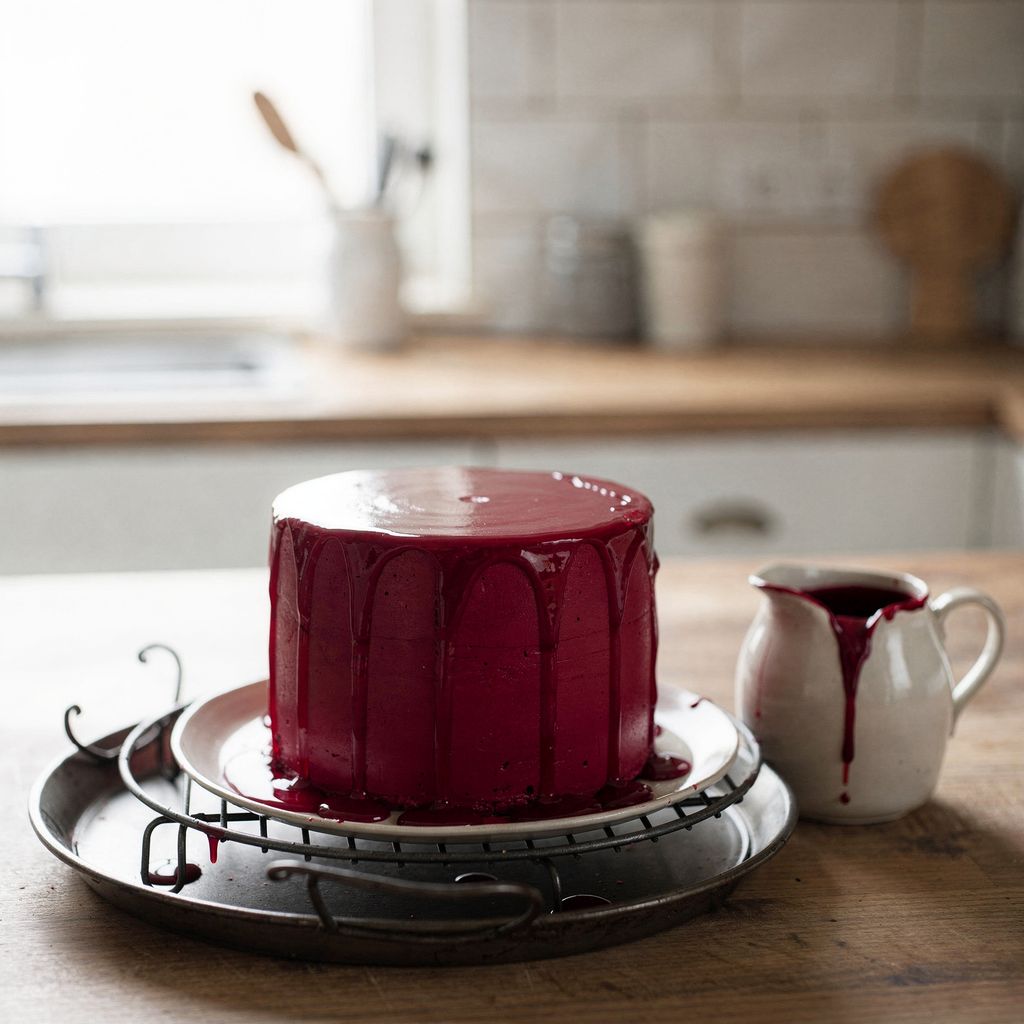
The sweet spot: the glaze flows down in one continuous veil and covers the cake so nothing shows through underneath.
Check the temperature with a probe thermometer in the centre of the container, not near the edge – the sides cool faster. A finger test won't cut it here: you won't feel a five-degree difference by touch, but it'll show on the cake.
Also mind the gap between the glaze temperature and the cake's. The cake should be around −18°C (0°F), so the glaze sets on contact within seconds. That means it has to be at the right temperature the moment you start pouring – there's no fixing it once it's on the cake.
The best way to deal with bubbles is to stop them getting in in the first place: blend with a stick blender whose head stays fully submerged the whole time, then strain out whatever's left. Bubbles in mirror glaze almost always come from blending, and in thick glaze around 90°F (32°C) they won't pop on their own.
What actually works:
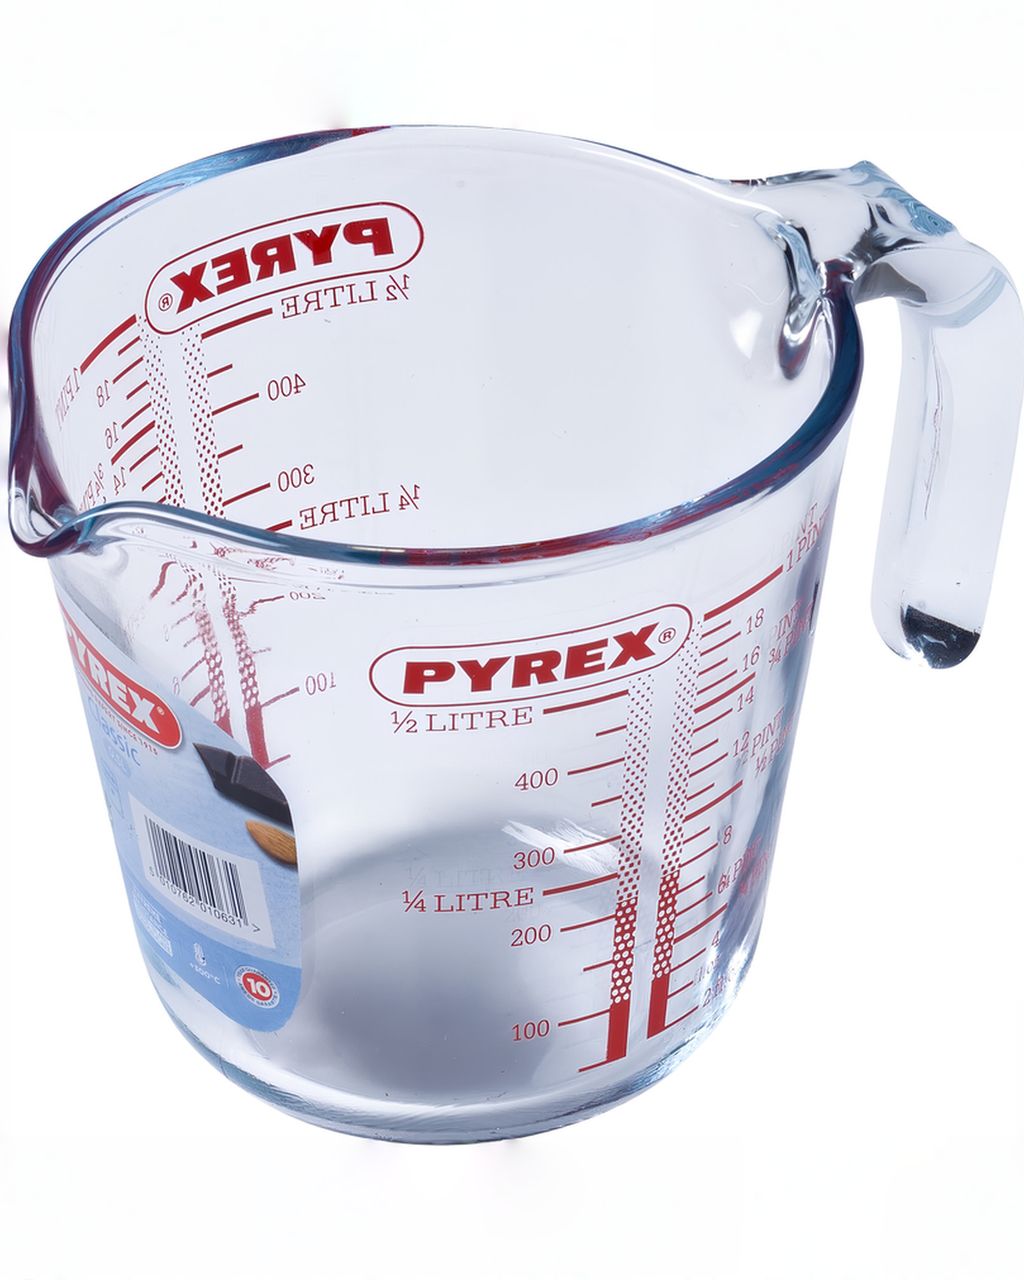
A tall, narrow container. You need enough glaze that the blender head stays below the surface. In a wide bowl with just a couple of centimetres of glaze, you'll always pull in air – a narrow jug is the better choice.
Tilt the blender and don't lift it out. Hold it at an angle near the bottom and move it slowly in circles. The moment the head comes near the surface, it starts whipping air in. Never switch the blender on or off while it's above the surface.
Strain through a fine sieve. Twice if needed. The sieve catches both bubbles and any lumps.
Press plastic wrap directly onto the surface. Cover the glaze so the wrap touches the surface, then let it rest – ideally overnight in the fridge. Bubbles rise to the top, the gelatine "matures", and the glaze ends up smoother and glossier. The next day, gently reheat it back to 90–95°F (32–35°C).
Any bubbles left on the surface can be skimmed off with a spoon or popped with a toothpick right before pouring.
If bubbles appear once the glaze is already on the cake, pop them with a toothpick immediately, while the glaze is still liquid – after a few seconds a mark would be left behind.
Streaky or greasy glaze has a broken emulsion; lumpy glaze is usually down to undissolved gelatine. You can spot both while the glaze is still in the container, before you ever pour it.
Streaks or greasy pools on the surface: the chocolate hasn't combined with the hot syrup and condensed milk. The glaze needs a proper blend – 1–2 minutes with a submerged stick blender until it's smooth and glossy. Whisking by hand isn't enough to form the emulsion.
Tiny translucent lumps: the gelatine wasn't bloomed enough, or it was added to syrup that had already cooled. Straining will remove them, but the glaze may then have slightly less gelatine and hold less well.
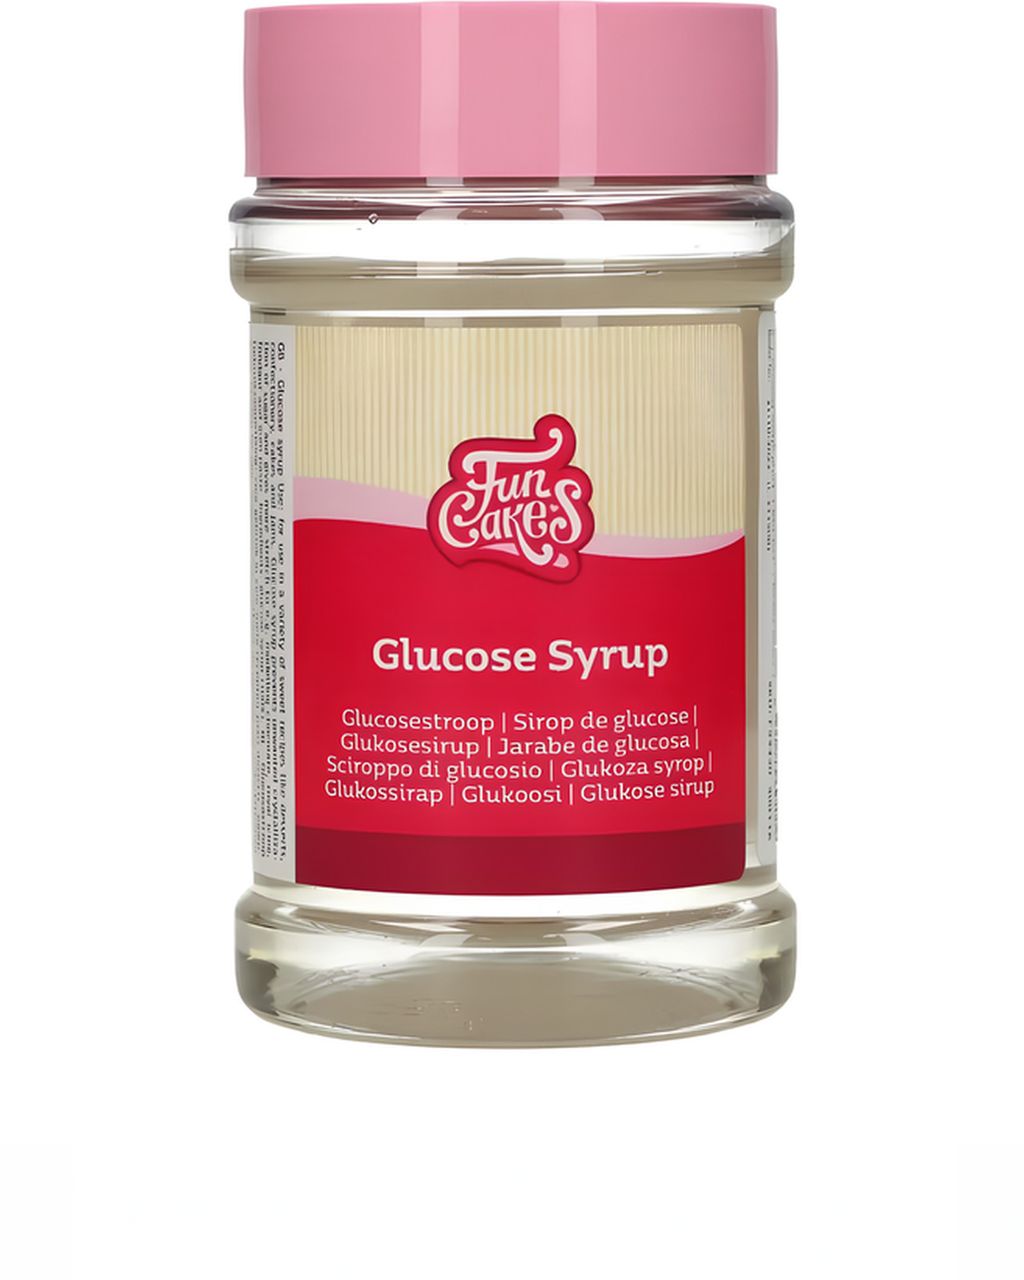
A dull, "sandy" surface: the sugar has started to crystallise. Glucose syrup is added to mirror glaze specifically to slow crystallisation and boost shine.
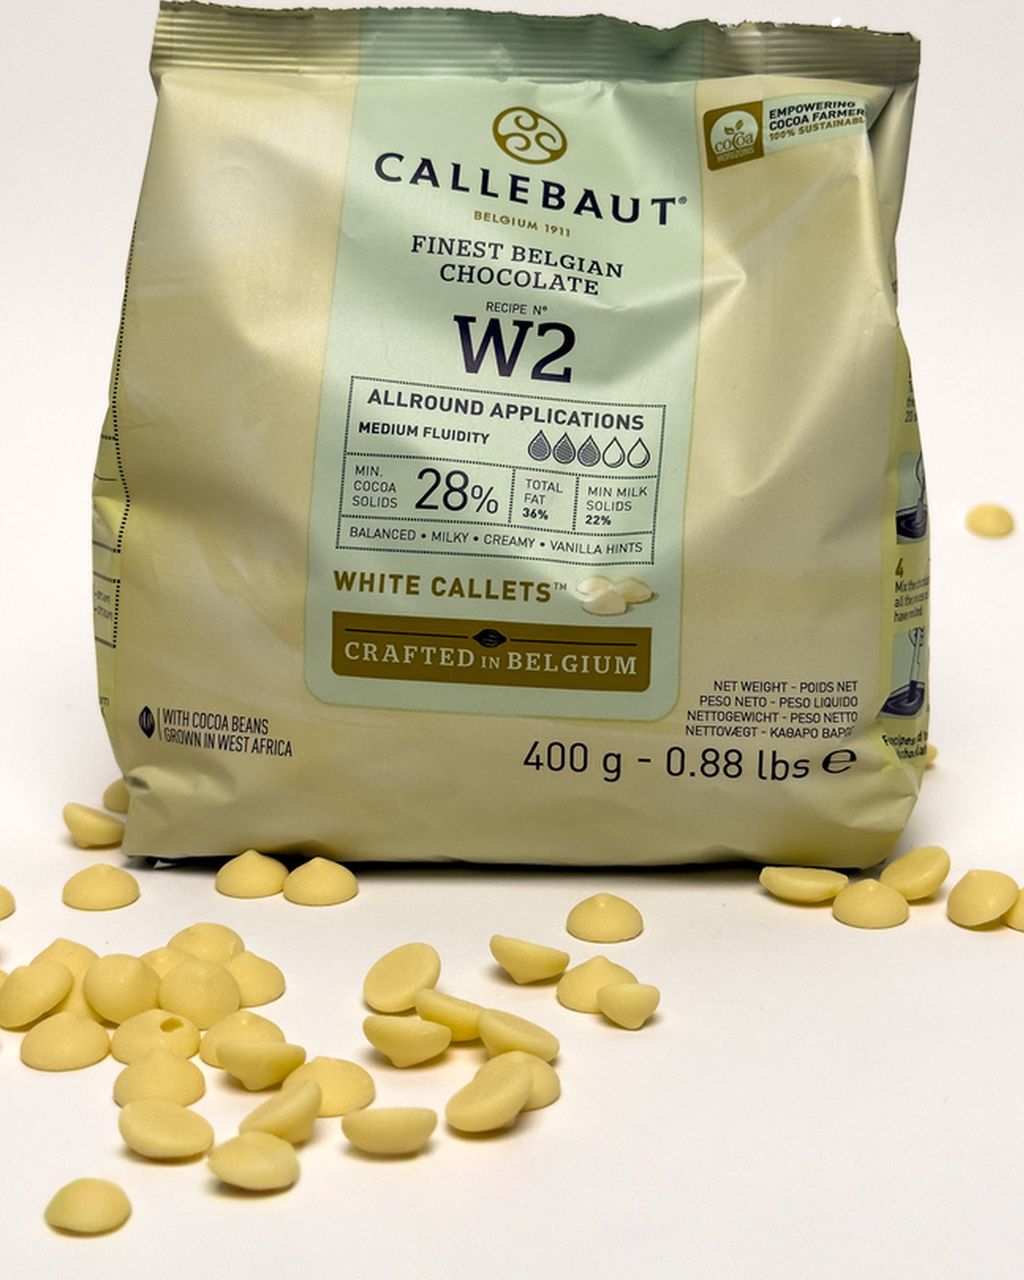
Visible chocolate pieces: the syrup was too cool to melt the chocolate. Pour it over the chocolate while hot, let it sit for a minute, and only then blend.
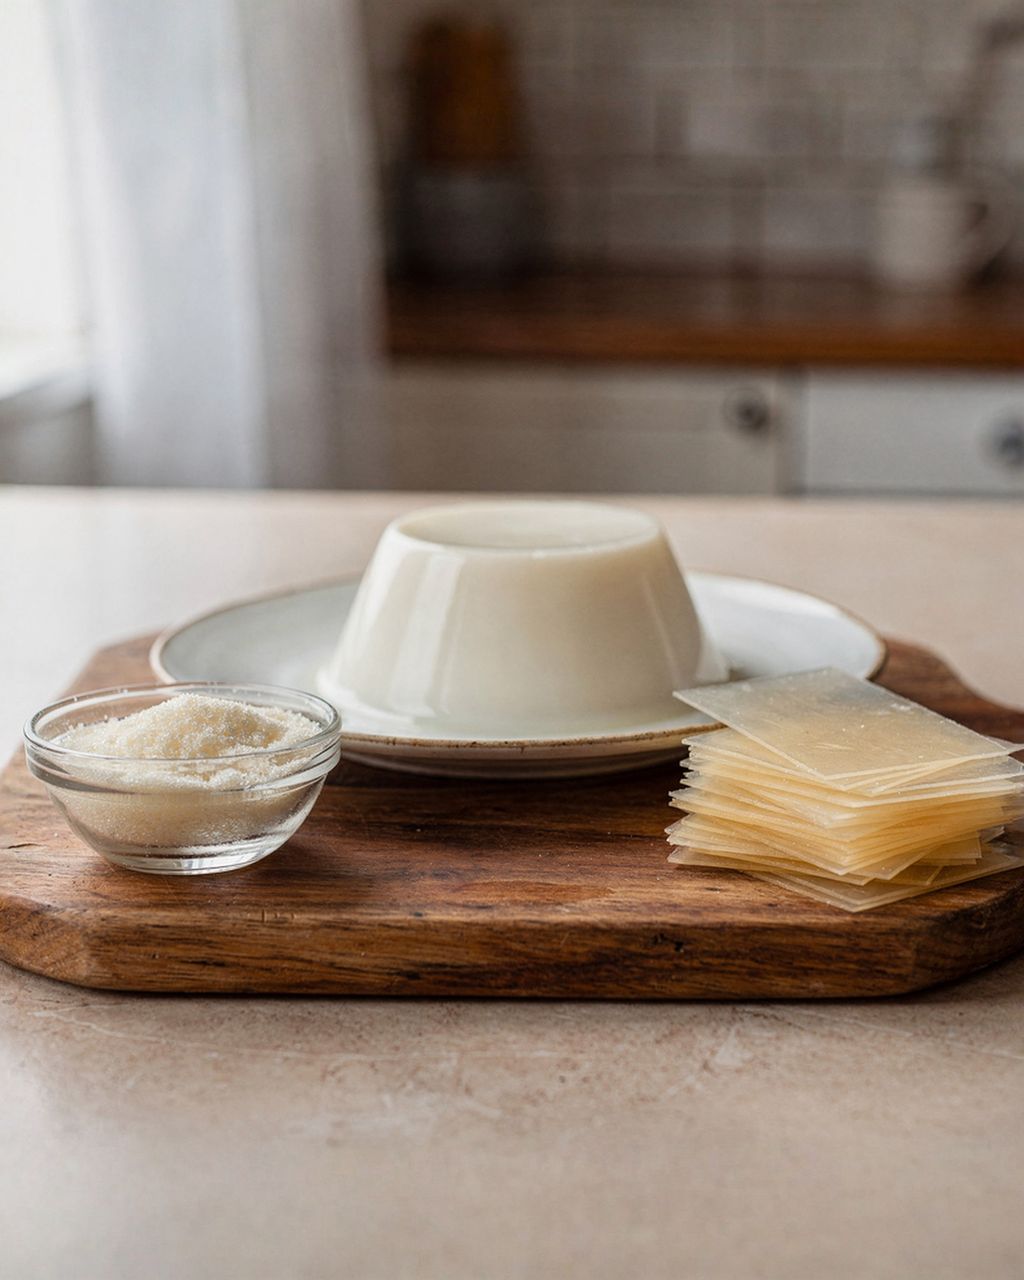
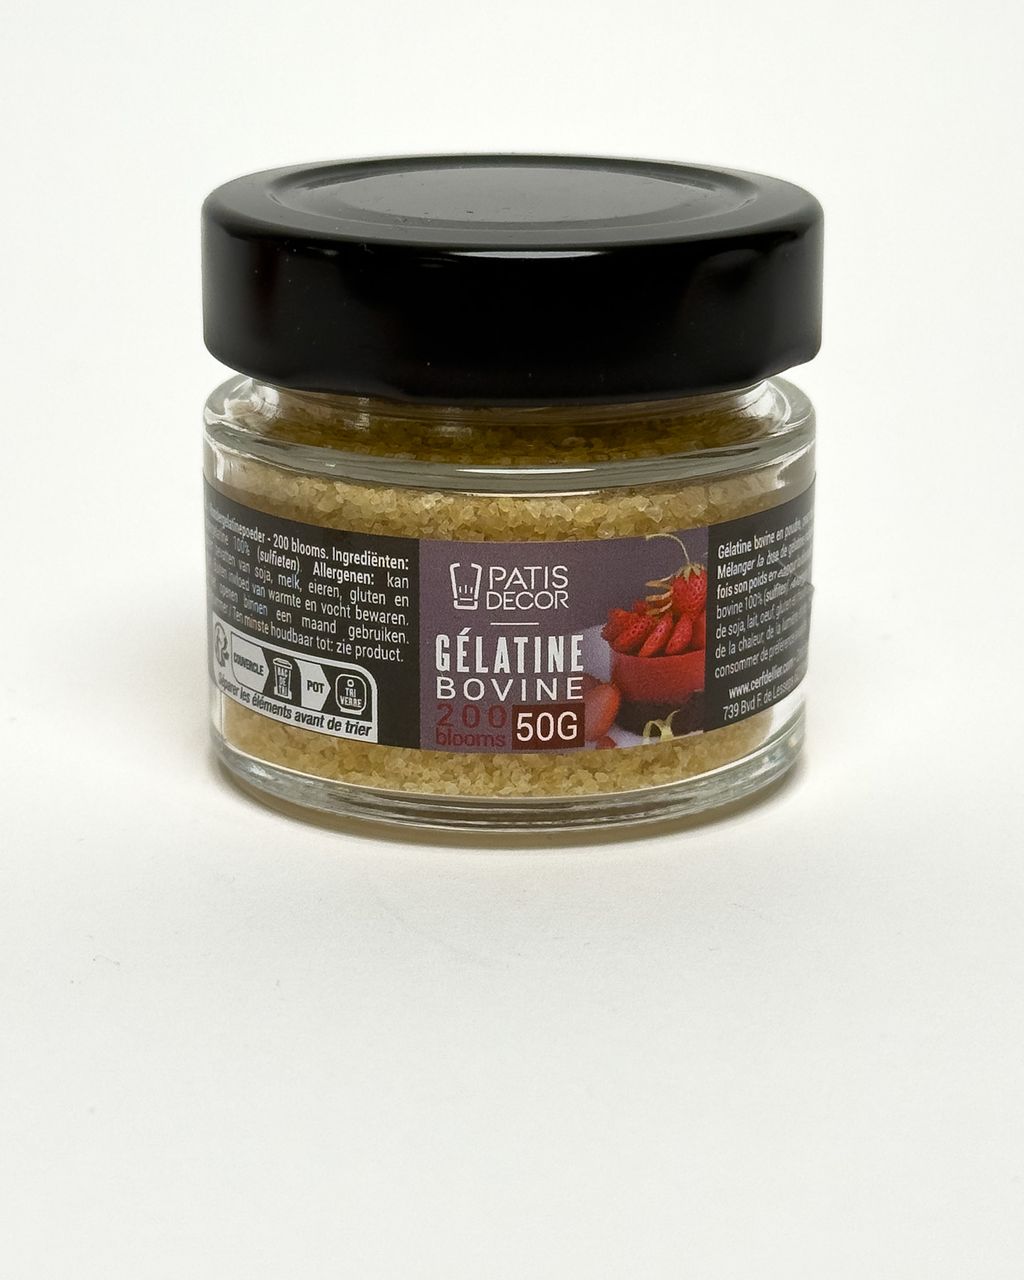
Mirror glaze most commonly uses powdered gelatine around 200 Bloom, bloomed in cold water. The gelatine's strength (Bloom) determines how firmly the glaze sets – swap in a different strength without adjusting the amount, and the glaze will either fail to hold or turn rubbery and refuse to flow.
Three rules the glaze's smoothness depends on:
Bloom the gelatine in cold water, typically in a ratio of about 1 part powder to 5–6 parts water, for at least 10 minutes. Sprinkle the powder into the water, not the other way round – otherwise you'll get lumps.
Don't boil it. Stir the bloomed gelatine into syrup that's been taken off the heat. Prolonged boiling weakens it, and the glaze won't hold as well on the sides of the cake.
Stick to the strength the recipe calls for. If the recipe is written for sheet gelatine or a different Bloom strength, recalculate the amount rather than just using "the same number of grams".
You'll find gelatine and other helpful ingredients together in the setting agents and binders category.
The cake under a mirror glaze needs to be completely frozen (around 0°F/−18°C), smooth, and free of frost. The glaze follows every bump and imperfection, so whatever's on the cake will show through on top.
Freeze it solid. Freeze a mousse cake in a silicone mould for at least overnight. A fully frozen cake sets the glaze on contact, so it stays in an even layer instead of running off.
A smooth surface. Cakes unmoulded from silicone, or buttercream carefully smoothed flat, work best. Scraper marks, air bubbles in the mousse, or crumbs will all show through.
No frost. A thin layer of frost forms quickly once you take the cake out of the freezer. Wipe it off with a gloved hand or paper towel before pouring – otherwise the glaze won't stick properly and bare patches appear on the sides.
Pour right away. Only take the cake out of the freezer once the glaze is cooled to the right temperature, and glaze it immediately after wiping off the frost. The longer it sits, the more condensation builds up.
Don't pour a gelatine-based mirror glaze over a cake with room-temperature buttercream – the glaze won't set on it, it'll run off, and the buttercream underneath will melt.
Pour mirror glaze all at once, from a low height, in one continuous motion from the centre outward, then leave it alone.
Set the cake on a wire rack or raised stand (even a mug works), with a tray or sheet lined with foil underneath – any excess glaze can be collected and reused.
Prepare more glaze than the cake actually needs – roughly double. If you run out midway through pouring, you'll end up with a visible edge.
Pour close to the surface of the cake, not from height – the longer the stream falls, the more air it pulls in. Start in the centre and work outward in a spiral, then go around the edge once to coat the sides.
If you like, sweep off the excess from the top with one pass of a large offset spatula. One pass only, not repeated smoothing – every extra pass leaves marks.
Let the excess drip off for 5–10 minutes, then trim the bottom edge with a knife and move the cake onto its serving base.
Drips hanging from the bottom edge should only be trimmed once set. Don't pull them off with your finger while the glaze is still soft.
Glaze still in the container can almost always be saved: reheat it, blend with a submerged stick blender, strain, and cool it back down to 90–95°F (32–35°C). Gelatine-based glaze can handle repeated reheating – just never let it boil.
Too thick, or already starting to set: reheat briefly in the microwave in 10-second bursts, or in a water bath, stir, and check the temperature.
Too thin even at the right temperature: there's not enough gelatine, or it's weaker than the recipe called for. Check the amount and strength against the recipe, bloom the missing portion, dissolve it into the warm glaze, and blend again.
Full of bubbles: strain it, press plastic wrap onto the surface, and let it rest.
Ran off the cake, leaving bare patches: small gaps can be filled with a second layer of glaze straight after the first one, before it sets. A second layer won't sit smoothly over glaze that's already set – in that case, it's better to decorate over the imperfect spot instead (with fruit, chocolate decorations, or sprinkles).
Scrape up the glaze that dripped onto the tray, strain it, and freeze it in a sealed container. It'll keep for about a month and can be used on your next cake.
Mirror glaze usually turns dull because of condensation – if you thaw the cake at room temperature, moisture collects on the cold glaze and the shine disappears. Thaw it slowly in the fridge instead, ideally overnight, and leave it uncovered so moisture can't get trapped against it.
Frozen mirror glaze keeps for about a month in a sealed container, after which it starts picking up freezer odours. The colour stays the same after thawing, but the shine only comes back once you reheat and re-blend it – cold, thawed glaze looks dull and jelly-like, which is completely normal. If water appears on the surface after reheating, or the glaze won't come back together even with a blender, the gelatine has given out and you're better off making a fresh batch.
Keep a cake with mirror glaze in the fridge and eat it within roughly 2–3 days, depending on what's inside. The glaze itself holds up fine, but it gradually loses its shine, and it's really the mousse underneath that determines how long the cake stays good.
You colour mirror glaze with gel or powdered food colouring, added to the glaze before blending. That way the colour blends in together with the emulsion, so you don't need to blend a second time and risk introducing new bubbles.
Mirror glaze can be made with agar instead, but it behaves differently – it sets at around 104°F (40°C) and is more brittle, so it needs its own recipe rather than just swapping gelatine for agar in the same one. For the smooth glaze you know from pastry shops, gelatine is the more reliable choice.
One recipe worth heating the oven for, one tip, and one deal from the shop. Nothing else.