The best christmas cookies? vanilla crescents, of course!
How to Dip Christmas Cookies in Chocolate for a Glossy, Smear-Free Finish
Updated Nov 2, 2026
Dipping cookies in chocolate works when you get two things right: use real chocolate made with cocoa butter (couverture) and dip at the correct working temperature, 31–32 °C (88–90 °F) for dark chocolate. The chocolate then sets in a few minutes, turns glossy, snaps cleanly and leaves no smudges on your fingers or in the tin. When chocolate stays smeary, it's almost always because it was only melted, not tempered. Below you'll find which chocolate to choose, how to dip step by step, how to color chocolate, and how to store the cookies so they don't turn dull and grey before Christmas.
Chocolate smears because it wasn't tempered. The cocoa butter in it has set into unstable crystals that melt at room temperature and from the warmth of your fingers. According to the specialist literature, the stable crystal form of cocoa butter (known as form V) melts at around 34 °C (93 °F), just below mouth temperature. That's why properly tempered chocolate holds firm in your hand and melts in your mouth.
The most common culprits behind a dull, sticky or grey coating:
Chocolate that was only melted and left to cool. It sets slowly, stays soft and dull, and within a few days grey streaks appear (fat bloom).
Added fat such as butter, coconut fat or oil. It thins the chocolate but also softens it and takes away the gloss and the snap.
Water or steam. A few drops from a water bath are enough to turn chocolate into a lumpy paste.
Cold cookies straight from the fridge. The chocolate sets on them instantly in a thick layer, and when they come into the warmth, moisture condenses on the surface and leaves sugar bloom, a whitish powder.
Chocolate that's too hot. Above roughly 50 °C (122 °F) for dark chocolate (even lower for milk and white), it can scorch and thicken.
Seasonal baking plans, tested recipes and kitchen tricks that save you time. Unsubscribe in one click.
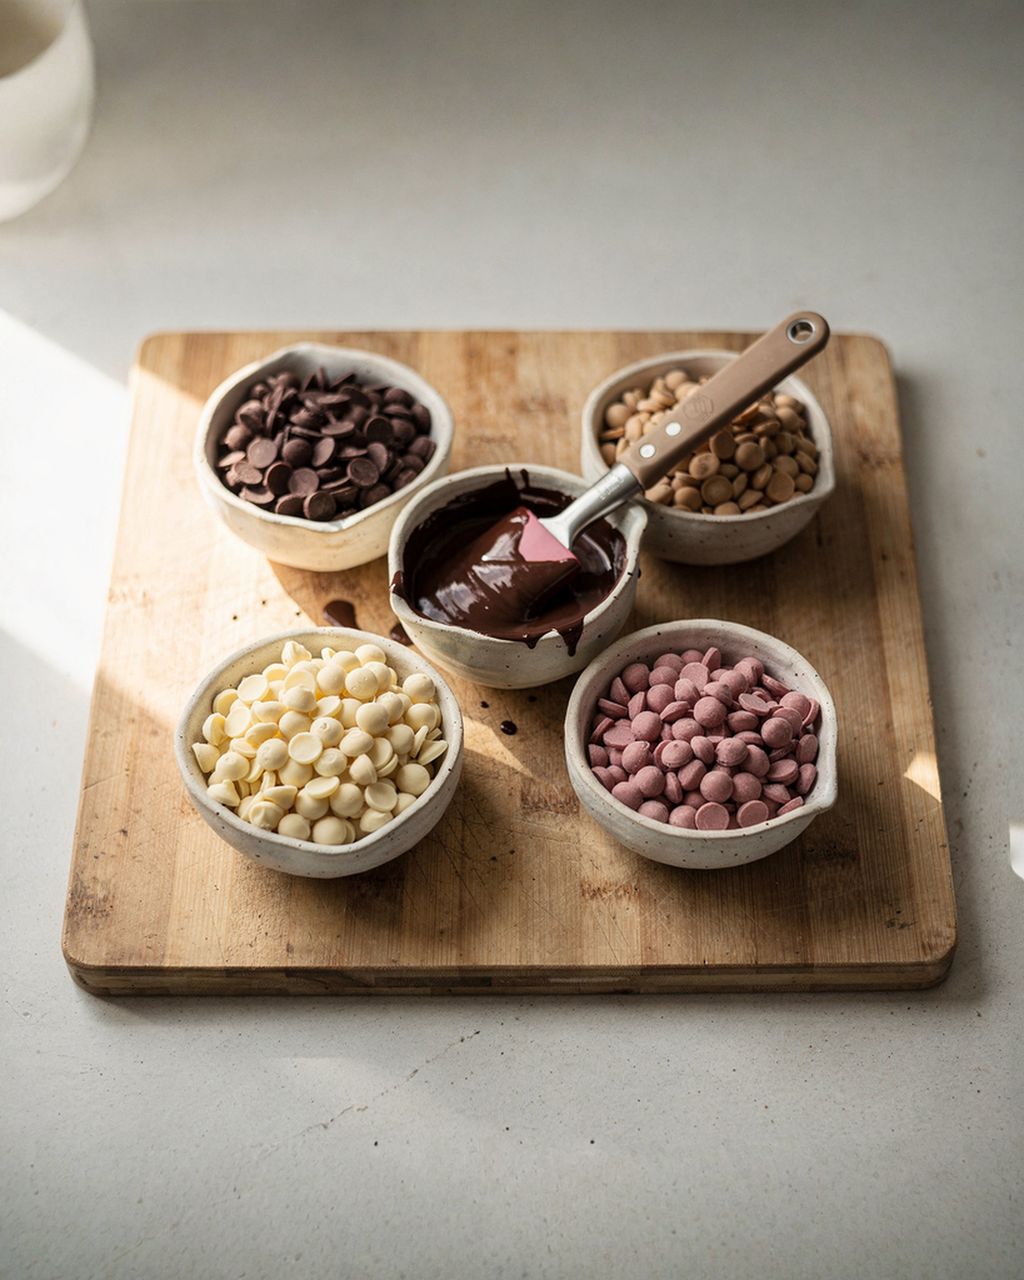
Couverture is the best chocolate for dipping cookies: it has a higher cocoa butter content, flows thinly, and turns glossy and snappy once tempered. Next comes bar chocolate, and last, compound coating. An honest comparison:
Couverture (such as Callebaut in callets). It flows thinly, leaves a thin, even layer, and sets glossy with a snap. You do have to temper it, but with small callets that goes quickly. Best flavor and best appearance.
Good-quality bar chocolate. It can also be tempered and tastes good, but it tends to be thicker, so the coating is heavier and drips more from the tips. Perfectly fine for a smaller batch of cookies.
Baking chocolate. It often has less cocoa butter and is thick. It works less well for dipping; the differences are explained in our article on couverture vs. baking chocolate.
Compound coating (cocoa coating). The cocoa butter is replaced with vegetable fat, so it doesn't need tempering and sets almost on its own. The price is flavor: it's waxy, less chocolatey, and melts more slowly on the tongue. We don't sell compound coating, but if you're in a hurry and simplicity matters most, it's a legitimate choice.
Chocolate with coconut fat added. A popular trick for "thinning" chocolate. It flows better, but it sets softer and smears, which is exactly what you're trying to avoid.
What matters is the ingredient list, not the name on the packaging: real chocolate contains only cocoa butter as its fat (plus milk fat in milk chocolate), while compound coating contains vegetable fat. Check the ingredients.
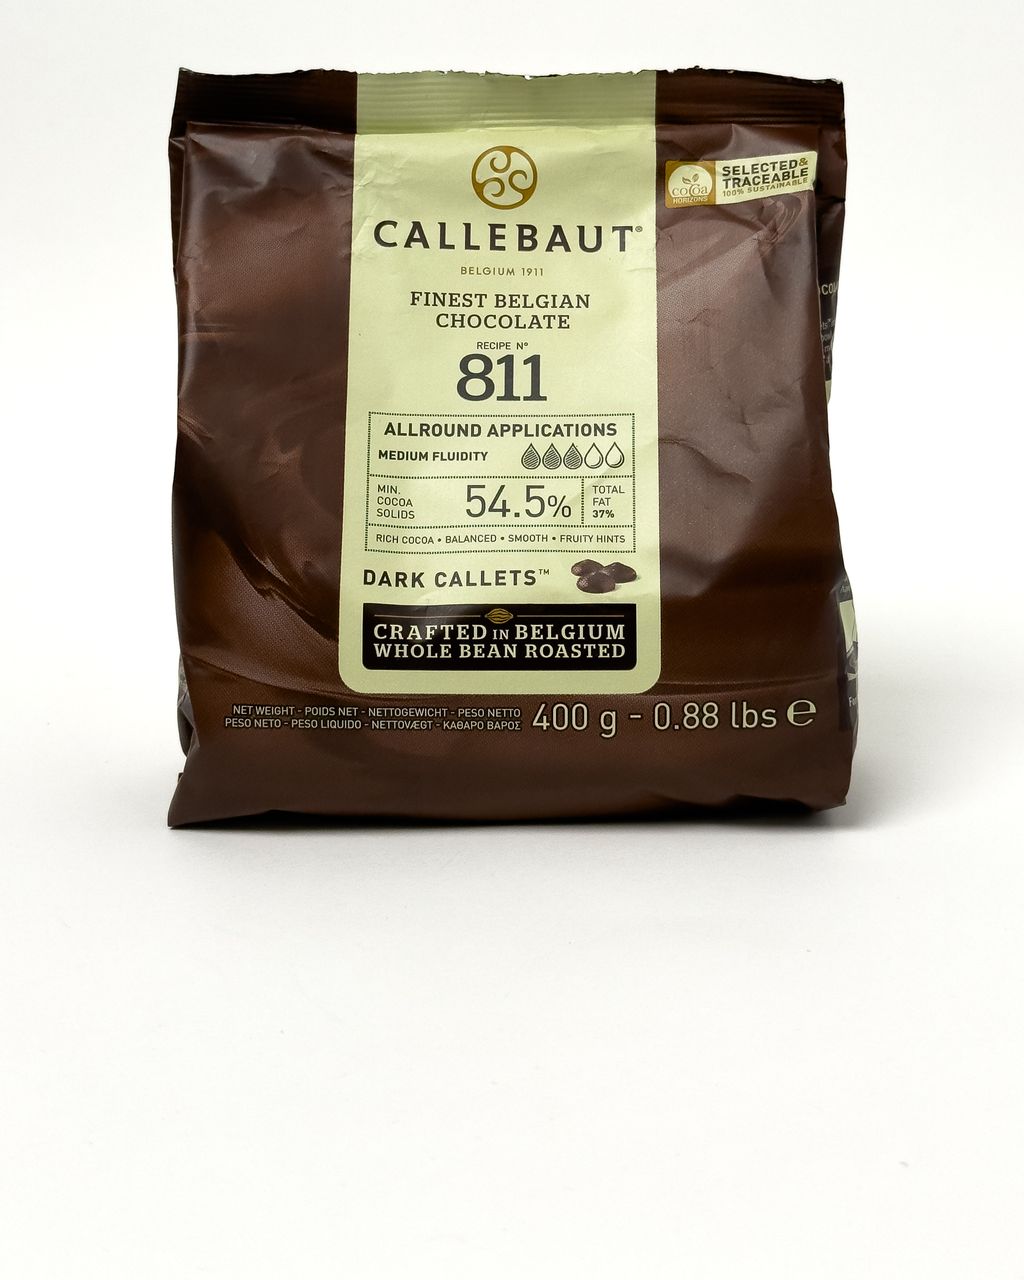
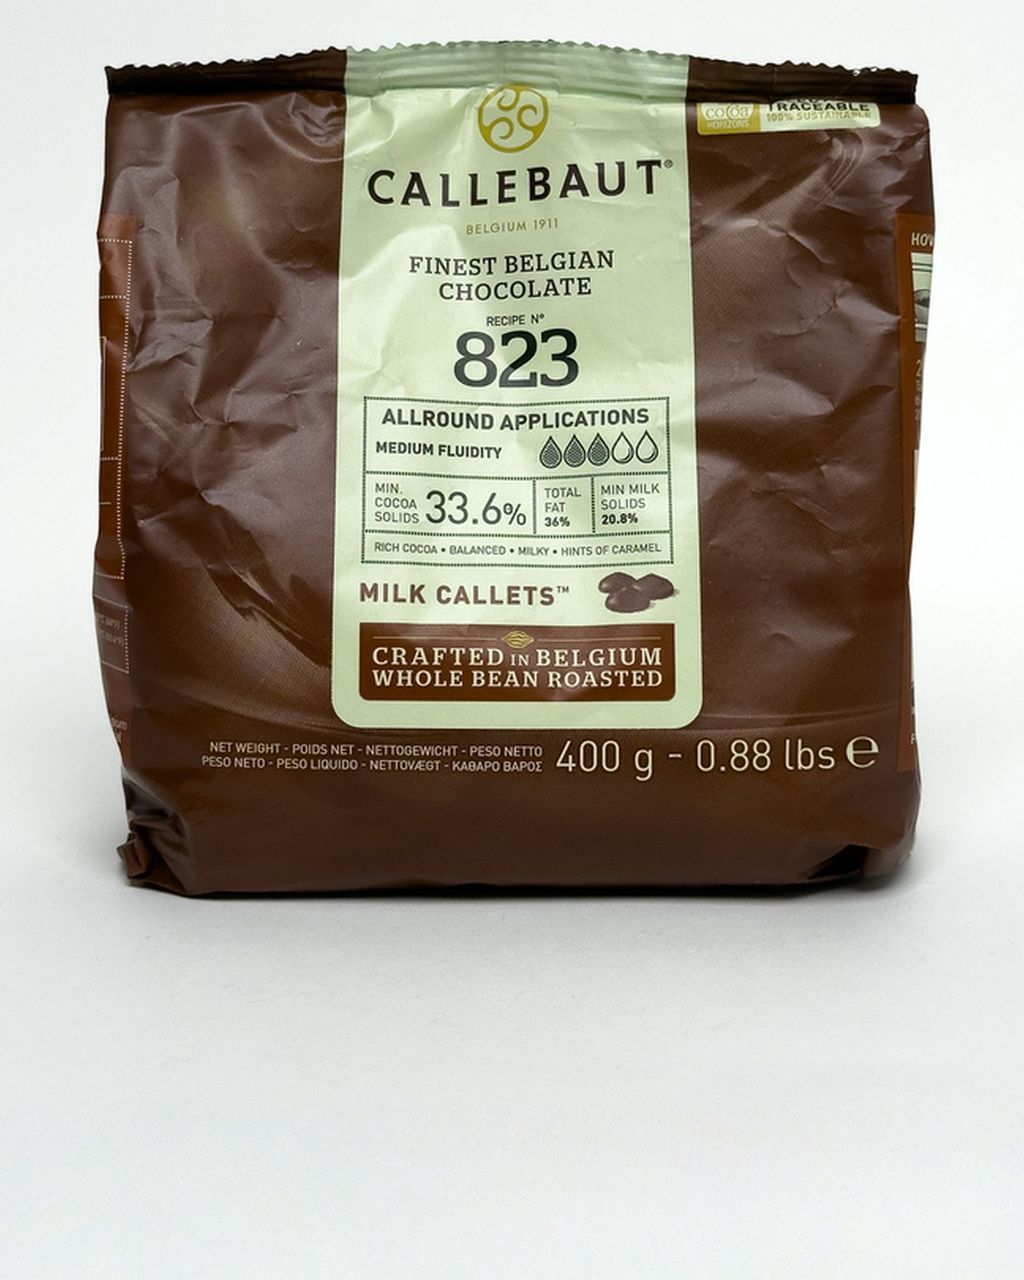
For a gloss that lasts, reach for couverture. Dark Callebaut 811 (54.5% cocoa) is ideal for dipping: according to the manufacturer it has medium fluidity (3 drops) and a working temperature of 31–32 °C (88–90 °F). For more delicate cookies, milk Callebaut 823 is a good fit. What the numbers mean and when to use which is covered in our article Callebaut 811, 823, W2 and RB2. You'll find the whole range in the chocolate category.
Yes, you need to temper chocolate for dipping if you want a glossy coating that doesn't smear. Without tempering, real chocolate gives you a dull, soft coating that turns grey within a few days.
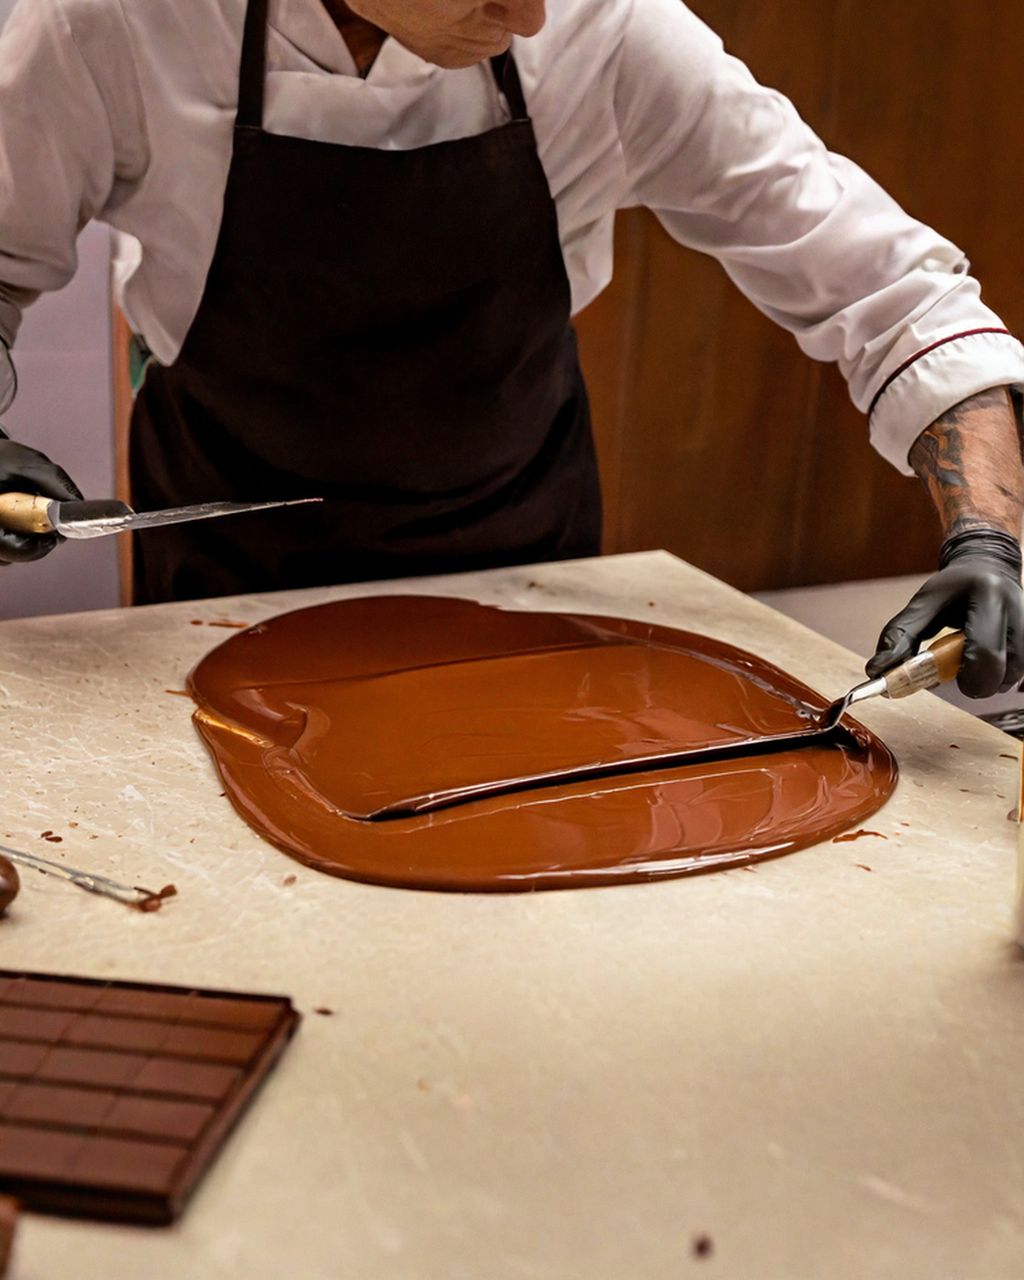
The full method (seeding, tabling on a marble slab and the water bath) is in our guide how to temper chocolate for a perfect shine. For dipping, the key thing to remember is the working temperatures you dip at:
dark: 31–32 °C / 88–90 °F (Callebaut 811: 31–32 °C)
milk: 29–31 °C / 84–88 °F (Callebaut 823: 29–30 °C)
white: 28–30 °C / 82–86 °F
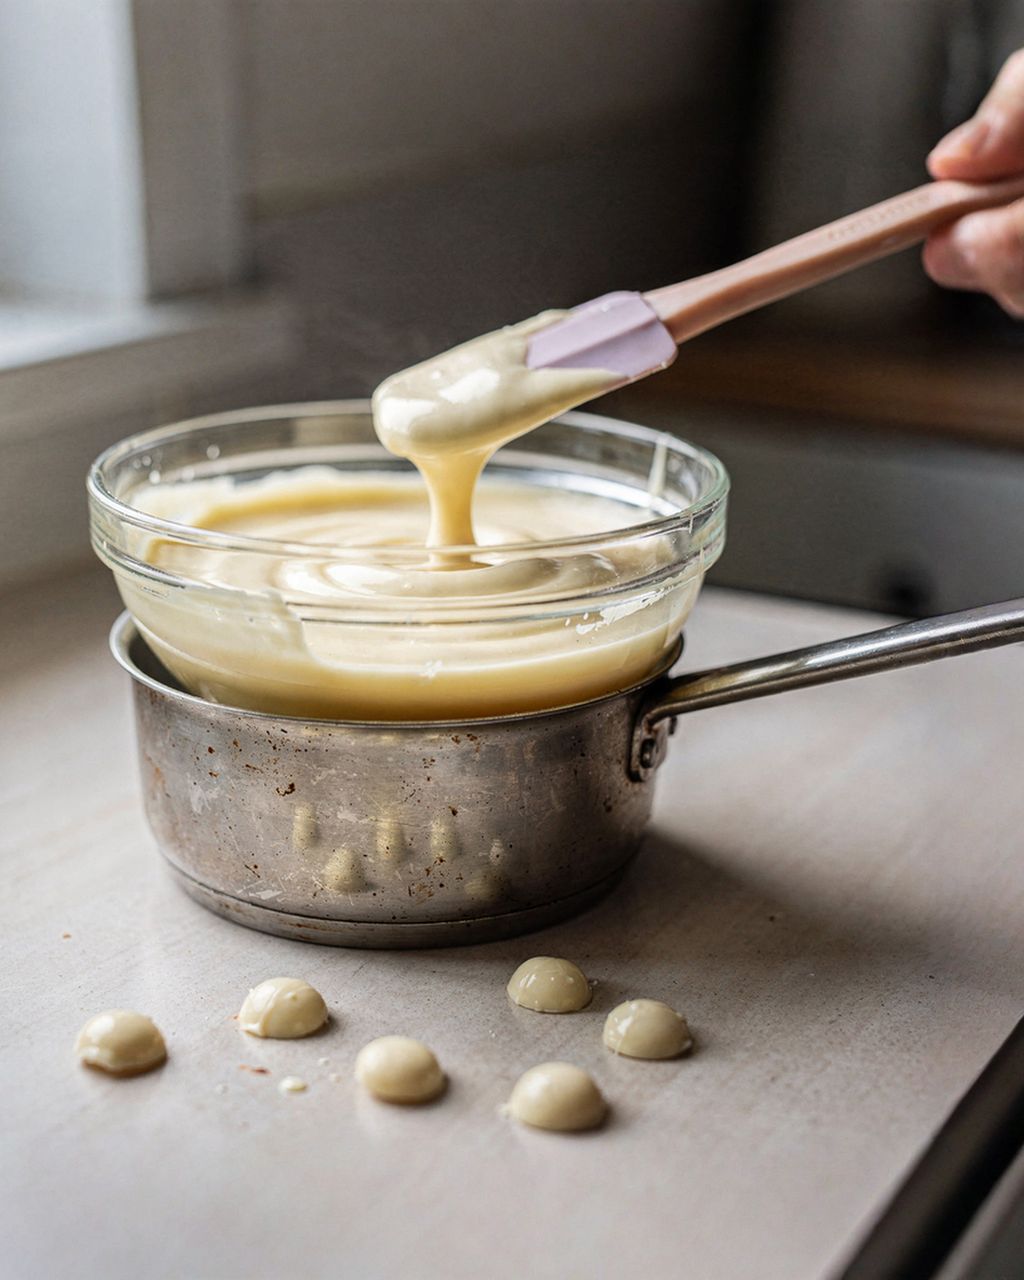
The exact figures vary slightly by brand, so always go by the packaging. Checking without a thermometer: dip the tip of a knife or a strip of baking paper and leave it at room temperature. Tempered chocolate sets within 3–5 minutes, looking glossy and streak-free. If it's still wet after 10 minutes or turns grey, temper again.
Dip cooled, room-temperature cookies into tempered chocolate, let the excess drip off, scrape the bottom and set them on baking paper. In detail:
Prepare the cookies. They must be completely cool and at room temperature (ideally 18–22 °C / 64–72 °F), not from the fridge or the balcony. Blow off any crumbs, which would make lumps in the chocolate.
Set up your workspace. A tray or board lined with baking paper or a silicone mat, a fork or tweezers, and a clean, dry cloth. Everything must be dry.
Use enough chocolate. Plan on at least 200–300 g, even if you'll use less. A small batch cools quickly and you can't dip properly in it. Choose a deeper, narrower bowl rather than a wide plate.
Temper the chocolate and check it with the knife test (see above).
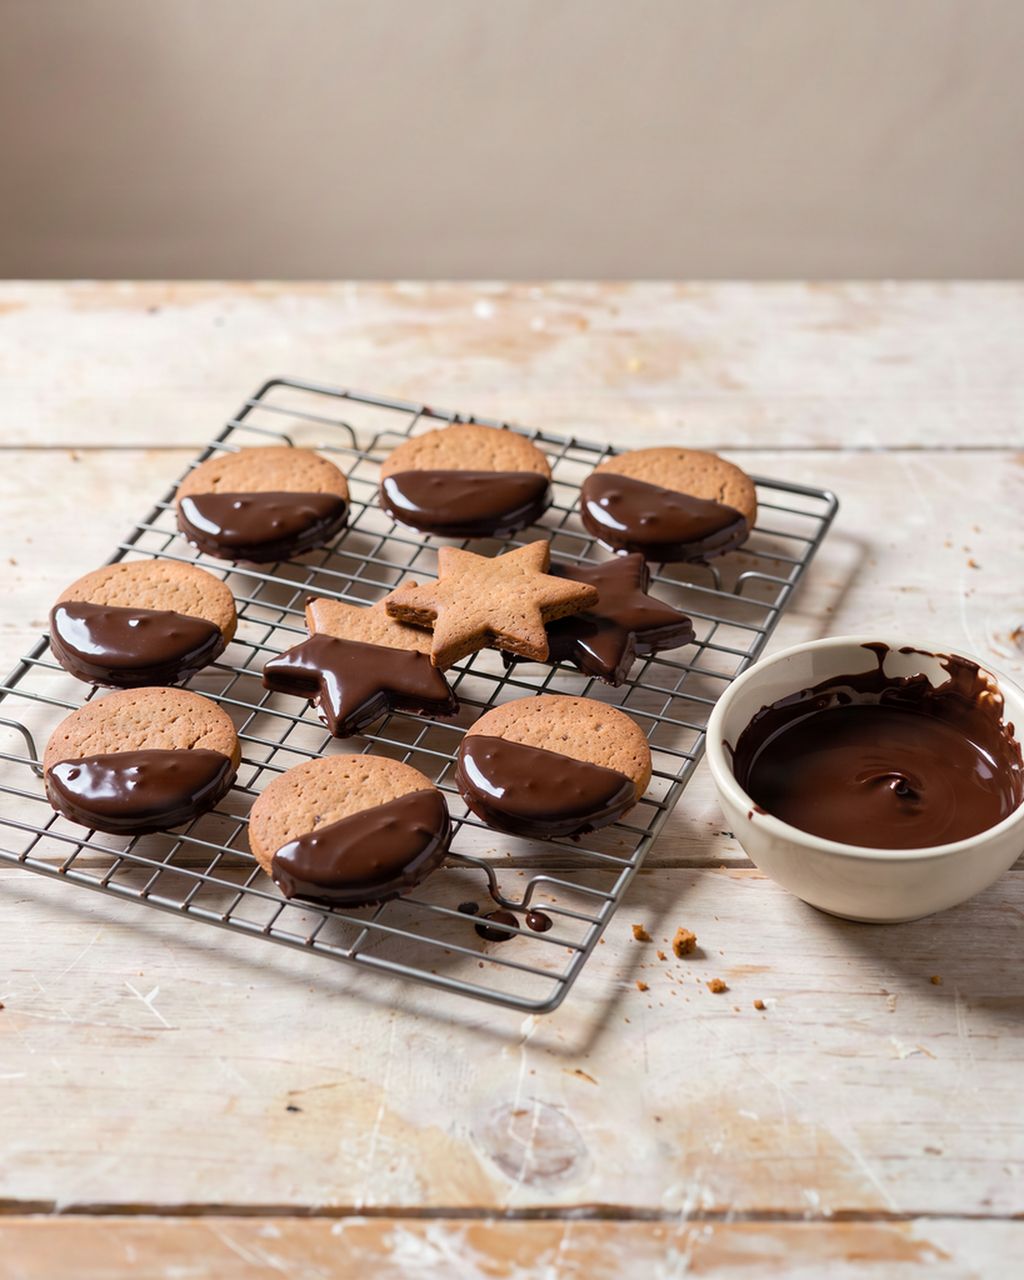
Dip in one smooth motion. Submerge the part you want coated: the tips of crescents to 1–2 cm (about ½–¾ in), half of a round cookie, or a whole piece resting on a fork.
Let it drip for 3–5 seconds, tap it lightly on the rim of the bowl and scrape the bottom against the edge. This prevents a "foot", the puddle of chocolate that spreads around the cookie.
Set it on the paper and don't touch it again. Add sprinkles or chopped nuts straight away, while the chocolate is still wet.
Let it set at room temperature (ideally 16–20 °C / 61–68 °F). You can put the tray in the fridge for 5–10 minutes, but no longer, or you risk moisture and a grey film.
Keep an eye on the chocolate. Stir every few minutes and check the temperature. More on that in the next section.
Chocolate thickens as you dip because it cools and keeps crystallizing. Bring it back to working temperature with brief warming, not by adding fat. Specifically:
Warm in small steps: 5–10 seconds in the microwave or a few seconds over a water bath, then stir thoroughly. The aim is to raise it by about 1 °C, not to overshoot the working temperature.
Watch the upper limit. Dark chocolate above roughly 34 °C (93 °F), milk above 32 °C (90 °F) and white above 31 °C (88 °F) loses its temper (for Callebaut 811 and 823 the manufacturer gives 34.5 and 32.5 °C); you'll then have to temper it again.
If it thickens even at the right temperature, it has over-crystallized. Warm it only to the top of the working range (dark to 32 °C / 90 °F, milk to 31 °C / 88 °F, white to 30 °C / 86 °F, no higher), or stir in a few spoonfuls of melted, untempered chocolate of the same type. Then dip right away.
Mind the steam over a water bath. The bowl must not sit in the water, and the water must not boil.
If your chocolate seems thick even at the right temperature, our article how to thin chocolate so it flows better describes ways to thin it without losing the shine (for example by adding cocoa butter). White chocolate is more sensitive to overheating, so also read how to melt white chocolate without seizing.
The cookies most often dipped in chocolate are vanilla crescents, Linzer cookies, gingerbread, coconut macaroons, nut cookies and Ischl tartlets. Each needs a slightly different approach:
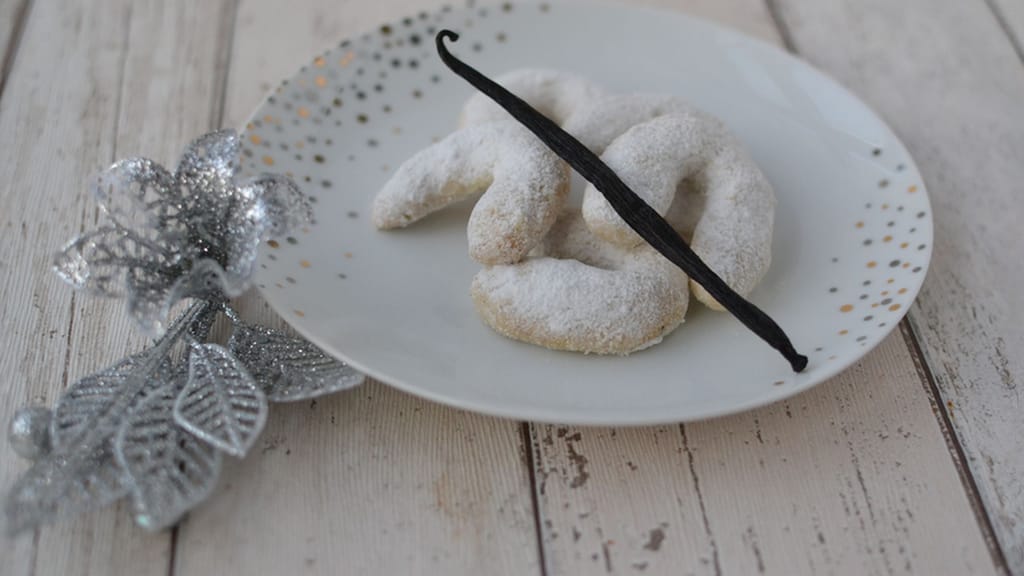
Vanilla crescents: they're rolled in vanilla sugar while still warm, so let them cool completely and then dip just the tips, to 1–2 cm (about ½–¾ in). Tap off any loose sugar first so it doesn't fall into the chocolate bowl. Here's the basic vanilla crescent recipe.
Linzer cookies: best with half of the round or just the bottom. Sandwich them with jam beforehand and let the jam dry so it doesn't bleed into the chocolate. Here's a recipe for tender Linzer cookies.
Gingerbread: the bottom or one corner, then decorate the rest with royal icing. Try these soft gingerbread cookies.
Coconut macaroons and nut cookies: dip only the bottom and set them upside down for a flat, glossy base. Smaller pieces can be dipped whole on a fork.
Ischl tartlets and sandwiched cookies: these are coated from the top. Set them on a rack over a tray and pour the chocolate over with a spoon. Let the filling set in the cold first, then bring the tartlets back to room temperature before coating.
A contrast tip: once the dark pieces have set, drizzle them with white chocolate from a piping bag with the tip snipped off. You'll find more inspiration on our Christmas cookies page.
You can color chocolate for dipping only with a fat-based coloring, typically an oil-based chocolate color made with cocoa butter. A water-based gel color would seize the chocolate. Only white chocolate takes color well; dark and milk chocolate "swallow" it.
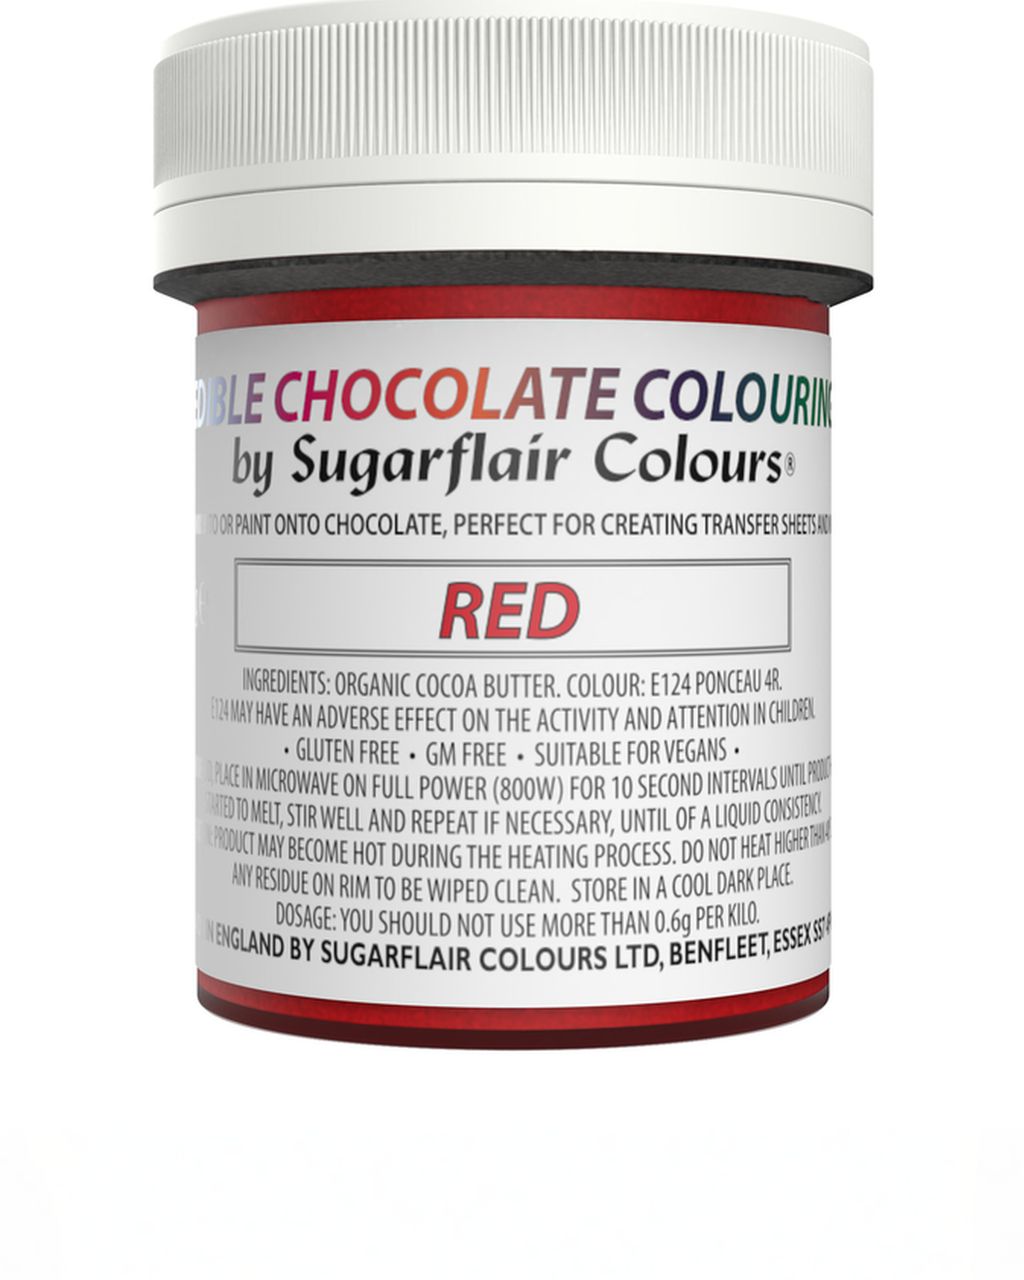
Color: Sugarflair oil-based chocolate color – Red is cocoa butter with ponceau 4R (E124) coloring. Before use, melt it in the microwave (800 W) for 10 seconds and don't heat it above 40 °C (104 °F), as stated on the label.
Amount: the label gives 0.6 g of color per 1 kg of chocolate, so don't add more. For 500 g of white chocolate that's 0.3 g, so you need scales accurate to hundredths of a gram. The final shade is set by this amount; don't try for a deeper tone by adding more than the limit.
When to color: stir the color into the chocolate before tempering, then temper as usual.
Warning: E124 may have an adverse effect on activity and attention in children.
For Christmas cookies, colored chocolate works best as thin stripes over a dark coating rather than for full dipping. The differences between oil-based and gel colors are covered in our article how to color white chocolate.
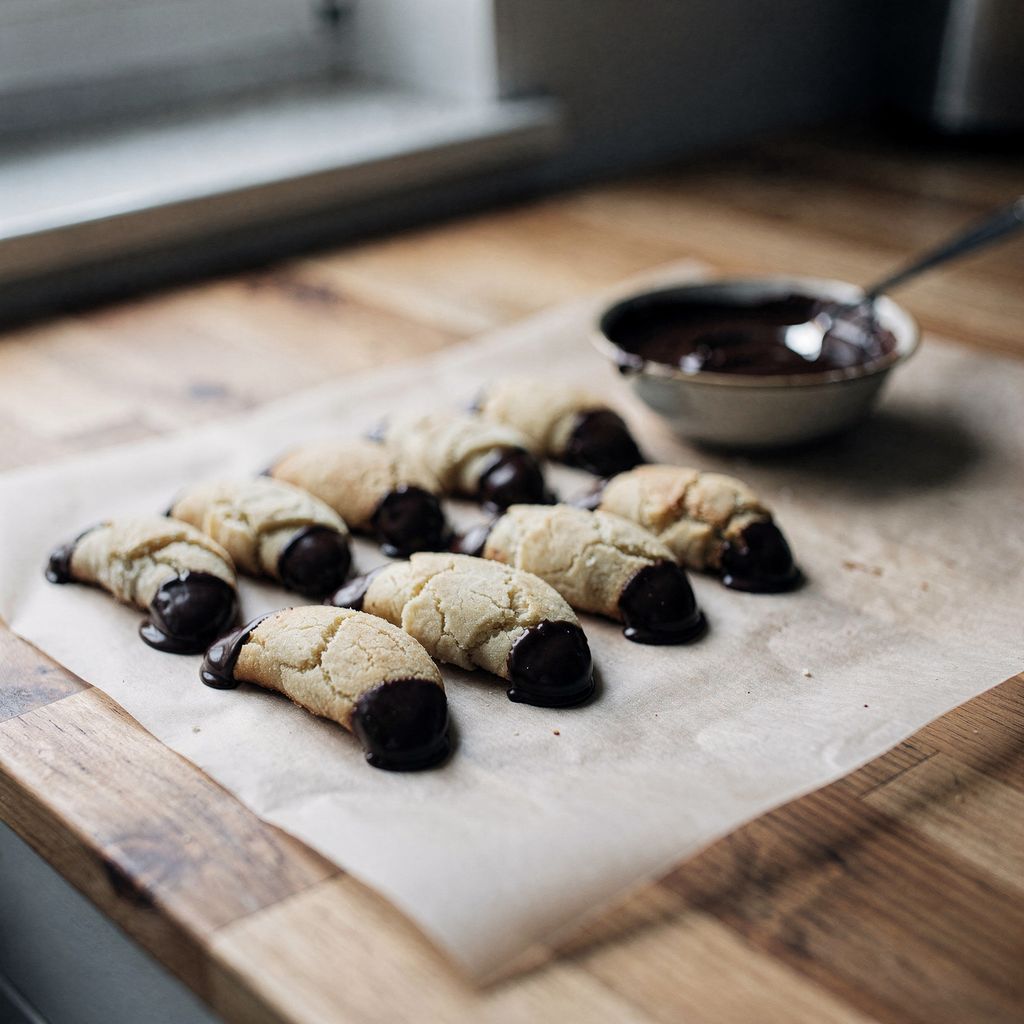
The best christmas cookies? vanilla crescents, of course!
Vanilla crescents with tips dipped in chocolate
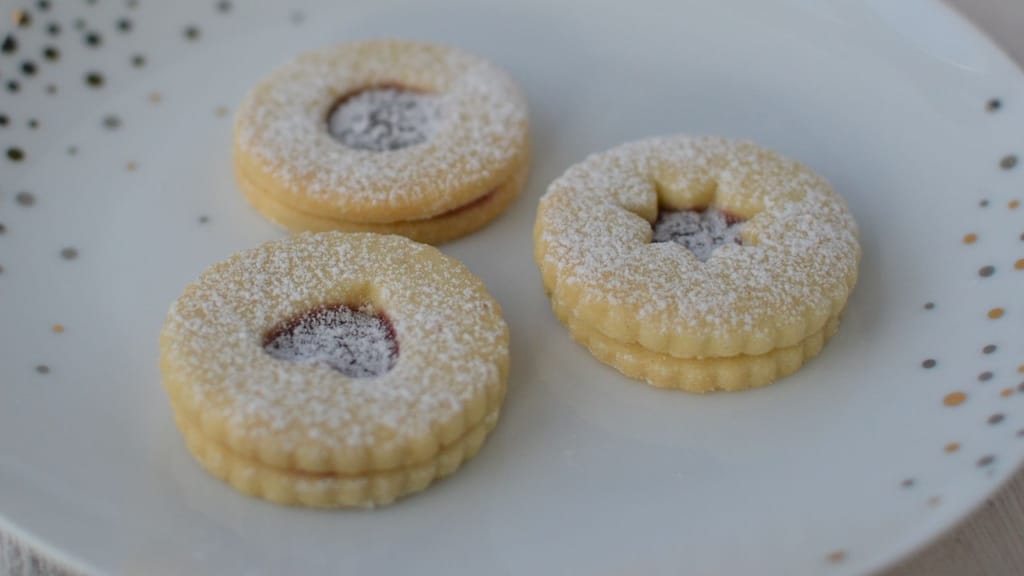
Classic christmas cookies: delicate linzer cookies
Tender Linzer cookies with a chocolate-dipped half
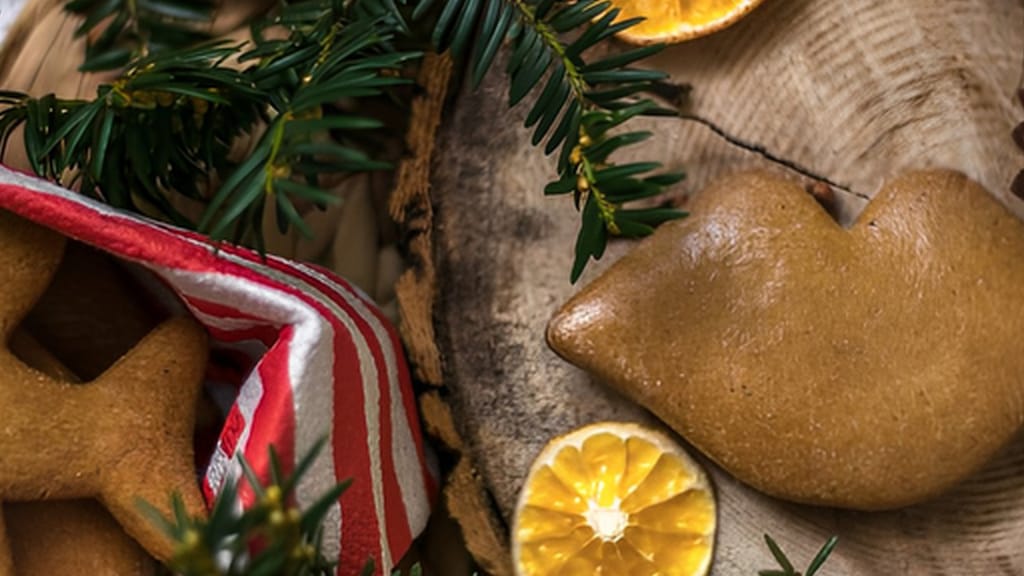
Soft gingerbread cookies
Soft gingerbread cookies with chocolate-dipped bottoms
Store dipped cookies in a closed tin somewhere cool, ideally at 12–18 °C (54–64 °F), and away from sudden temperature changes. Grey streaks (fat bloom) and whitish powder (sugar bloom) come mainly from swings between warm and cold, and from moisture.
Layer the cookies with baking paper so the glossy surfaces don't rub.
Don't keep them near a radiator or on a warm windowsill. The chocolate softens and turns grey once it cools.
Use the fridge only in a pinch. If you must, use a well-sealed tin, and before opening it let it warm up to room temperature for an hour so water doesn't condense on the chocolate.
Keep soft-filled cookies apart from dry ones so they don't pass moisture to each other.
What happens inside chocolate when it turns grey, and how to store it in general, is explained in our article how to store chocolate and why it turns grey.
Chocolate on cookies most often cracks when the coating is too thick or the cookies were cold when dipped. Dip cookies at room temperature and always let the excess chocolate drip off so the coating stays thin.
Tempered chocolate sets in 5–10 minutes at 16–20 °C (61–68 °F) and crystallizes fully by the next day. You can stack the cookies in a tin as soon as the chocolate no longer feels tacky to the touch. Untempered chocolate takes much longer to set and stays soft.
You can freeze dipped cookies, but after thawing the chocolate often turns dull or white because of condensation. If you're freezing, it's better to freeze the cookies undipped and dip them after thawing. If they're already dipped, thaw them in a closed tin and open it only once the cookies have reached room temperature.
Yes, you can melt chocolate for dipping in the microwave. Heat it in 20–30 second bursts and stir in between each one. Dark chocolate shouldn't go much above 50 °C (122 °F), and milk and white chocolate shouldn't go above 45 °C (113 °F). Then temper it, and from there on reheat only in 5–10 second bursts.
For dipping tips or halves, plan on roughly 100–150 g of chocolate per baking tray, but melt at least 200–300 g so you can dip properly and the chocolate doesn't cool as quickly. Let the leftovers set on baking paper and use them next time.
One recipe worth heating the oven for, one tip, and one deal from the shop. Nothing else.