Chocolate cupcakes with salted caramel cream
Cupcake Bouquet: How to Build and Decorate One
Updated Oct 8, 2026
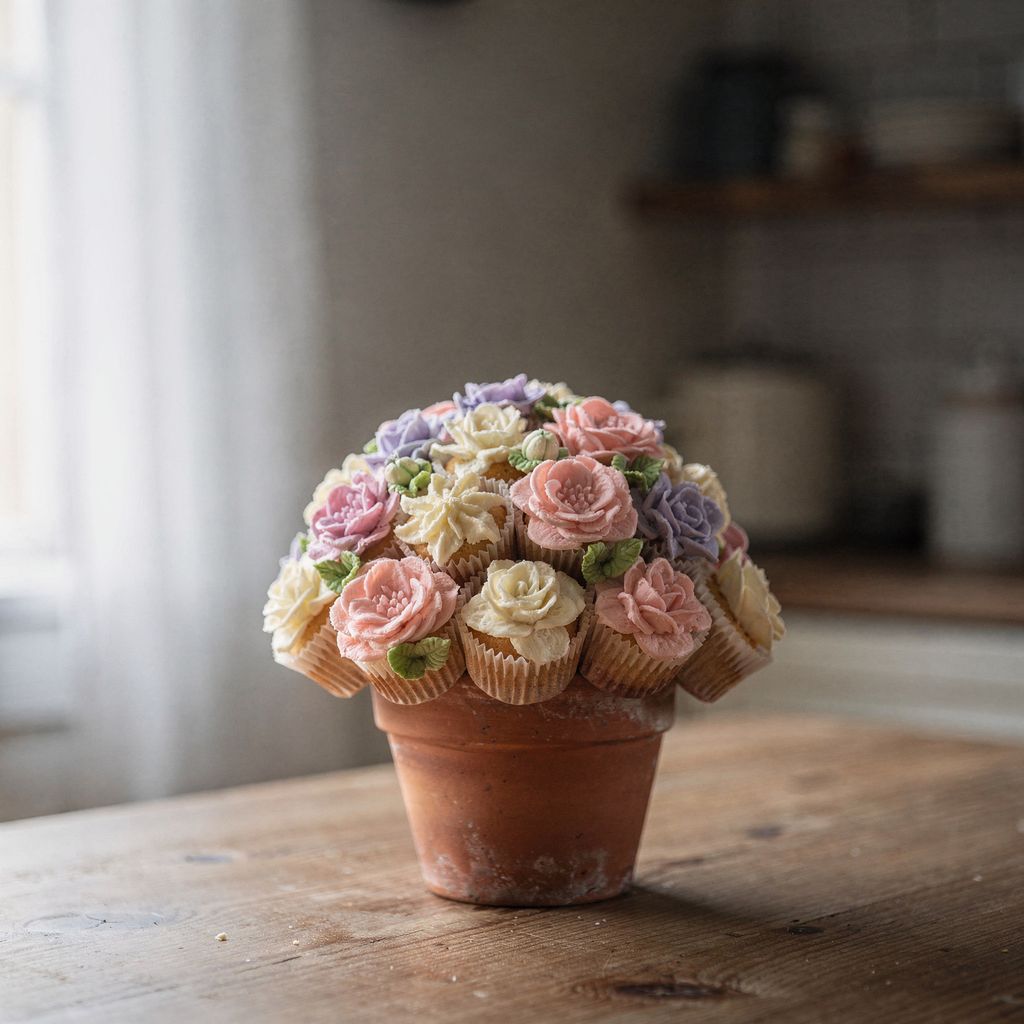
A cupcake bouquet is made by piping cream flowers onto cupcakes, then mounting them on toothpicks pushed into a polystyrene ball sitting inside a flowerpot. From the outside it looks like a bouquet of flowers, but it's really a dessert — and you can put one together in an afternoon. The key factors are a stiff frosting, the right piping tip, and a weighted-down pot, since a cupcake bouquet is far more likely to tip over than to fall apart in the frosting itself. Below you'll find how many cupcakes you need, which tip to pipe the flowers with, how to colour the frosting, and how to build the whole bouquet so it survives even a car ride.
A cupcake bouquet needs six things: cupcakes, a stiff frosting, a flower piping tip, gel colour, a polystyrene ball and a flowerpot. On top of that, grab some toothpicks and something heavy to weigh the pot down.
Cupcakes: standard size (base about 5 cm/2 in across) or mini (about 3.5 cm/1.4 in). Minis give you a denser, more "flowery" bouquet, while standard ones are easier to eat.
Frosting: something that holds a crisp shape even at room temperature. Whipped cream and light mascarpone frosting won't cut it.
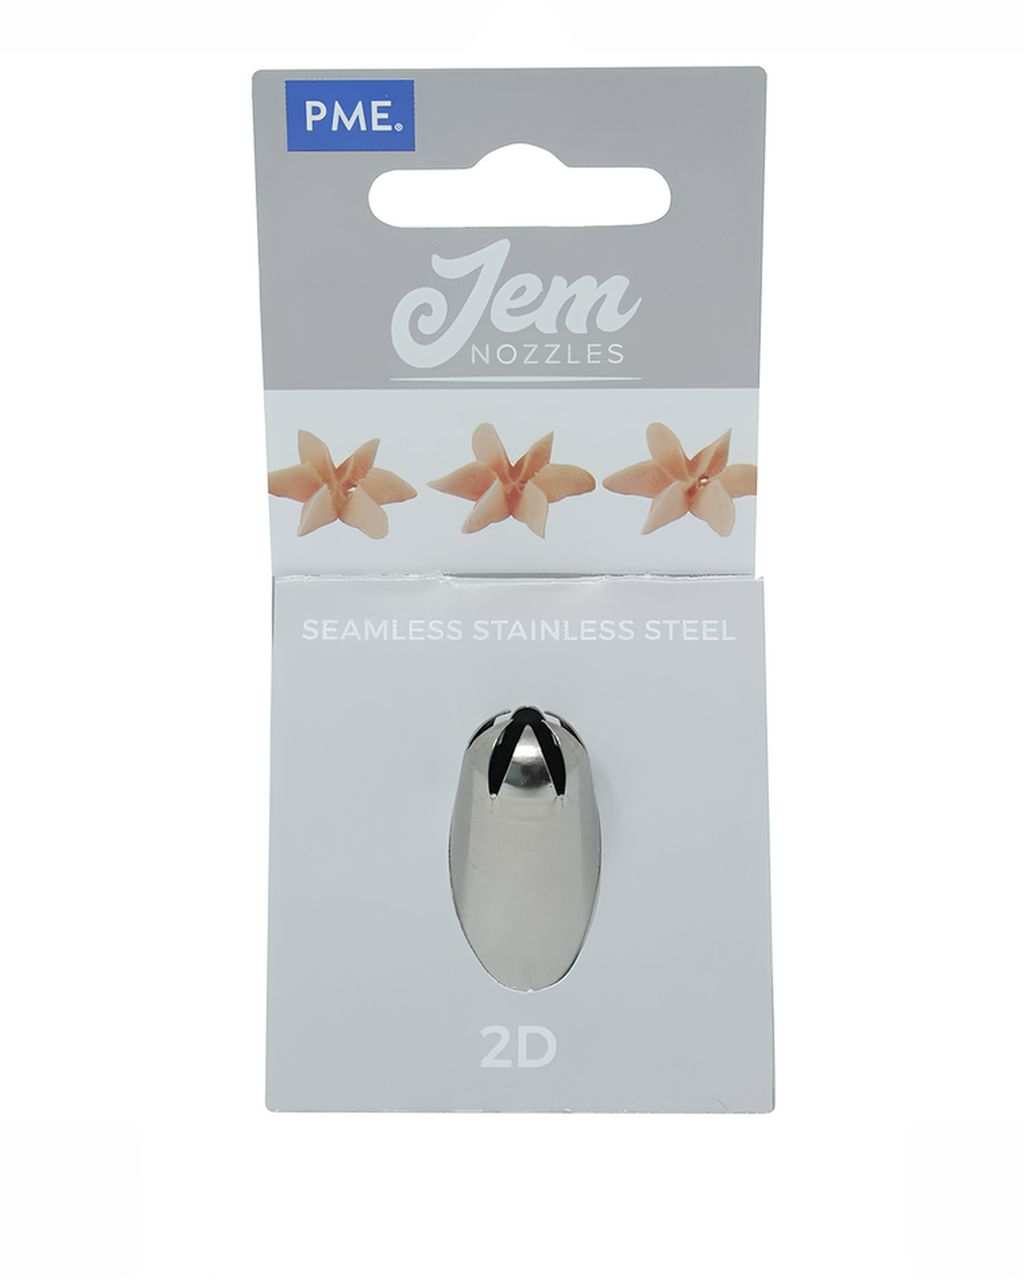
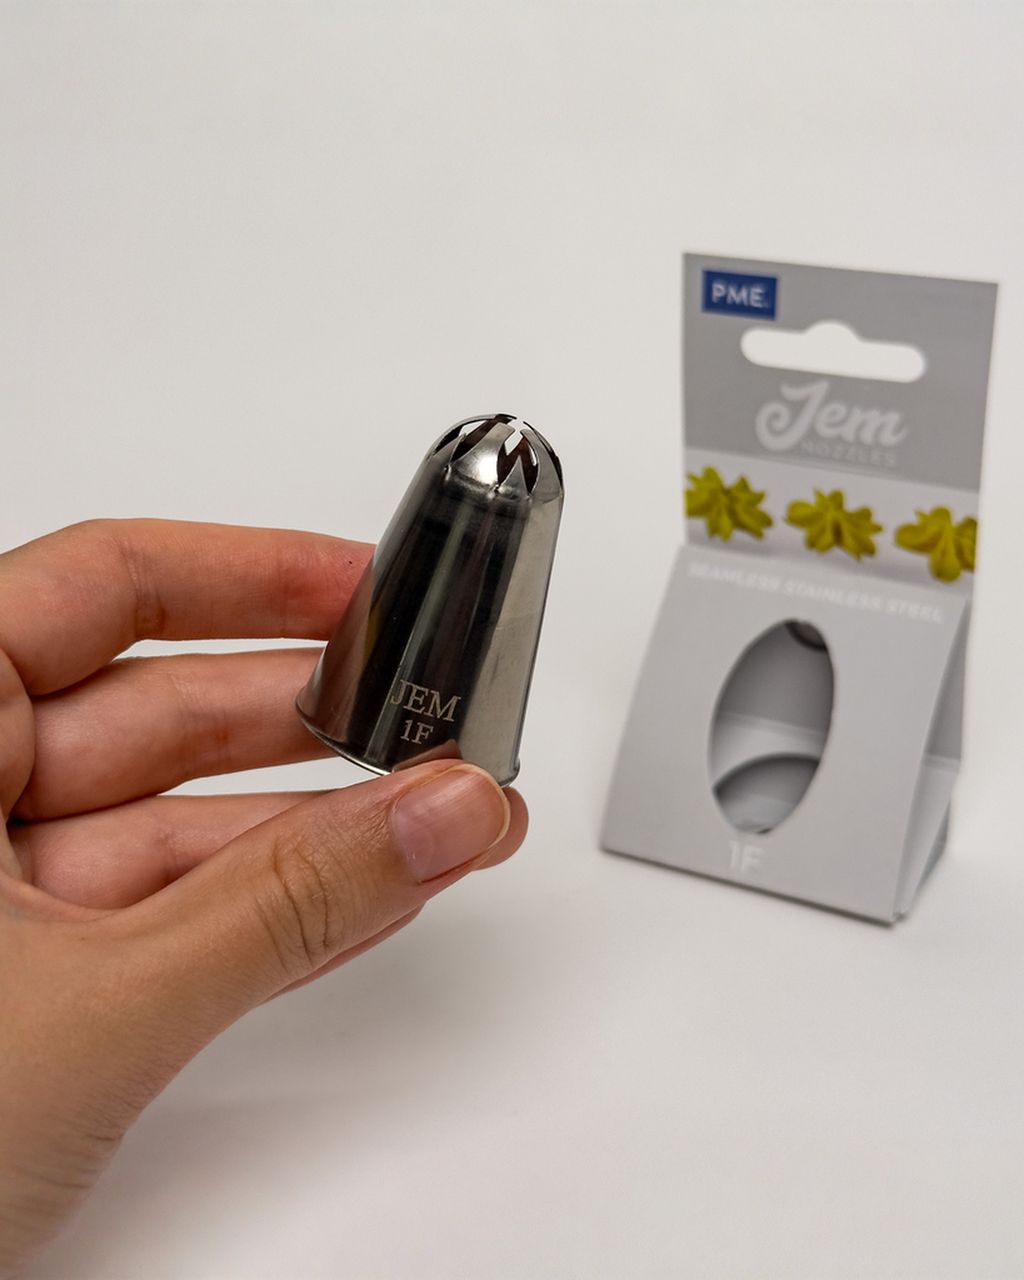
Piping tip: a large star or flower tip, such as a Drop Flower 2D or 1F.
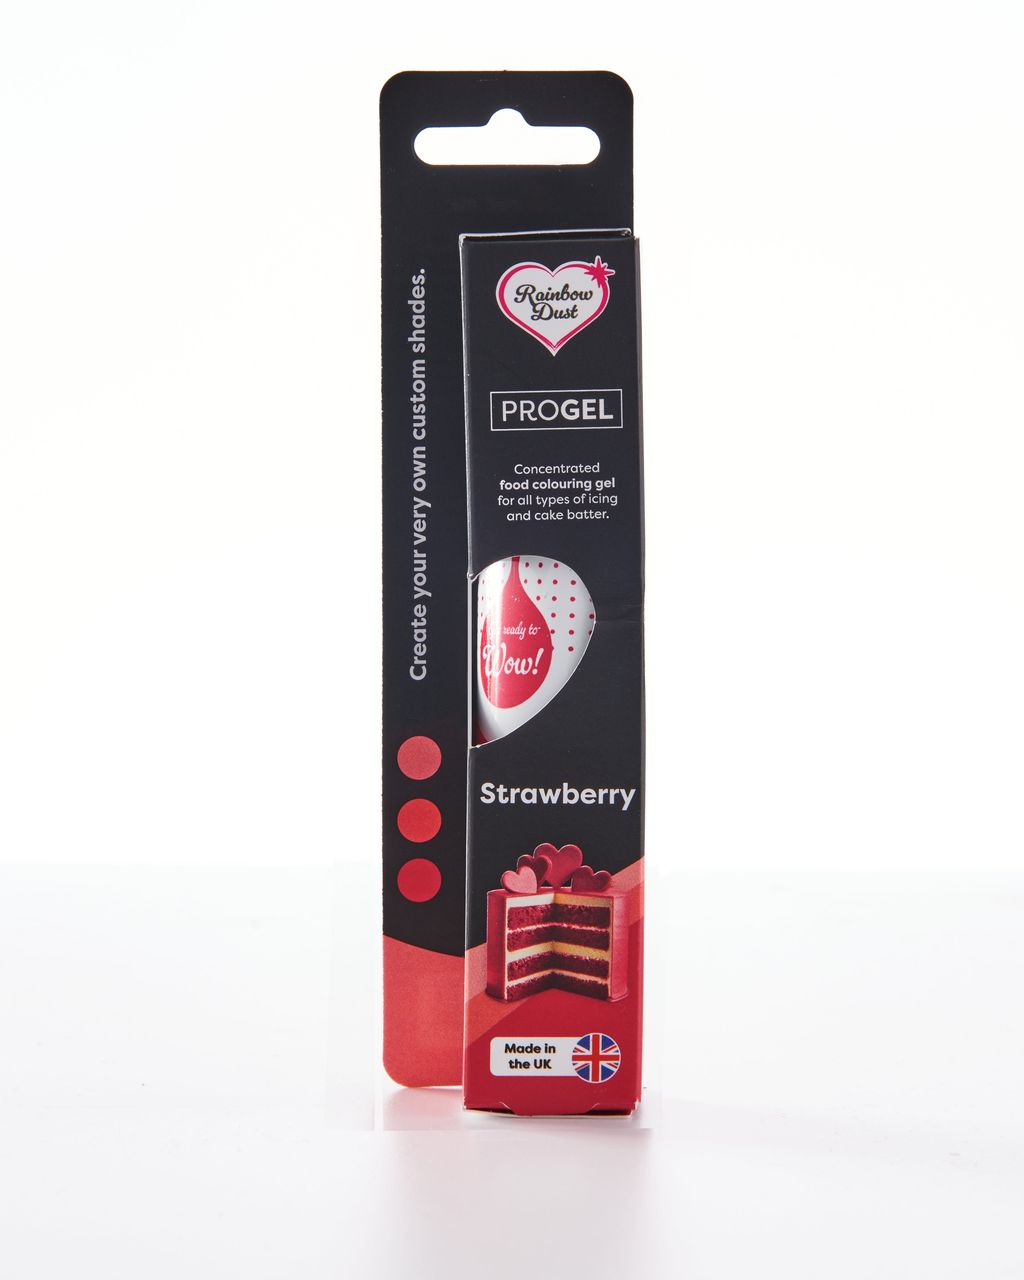
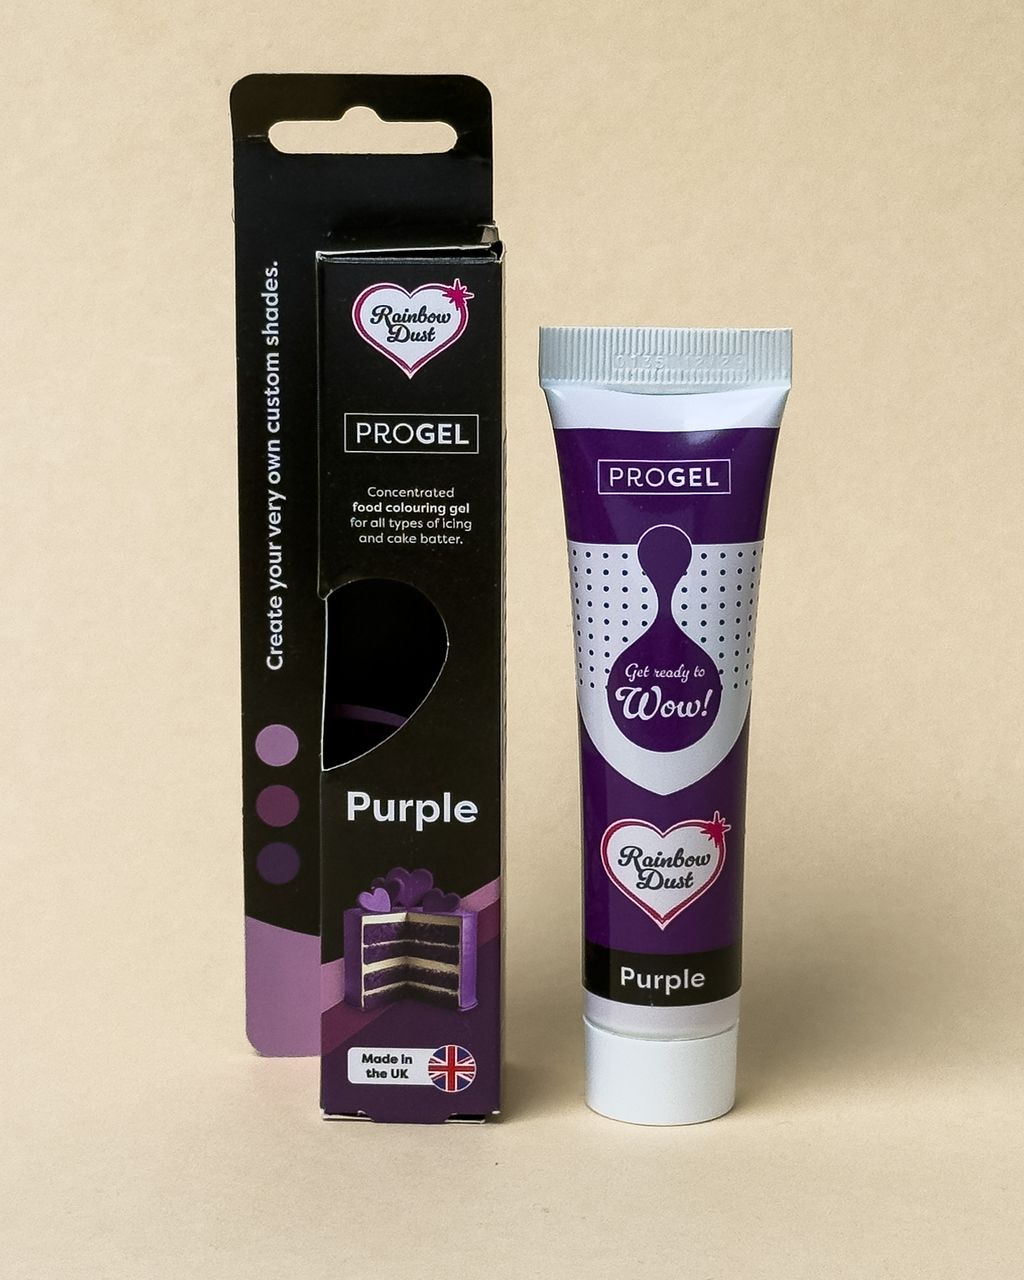
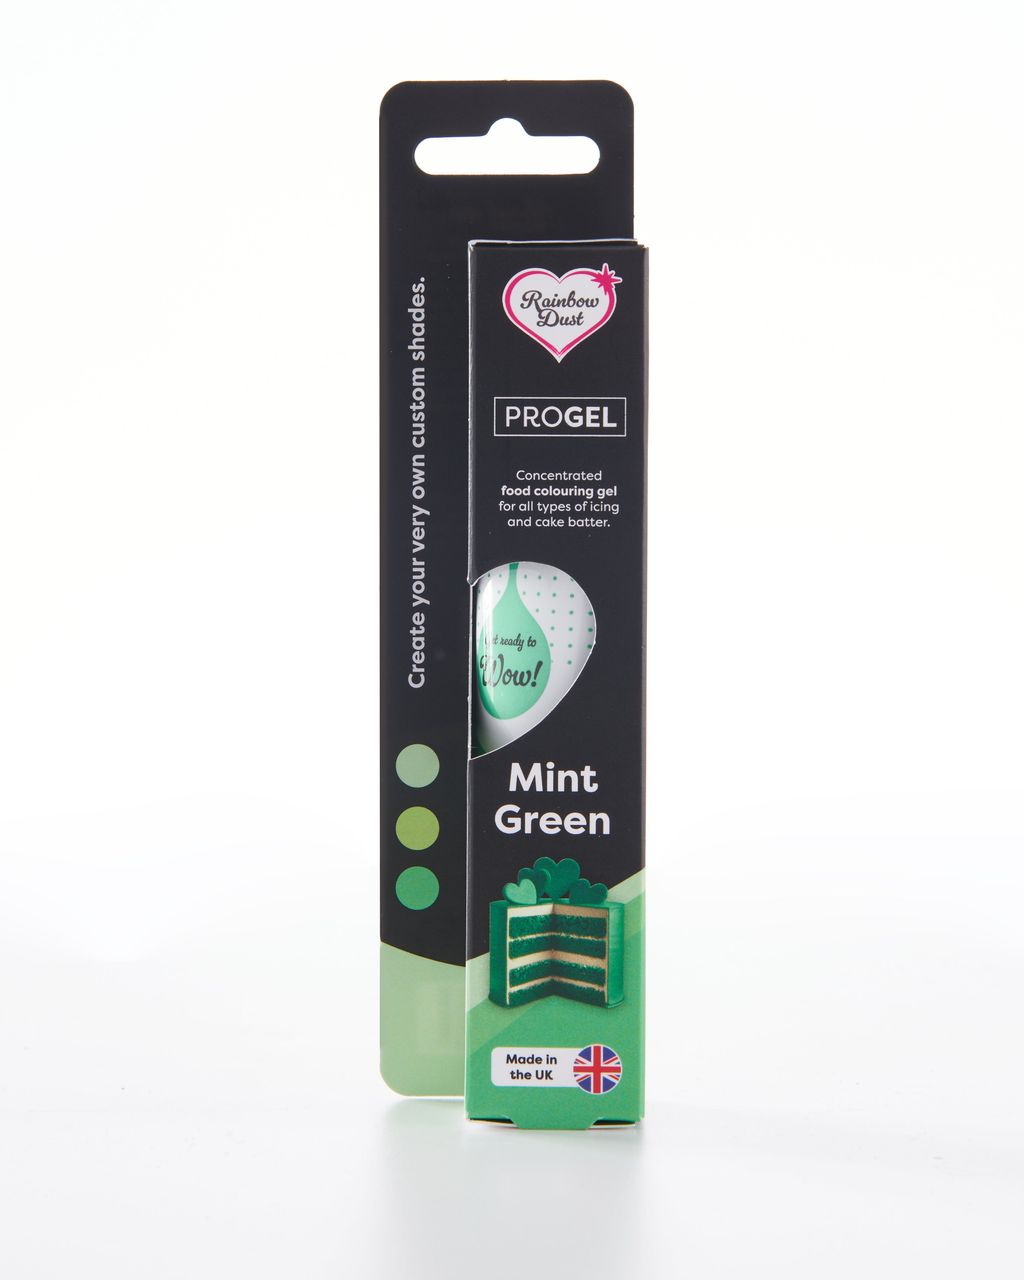
Gel colour: something like ProGel. A few drops are enough and the frosting won't thin out.
Polystyrene ball: from a stationery or craft shop, 3-5 cm (1-2 in) wider than the pot's opening, so only the bottom third sits inside it.
A flowerpot or sturdy container, toothpicks (standard, 6-7 cm/2.5 in), and weight for the pot: a stone, a jar of rice, or a bag of pebbles.
The polystyrene never touches the food. The toothpick goes through the paper liner into the cake, leaving the frosting sitting clear on top. If you want extra peace of mind, wrap the ball in cling film or tissue paper first.
For a classic gift-sized bouquet on a 15 cm (6 in) ball, you'll need about 17 standard cupcakes (a small 12-13 cm/5 in ball needs just 9-10, while a 20 cm/8 in ball takes about 30). At a glance:
12-13 cm (5 in) ball: 9-10 cupcakes (a small handheld bouquet)
15 cm (6 in) ball: about 17 cupcakes (classic gift size)
20 cm (8 in) ball: about 30 cupcakes (a big bouquet for a dessert table)
With mini cupcakes, roughly twice as many fit on the same size ball. Always bake 2-3 extra. One might not turn out right, and the spares are handy for testing your piping tip.
Budget around 40-50 g of frosting per standard cupcake for a generous rosette. For a 17-cupcake bouquet, that's about 800 g of frosting — and that's before the leaves.
A bouquet calls for firmer, denser cupcakes with a flat top and a frosting that holds its shape for several hours at room temperature. A soft, well-risen sponge tends to tear on the toothpick, while a domed top tilts the flower sideways and leaves gaps between the cupcakes.
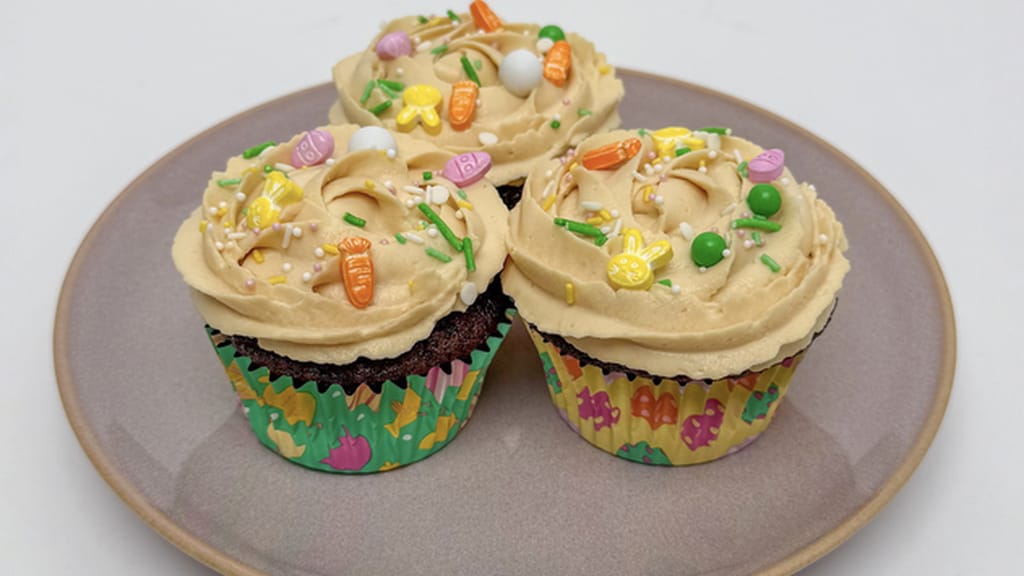
Batter: a butter or chocolate batter works well. For instance, our chocolate cupcakes with caramel frosting have a sponge sturdy enough to hold up on a toothpick — just swap the caramel frosting for a stiff buttercream for the bouquet. For tips on baking cupcakes with flat tops, see Cupcakes with flat tops.
Frosting: the most reliable choice is Swiss buttercream (egg whites whisked with sugar over a water bath, then beaten into butter) or classic American buttercream made from butter and icing sugar. Cream cheese, whipped cream and light mascarpone frostings will slump within the hour, turning your flowers into blobs. For a detailed comparison, see Which frosting holds its shape on cupcakes.
Frosting temperature: pipe at 18-21°C (64-70°F). Cold frosting cracks and won't give crisp edges; warm frosting spreads and the flower loses its shape.
Chocolate cupcakes with salted caramel cream
Chocolate cupcakes with caramel frosting: a sturdy sponge for a cupcake bouquet
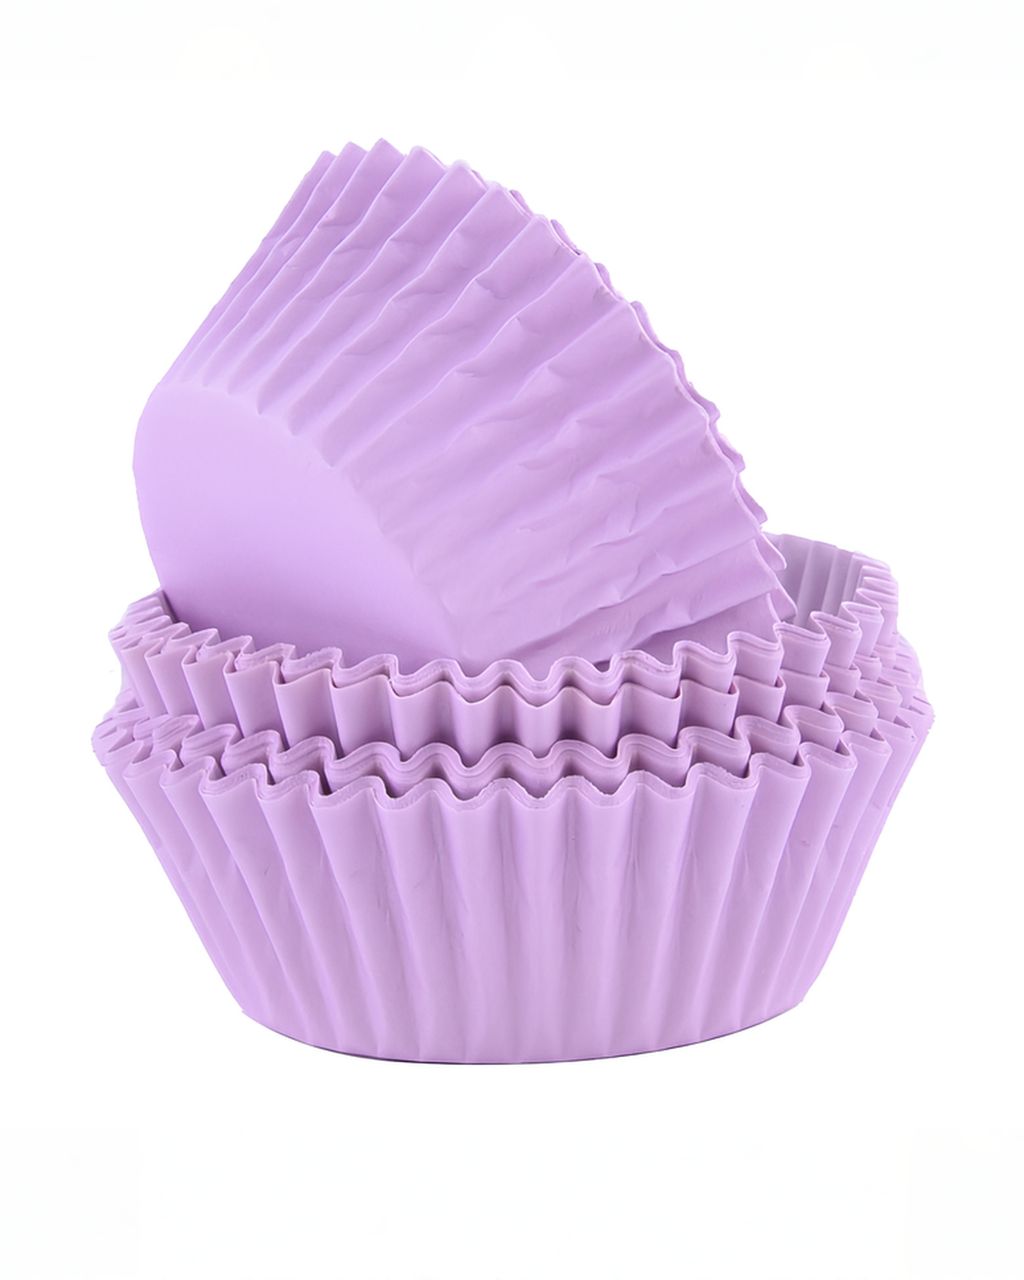
Choose sturdy paper liners in a colour that matches your flowers, usually green or a pastel shade echoing the frosting. Only the rims of the liners peek out between the flowers in the finished bouquet, but they form the backdrop for the whole thing. Thin white paper also turns translucent and greyish once baked, as the butter soaks through.
PME liners, made from sturdier paper, keep their colour even after baking. Purple or pale blue liners suit lavender and blue-toned bouquets. You'll find more colours and styles among our cupcake liners. Foil liners hold their shape best, but toothpicks go through them less easily and their shine can actually distract from the bouquet. If you're not sure which material to choose, see our comparison in Muffin and cupcake liners: paper, foil, or tulip?
Three large tips come up again and again for cupcake bouquets: Drop Flower 2D, Drop Flower 1F, and the open star 1M. Each creates a different type of flower:
Drop Flower 2D (JEM): a closed star with deep teeth. Pipe a rosette with a circular motion from the centre outward and you get a full, textured rose. Or press it straight down with a slight twist and you get a whole flower in one squeeze. It's the most versatile tip for a bouquet.
Drop Flower 1F (JEM): a large flower with curved petals that covers an entire standard cupcake in a single squeeze. Ideal for the "big" statement flowers in the centre of the bouquet.
1M (open star, Wilton): a classic, smoother rosette with shallower ridges. It's a popular tip, though we don't currently stock it. If you already have one at home, it pairs beautifully with the 2D — mixing two rose styles side by side looks more natural than using just one.
Russian piping tips (tulips, peonies): deliver a whole flower in one squeeze but need a very stiff frosting, and the results are often uneven. We wouldn't recommend them for your first bouquet.
To pipe a rosette with the 2D tip, hold the bag upright about 1 cm (half an inch) above the centre of the cupcake. Start in the middle, spiral outward to the edge, and ease off the pressure only once you've pulled the tail round in the direction you were piping. The full step-by-step with photos is in How to pipe a buttercream rosette on a cupcake.
Colour the frosting with gel colours, added in small amounts and ahead of time. Colour deepens in buttercream over 1-2 hours, so adding too much too soon backfires. Liquid food colouring from the supermarket will thin the frosting before you reach a rich shade.
Dose with the tip of a toothpick. A toothpick-tip's worth of concentrated ProGel colour is enough for a pastel shade in about 200 g of frosting. Add drop by drop for a deeper colour.
Mix it a shade lighter than you want. Let the frosting rest for 1-2 hours before adjusting the colour further — this matters especially for pink and red.
Stick to 3 colours. Strawberry, purple and white with mint-green leaves, for example. More colours start to look like a colour mix rather than a bouquet.
A two-tone flower comes from piping two colours side by side in the same bag. See the method in Two-tone frosting: how to fill a piping bag with two colours.
Pipe green leaves with a leaf tip (such as no. 352) or a bag snipped into a V, working directly onto the assembled bouquet to fill the gaps between the cupcakes. The leaves cover the gaps and turn a cluster of desserts into a bouquet.
A leaf tip (such as no. 352) gives the cleanest leaves. If you don't have one, the snipped-bag trick works just as well.
A bag snipped into a V: fill a disposable piping bag with green frosting, flatten the tip, and snip both corners at a 45° angle. Hold it against the edge of a flower, squeeze, and pull outward — the leaf will naturally taper to a point.
Pipe the leaves only once the bouquet is fully assembled, as piping them beforehand means they'd get smudged during assembly.
Assemble the bouquet in five steps: weigh down the pot, secure the ball, insert the toothpicks, add the cupcakes, and fill the gaps.
Weigh down the pot. Place a stone, a jar of rice, or a bag of pebbles in the bottom. A 17-cupcake bouquet weighs over a kilogram (2 lb), with nearly all the weight sitting at the top, so a light pot will tip over the moment you move it.
Secure the ball. Nestle it into the opening so about two-thirds sticks out above the pot. Fix it in place with a hot glue gun or double-sided tape — if the ball is left loose, it'll spin and the cupcakes will fall off.
Insert the toothpicks. Use 2 toothpicks side by side for each cupcake so it can't rotate. Leave 1.5-2 cm (about half an inch to an inch) sticking out of the ball. Start at the top centre and work your way down in circles. For the bottom row near the pot, angle the toothpicks upward at roughly 45° so the cupcakes "sit" properly on them.
Add the cupcakes. Hold each cupcake by the liner, not the frosting, and press it onto the toothpicks. The liners should touch at the edges; if gaps are wider than 1 cm (about half an inch), move the toothpicks closer together.
Fill the gaps. Pipe green leaves, or tuck in 10 × 10 cm (4 × 4 in) squares of tissue paper mounted on a toothpick. Finish by tying a ribbon around the pot.
You can also pipe the flowers before placing the cupcakes on the ball — it's easier to pipe on a flat work surface. Just handle them carefully by the liner only when you add them.
Transport the bouquet fully assembled, in a box or carrier set on the car floor, and well chilled. On a seat it'll wobble around, and sunlight through a window will start softening buttercream once it hits around 25°C (77°F).
Assemble the bouquet no more than 3-4 hours before handing it over. You can bake the cupcakes and make the frosting a day ahead — see Cupcakes made ahead: when to bake, decorate and store them for a timing plan.
For a long journey, transport the ball with toothpicks separately from the decorated cupcakes in their box, then assemble the bouquet on arrival — it only takes 10 minutes.
Chill the assembled bouquet for 20-30 minutes before setting off. Firmer frosting handles bumps in the road much better.
Just hold the cupcake by its liner and pull it off the toothpicks, which stay behind in the ball. If children will be eating from the bouquet, hand the cupcakes out yourself and double-check none of them has a stray bit of toothpick left in it.
A cupcake bouquet made with buttercream lasts about 4-6 hours at 20-22°C (68-72°F) before the frosting starts to soften. In warm conditions or direct sun, that time drops significantly. Frostings made with cream cheese, quark or whipped cream shouldn't be left out of the fridge for more than 2 hours.
Yes — you can swap the polystyrene ball for a ball of tightly scrunched paper secured with tape and wrapped in cling film, or a cardboard half-sphere. Whatever you use needs to be firm enough to hold the toothpicks securely. Wet floral foam isn't suitable, as it leaks water and isn't meant to come into contact with food.
Yes, a buttercream cupcake bouquet can go in the fridge as long as it fits and there's no strong-smelling food nearby. Buttercream firms up in the fridge and needs 20-30 minutes at room temperature before serving to soften back up and avoid tasting hard. Moisture can also condense on the cupcakes once you take them out, so only chill the bouquet briefly.
One recipe worth heating the oven for, one tip, and one deal from the shop. Nothing else.