Sacher torte – the classic viennese chocolate cake
How to Decorate a Chocolate Cake: Glossy Ganache, Drip, Chocolate Shards, Crunchy Pearls and Gold Leaf
Updated Oct 17, 2026
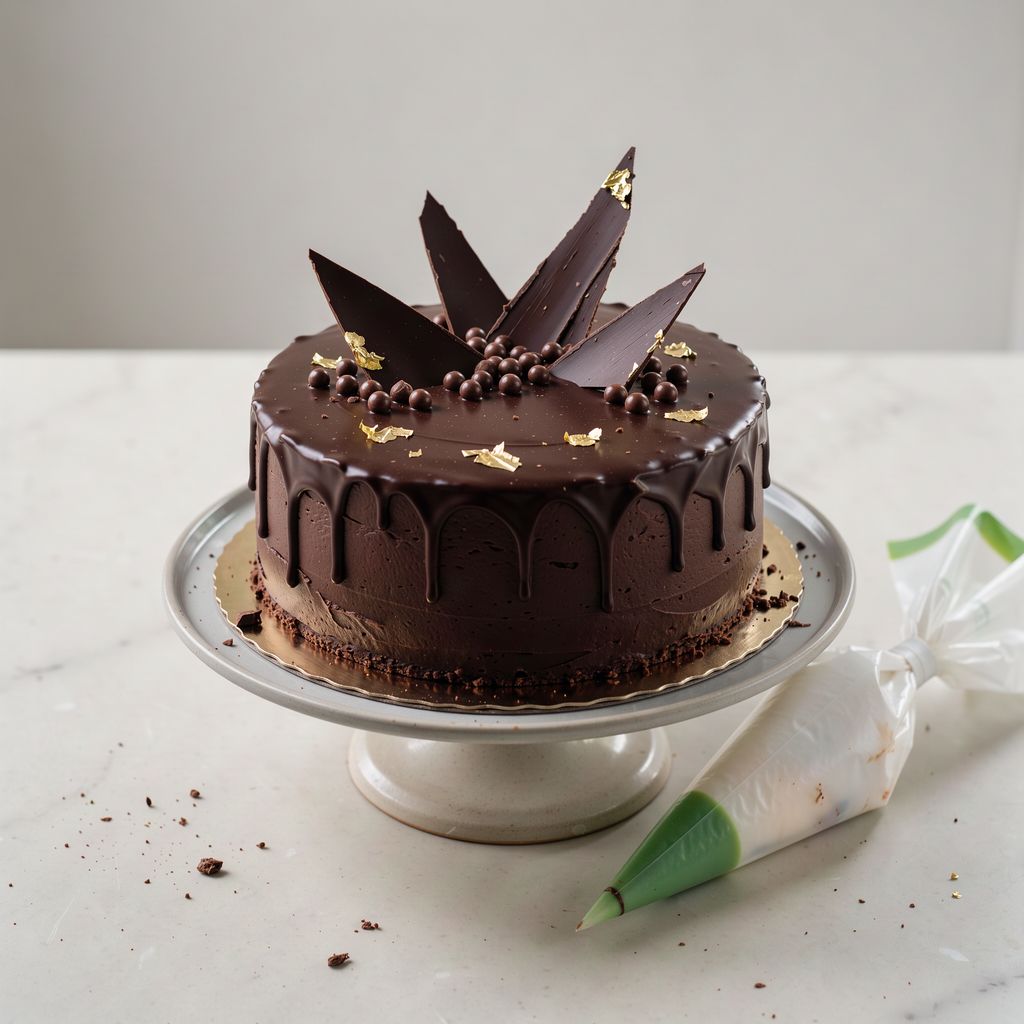
Decorating a chocolate cake comes down to five steps, in this order: a smooth base, glossy ganache on top, a drip around the edge, chocolate decorations, and finally a touch of gold. Two numbers hold it all together: the ratio of chocolate to cream, and the temperature at which you pour the ganache over the cake. Below you'll find both for every technique, plus what to do when the shine disappears or the drip runs all the way down to the plate.
The surest way to decorate a chocolate cake is to work from the bottom up and chill the cake between steps:
Base — the cake coated with a thin layer of buttercream or 2:1 ganache (a crumb coat), chilled until smooth.
Glossy top — 1:1 ganache poured at 32–35 °C (90–95 °F).
Drip — the same ganache cooled to 30–32 °C (86–90 °F), dripped around the edge of a cold cake.
Decorations — chocolate shards, crunchy pearls, fruit.
Gold — right at the very end, with tweezers.
Why this order: every layer needs a firm, cold base. Warm ganache on a warm cake won't set, shards pushed into a liquid top slide over, and gold on a wet surface vanishes under the next layer. Put the cake in the fridge for at least 20–30 minutes between steps 1 and 2, and for at least an hour before the drip (ideally overnight). For getting the base perfectly even, see our article How to Frost a Cake with Buttercream or Ganache for Straight Sides and Sharp Edges.
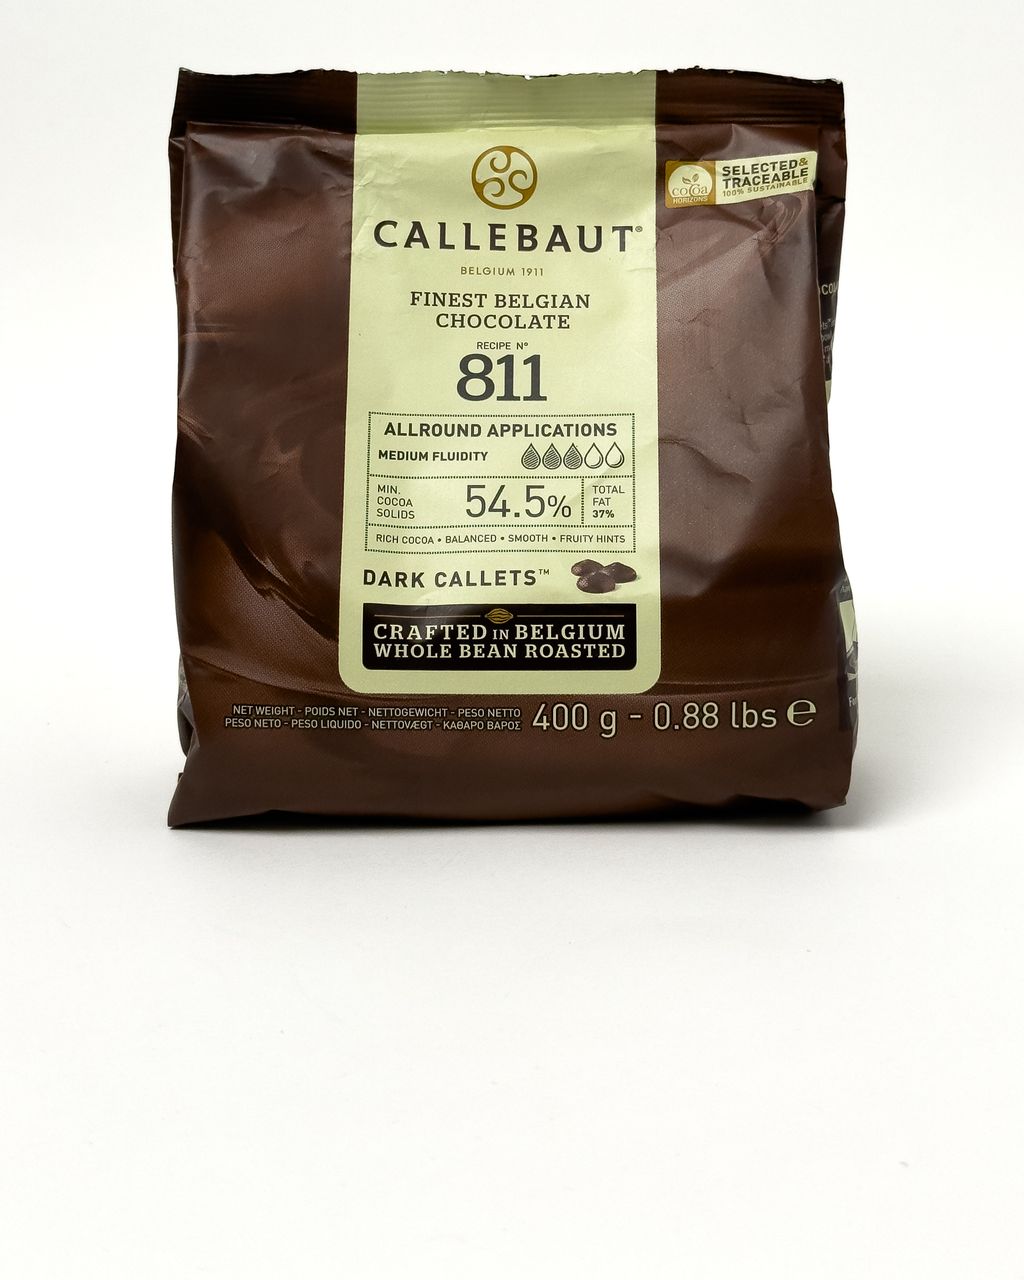
The best choice for cake decorating is couverture with 50–70% cocoa. It has more cocoa butter, so it melts better, shines more and makes smoother ganache. For a dark chocolate cake, Callebaut 811 dark chocolate (54.5% cocoa) is a reliable pick: it isn't overly bitter, flows well, and the callets melt evenly without chopping.
An honest comparison of the alternatives:
Couverture (callets, buttons) — the best shine and flavor, but you have to temper it for shards.
Supermarket bar chocolate — perfectly fine for ganache if it has at least 50% cocoa. For shards it tends to be thicker and harder to temper.
Compound coating (made with vegetable fat) — it shines without tempering and doesn't crack, but it contains vegetable fat instead of cocoa butter. It tastes waxy and doesn't melt on the tongue. Fine for a quick kids' cake, but not for a chocolate cake where the chocolate is meant to be the star.
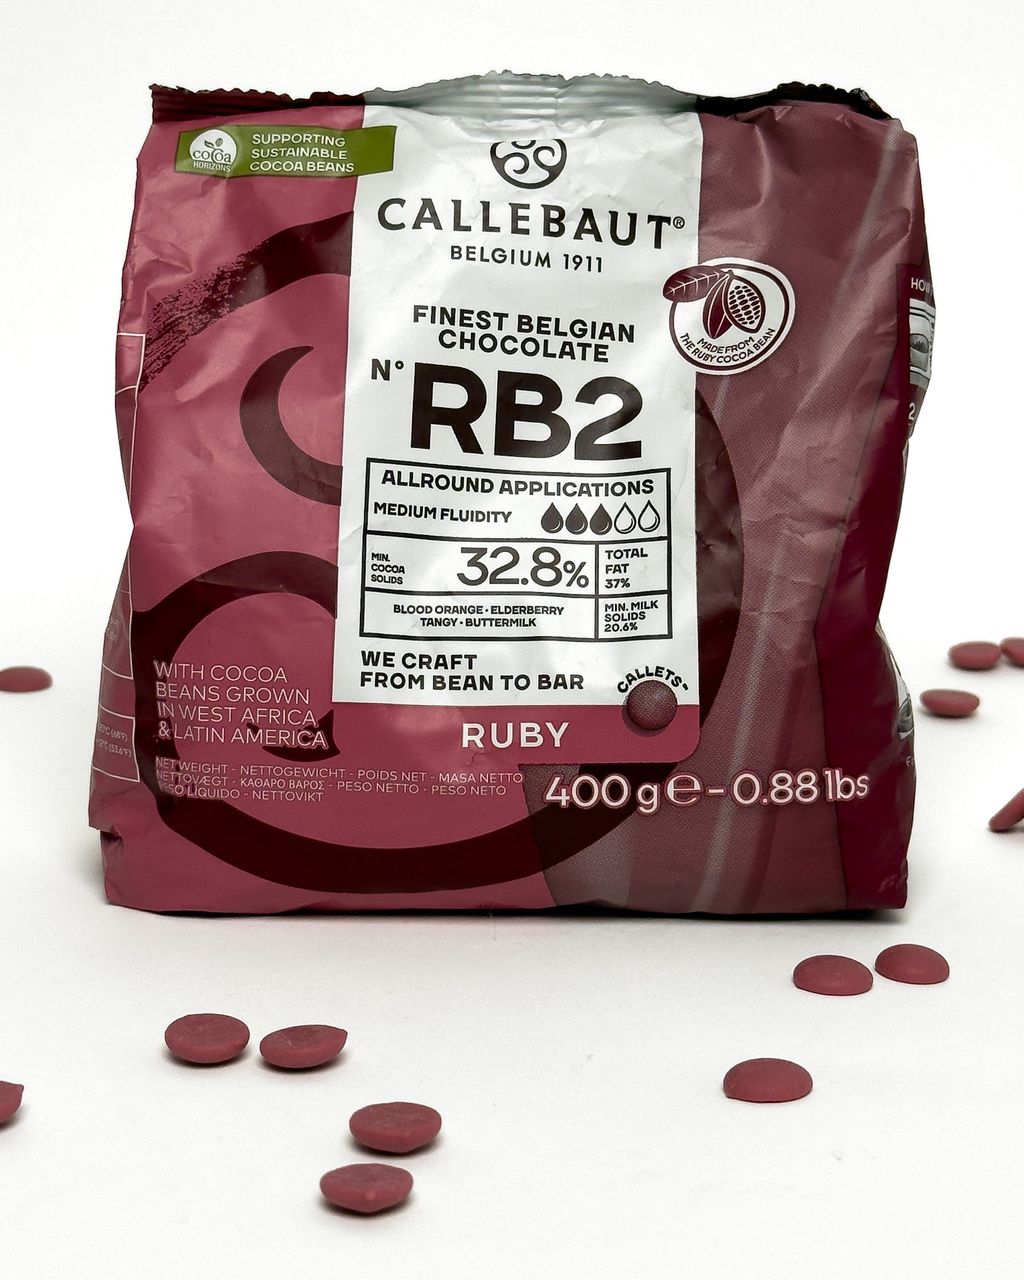
Ruby chocolate — naturally pink with a fruity tang. On a dark cake it makes a striking contrast and suits both drip and shards (more below).
You'll find the full range of couvertures, dark, milk and ruby, in chocolate for bakers and pastry chefs.
For a glossy top, use 1:1 ganache (dark chocolate and 30–33% whipping cream in equal weights), poured over a chilled cake at 32–35 °C (90–95 °F). Ratios by purpose:
1:1 — pouring over the top and for the drip (dark chocolate).
2:1 — spreading on the sides and the base under the drip; it holds like buttercream.
3:1 — drip and ganache made with white or ruby chocolate (they have less cocoa solids, so they need less cream).
Method:
Heat the cream to 80–90 °C (175–195 °F), just until the first bubbles appear at the edge. Don't boil it.
Pour it over the chocolate callets and let it stand for 2 minutes so the heat can work through.
Stir with a spatula in small circles from the center until a glossy emulsion forms in the middle, then gradually work outward. Don't use a whisk, as it brings in air bubbles that stay on top of the cake as little holes.
Let it cool to 32–35 °C (90–95 °F), pour it into the center of the chilled cake, and nudge it to the edge with an offset spatula in two or three strokes. The less you fuss with it, the more it shines.
For an even glossier, more supple ganache, add a spoonful of glucose syrup or honey per 200 g of chocolate. We explain why it works in Glucose in Ganache: Why Add It.
A drip that stops halfway down the side needs a cold cake and ganache cooled to 30–32 °C (86–90 °F), which should feel only barely lukewarm when you drop some on the back of your hand. Temperature matters more than the recipe itself: ganache just two degrees warmer runs all the way to the plate, and ganache three degrees cooler forms thick stumps.
Take the cake out of the fridge only right before the drip. It needs to chill for at least an hour, ideally overnight.
Make one test drip on the back of the cake. Does it run too far? Wait 2–3 minutes. Not running at all? Warm the ganache in the microwave for 5 seconds.
Do the drips around the edge first, then the top. Do it the other way round and the top will overflow the edge uncontrollably.
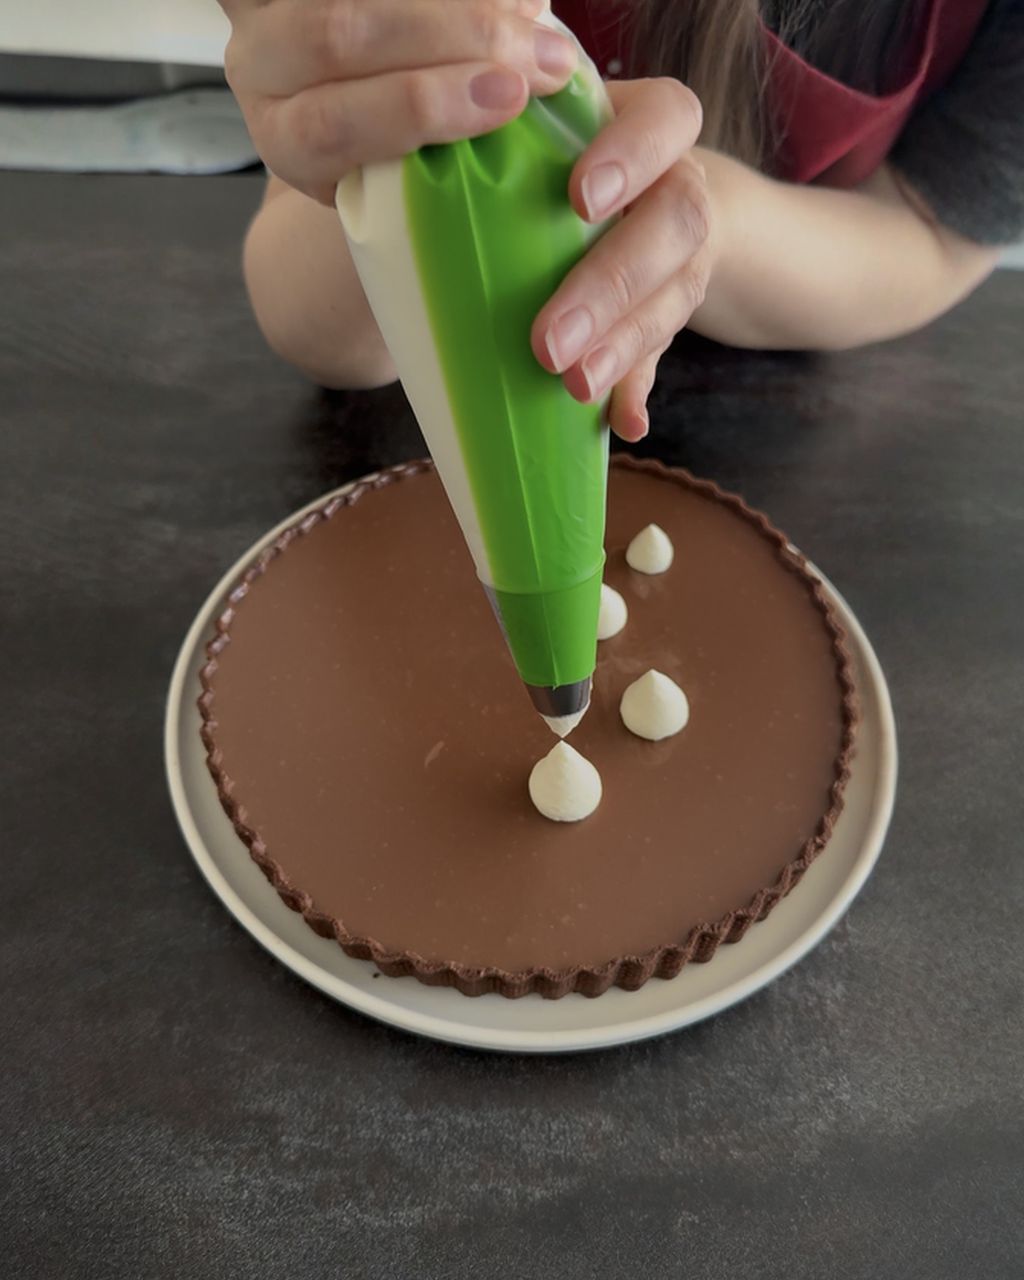
What to apply the ganache with: a teaspoon works, but the drips come out in different lengths. You get the most control with a piping bag with the tip snipped to 3–4 mm (about 1/8 inch), because hand pressure lets you decide exactly how long each drip will be. A plastic squeeze bottle with a nozzle works similarly, but it's harder to clean.
Ruby drip on a dark cake: melt ruby chocolate gently, to no more than 45 °C (113 °F), and mix it with cream at a 3:1 ratio. Overheated ruby loses its pink color and turns brown. For the general drip technique, including on buttercream cakes, see Modern Cake Decorating: Naked, Drip and Ombré Step by Step.
Make chocolate shards from tempered chocolate spread to 2–3 mm (about 1/10 inch), then break it up once it has set. Tempering is essential: untempered shards are dull, they bend, and they melt in your fingers before you can push them into the cake.
The simplest tempering method, seeding, for Callebaut 811 dark chocolate:
Melt two thirds of the chocolate to 45–50 °C (113–122 °F).
Stir in the remaining third of callets and keep stirring until the temperature drops to 31–32 °C (88–90 °F) (working temperature).
Drop a bit onto parchment paper. At room temperature it should set glossy in 5 minutes and snap when broken.
Spread the chocolate with an offset spatula onto parchment paper or acetate sheet (acetate gives mirror-shiny shards). Once it has set but isn't yet hard, you can score triangles with a knife; otherwise just break it up once fully set. For contrast, make half a tray in dark and half in Callebaut RB2 ruby chocolate, whose working temperature is lower, around 29–30 °C (84–86 °F). Follow the figures on the packaging.
Push the shards into the top while the ganache is still slightly tacky, tallest at the back and shorter ones at the front. For spirals, lace and other shapes, we have a separate article: Chocolate Decorations: Techniques, Trends and How to Make Them at Home.
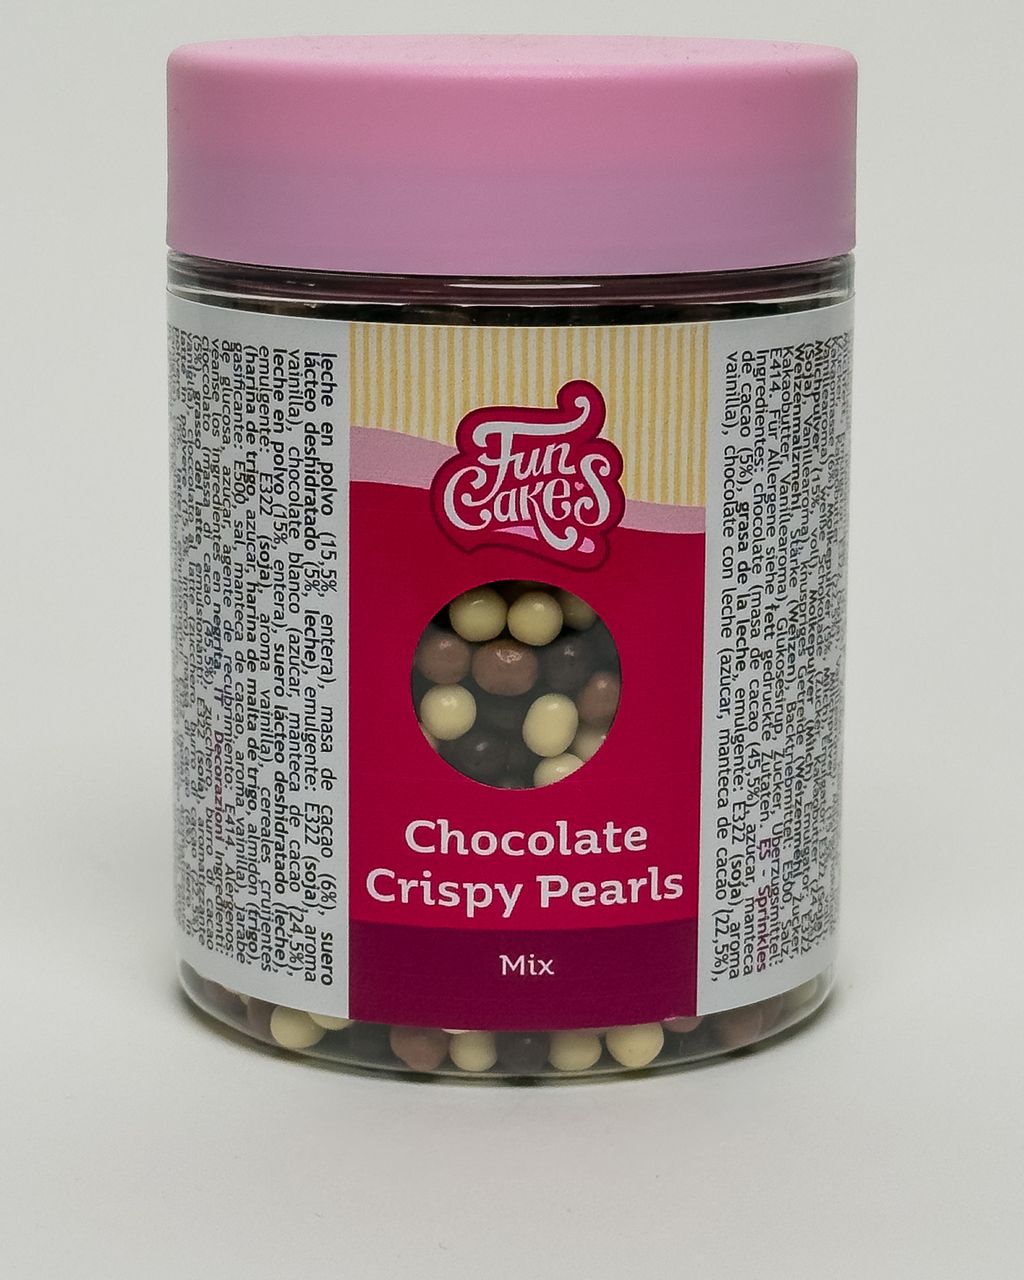
Add crunchy pearls to the cake only once the ganache has set, and ideally on the day of serving. They have a cereal core coated in chocolate, so they stay crunchy on a dry surface, but within a day they soften in moist cream or under whipped cream.
Where they work best on a chocolate cake:
On the edge of the drip — a small mound at the base of the shards hides any unevenness along the edge.
A band around the bottom of the cake — press them with your palm onto sides coated with 2:1 ganache; it works even without a drip.
A half-moon on top — one side of the cake decorated, the other left clean; it looks more modern than a regular wreath.
Crunchy pearls in a chocolate mix come with white, milk and dark in one pack, so the white ones stand out against dark ganache while the dark ones blend in. If you want something different, roasted chopped hazelnuts, cocoa nibs or freeze-dried raspberries give a similar crunch and go just as well with dark chocolate. You'll find more ideas in our roundup Edible Cake Decorations.
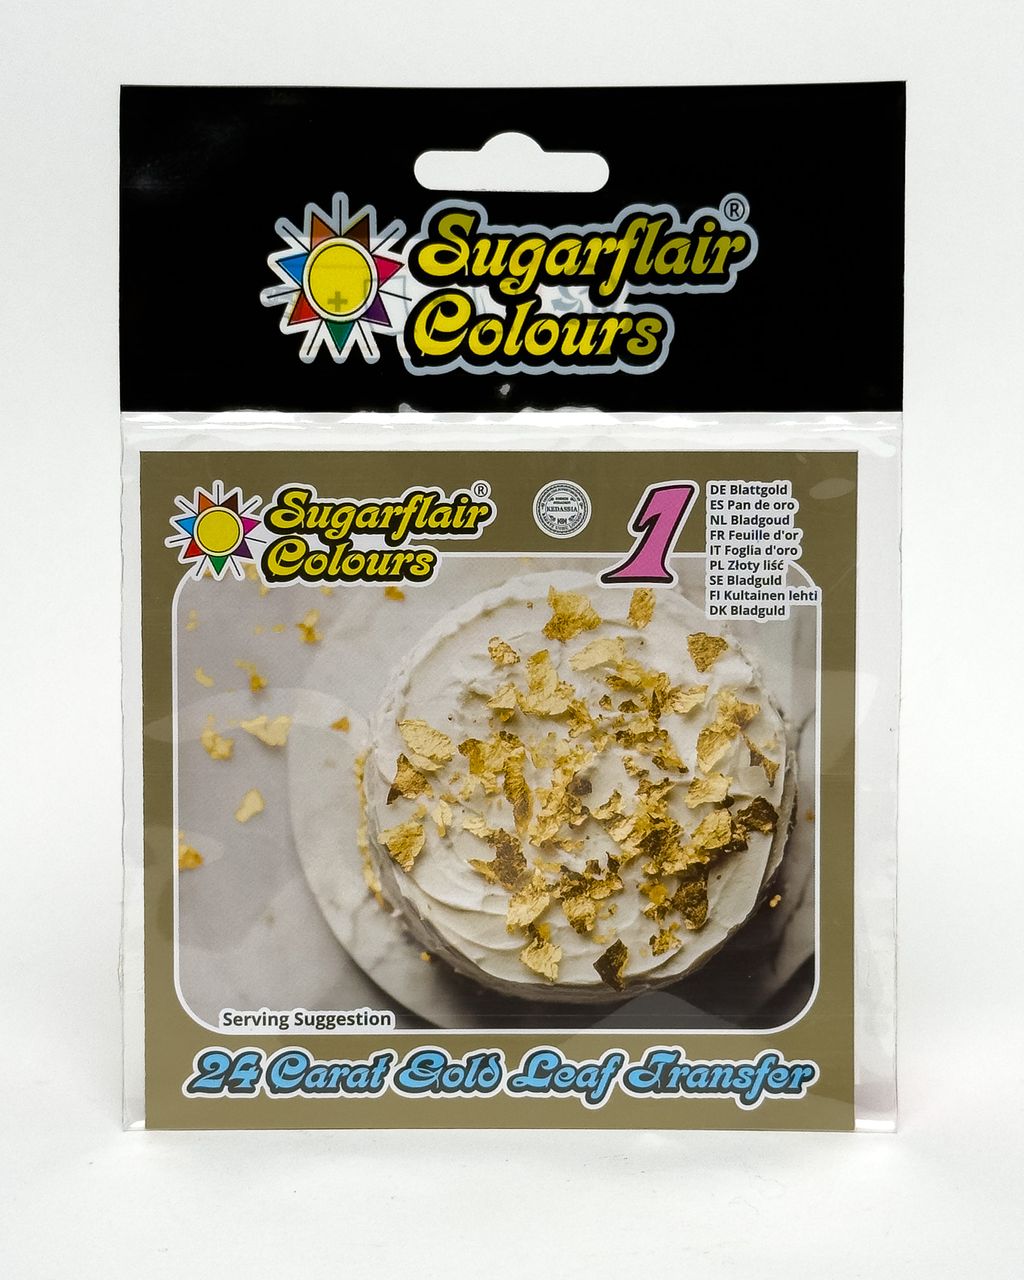
For a chocolate cake, gold leaf is the better fit. A few flakes on the edge of the shards or on a drip look luxurious, while gold powder is more for coloring whole surfaces. Edible gold is usually 22–24 carat, and in the EU it's approved as the colorant E 175 for decorating the outside of chocolate and confectionery. It has no taste or smell. That's why you should put it on chocolate shards and a chocolate drip.
How to work with the leaf:
Never use your fingers. Gold is thinned to a ten-thousandth of a millimeter and sticks to your skin before it sticks to the cake. Use tweezers or a dry brush.
Place it on a slightly tacky surface — freshly set ganache, or a shard you've breathed on. It won't hold on dry chocolate.
Less is more. Three to five pieces for the whole cake. Gold everywhere looks like foil, not an accent.
Genuine 24-carat edible gold leaf flakes will last for many cakes, since one leaf can be torn into dozens of pieces. If you'd rather have gold-rimmed shards, mix gold edible powder with a drop of clear alcohol and paint the edges with a brush. Be careful with powders from other sources: "non-toxic" or "for decoration" on the label doesn't mean edible. Only powder that's expressly labeled as edible belongs on a cake.
For a cake 20 cm (8 inches) in diameter and 10 cm (4 inches) tall, you need roughly 550 g of chocolate and 400 g of cream in total for the ganache: 300 g + 150 g for the 2:1 base, and 250 g + 250 g of 1:1 ganache for the top and drip.
The breakdown:
Base for the sides and top (2:1): 300 g chocolate + 150 g cream.
1:1 ganache in one batch (250 g + 250 g): roughly 150 g + 150 g of that for the glossy top and 100 g + 100 g for the drip. Any leftover is fine, as you can freeze it. Just let the drip portion cool a few degrees longer.
Shards: add 100–150 g of chocolate per A4 tray.
For a 24 cm (9½-inch) cake, multiply each amount by about 1.4.
Most problems when decorating a chocolate cake come down to four causes: overheated cream or water in the chocolate, different temperatures of cream and chocolate, condensation after the cake comes out of the fridge, and a warm cake or warm ganache at the drip stage.
Dull, grainy ganache — overheated cream (it boiled) or a drop of water in the chocolate. You can rescue it by stirring in 1–2 tablespoons of cold cream and briefly running an immersion blender through it below the surface.
Ganache has split and is releasing fat — the cream and chocolate were at different temperatures. Warm it to 35 °C (95 °F) and stir again from the center; if that doesn't help, add a spoonful of warm cream. Details in Why Ganache Splits and How to Save It.
The shine disappeared after the cake came out of the fridge — moisture from the room condenses on a cold cake. Put the cake in a box or under a cover, and take it out 30–60 minutes before serving so it can come up to room temperature.
The drip ran all the way to the plate — a warm cake or warm ganache. A second layer won't help now; hide the marks at the base of the cake with a band of crunchy pearls.
Chocolate shards that bend or have gray streaks weren't tempered properly. Melt them and temper again; the chocolate isn't ruined.
If you want to decorate a classic, reach for Sachertorte. A dense chocolate cake with a flat top is the ideal base for a glossy glaze, and if you add a few shards and a flake of gold instead of the traditional lettering, you get a modern take on the Viennese classic. For which filling to use inside and under the drip, see Chocolate Cake Filling: French, Buttercream or Mascarpone.
Sacher torte – the classic viennese chocolate cake
Sachertorte — a chocolate cake with a glossy glaze, ideal for decorating
You can make the ganache and drip a day ahead; keep the cake in the fridge in a box. Add the chocolate shards and gold on the morning of the celebration, and the crunchy pearls only a few hours before serving so they don't go soft.
You can freeze a cake covered in ganache, but without the decorations. After thawing, shards would turn damp and dull, the pearls would soften and the gold could slump. Freeze the ganache-covered cake, thaw it overnight in the fridge in a box, and decorate it afterwards.
A 2:1 dark chocolate ganache holds up for several hours at room temperature up to 22 °C (72 °F) with no problem, while the 1:1 ganache on top and in the drip softens sooner. In warmth above 25 °C (77 °F), keep the cake chilled until serving and put the shards on the shaded side.
Yes, you can replace the cream with whole milk or a plant-based cooking cream alternative with at least 20% fat. With milk, use more chocolate (about 2:1 for pouring), because milk has less fat and the ganache would be runny; a plant-based alternative behaves much like cream.
Transport a decorated chocolate cake cold, on a flat board in a box taller than your tallest shard. It's safer to add the shards and gold once you arrive. Carry them separately in a container layered with parchment paper.
One recipe worth heating the oven for, one tip, and one deal from the shop. Nothing else.