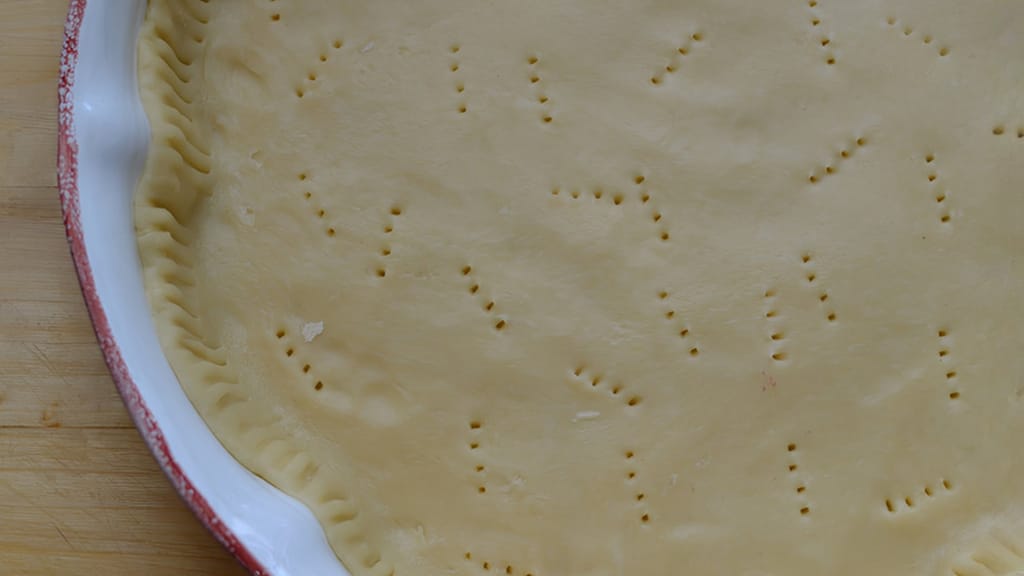
Quiche pastry – french savory tart dough
Tartlets: How to Choose the Dough, Prepare and Bake the Shells

Updated Jul 19, 2026
Tartlets are small, delicate shells made from buttery pastry, filled sweet or savoury — and the whole dessert lives or dies by the shell. A good shell holds its shape, is crisp but not crumbly, and doesn't turn soggy under the filling. In this guide we'll walk through which dough to choose for tartlets, how to mix and roll it, how to line the tins and bake the shell to a golden finish — including a recipe that works every time, plus filling ideas.
A tartlet is a small shortcrust pastry shell filled with a sweet or savoury filling — essentially a single-serve version of the French tarte, which is where the name comes from. They're typically 6–18 cm across and served as a one-bite treat: either as a dessert with cream and fruit, or savoury as a starter.
Tartlets have their roots in French cuisine, but today you'll find regional variations all over the world — in Italy with ricotta and lemon, in Spain with almond cream. That small format is exactly what makes tartlets so handy for entertaining: you can bake a batch of empty shells ahead of time and fill them just before serving.
Four doughs work well for tartlets, each suited to a different purpose:
Pâte brisée — crisp and unsweetened; for savoury tartlets, quiche, and less-sweet fruit tarts.
Pâte sucrée — sweet and sturdy; the best choice under runny fillings, since it doesn't crack.
Pâte sablée — a crumbly, biscuit-like "sandy" dough; for fruit and chocolate desserts.
Pâte feuilletée — puff pastry; only suited to looser, open-style shells — too soft for a classic tartlet.
In short: for a classic cream-filled tartlet, go for pâte sucrée; for savoury, go for pâte brisée.
Pâte brisée is the simplest shortcrust dough — just flour, butter, a pinch of salt and a little water, no sugar. It has a neutral flavour and a flaky, crisp texture, which makes it a good all-rounder for both sweet and savoury.
Because it's high in butter and has no sugar, it's fairly crisp and doesn't brown as fast. It's the classic choice for quiche and savoury tartlets with cheese or vegetables.
Quiche pastry – french savory tart dough
Quiche dough — the savoury French tart made with shortcrust pastry
Pâte sucrée is the best choice under creamy fillings, since it's sturdier than the other shortcrust doughs and holds its shape well. It has less butter and more sugar than sablée, is mixed using the creaming method, and results in a firm, biscuit-crisp shell that doesn't crack when sliced and can support even a runnier filling like crème pâtissière or lemon curd.
The higher sugar content means it browns faster — keep an eye on it in the oven. It's great for classic fruit tartlets, lemon tart, or chocolate tartlets with ganache.
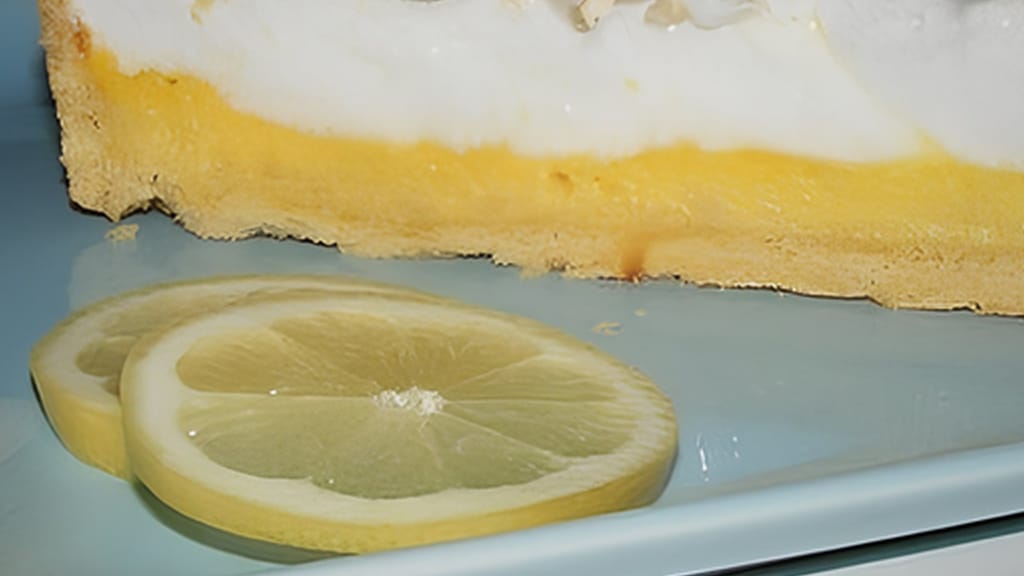
Tarte au citron – french lemon tart
Tarte au citron — the French lemon tart made with pâte sucrée
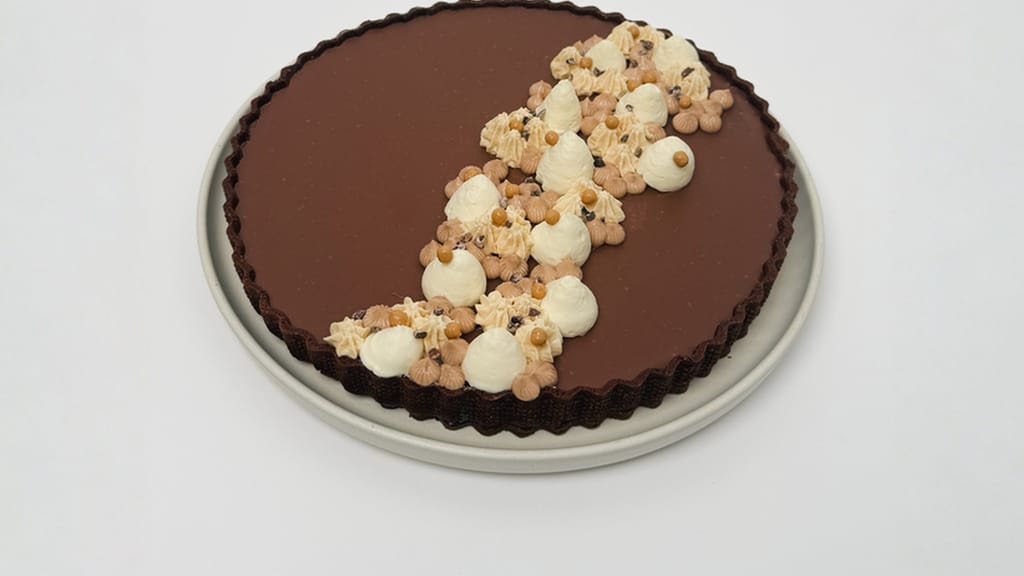
Chocolate tart with salted caramel
Chocolate tart with salted caramel on a firm shortcrust shell
Pâte sablée is the most crumbly of all the doughs — it melts on the tongue like a biscuit. The name comes from the French sabler, meaning "to turn sandy": cold butter is rubbed into the flour (the sablage method), so the dough stays sandy and short. Compared to pâte sucrée, it has more butter and less sugar.
It's often enriched with almond flour for a nutty flavour — which is why it's sometimes mistakenly called "almond dough", but almonds aren't what defines it; sablée can be made without them too. Because it's so delicate, it's trickier to handle, so chill it thoroughly before rolling. It's ideal for strawberry (tarte aux fraises), raspberry, and chocolate tartlets.
Puff pastry isn't really suited to classic tartlets — it's not sturdy enough to hold a creamy filling, and making it takes time (repeated folding and rolling with butter). It works well only for looser interpretations: puffed-up pastry cases filled with fruit, cream, or savoury ingredients. If you want a firm, shape-holding shell, stick with shortcrust.
At minimum you need two things: a tin and a rolling pin. Everything else just makes the job easier and improves the result. The type of tin you use affects both the look and how evenly the shell bakes.
Stainless steel perforated rings are the choice of professional pastry chefs. The holes let air and steam escape, so the dough bakes evenly, doesn't slump down, and you get perfectly straight, sharp edges. A shell baked in a tart ring holds its shape better than in any other tin — the only downside is that lining it takes a bit more effort.
Traditional metal tins with fluted edges give tartlets that rustic, homemade look. They're usually non-stick and often have a removable base, so the finished shell pops out easily. Great for home baking, where you want to play around with decorating the edge.
Besides the tin, it also helps to have a rolling pin, a silicone baking mat for easier dough handling, and baking beans (or rice or ceramic weights) for blind baking, so the base of the dough doesn't puff up.
This is a reliable base for sweet fillings. The combination of almond flour, cornflour and plain flour gives a delicate, crisp shell that holds its shape. This amount makes about 6–8 smaller tartlets (6–8 cm tins).
Ingredients for the dough:
100 g softened butter
a pinch of salt
72 g icing sugar
20 g almond flour
30 g cornflour
2 egg yolks (36–40 g; add gradually)
170 g plain flour (type 00)
1 tsp vanilla extract or grated lemon zest
For the egg wash:
1 egg yolk
5 g cream
Method:
Beat the butter with the pinch of salt just until softened and smooth — don't whip it until fluffy.
Sift in the icing sugar, almond flour and cornflour, add to the butter and mix gently.
Gradually beat in the egg yolks and vanilla (or zest) until the mixture comes together.
Finally, fold in the plain flour — just until you have a smooth dough. Don't overwork it, or the butter will warm up.
Roll the dough between two sheets of baking paper to 2–3 mm thick (2 mm for 6–8 cm tins, 3 mm for 14–18 cm tins).
Transfer to a flat tray and chill for 1–2 hours (or overnight — in which case wrap it in plastic so it doesn't dry out or crumble). Chilling is what gives the shell its shape.
Cut the chilled dough into rounds and strips to fit your tins, butter the tins, and line them with the dough.
Set the tins on a perforated baking mat so they bake evenly.
Blind bake: 2 mm dough at 160°C for 15 minutes; 3 mm at 170°C for 15 minutes. If you'll be baking the shell again after filling (for example with almond cream), cut the first bake down to 12–13 minutes.
Once baked, let the shells cool for a few minutes in the tin on a wire rack — warm pastry is fragile and firms up as it cools. Only unmould once cooled.
Mix the egg yolk with the cream, brush it evenly over the cooled shells, and return them to the oven at 160°C for 10 minutes. This seals the pores so the shell doesn't go soggy under the filling.
The difference is in when the butter meets the flour. Creaming (beating softened butter with sugar) gives a lighter, softer shell; sablage (rubbing cold butter into flour) gives a firmer, crisper dough that shrinks less. Sablage is the go-to for sturdiness under runny fillings; creaming is better for a crumblier, biscuit-style shell.
Beat softened butter with sugar until light and fluffy, then add the egg and finally the flour. This works air into the dough, giving a lighter, softer result. Both butter and egg need to be at room temperature. Watch out for overbeating — too much air will make the shell puff up and lose its shape in the oven.
Rub cold butter into the flour first, until the mixture looks like coarse sand, then add the egg and sugar. This keeps the butter in tiny pieces that melt during baking and form crisp layers. The result is a firmer, more compact, less airy dough with minimal air pockets — ideal when the shell needs to hold a runny filling. The key is making sure the butter is really cold.
Fraisage is the final smearing step that gets rid of lumps and spreads the butter evenly through the dough. Push the dough away from you a few times across the worktop using the edge of a bench scraper or palette knife — never your hands, since the warmth of your palms will melt the butter and throw off the structure.
It's especially useful when the dough isn't fully coming together after mixing. After fraisage it should be smooth and pliable, yet still short — exactly what you want under a tartlet. Don't overdo it; two or three passes is enough.
How you line the tin determines both the look and the strength of the shell. With perforated rings it takes a bit of practice at first to fit the dough in straight, but once you get the hang of it, it's easy. With fluted tins, you get to have fun decorating the edge.
First work out the length of the side strip: the circumference of the ring (diameter × 3.14) plus a few millimetres for the seam. The strip should stand a little taller than the ring itself.
Press the strip against the inner wall and gently push it into place so it sticks to both the side and the base. Press the join between the side and base with your finger or a small spatula so there's no gap.
Let the ends of the strip overlap by about 0.5 cm and press the seam together — if they just meet edge to edge, they'll pull apart during baking as the dough shrinks.
Trim off the excess at the top with a knife held flat, cutting from the centre outward — this gives you a perfectly straight edge.
Roll out a circle at least twice the height of the rim wider than the tin's diameter, so you can ease the dough in without stretching it (stretched dough will shrink back in the oven). Once it's in place, press it gently into the corners and let it settle loosely against the fluted edge. Trim the excess with a sharp knife along the rim, or roll over it with the rolling pin.
You can then decorate the edge: pinch ripples between your knuckles, press a pattern with a fork, braid a plait from the trimmings and press it onto the rim, or cut out small shapes (leaves, circles) and stick them on.

Egg wash is a mix of egg yolk and a little liquid (cream or water) brushed over the baked shell to seal the pores so the filling doesn't turn it soggy. It also gives the surface a golden sheen. It's the difference between a shell that stays crisp the next day and one that goes soft under the cream.
How to do it: mix 1 egg yolk with 5 g cream, strain the mixture gently to remove any lumps. Once the shells are baked and cooled, brush them evenly and return them to an oven preheated to 160°C for 10 minutes. The surface will set, turn golden, and become more resistant to moisture.
The most common mistakes with tartlet shells are overworked dough, insufficient chilling, the wrong consistency, and an oven that isn't hot enough — here's how to avoid them:
Don't overwork the dough. Excessive kneading warms up the butter and the shell won't turn out crisp. Mix just until combined.
Watch the consistency. The dough should be smooth, not wet. If it's dry and crumbly, add a touch more egg yolk; if it's sticky, add a pinch of flour.
Roll between two sheets of baking paper. The dough is quite sticky and you don't want to dust it with extra flour (it throws off the ratio); rolling between paper also makes it easy to move straight to the fridge.
Chilling is compulsory. At least an hour in the fridge, so the butter firms up and the shell doesn't shrink in the oven. Wrap it in plastic if chilling overnight.
Patch up any cracks. Where the dough overhangs, trim off a bit and press it into any gaps — raw dough sticks together easily.
Let it rest before shaping. 5–10 minutes at room temperature so the edges don't crack when you fold them.
Bake in a properly preheated oven. A cold oven lets the butter melt out before the structure has a chance to set — the shell slumps and turns greasy.
Only unmould once fully cooled. A hot shell is fragile and breaks easily; once cooled it holds its shape much better.

Quick reference: raw dough keeps for 2 days in the fridge, a month in the freezer; baked empty shells keep for a month in the freezer; filled tartlets are best eaten as soon as possible.
Wrap it in plastic or seal it in an airtight container so it doesn't dry out. It keeps up to 2 days in the fridge, and up to 1 month in the freezer (wrapped and in a freezer bag). The most practical way is to freeze it already cut into rounds and strips — it saves space and you can just take out what you need. Let it come back to room temperature briefly before baking.
Store them in a sealed container in a dry spot, ideally at room temperature. For longer storage, freeze them for up to 1 month — keep them in a single layer, separated by baking paper, so they don't break (they'll take up more space this way). Thaw at room temperature. The shells need to be completely cool before storing.
Once filled with cream or fruit, they belong in the fridge and are best eaten as soon as possible — moisture from the filling gradually softens the shell, so it loses its crispness within a few hours. That's why you should only fill them just before serving.
This recipe can be adapted to different needs — it just takes a bit of experimenting with ratios, since substitutions change the texture.
Use a ready-made gluten-free baking blend, or mix your own from rice, potato, corn and almond flour. A pinch of xanthan gum or psyllium helps with elasticity and binding. Gluten-free dough tends to be more delicate, so handle it carefully and chill it well before baking.
Swap the butter for a good-quality plant-based fat or coconut oil, and replace the egg yolks with a flax or chia "egg" (1 tbsp ground seeds plus 3 tbsp water, left to swell into a gel). The texture will be different, so adjust the ratio and add a splash of plant milk if needed to help the dough bind.
You can swap sugar for sweeteners like erythritol, xylitol or stevia; manufacturers claim these have a lower glycaemic index than sugar. For a low-carb version, replace part of the flour with almond flour. Substitutions change both moisture and structure, so adjust the liquid ratio and let the dough rest a little longer so it comes together.
These are general baking tips, not dietary advice — if you're managing diabetes or following another diet for health reasons, check with your doctor or a nutritionist about which ingredients are right for you.
The shell is just the base — the fun starts with the filling. Tartlets can go sweet or savoury, making them just as good for dessert as for a starter. Let the seasons guide you: in-season produce tastes better, tends to be cheaper, and supports local growers.
A smooth vanilla cream, mascarpone or chocolate ganache makes a great base, topped with fresh fruit. Go for strawberries, raspberries and blueberries in summer, or apples and pears with cinnamon in autumn. For something more exotic, try mango or passion fruit — they add a refreshing tang and colour. Finish with mint leaves or grated chocolate.
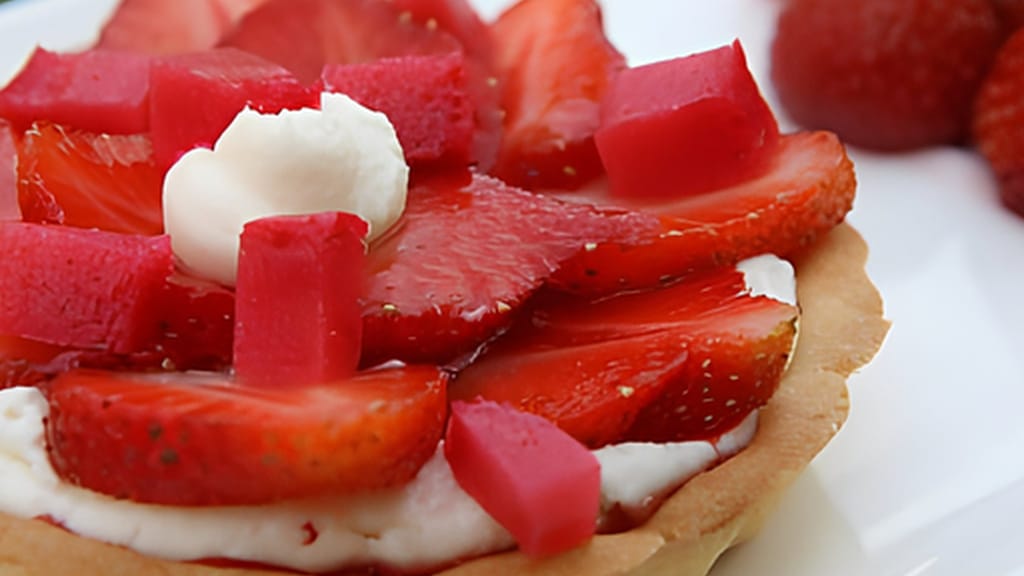
Mascarpone tartlets with strawberries and a touch of currant jelly
Tartlets with mascarpone, strawberries and a touch of redcurrant
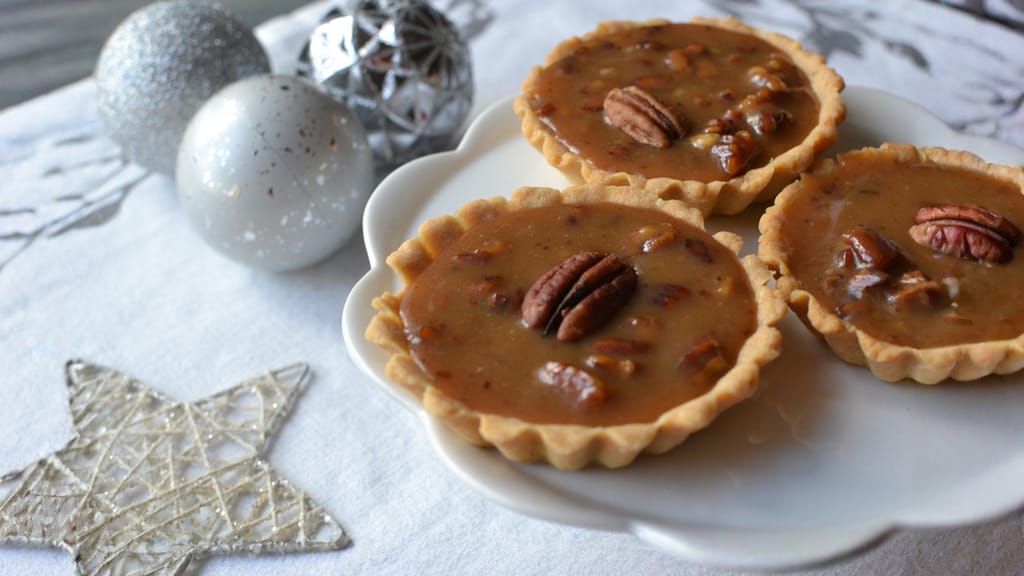
Pecan caramel tartlets
Tartlets with caramel and pecans
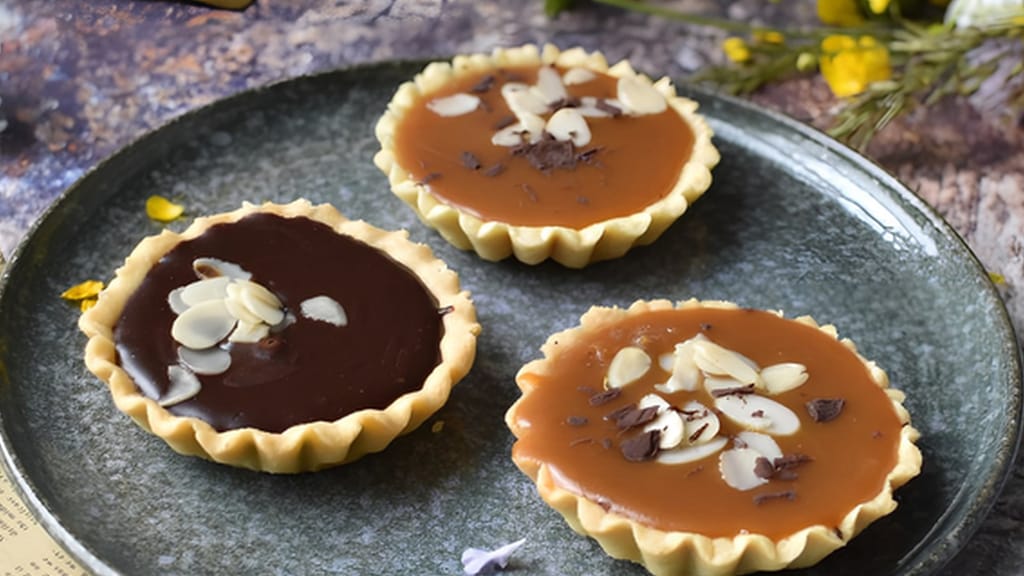
Crisp tartlets with salted caramel and chocolate
Crisp tartlets with salted caramel and chocolate
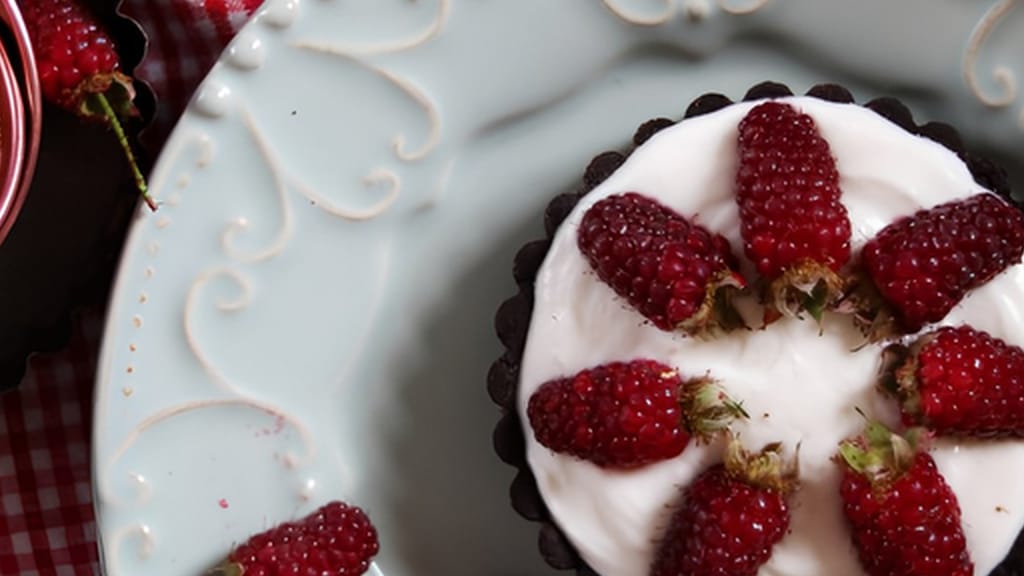
Tartlets with light ricotta and curd cheese cream
Tartlets with a light ricotta and curd cheese cream
The savoury version is just as rewarding. Cream cheese makes a great base, topped with smoked salmon or prosciutto; goat's cheese with sun-dried tomatoes is another favourite combo. Vegetables work well too: roasted peppers or courgette with basil pesto, or pumpkin and caramelised onion in autumn. Quiche is a close cousin of the savoury tartlet — same shortcrust pastry, just in a larger format with an egg custard filling.
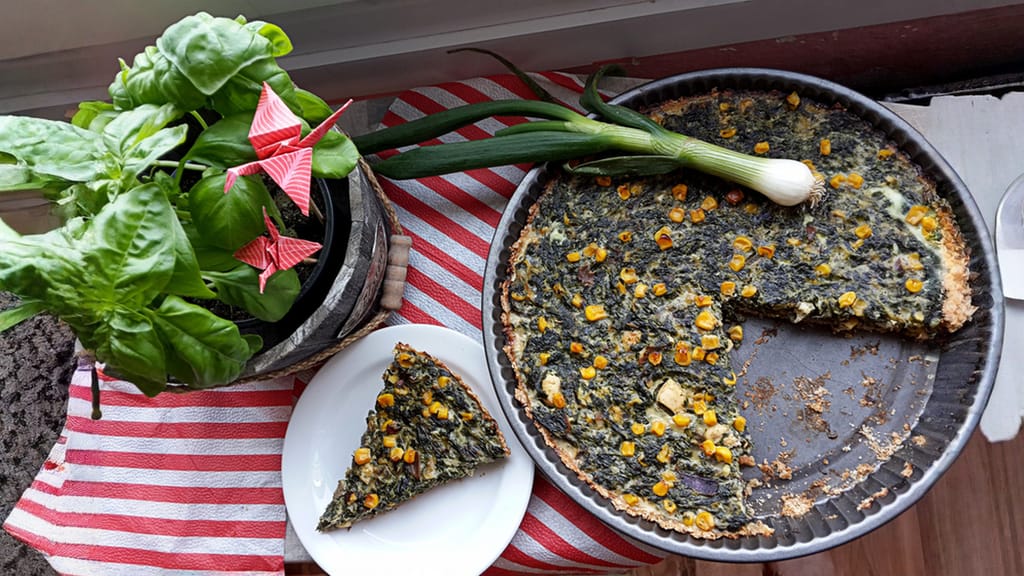
Spinach and chicken quiche
Spinach and chicken quiche made with shortcrust pastry
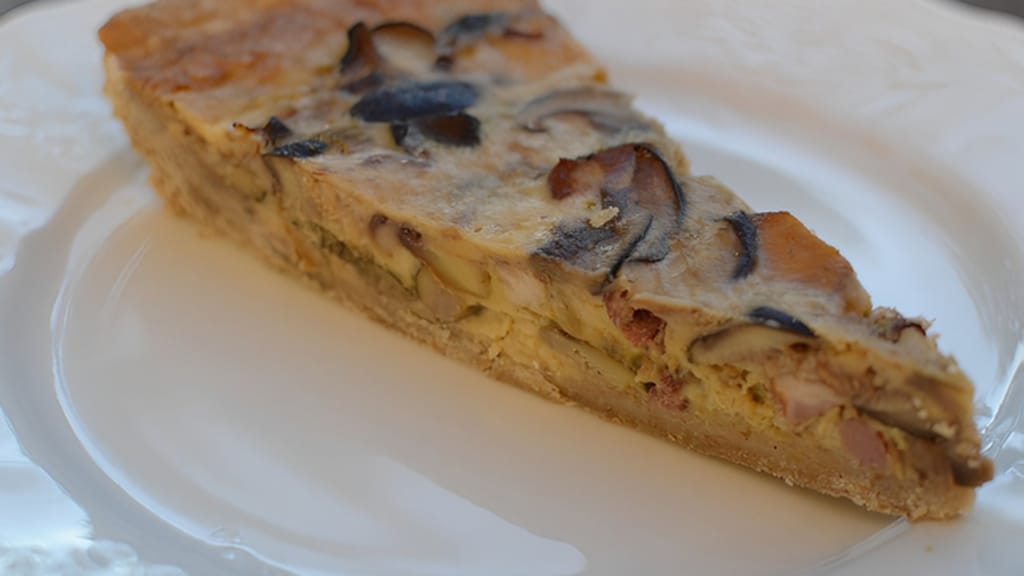
Wonderful mushroom quiche
A great mushroom quiche — inspiration for savoury tartlets
Shells shrink mainly because the dough was too warm, stretched, or hadn't rested enough when it went into the tin. Chill the dough for at least an hour before baking, ease it into the tin without stretching, and bake in a properly preheated oven — a cold oven lets the butter melt out before the structure sets. With perforated rings it also helps to let the strip's seam overlap by about 0.5 cm.
Not always, but for thin shells it's worth it so the base doesn't puff up. If you're baking in a perforated ring on a perforated mat, the dough bakes evenly and you often won't need weights at all. In a solid tin, prick the base with a fork and fill it with baking beans, rice or ceramic weights; once the edges have set, remove them and bake until golden.
First, bake the shell all the way to golden, then brush the inside with egg wash (yolk plus a little cream) and bake briefly again — this seals the pores. An even better barrier is a thin layer of melted chocolate (for sweet fillings) or brushed egg white. And most importantly, fill just before serving, not ahead of time.
Yes. Almond flour adds delicacy and flavour to the recipe, but it isn't essential — swap it for the same amount of plain flour, and add a tablespoon of cornflour for extra crispness if you like. Just expect the shell to be a touch less nutty and slightly firmer.
Empty baked shells can be made up to a week ahead if stored in an airtight container in a dry spot, or frozen for up to a month layered with baking paper. Raw, cut-out dough keeps in the freezer for a month too. Just don't fill them until the day of serving, or the shell will soften under the filling.
One recipe worth heating the oven for, one tip, and one deal from the shop. Nothing else.