Classic christmas cookies: delicate linzer cookies
Parchment Paper, Silicone Mat, or Greased Baking Sheet: What to Use When
Updated Sep 25, 2026
Parchment paper is the most versatile choice up to about 220°C (check the packaging), a silicone mat pays off for sticky, delicate bakes you make often, and a greased baking sheet gives you the best browning on vegetables, potatoes and bread. It's not just about preventing sticking: each surface conducts heat differently and has different friction, so cookies spread and brown differently depending on which one you use. Here's what you get from each option and where each one has its limits.
In short: use parchment for cookies and biscuits, silicone for sticky bakes and frequent baking, and a greased baking sheet for vegetables, potatoes and bread with a crispy bottom.
Parchment paper — good up to about 220°C (check the packaging). Cookies hold their shape, edges turn out crisper, and finished bakes lift off easily. Good for one use or several.
Silicone baking mat — depending on the manufacturer, up to roughly 230–250°C. Nothing sticks to it, and it lasts hundreds of bakes. It's slippery, so dough spreads more; the bottom tends to come out paler.
Greased baking sheet — no temperature limit, and heat goes straight into the food. Gives the best browning and crispness, but means more washing up, and with sweets there's a risk of sticking and scorched sugar.
Parchment paper is the best choice for most cookies, biscuits, meringues, and lining cake tins. It's thin, so it conducts heat almost as well as a bare baking sheet, but nothing sticks to it.
Cookies and biscuits: the dough "grips" the paper slightly, holding its shape, and the edges turn golden. You can slide the whole sheet of finished cookies onto a wire rack and reuse the baking sheet right away.
Meringues and egg-white bakes: once cooled, they peel off the paper easily.
Cake tins and loaf pans: a circle of paper on the bottom and a strip around the sides save you the hassle of greasing and flouring.
Cooking en papillote: fish or vegetables wrapped in parchment steam in their own juices — like the salmon parcel below.
Watch the temperature. Most papers list a limit of around 220°C on the packaging. Above that, the paper browns, turns brittle, and the edges can scorch. For pizza at 250°C or higher, only use it briefly to help transfer the dough, or pull it out after the first few minutes.
Fix for curling paper: crumple the sheet into a ball, then unfold and smooth it out, or anchor the corners of the baking sheet with a dab of dough or butter. Don't let the paper hang over the edge of the sheet — in a fan oven it can lift up and touch the heating element.
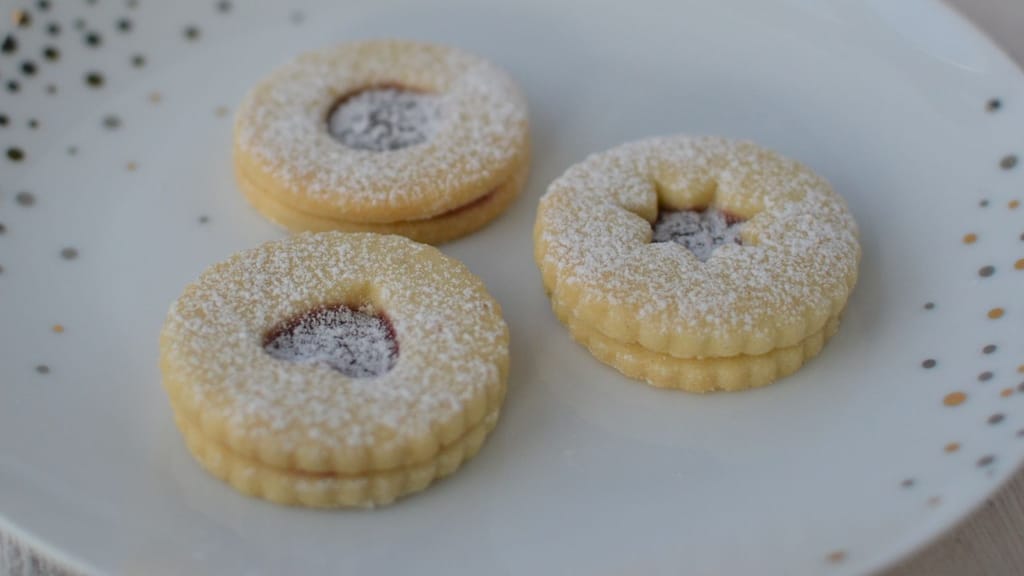
Classic christmas cookies: delicate linzer cookies
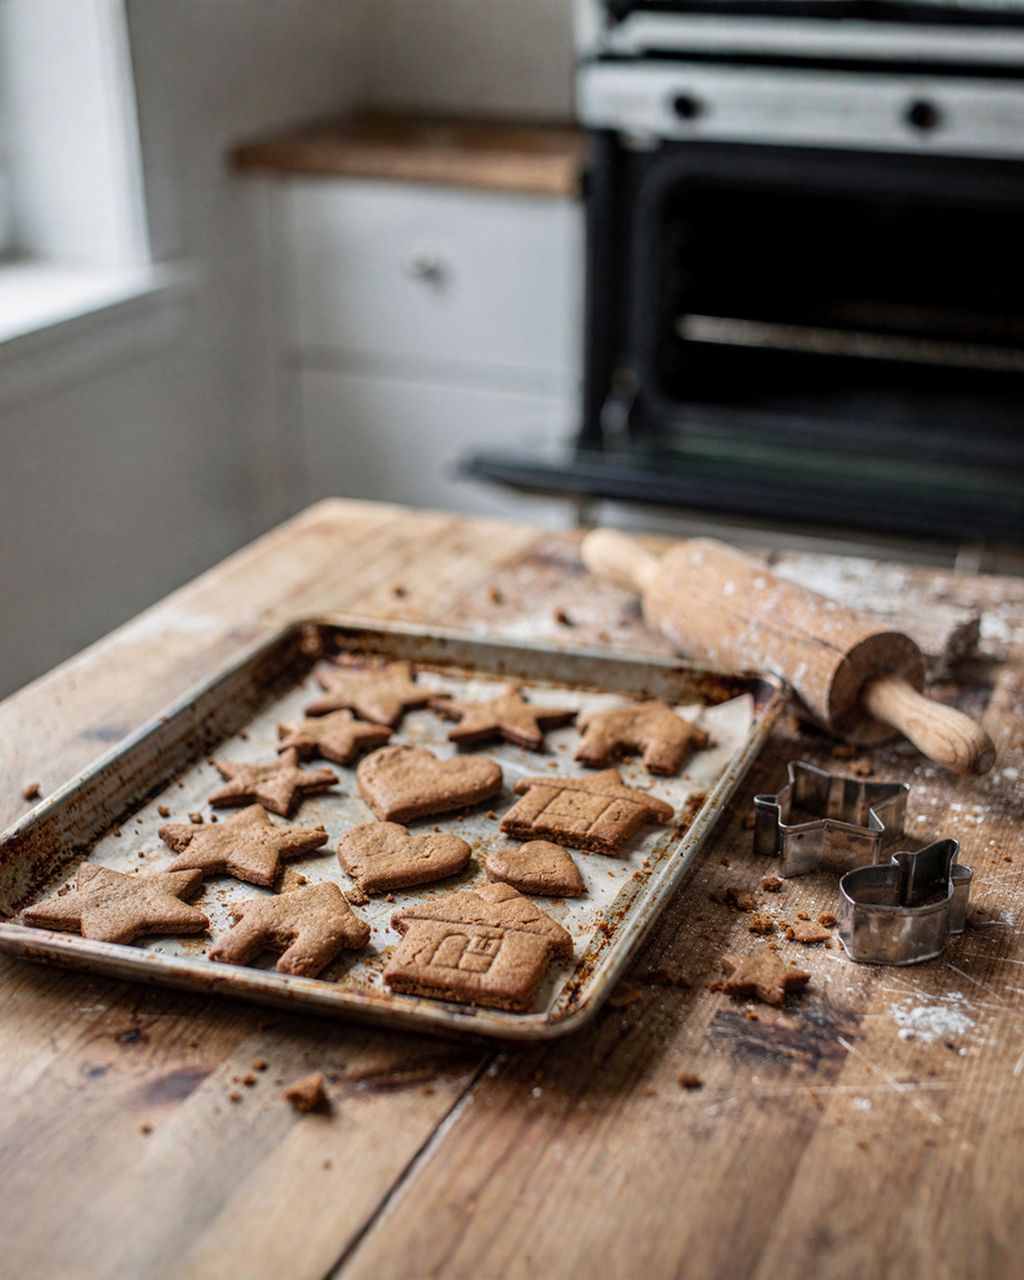
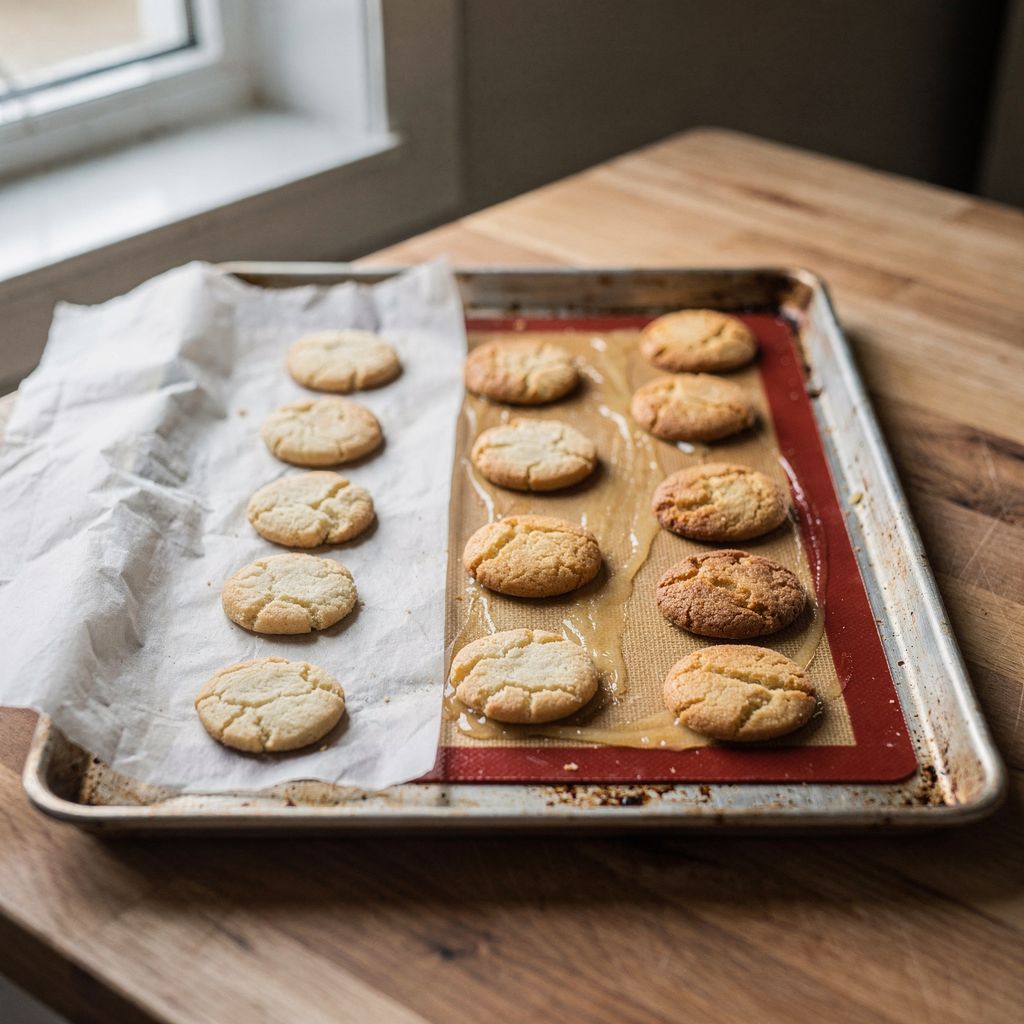
Classic buttery linzer cookies — a buttery dough that holds crisp shapes on parchment paper
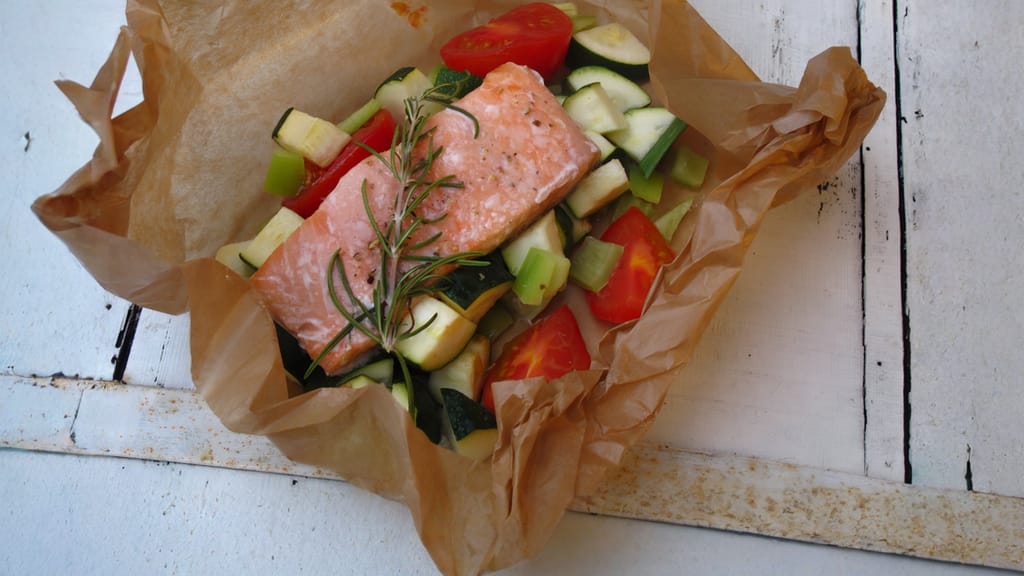
Saumon au papillote, or salmon baked in a parcel
Salmon en papillote — fish steamed in its own juices
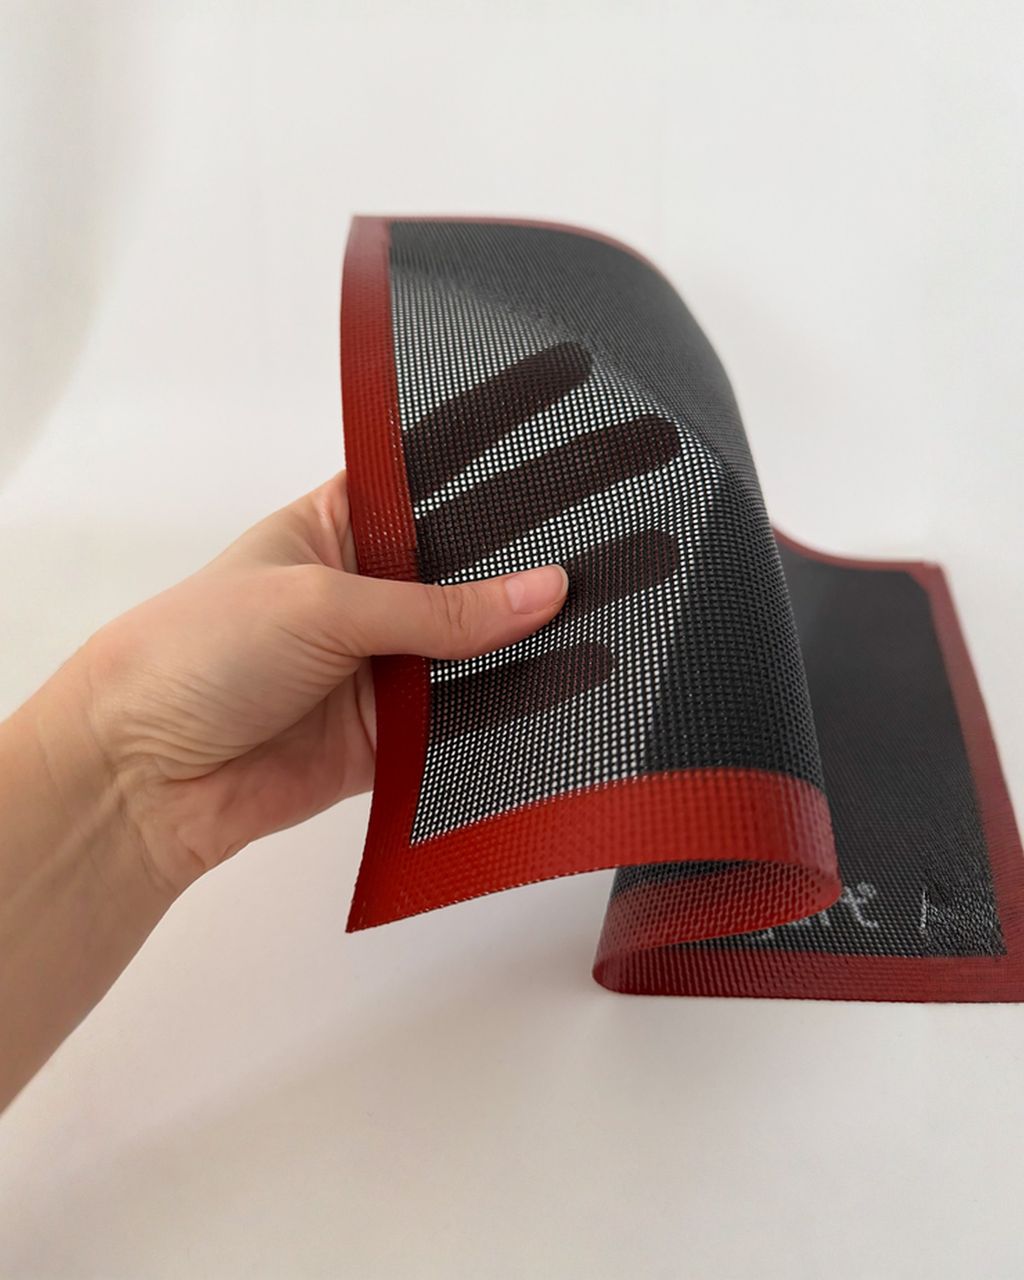
A silicone baking mat pays off when you bake often and make particularly sticky or delicate things: macarons, thin tuiles, caramel, pralines, marzipan, or sticky yeasted doughs you work with directly on the mat.
Nothing sticks even without added fat — not even melted sugar.
Lasts hundreds of bakes — less waste than paper, and cheaper in the long run.
Higher temperature limit — typically 230–250°C, depending on the manufacturer.
What to watch out for.In America's Test Kitchen trials, chocolate chip cookies baked on a silicone mat came out roughly 6mm wider than those baked on parchment — the mat is slippery, so the dough spreads more. For the same reason, the thinner edges can bake through and brown more, while the centre of the bottom tends to stay paler on silicone. If you want taller, more compact cookies, reach for parchment instead — or a perforated mat that lets hot air pass through.
Care: never cut on a silicone mat with a knife or pizza wheel — you'll slice right through it. Wash with warm water and a drop of dish soap; the rough side of a sponge will scratch it. Always place the mat on a baking sheet, never directly on a rack — without solid support underneath, it sags (a perforated mat can go straight on a rack, per the manufacturer's instructions).
A greased baking sheet is best when you want maximum browning and crispness: roasted vegetables, potatoes, meat, bread rolls, pizza and bread. The metal transfers heat directly to the food, and the fat on the sheet essentially "fries" the bottom — something neither paper nor silicone can do.
Vegetables and potatoes: grease the sheet with oil (1–2 tablespoons per sheet is enough) and spread the vegetables in a single layer so they roast instead of steam.
Pizza and bread: at 250°C or above, a bare or lightly oiled sheet (or a preheated baking stone) is more reliable than paper.
Cakes in a tin: grease the tin with softened butter and dust with flour — a thin layer of flour stops sticking and lets the cake release cleanly from the sides.
Careful with sweets. Fat on the sheet gives cookies a slippery base, so they spread more. Buttery doughs like linzer cookies or vanilla crescents already have plenty of fat and won't stick to a clean sheet — you don't even need to grease it. On the other hand, anything with caramelizing sugar, honey, or a fruit filling will stick and scorch on a bare sheet; that's where parchment belongs.
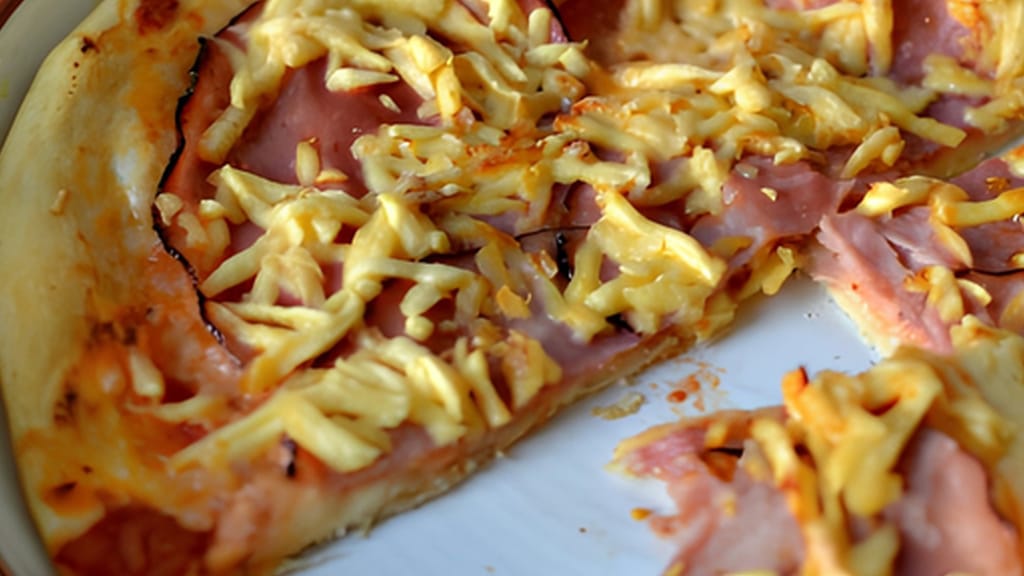
The perfect homemade pizza
Perfect homemade pizza — a crispy base on a hot bare baking sheet, no parchment needed
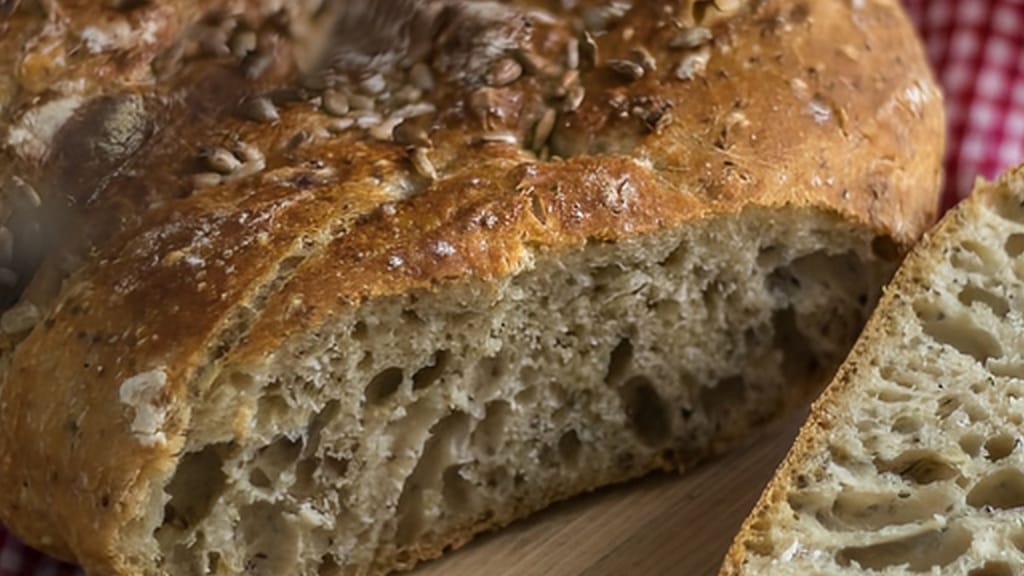
Homemade bread
Homemade bread — a crust that only a hot baking sheet or stone can deliver
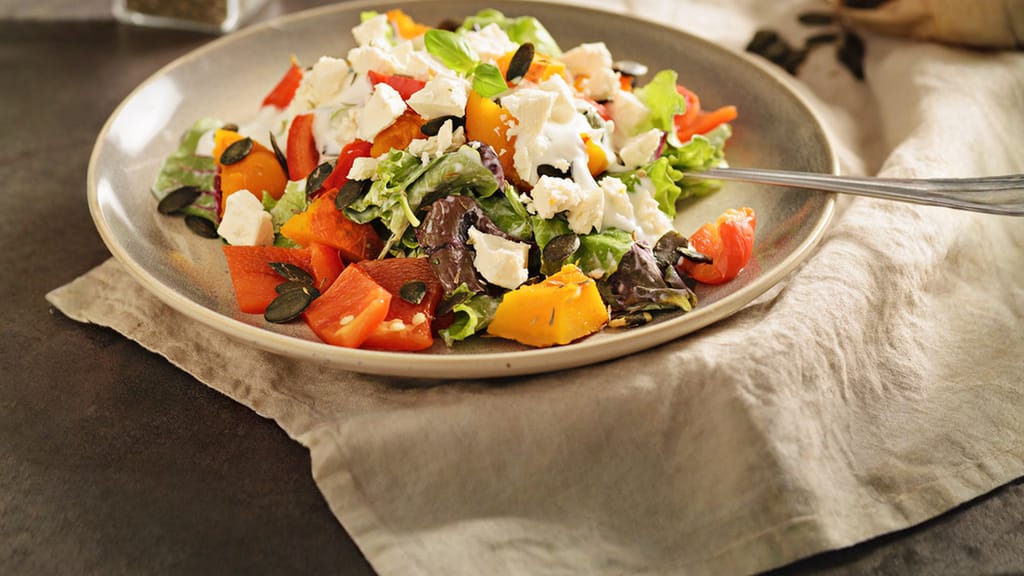
Roasted vegetable salad with feta
Roasted vegetable and feta salad — the vegetables that benefit most from a greased sheet
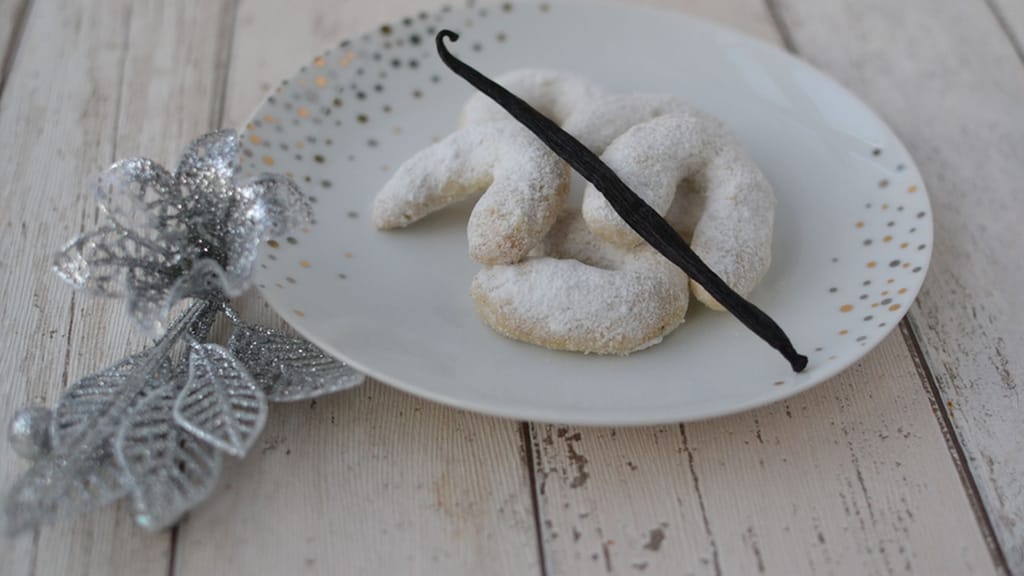
The best christmas cookies? vanilla crescents, of course!
Vanilla crescent cookies — a buttery dough that won't stick even to a bare sheet
Cookies bake differently on parchment paper, a silicone mat and a greased baking sheet because of three things: heat conduction, surface friction, and how the bottom browns.
Heat conduction. A bare metal sheet transfers heat fastest, paper is thin and slows it only slightly, and silicone slows it the most. The slower the bottom heats up, the longer the dough stays soft — and the more it can spread.
Friction. Paper has a slightly rough surface that the dough can "grip." Silicone, and especially a greased sheet, are slippery, so melted butter carries the dough outward — and the thin edges then brown faster.
Bottom browning. Direct contact with metal (and fat) gives the darkest, crispiest bottom. On silicone, the centre of the bottom tends to stay palest.
Practical takeaway: if you switch from parchment to silicone and find your cookies spreading too much, chill the dough for 20–30 minutes before baking, or leave more space between portions.
There are six mistakes people make most often: mixing up parchment with wax or sandwich paper, using foil under sweets, exceeding the paper's temperature limit, cutting on a silicone mat, using a greased sheet for delicate cookies, and placing dough on a hot sheet.
Mistaking parchment for sandwich paper or wax paper. Wax paper has no place in the oven — the wax melts and smokes.
Using foil instead of paper for sweets. Foil has no non-stick coating, so cookies stick to it and the bottom scorches faster. Lightly oiled foil is fine for vegetables or meat, though.
Exceeding the paper's temperature limit. At 250°C, parchment browns and turns brittle within minutes.
Cutting on a silicone mat. One cut and the mat is ruined.
Using a greased sheet for delicate cookies. The extra fat makes cookies spread more, and the bottom can darken before the top is done.
Putting raw dough on a hot sheet. Whatever surface you use, put the next batch on a cooled sheet or a fresh sheet of paper — otherwise the dough starts spreading before it even reaches the oven.
You can reuse parchment paper as long as it's still intact, clean and not browned — for dry cookies, one sheet can easily handle three to four batches. Once it turns greasy, brittle or dark, throw it out; browned paper cracks and loses its non-stick properties. There are also heavier-duty, silicone-coated reusable papers that manufacturers claim last through more bakes — check the packaging for the exact number.
With ordinary parchment paper, it doesn't matter which side faces up — both sides have a non-stick coating. If the manufacturer states otherwise on the packaging, follow those instructions. If the paper keeps curling, place it with the inside of the roll facing down, or anchor the corners with a dab of batter or dough.
Yes, you can put parchment paper in the microwave — it contains no metal and works well for covering food to prevent splatter or as a liner under reheated baked goods. Just don't let it touch the walls or come near an exposed grill element if your microwave has a grill function; in that case, the same temperature limit as for an oven applies.
Baked goods most often stick to parchment paper because they're underbaked, still hot, or the paper has lost its non-stick coating from repeated use. Let meringues and other egg-white bakes cool completely before removing them, and for fillings with sugar or cheese that ooze out and caramelize, lightly greasing the paper helps. Cheaper papers tend to have a thinner silicone coating, so they start sticking sooner.
Soak a stiff or greasy silicone mat for 15–20 minutes in hot water with a drop of dish soap, then wipe with the soft side of a sponge. For stubborn grease, a paste of baking soda and water works well. Avoid steel wool or sharp tools, as they'll scratch the surface.
One recipe worth heating the oven for, one tip, and one deal from the shop. Nothing else.