Perforated Stainless Steel Tart Ring – Fluted, Ø 24 cm
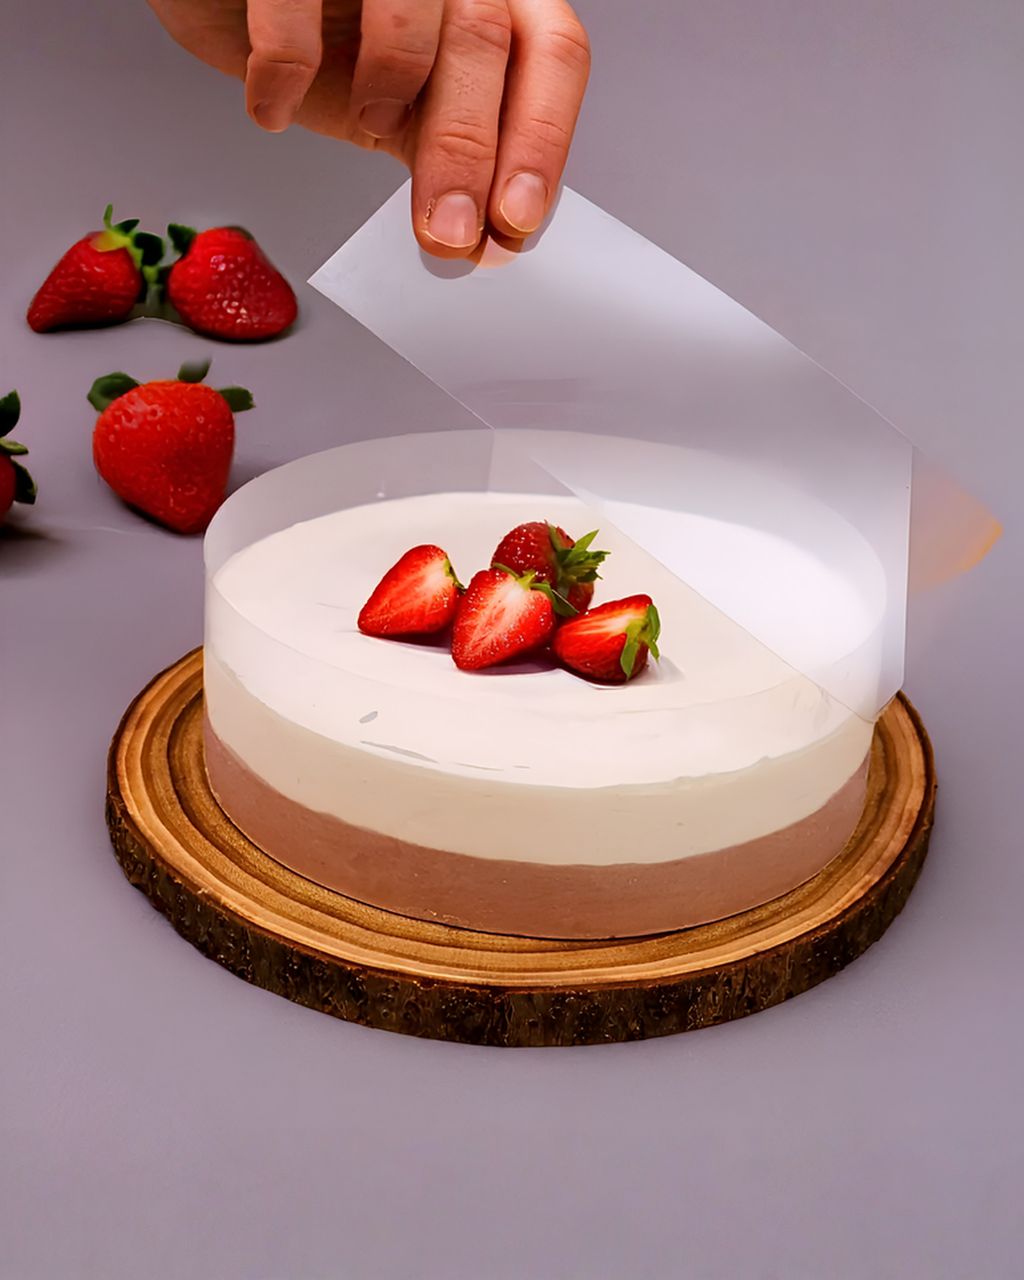
No-Bake Cheesecake in a Ring: How to Get Straight Sides and Clean Slices
Updated Oct 15, 2026
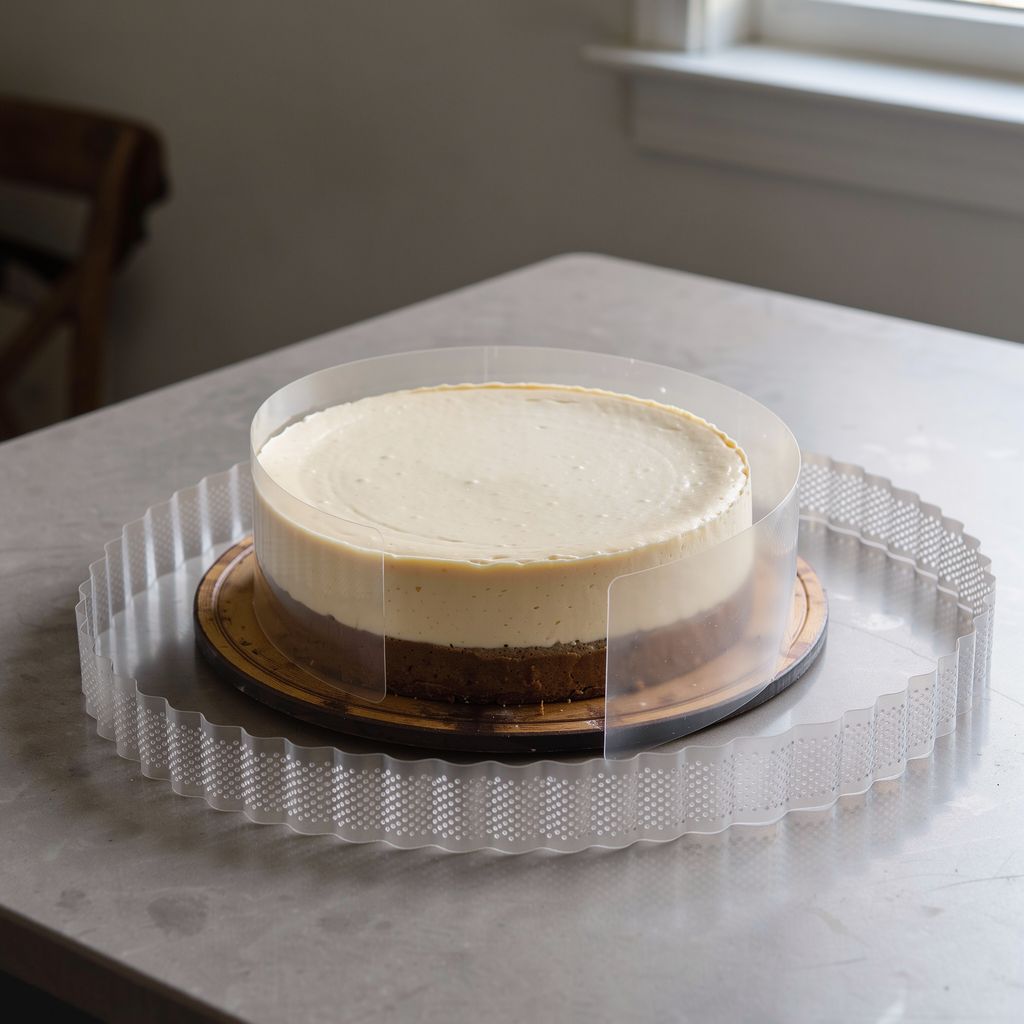
A no-bake cheesecake in a ring has straight sides when you do three things: line the ring with an acetate strip, set the filling with roughly 10–15 g of gelatin per kilo, and let it chill overnight. Lift off the ring, peel away the strip, and you get a smooth edge with no pan marks. Here's the whole process step by step: which ring to use, how many cookies you need for the base, how to mix the gelatin into the filling so it doesn't seize into rubbery strings, and how to slice it so every piece looks bakery-perfect.
A cake ring has no bottom, so you build the cheesecake directly on the board or plate you'll serve it on. You never have to flip it or slide it off a metal pan base. That's the whole advantage:
Straight sides. A ring lined with a strip gives you a smooth wall, without the seam a springform pan leaves.
No moving it around. The finished cheesecake stays put, so the base doesn't break and the edge doesn't get dented.
Clean release. Lift the ring straight up and peel the strip away to the side. Nothing sticks, nothing tears.
A pan with a removable bottom works too, especially for a taller cheesecake. Just keep in mind that the pan base stays under the crust, or you'll have to ease it out carefully with a knife. If you have one at home, line it with a strip exactly as you would a ring.
For a no-bake cheesecake serving 10–12 people, a ring 22–24 cm in diameter is enough, along with an acetate (pastry) strip long enough to go around the whole inside with a 2–3 cm overlap. These details are worth thinking about:
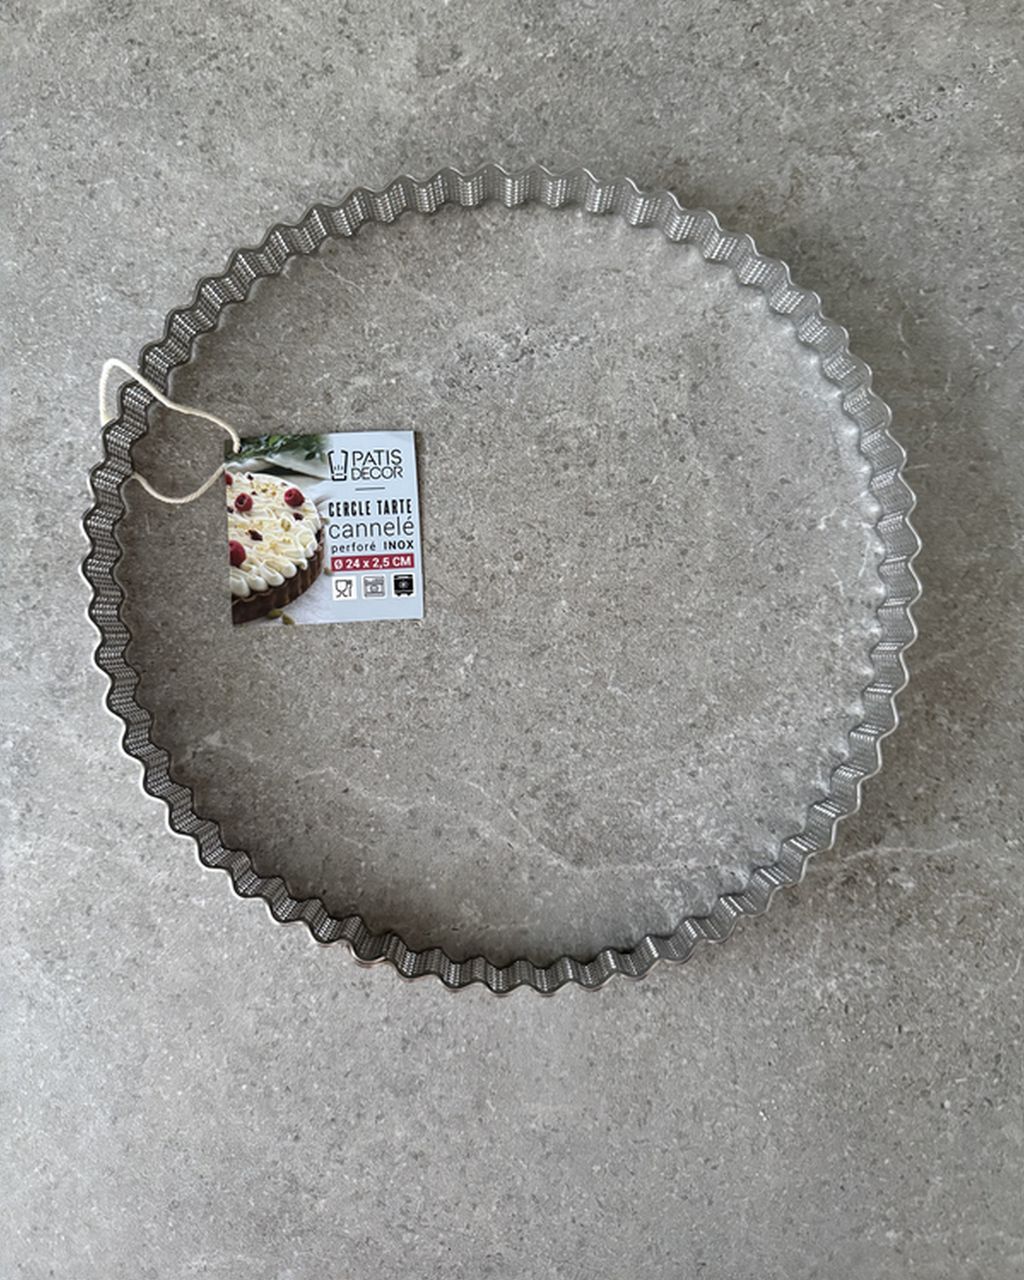
Fluted ring, smooth sides. We carry a perforated 24 cm fluted ring. If you set the strip inside it as a smooth cylinder, it rests against the inner peaks of the flutes and the cheesecake gets straight sides, just a touch smaller in diameter (about 23 cm).
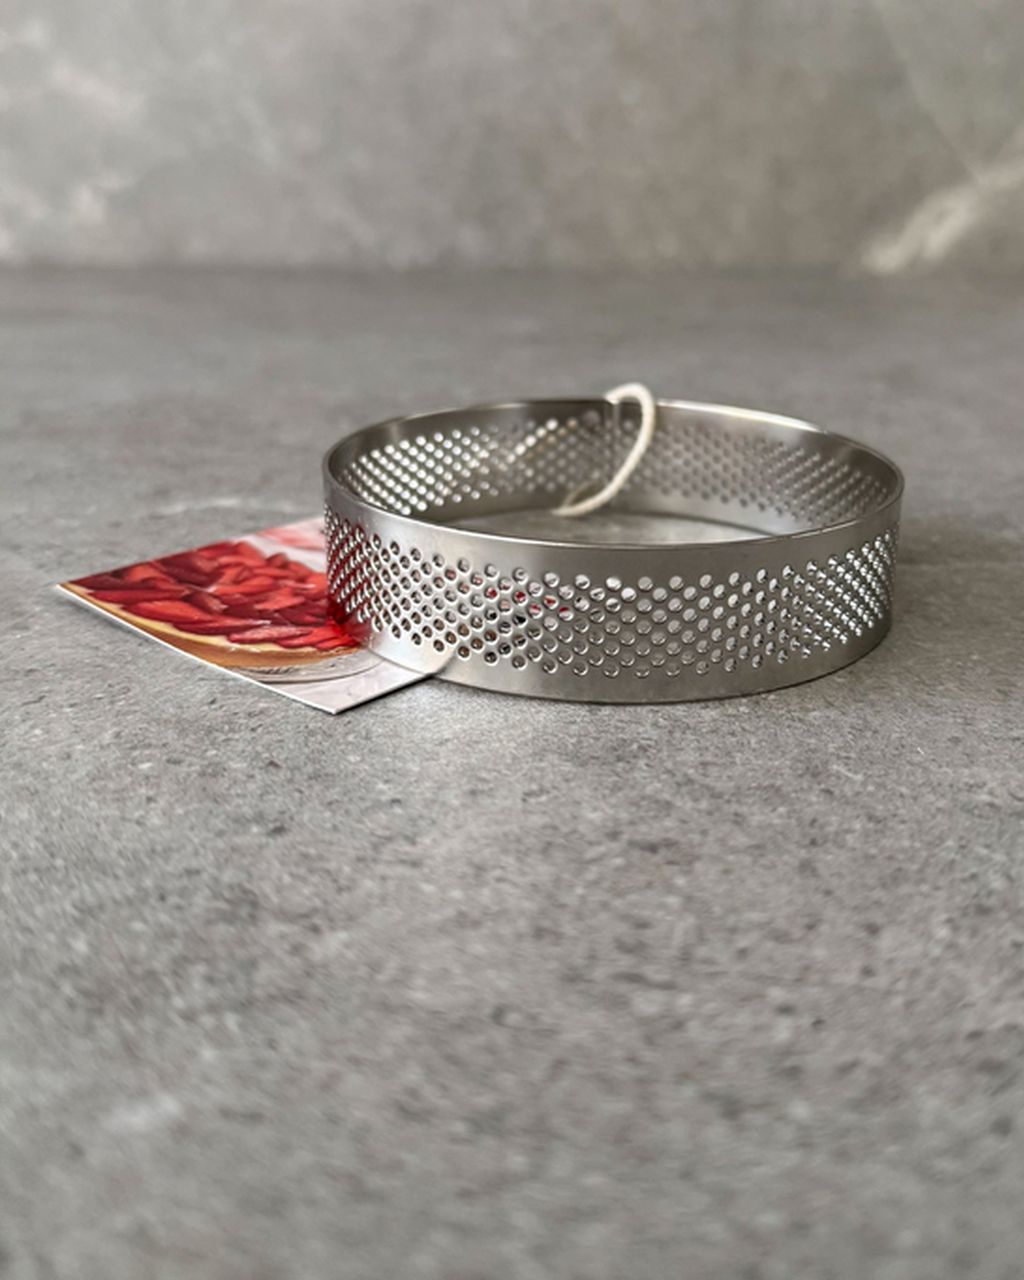
Perforations. The holes in the ring are mainly there for baking tarts and pies, so air can circulate toward the edge. They neither help nor hurt a no-bake cheesecake. Still, always put a strip inside a perforated ring, or the filling will leave imprints in the holes.
Strip height = cheesecake height. The Patisdécor pastry strip is 35 mm wide, which is enough for a lower, tart-style cheesecake: roughly 1 cm of crust and 2.2 cm of filling, leaving 2–3 mm below the top edge of the strip. For a tall New York–style cheesecake (6–7 cm), you need a wider acetate strip or a ring with higher walls. We don't recommend stacking two strips, as the join shows on the side.
Mini cheesecakes. Small smooth rings, 8 cm in diameter, are ideal for individual portions. The method is the same, but setting is quicker: 3–4 hours in the fridge is enough.
You'll find rings, boards and other tools together in the cake rings and cake boards category.
Place the strip inside the ring so it hugs the wall and the ends overlap by 2–3 cm. Tape the overlap with a small piece of adhesive tape on the outer side of the circle (the side facing the ring, not the filling).
Set the ring on a serving board or cake plate. If you'll want to move it later, put a circle of parchment paper underneath.
Cut the strip to length: in a fluted 24 cm ring the strip sits on the inner peaks of the flutes (diameter about 23 cm), so the circumference is about 72 cm, and with the overlap you need roughly 75 cm.
Stand it upright inside the ring and smooth it against the wall. The bottom edge must sit directly on the board, with no gap.
Join the overlap so that the inner end points in the direction you'll eventually peel the strip. That way it won't catch on the filling when you remove it.
If you want to bake the crust, put the strip in only after the crust has baked and cooled (see below). Acetate doesn't belong in the oven.
For a crust 24 cm in diameter and about 1 cm thick, use 300 g of cookies and 130–140 g of melted butter (roughly 2:1). For 18 cm, half that is enough.
Crush the cookies finely. Bigger pieces leave gaps in the crust, and it crumbles when you slice.
The mixture should look like damp sand that holds its shape when you squeeze it in your palm. If it falls apart, add a spoonful of butter.
Press it into the ring with the bottom of a glass. Press it firmly against the strip too, because a sealed crust edge keeps the filling from seeping underneath.
Chill the crust in the fridge for 15–30 minutes (or in the freezer for 10 minutes). The butter firms up and the filling won't soak into the crumbs.
For a crunchier crust, bake it: 10 minutes at 170 °C (340 °F). But don't bake it in a fluted ring: the crust would fill the flutes and end up wider than the strip, leaving nowhere to slip the strip in. Bake it in a cake pan or a separate smooth ring 22–23 cm in diameter (acetate must never go in the oven), let it cool completely, and only then place it in the fluted ring lined with the strip. If you do bake it in the fluted ring, trim the edge with a sharp knife once it has cooled, to about 23 cm. Then press the crust against the wall inside the strip and only after that pour in the filling.
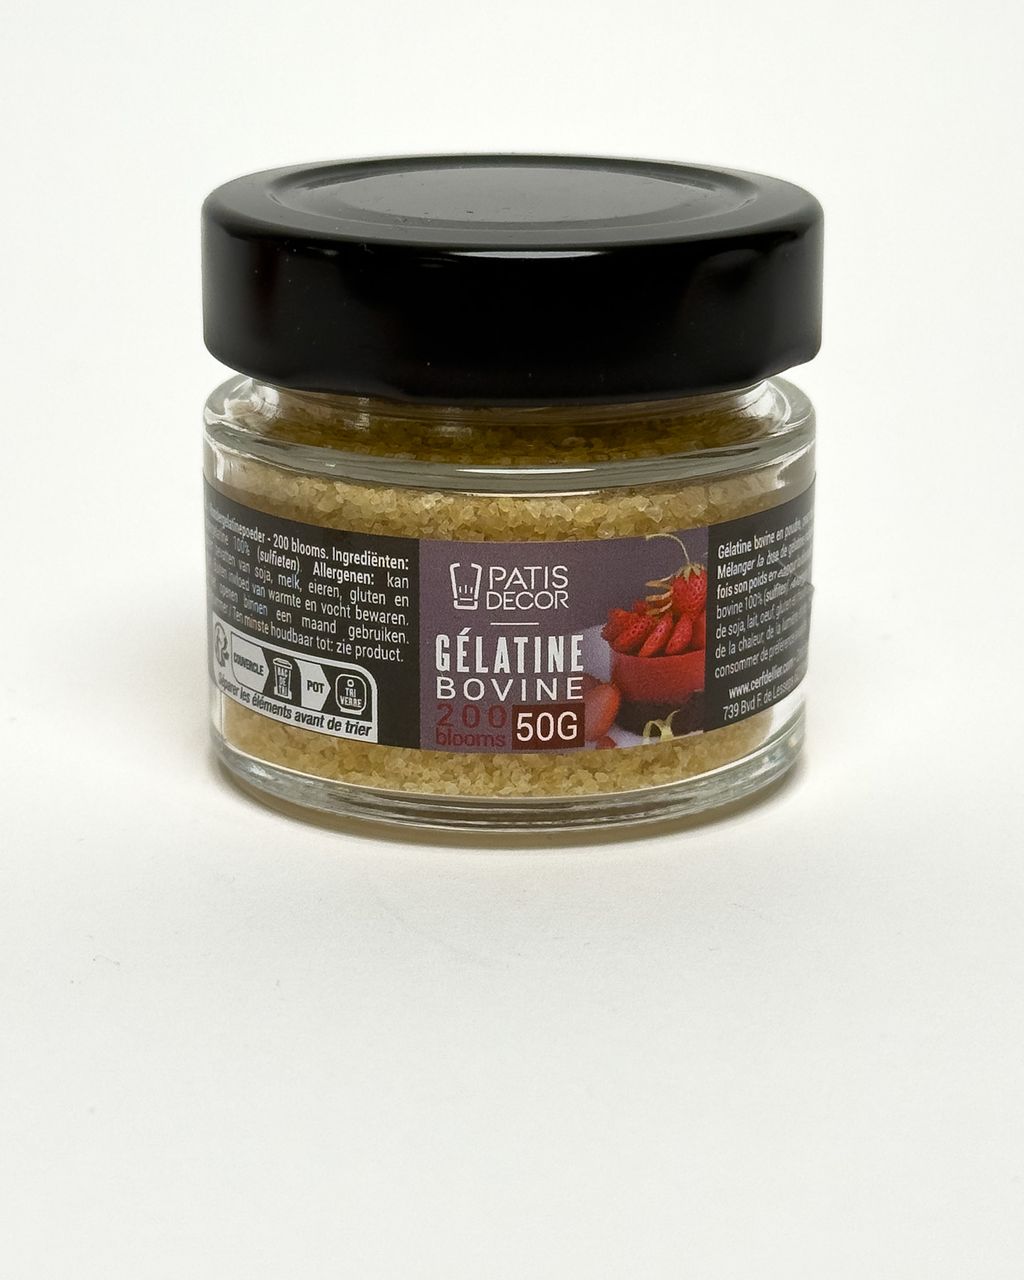
For a no-bake cheesecake that stands on its own once the ring is off and slices cleanly, use 10–15 g of 200 Bloom powdered gelatin per 1 kg of filling (that's 1–1.5% of its weight). The cream cheese and whipped cream hold up some of the structure themselves, so you don't need more.
10 g per kilo: a creamy, velvety slice. It holds when you cut it cold from the fridge.
12–13 g per kilo: the golden middle for a ring. The sides stay straight even after an hour on the table.
15 g per kilo: for a warm celebration, transport, or a lot of fruit purée in the filling (acidic fruit weakens the gel).
Don't go higher. Above 2%, the filling turns rubbery and springs back under the fork.
Patisdécor powdered beef gelatin, 200 Bloom suits this well: its strength is consistent, so the amount in grams works the same every time. Bloom is the unit of gel strength. With weaker gelatin you need more, with stronger gelatin less.
Gelatin seizes into rubbery strings when hot gelatin meets cold filling. To prevent that, work with three temperatures: bloom it in cold water, melt it at 50–60 °C (120–140 °F), and stir it into the filling at room temperature.
Blooming. Sprinkle the gelatin over 5–6 times its weight in cold water (12 g of gelatin into 60–70 ml) and leave it for 10 minutes, until it thickens into a firm mass.
Melting. Warm it in the microwave in 5–10 second bursts or over a water bath until clear. Don't boil it. Boiling weakens the gel.
Tempering. Stir 3–4 spoonfuls of the filling into the melted gelatin to thin and cool it. Only then pour this mixture into the rest of the filling, stirring constantly.
The filling must not be ice-cold. Take the cream cheese and quark out of the fridge at least 30 minutes ahead. Fold in the whipped cream last, by hand with a spatula.
If strings appear in the filling before you fold in the whipped cream, warm it briefly over a water bath (lukewarm is enough) and stir. The gelatin will dissolve again. Once the whipped cream is in, don't heat the filling any more, or the cream will deflate.
Pour the filling into the middle of the chilled crust, spread it toward the edge with a spatula, and level the top with a straight offset spatula. Then tap the ring and board gently on the counter a few times so the bubbles rise to the surface.
Fill to 2–3 mm below the top edge of the strip, so you can level it with the spatula without it spilling over.
Prick any bubbles along the wall with a toothpick. On the finished side they would look like little holes.
Don't lay plastic wrap directly on the filling, because it will leave an imprint. Put the cheesecake in the fridge uncovered, or under a large bowl.
A no-bake cheesecake made with gelatin needs at least 6 hours in the fridge, ideally overnight (12 hours). The gel does take hold after 2–3 hours, but it keeps gaining full firmness for several more hours, and that firmness decides whether the sides hold once the ring comes off.
If the filling is still soft, or even liquid, after a night, the problem is usually the gelatin, not the time. We cover the causes and how to rescue it in the article why your cheesecake won't set and how to save it.
Lift the ring straight up, then slowly peel the strip away to the side at the lowest angle possible, almost parallel to the side of the cheesecake.
No warming needed: you don't have to warm a cheesecake that has a strip. The ring slides off by itself.
Slowly and in the right direction: pull the strip in the direction of the overlap, and slowly. A quick jerk will tear off the edge.
Decorate only now. Add fruit, glaze or ganache only after the strip is off. You'll find ideas in the article how to decorate a cheesecake. For a chocolate glaze that slices cleanly, see our guide to chocolate glaze for cheesecake.
The cleanest cut comes from a long, thin knife dipped in hot water and wiped dry after every cut. Slice the cheesecake cold, straight from the fridge.
Prepare a tall container of hot water (around 60 °C / 140 °F) and a kitchen towel.
Dip the knife, wipe it, and cut in one smooth downward stroke all the way to the board. Don't saw.
Pull the knife out sideways along the board, not up through the filling, then rinse and wipe it again.
Cut from the center outward. A 24 cm cheesecake yields 12–14 slices.
A knife-free alternative: a taut stainless steel wire or unwaxed thread (be careful with dental floss, as the mint flavor can transfer to the filling). Don't slice a cheesecake straight from the freezer, or the crust under the filling will crack and crumble.
The best way to try the whole method is with our raspberry white chocolate cheesecake, which has a no-bake version. The raspberry purée in the filling is exactly the case where it's worth using gelatin at the upper limit. If you want to turn a similar filling into a cake layer, the article on quark cream that holds its shape picks up from there.
Yes. If it has the same strength (200 Bloom, usually sold as "gold"), you can swap powdered gelatin for sheet gelatin at the same weight. Go by grams, not by the number of sheets: depending on the grade, one sheet weighs roughly 1.7–3.3 g (gold is around 2 g). Soak the sheets in cold water, squeeze them out, and melt them just as you would powdered gelatin.
You can, but agar has to be boiled briefly, and the amount can't be converted from gelatin 1:1. Agar is much stronger and sets at around 40 °C (105 °F), so you stir it into a warm filling and pour quickly. The result is more brittle and less creamy than with gelatin. For a cheesecake without gelatin, see our article on [vegan cheesecake](/cs/articles/vegansky-dort-a-cheesecake).
A no-bake cheesecake keeps in the fridge for 3–4 days, covered so it doesn't absorb odors. It slices best the day after you make it. If it's topped with fresh fruit, eat it within two days, because the fruit releases juice.
Yes. A no-bake cheesecake with gelatin keeps in the freezer for up to 2 months, ideally without a fruit topping. Freeze it uncovered first, and once it's firm, wrap it in foil or plastic wrap. Thaw it overnight in the fridge, not on the counter, or water will seep out at the cut surface.
Yes, and leaving the ring and strip on is the safest way to carry it. Keep both in place, set the cheesecake on a flat floor of the car in a cooler bag, and remove them only when you arrive. For a longer trip in warm weather, use gelatin at the upper limit, 15 g per kilo of filling.
One recipe worth heating the oven for, one tip, and one deal from the shop. Nothing else.