Simple chocolate cake

Updated Jul 19, 2026
Modern pastry techniques for 2026 rest on six pillars: 3D printing, molecular gastronomy (gelling and spherification), mirror glazes, fermented ingredients, sustainable produce, and digital cake design. Each one gives you something the classic method simply can't - more precision, a new texture, or a flavour you couldn't get any other way. For every technique you'll find exact ratios, temperatures, and steps, not vague generalities. Pick one and start today.
3D printing in pastry work is mainly useful for three things: making your own custom chocolate moulds, printing edible decorations from chocolate, sugar, or marzipan, and fast personalisation - custom names, logos, and shapes. This isn't just a gimmick for top-tier professional kitchens anymore: entry-level printers and food-safe materials are now well within reach for home enthusiasts too.
The most common use is indirect - you don't actually print the chocolate itself, you print the mould you pour it into. You print a model (from PLA, for example), cast it in food-safe silicone, and then temper your chocolate in the silicone mould. This lets you achieve geometric shapes and fine detail you simply can't buy in a standard polycarbonate mould.
Why go via silicone at all? Regular printer plastic has a rough, layered surface and isn't certified for direct food contact. The silicone step in between gives the chocolate a smooth shine and keeps everything food-safe.
The second approach is printing directly from an edible material - special printers deposit chocolate, sugar paste, or marzipan layer by layer. It's great for small 3D decorations, monograms, and repeatable designs that would take hours by hand. Sharpness comes down to your design settings: the finer the nozzle and the thinner the layer, the crisper the detail.
3D printing pays off when you need precision, repeatability, or personalisation - custom moulds, batches of identical decorations, names on cakes. If you're only making one birthday cake a year, don't bother.
Things to keep in mind: use materials rated for food contact, print moulds rather than final decorations where possible, and budget time for the design process. For more on decorating by hand and with tools, check out our article on decorating French desserts with chocolate, isomalt, and other techniques.
Molecular gastronomy gives you two genuinely useful techniques for desserts: gelling (turning a liquid into a jelly using agar or gelatine) and spherification (turning a liquid into caviar-like pearls that burst in your mouth). Both are doable at home for the cost of a few basic ingredients - the trick is getting the ratios and temperatures right.
Gelling turns a liquid into a jelly using a setting agent. The two most common ones behave quite differently, so choose based on what you need:
Agar-agar (seaweed-based, plant derived): activates on boiling (bring it to roughly 90°C/194°F), sets quickly at 32-40°C/90-104°F, and holds its shape even at room temperature. It gives a firmer, more brittle gel. Use roughly 1-2g per 250ml of liquid.
Gelatine (animal derived): let the sheets soften in cold water, dissolve at 50-60°C/122-140°F, and it melts around 35°C/95°F - which is exactly why it feels so lovely melting in your mouth. The gel is softer and smoother.
The method is the same for both:
Choose your base liquid - fruit juice, cream, coffee.
Heat it and stir in the setting agent (agar needs to actually boil; gelatine just needs to dissolve).
Pour into a mould and let it set in the fridge.
Layer different flavours and colours for a striking cross-section when sliced.
Watch out: fresh pineapple, kiwi, and papaya contain enzymes that break down gelatine, so it won't set properly - either briefly cook the fruit first or switch to agar.
Spherification traps a liquid inside a thin gel shell, so the pearl only bursts once it's in your mouth. There are two versions:
Basic spherification: mix sodium alginate into your liquid (about 0.5%, or 5g per litre) and drop it, spoonful by spoonful, into a bath of calcium chloride (about 0.5%, or 5g per litre of water). The shell forms instantly. Great for small "pearls", but the gelling keeps working its way inward, so serve within a few minutes.
Reverse spherification: calcium (calcium lactate, about 1%) goes into the liquid itself, and the alginate goes into the bath instead. This version handles acidic and dairy-based liquids well and keeps a liquid centre intact for several hours - better suited to larger pearls.
Basic method:
Prepare and strain your mixture (let the blended alginate rest so any bubbles disappear).
Scoop with a measuring spoon or dropper and drip it into the calcium bath.
After a few minutes, lift the pearls out and rinse them in clean water to stop the reaction.
Serve immediately, either as a garnish or as a standalone bite.
Sodium alginate and calcium salts are standard food additives (E401, E327, E509) and are considered safe in the small amounts used here.
Citrus pearls on vanilla cream: tart little orange or yuzu pearls against sweet cream - a bright contrast in a single bite.
Mini redcurrant cakes: layer up redcurrant jelly (using the gelling technique) for striking portions on a celebration table.
Coffee or liqueur pearls as a garnish on a chocolate dessert instead of the usual sprinkle.
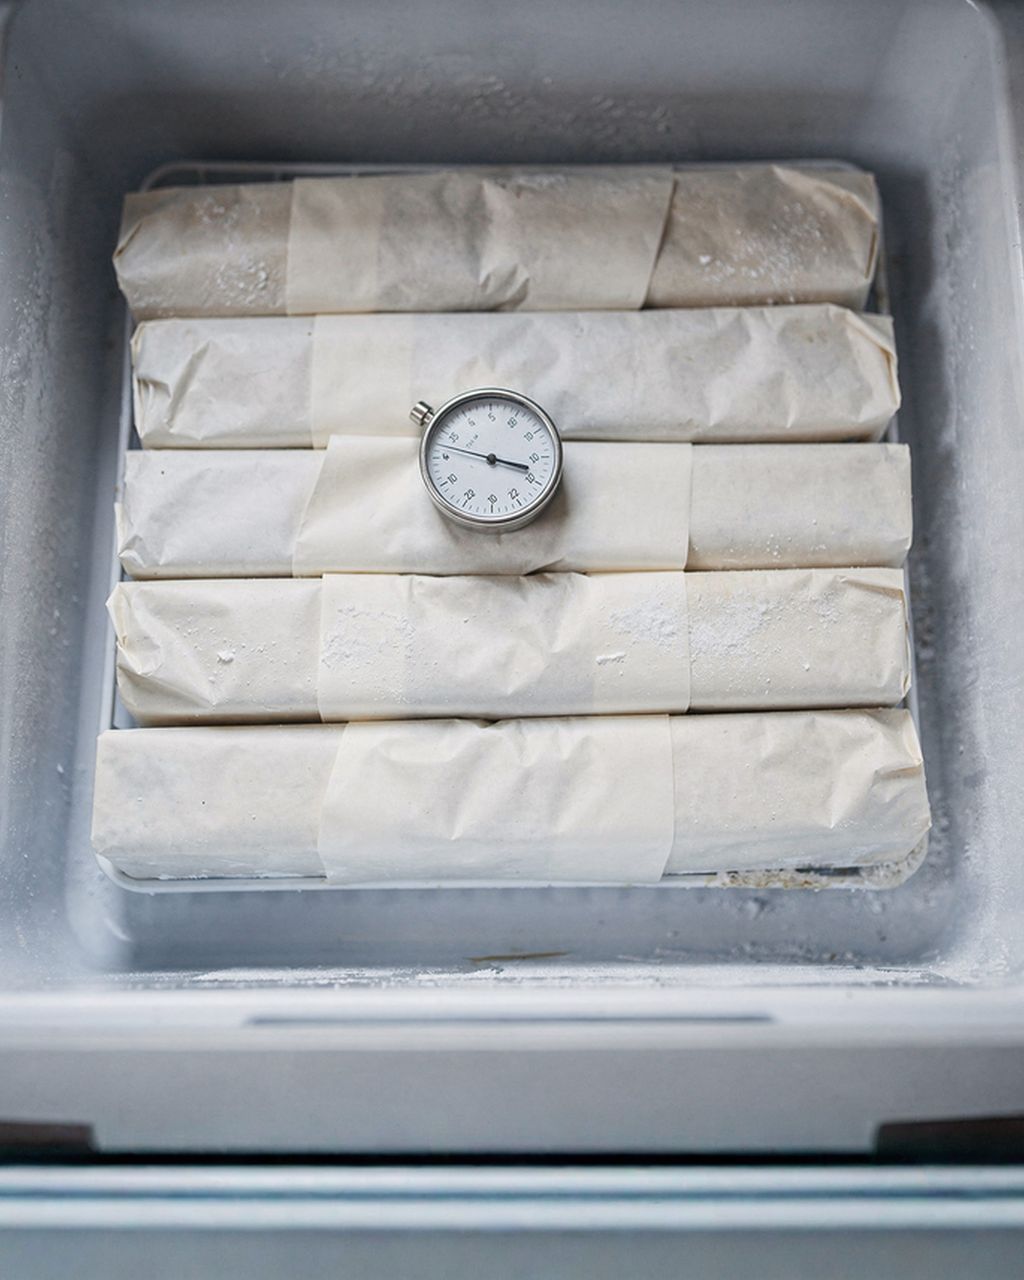
A mirror glaze is a glossy coating that reflects light like an actual mirror. It's made from gelatine, sugar, glucose syrup, water, and condensed milk with chocolate, and the whole secret to that shine is temperature: pour it at exactly 32-35°C/90-95°F onto a perfectly smooth, frozen cake. The cold surface locks the glaze in place instantly and keeps it level.
What to watch out for:
Bubbles are the biggest enemy of shine - blend with an immersion blender tilted to one side so you don't whip in air, then strain the glaze before using it.
Work fast and pour in one go - the glaze sets quickly on the cake, and you can't go back for a second pour without leaving streaks.
Colour is best handled with powder or gel colouring rather than liquid, which would thin the glaze and dull the shade. Marbling or an ombré effect looks especially striking.
Have fun with flavour using unusual additions - matcha brings earthy bitterness and colour, yuzu brings a citrus tang that cuts through the sweetness. We break down the full method and ratios in our article on mirror glazes: the secret to a flawless shine on cakes.
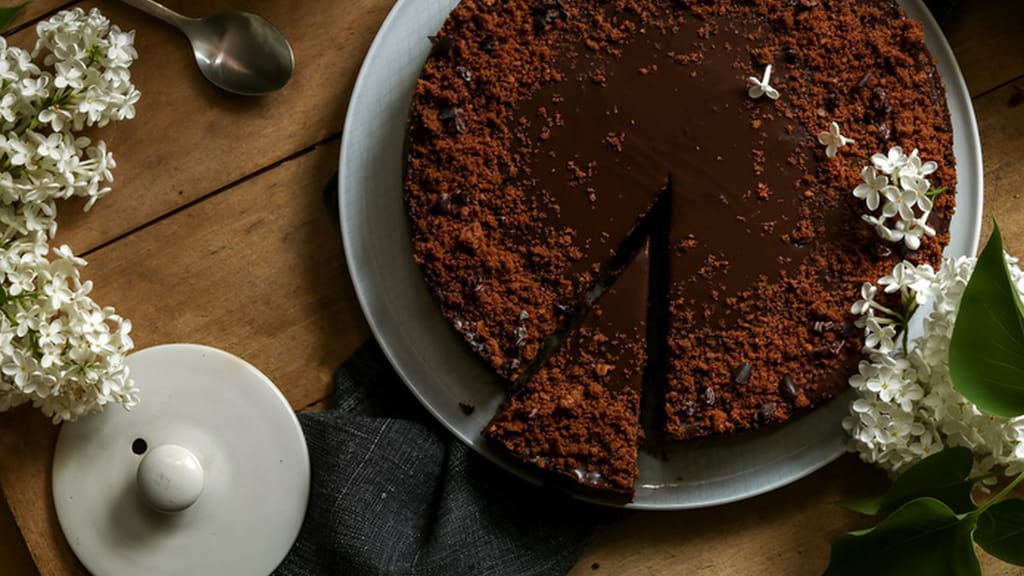
Simple chocolate cake
A simple chocolate cake base to go under a mirror glaze
Fermentation brings desserts tang, depth, and a longer shelf life - and, according to some studies, probiotics that may support gut health. During fermentation, microorganisms (bacteria and yeasts) convert sugars into acids, gases, and aromatic compounds; this exact process is also behind the flavour of good-quality chocolate, since cocoa beans are fermented before they're even dried.
Where to use it in pastry work:
Fermented fruit as a fresh, tangy element in fillings or as a topping for cheesecake.
Distinctly fermented chocolate in ganache and creams, where you want a more complex, fruitier note.
Miso or koji in caramel or biscuits - a salty umami depth that plays against the sweetness.
Studies suggest fermented foods are a source of probiotics that support digestion; treat that as a nice bonus though, not a reason to eat more desserts.
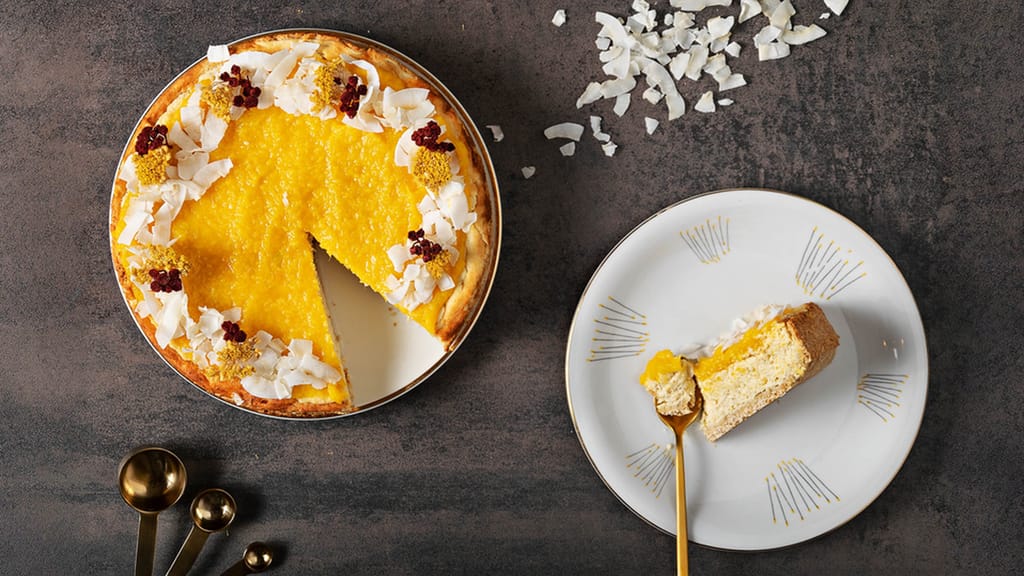
Mango cheesecake
Mango cheesecake as a base for fermented fruit or an exotic topping
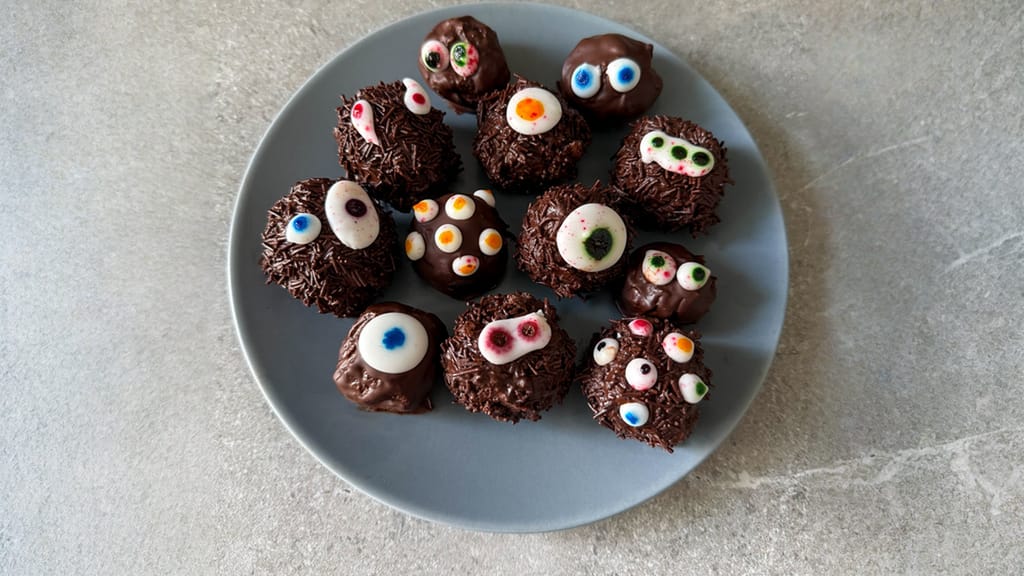
Chocolate brownie ball monsters
Chocolate brownie bites - a forgiving base for experimenting with fermented chocolate
More sustainable pastry-making comes down to three things: local ingredients, lower-footprint substitutes, and less waste.
Local, seasonal ingredients cut down on transport and support growers nearby - honey from a local beekeeper instead of imported syrup, seasonal fruit instead of imports.
Alternative ingredients: plant milks (almond, oat) instead of dairy, or a flax "egg" - 1 tablespoon of ground flaxseed mixed with 3 tablespoons of water and left to sit for 5-10 minutes replaces one egg in a batter. Bonus: it works for guests with egg or dairy allergies too.
Zero waste: make use of what usually ends up in the bin - candy citrus peel, use sponge trimmings for cake pops, whip egg whites into meringues. Reach for recyclable or compostable packaging where you can.
Digital tools let you design a cake before you even pick up a palette knife: 3D modelling software works out the shape, colours, and budget, and video mapping projects animation straight onto the surface of the cake.
In modelling software (SketchUp, for instance, or dedicated cake-design programs), you can build your cake in 3D, test out proportions, colours, and textures, and show a client a preview before you've even started baking. This saves the most time and money on complex, tiered, custom-order cakes, where mistakes get expensive. Plenty of these tools are free or cost just a few dollars.
Video mapping uses a projector and software to beam animation directly onto a cake - a static surface comes alive and changes throughout the evening. It's mostly used at weddings and corporate events as a wow-factor effect, not as a permanent decoration. You don't need this at home, but it's worth knowing it exists.
You don't have to dive straight into spherification. The fastest results with the least equipment come from gelling (just agar or gelatine) and a mirror glaze on a frozen cake. Once you've got a feel for temperatures and ratios, add spherification and fermentation into the mix. Master one technique properly, then build on it - that's how you'll get the most out of these modern methods.
The most common plant-based swap is agar-agar, but expect some differences: agar sets firmer and less glossy, activates when boiled, and firms up faster, so the glaze won't be quite as "mirror-like" as one made with gelatine. For a true mirror shine, a generous amount of good-quality gelatine works best; go with agar only if you specifically need a vegan version.
It depends on the method. With basic spherification, the gelling keeps progressing inward, so eat the pearls within a few minutes, before they set all the way through. Reverse spherification keeps the liquid centre intact for several hours, even a full day, which makes it the better choice for prepping ahead.
Yes - these are standard food additives (sodium alginate/E401, calcium chloride/E509, and calcium lactate/E327) that are considered safe in the small quantities used. Just make sure you're using food-grade versions, not technical/industrial grade.
No. For gelling and spherification, all you need is agar or gelatine, alginate and a calcium salt, an immersion blender, and a dropper or pipette - all for a few dollars. You can outsource 3D printing and video mapping at first and only invest in your own equipment once you're using a technique regularly.
No - spherification relies on a reaction between sodium alginate and calcium ions, while agar works differently and forms a solid gel all the way through rather than a thin shell around a liquid centre. Save agar for gelling and layered jellies instead.
One recipe worth heating the oven for, one tip, and one deal from the shop. Nothing else.