Easter classic: fragrant mazanec bread
How to Braid a Christmas Bread, Step by Step: 4, 6 and 9 Strands
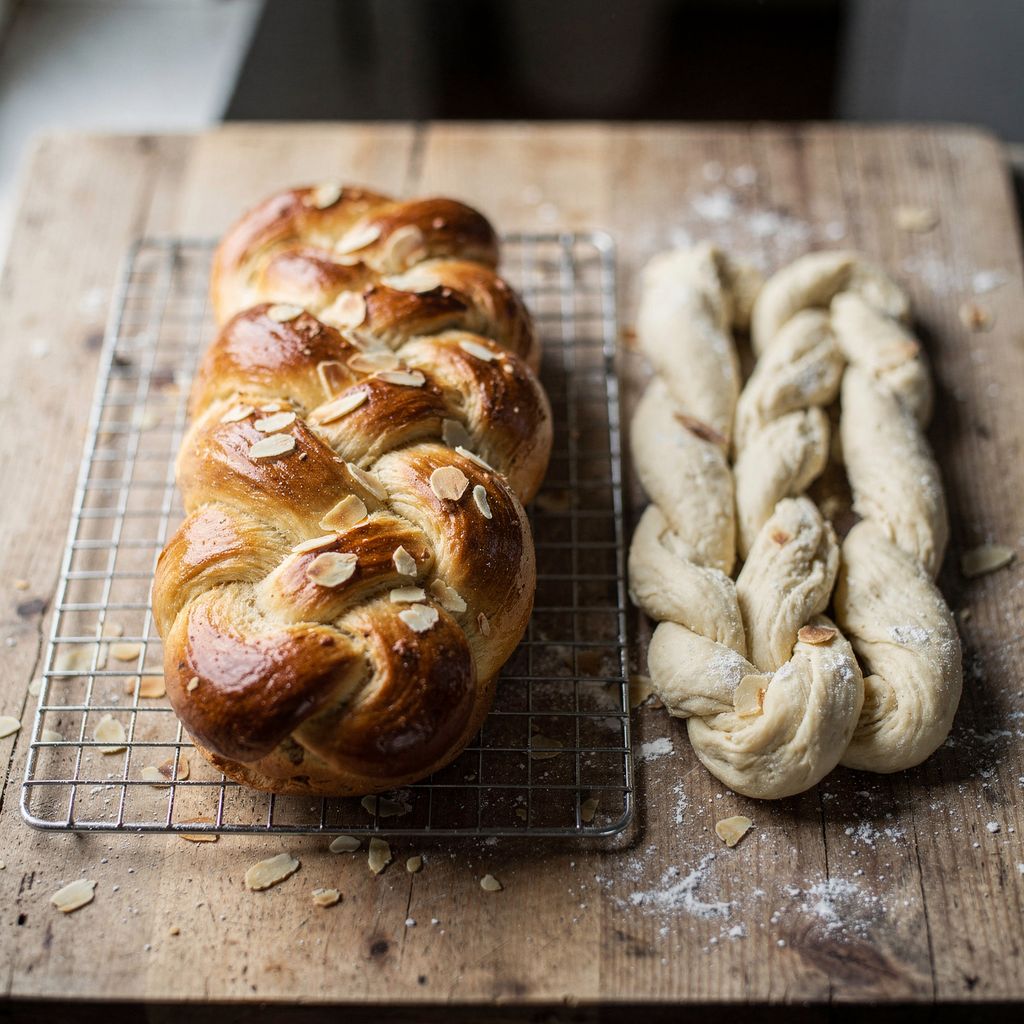
Updated Sep 17, 2026
Braiding a Christmas bread comes down to three things: well-kneaded dough, strands of equal weight, and every crossover pulled snug. You can braid it from 4 strands (the easiest), 6 strands (the most stable), or the traditional 9 strands stacked in three tiers of 4 + 3 + 2. Below you'll find every move broken down step by step, plus the details that matter more than the braid itself — how tight to pull it, how long to let it prove a second time, and what temperature to bake it at.
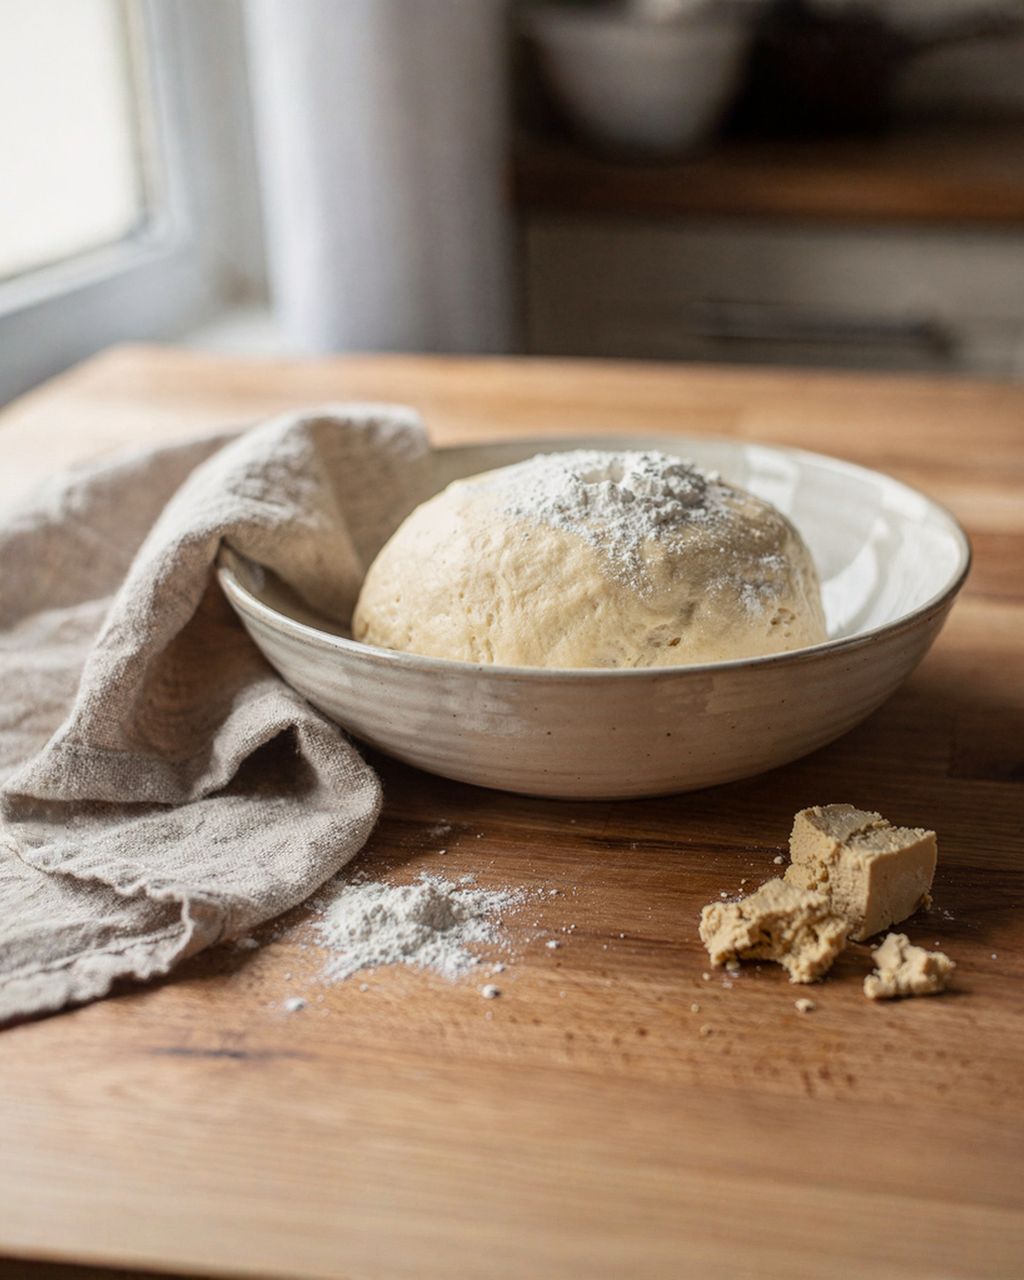
You can only braid dough that's smooth, glossy, elastic and not sticky to the touch — and that has already risen once to double its size. Sticky or under-kneaded dough spreads under your hands, the strands tear, and the loaf flattens out in the oven. Most failed loaves are decided before you even pick up the first strand.
Knead for 10–15 minutes. Christmas bread dough needs noticeably stronger gluten than a simple cake dough. A bit less time in a stand mixer on low speed, a few minutes more by hand.
Add the butter last, once gluten has already started forming in the dough. Fat added at the start coats the flour proteins and gluten then develops much more slowly.
Keep the dough on the firmer side rather than soft. Two extra tablespoons of flour cause far fewer problems than a strand that slips apart in your hands.
First rise: 1–2 hours at 24–26°C, until doubled in size. Rich dough with butter and sugar rises more slowly than plain dough — don't rush it.
Chill the dough before braiding. 20–30 minutes in the fridge firms up the butter in the dough, so the strands hold their shape even if handling them takes a couple of extra minutes. This one step alone does beginners the biggest favour.
We cover the ratios and general behaviour of yeasted dough separately in our article on basic yeast dough ratios. You'll recognise the same enriched dough, just left unbraided, from our Easter sweet bread (mazanec) — and the same rule applies there too: cracks come from proving, not from baking.
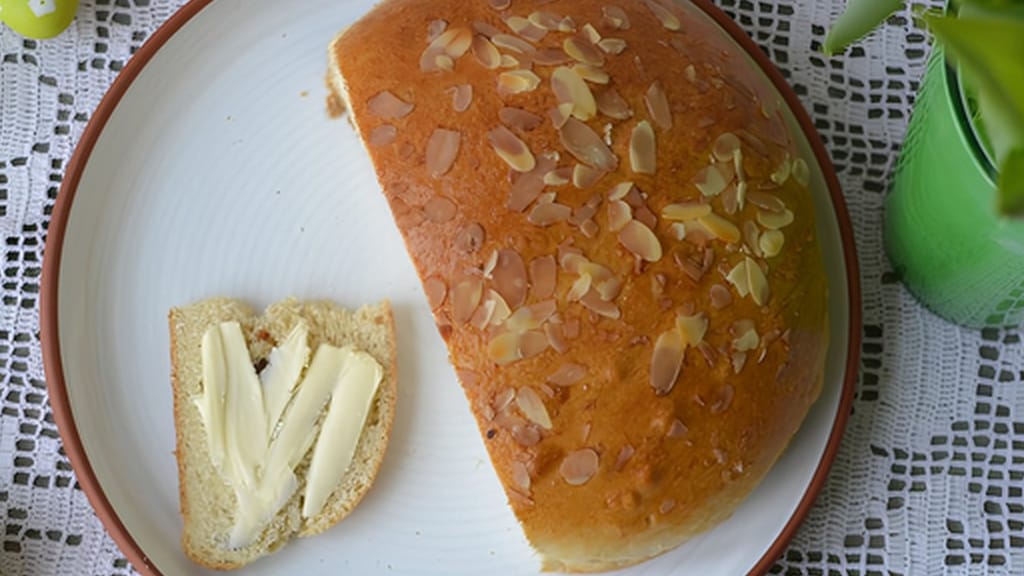
Easter classic: fragrant mazanec bread
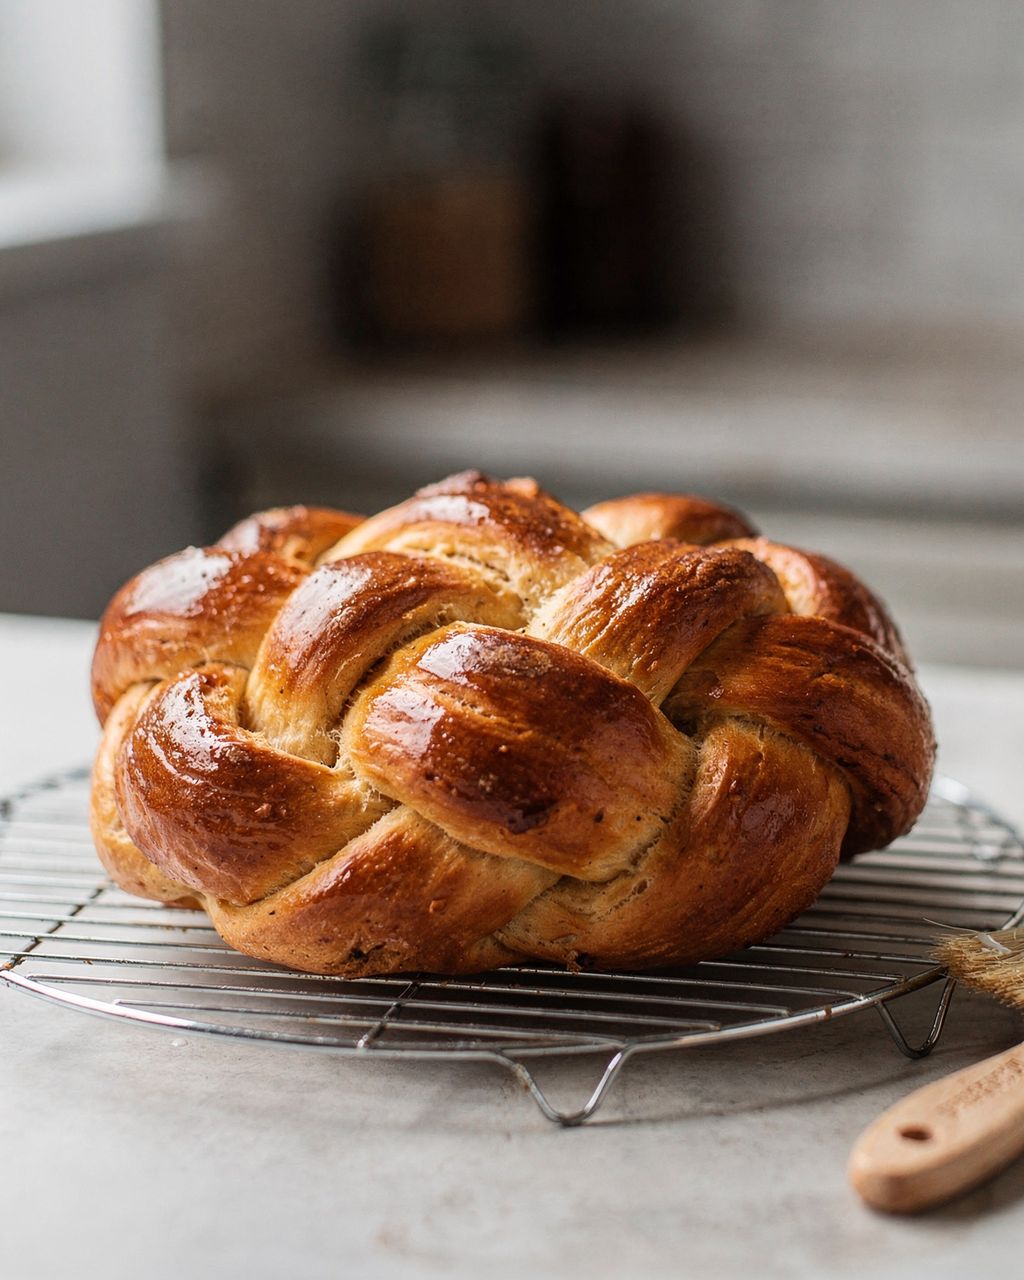
Fragrant Easter mazanec: the same enriched yeast dough as Christmas bread, just without the braid — good practice for the dough itself
For a 4- or 6-strand loaf, divide the dough into equal portions; for the 9-strand version, weigh out 4 × 125 g for the bottom tier, 3 × 110 g for the middle tier and 2 × 85 g for the top tier from 1 kg of dough. Weigh the strands on a kitchen scale — a 10 g difference shows up on the finished loaf as a crooked braid. Eyeballing it almost always produces one fat strand and one thin one, and the thin one tears while baking.
On the 9-strand loaf, the tiers differ in weight because each higher tier has to be lighter and shorter than the one beneath it, otherwise the upper tiers slide off. For 1 kg of dough, that works out to:
Bottom tier (4 strands): 4 × 125 g, about 30 cm long.
Middle tier (3 strands): 3 × 110 g, about 28 cm long.
Top tier (2 strands): 2 × 85 g, about 26 cm long.
How to roll out the strands:
Shape each portion into a small ball and let it rest for 10 minutes. Tense dough springs back as you roll; rested dough stretches out without resistance.
Roll from the centre outward, keeping the middle slightly thicker and tapering the ends to a point. Tapered strands let the braid close naturally at both ends.
Go easy on the flour. The loaf holds together by itself; over-floured strands slide against each other and the braid comes apart.
Work on an unfloured surface, or one only lightly dusted with flour, so the strand has a bit of grip as you roll it.
Four strands braid with a single repeated move: take the outer strand over, under, then over again until it reaches the other side. Then take the new outer strand and repeat.
Lay the four strands side by side and pinch them firmly together at one end — press them into each other and tuck the joined end underneath.
Take the far left strand.
Cross it over the second strand.
Tuck it under the third strand.
Cross it over the fourth. It now sits at the far right.
Take whichever strand is now at the far left, and repeat the same move (over – under – over).
Keep braiding until you run out of strand. Pinch the end together and tuck it under the loaf.
This is the version to start with, or to use whenever you're not fully confident in your dough: four strands mean less handling and less time for the dough to warm up in your hands. The result is shorter and wider than a 9-strand loaf, but far less likely to spread out.
Six strands is the most stable way to braid a loaf in one go — it holds its shape well, stands tall, and needs no stacked tiers. It relies on a single repeated move, so you'll have it memorised after three steps.
Lay six strands side by side and pinch them together at the top end.
Take the strand at the far right.
Bring it over the next two strands.
Under the third one it goes.
Then over the next two again. It ends up at the far left.
Take the new outer strand on the right and repeat the move (over two – under one – over two).
Pinch the ends together, tuck them under the loaf, and even it out into a straight, symmetrical shape.
Keep the same side throughout — once you start from the right, keep going from the right. Switching sides throws the braid off, and halfway through you'll notice the pattern no longer lines up.
This braid also works as the base for a two-tier version (6 + 2): a 6-strand braid on the bottom, topped with a twisted 2-strand braid. The traditional three-tier loaf simply adds one more tier — built from 4 + 3 + 2 strands, covered in the next section.
A 9-strand loaf isn't braided from nine strands at once — it's braided as three separate tiers stacked on top of each other: a 4-strand braid at the bottom, a 3-strand braid above it, and a twisted 2-strand braid on top. Each tier has to be shorter and thinner than the one below it, otherwise the upper ones slide off.
Bottom tier: braid a 4-strand plait following the steps above. Set it directly onto the parchment-lined tray — once the loaf is assembled, don't move it again; moving it will deform the shape.
Middle tier: braid a classic 3-strand plait — alternately fold the outer strands into the middle. Pinch the ends together.
On the bottom tier, press gently down along the centre to form a shallow groove running the full length (the back of your hand is enough). Nestle the middle tier into it so it doesn't sit on a round surface.
Top tier: twist the two strands over each other like a rope until you get an even, twisted braid.
Lay the twisted braid on top. Tuck each of its ends under the loaf separately — this is exactly where the whole structure either holds together or falls apart.
Check that the whole loaf is symmetrical and straight. Once it's done proving, you won't be able to fix anything.
Secure it with skewers before the final proof — see the proving section for how.
Traditionally, the nine strands are read as three tiers, each carrying its own meaning: the four bottom strands stand for earth, sun, water and air; the three middle ones for reason, feeling and will; the two top ones for knowledge and love. According to folk tradition, the crossing strands were meant to protect the family from evil influences.
The real history is more interesting than the symbolism. The ancestor of today's braided loaf is thought to be the calta, an old Czech bread documented since the 14th century, typically oblong and unbraided. White-flour festive bread — described as a wreath or a plait — is mentioned as early as around 1400 by the Benedictine monk Jan of Holešov; the name "vánočka" itself only became standard later. Baking it was originally a guild bakers' privilege — home baking wasn't allowed. Home bakers only started making it themselves from the 18th century onward. And because the loaf was seen as an omen for the year ahead, a cracked or burnt one was considered bad luck. Today it's just a braid that didn't quite work out, but the pressure to get it right somehow never went away.
The practical takeaway: nine strands aren't any harder — just three braids longer. If you can manage four strands and three strands, you can manage nine.
Pull the strands snug enough that they sit against each other with no gaps, but without stretching them taut — that's the entire secret to the shape. Tension is the single biggest factor in whether a loaf turns out well, and it's easy to get wrong in either direction.
A loosely braided loaf spreads out. Gaps between strands open up further during proving and baking, the braid widens, and the loaf ends up flat.
An over-tightened loaf tears. Strands pulled taut have nowhere to expand evenly, so they split at the weakest point in the oven.
Calibrating it: after each crossover, just settle the strand into place and press lightly. Never pull it tight, and never stretch the braid lengthwise.
Always tuck the ends under the loaf, not just pinch them shut. A pinched end pops open in the oven; a tucked one is held down by the loaf's own weight.
Braid from one end to the other, not from the middle. And braid quickly — every minute the dough spends warming in your hands costs it some strength.
Let the braided loaf prove for 45–60 minutes on the tray, secure it with skewers, and brush it with egg — only then does it go into the oven. Skipping this stage is the second most common reason a finished loaf doesn't look like the picture.
Second proof: 45–60 minutes somewhere warm and draft-free, covered with a tea towel or plastic wrap so the surface doesn't dry out. A dried-out crust blocks the rise and then cracks.
Skewers: push 4–6 skewers straight down from the top through all the tiers, before the loaf finishes its second proof. They hold the structure in place and stop the top tier sliding off. Pull them out while the loaf is still warm after baking — in a cooled loaf they'll tear out chunks of crumb.
Containing the shape: instead of skewers (or alongside them), build a low foil barrier around the loaf, about 2 cm from the dough. It pushes the rise upward instead of outward.
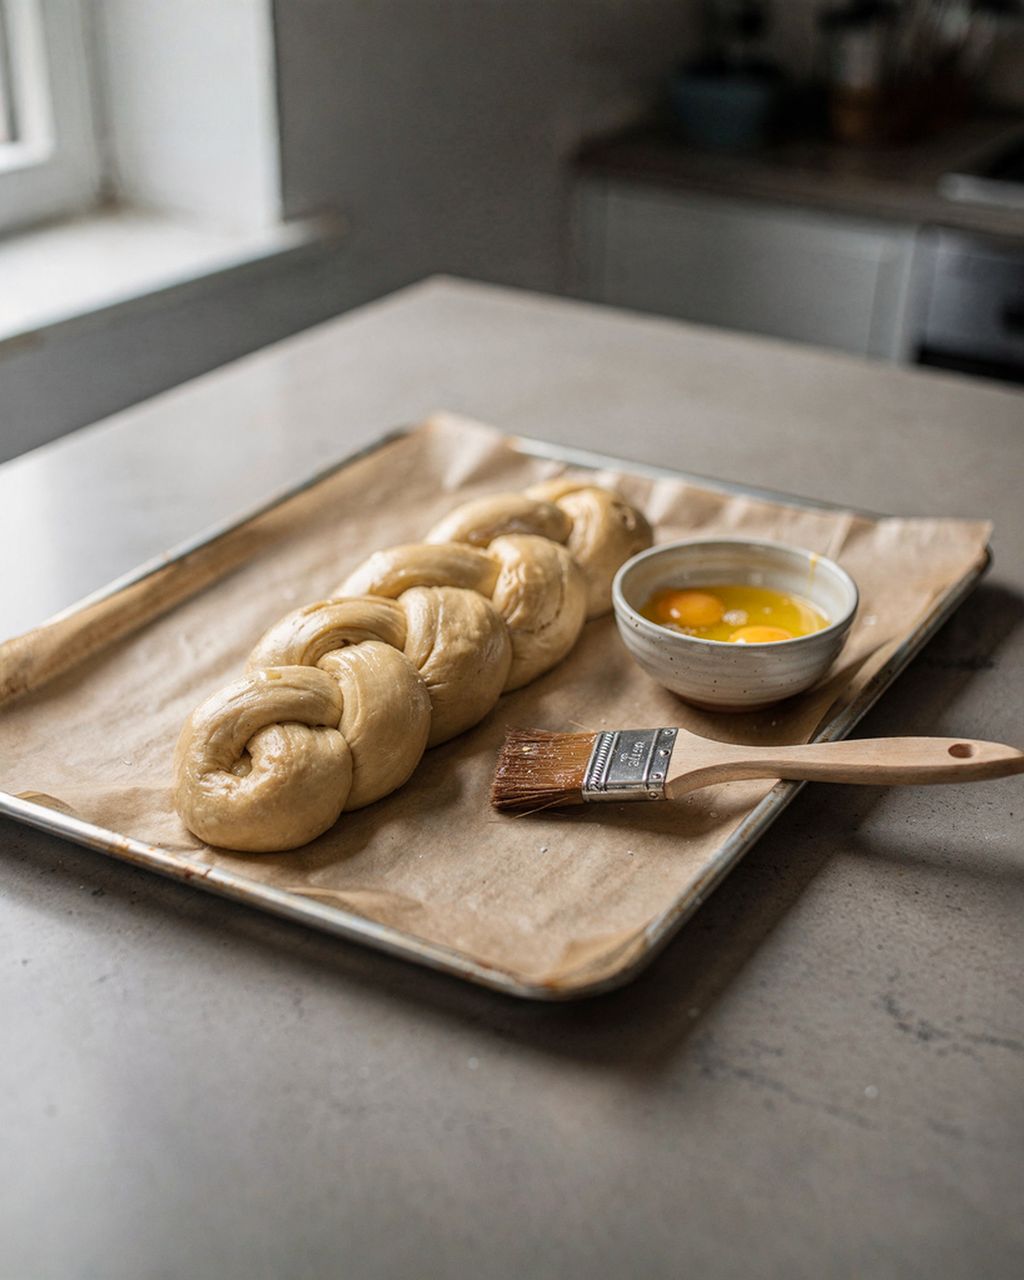
Egg wash: whisk an egg with a spoonful of milk or water so it spreads thinly. Brush it on twice — once before the second proof, once right before baking; the second coat is what gives it the shine. Press almonds and raisins onto the surface after the first coat — after the second, they won't stick.
We've covered exactly what to put on the brush and why egg works so well in separate articles: why yeast dough gets brushed with egg, what to brush on a loaf before baking and the egg-free version.
Bake a roughly 1 kg loaf for 45–55 minutes: 180°C for the first 10–15 minutes, then lower to 160°C. The hot start lifts the dough, and the gentler finish lets the centre cook through without the braid turning too dark.
Check doneness, don't guess it. Enriched yeast bread is done at an internal temperature of 88–92°C — baking references generally put the range at roughly 88–94°C. A skewer pushed into the thickest part should come out clean.
Don't open the oven for the first 20 minutes. A draft will deflate dough that hasn't set its structure yet.
Browning too fast? After 20 minutes, loosely tent the loaf with foil. Sugar and egg in enriched dough brown before the centre is actually done — hence the lower temperature.
Cool it on a wire rack, never on the tray or a cutting board. Steam trapped underneath will make the base go soggy.
Don't slice it while it's warm. The crumb keeps finishing with residual heat, and it squashes under the knife while hot. Give it at least 2 hours.
Nearly every fault traces back to one of four causes: under-kneaded dough, dough that's too soft, poor tension in the braid, or badly timed proving. Match what happened to what to change next time:
Spread out sideways: loosely braided strands, or dough that was too soft. Next time, pull it tighter, add a bit more flour, and use a foil barrier.
Cracked on the surface: under-proved, or braided too tight. Extend the second proof and only settle the strands into place — don't pull them.
Collapsed in the middle: over-proved, or the oven door was opened too soon.
Top tier slid to one side: no skewers used, or the upper tiers weren't shorter and thinner than the ones below.
Crumb is dense: short kneading time or a short first rise. Gluten never fully developed, so there's nowhere for bubbles to hold.
It's dried out: overbaked, or baked at too high a temperature. Check the internal temperature — don't guess from colour.
Strands tear while braiding: the dough is warm and overworked. Chill it for 20 minutes and start over.
Bake the loaf on 23 or 24 December — unlike Christmas cookies, it doesn't improve with storage; it's best on the first and second day. If you need to get ahead, bake it in advance and freeze it baked and fully cooled, never as raw braided dough: a frozen braid almost never proves back to its original shape after thawing. Thaw it whole at room temperature, then warm it through for 10 minutes at 150°C.
This puts the loaf on a different timeline from the rest of your holiday baking, which is usually planned weeks ahead: a schedule for when to bake Christmas cookies, how to store Christmas cookies and how to freeze cookies and dough cover the rest of the plan. And if what's really bothering you is gingerbread going hard or linzer cookies crumbling apart, both of those have their own fixes too.
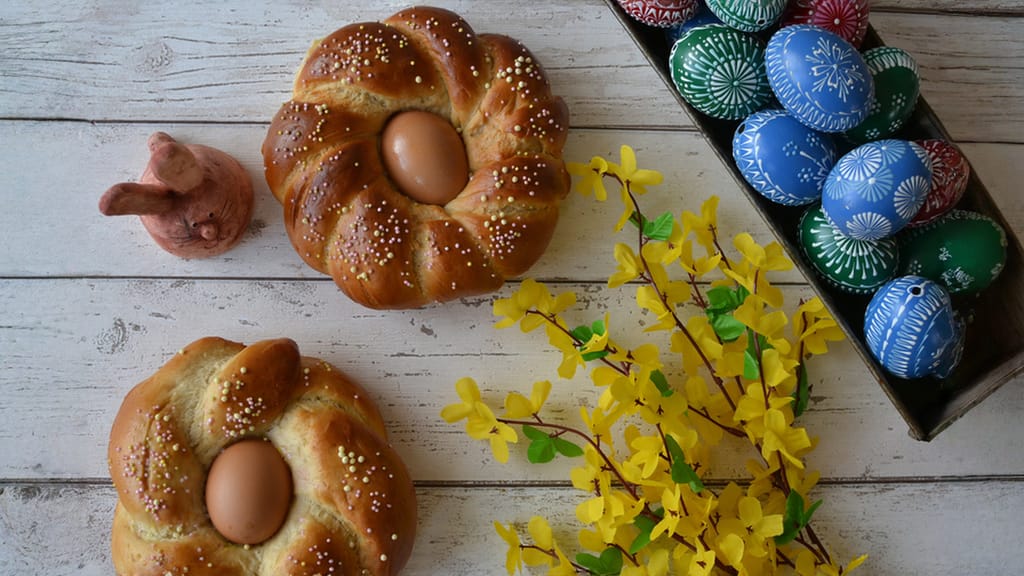
Easter wreath bread with colored eggs
A yeasted wreath with coloured eggs: a good way to practise strand-shaping outside the Christmas season too
Yes — place the braided loaf on the baking tray, cover it with plastic wrap, and let it finish proving in the fridge for 8–12 hours. Cold slows proving down, it doesn't stop it, so in the morning you just take it out, let it sit at room temperature for 30–45 minutes, brush with egg, and bake. This method is often even more reliable than a quick warm proof: cold dough holds a sharper braid shape and spreads less.
Plan on roughly 100–120 g of dough per person — a standard 1 kg loaf serves 8–10 people and gives about 14–16 slices. For 1 kg of dough you'll need roughly 500 g plain flour, 250 ml milk, 100–150 g butter, 2 eggs and 100 g sugar. For a smaller household, two half-kilo loaves work better than one big one: they bake in just 30–35 minutes, you can freeze the second one as soon as it cools, and it won't dry out sitting on the counter. The 88–92°C internal temperature applies to both sizes — just start checking the smaller loaf earlier.
Soak them for 20–30 minutes in rum, tea or warm water, then **dry them thoroughly** — dry raisins pull moisture out of the dough and stay tough, while wet ones release water and make the surrounding dough soggy. Fold them in only at the very end of kneading, briefly and on low speed, so you don't tear up the gluten. Tossing them in a spoonful of flour helps too: they stop sliding and spread evenly instead of sinking to the bottom.
Wrap it in a tea towel and then in a paper bag or a cloth bag — never sliced, and never in a plastic bag. Plastic traps moisture against the surface, and by morning the crust turns soft and damp. Only cut as much as you'll eat, and turn the cut side toward the table or press the remaining piece back against it — that's where most of the moisture escapes. Don't refrigerate it either; cold makes it go stale even faster than the counter does.
Yes, but only before proving — while the dough is still raw, just gather it back into a ball, let it rest for 15 minutes, and braid it again, even as a simpler 4-strand braid. A second round of handling is about all the dough can take, so don't attempt a third try: instead, tear it into pieces and bake small sweet rolls, which only need 15–18 minutes and no braiding at all. If the loaf spreads out once it's already in the oven, the flavour is still fine — just slice it and fry the slices in butter the next day.
One recipe worth heating the oven for, one tip, and one deal from the shop. Nothing else.