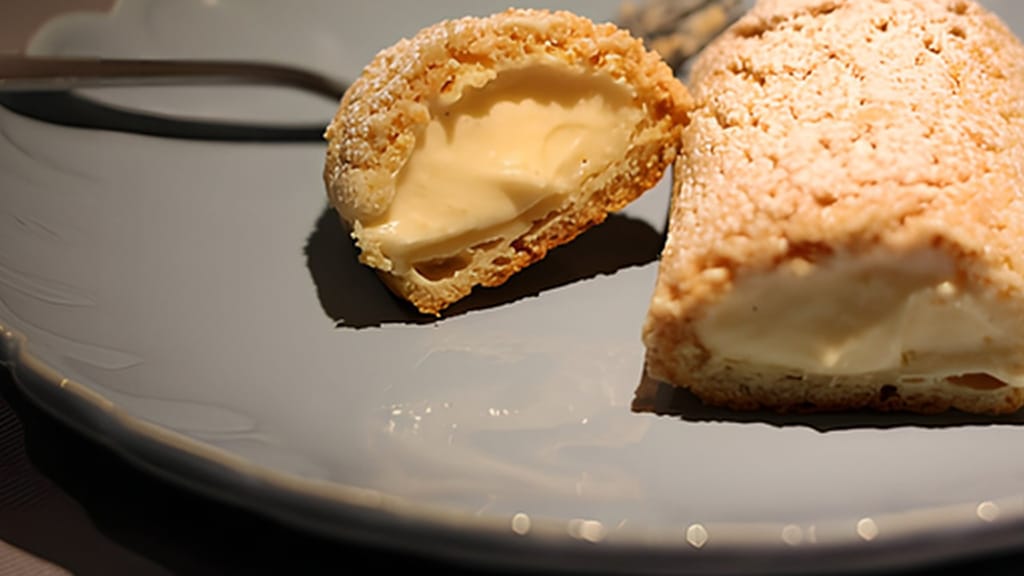
Eclairs à la ladurée – irresistibly delicious pastries
How to Bake Perfect Éclairs: Choux Pastry, Filling, Glaze and Common Mistakes

Updated Jul 19, 2026
Éclairs are elongated French pastries made from choux dough (pâte à choux), filled with pastry cream and topped with a chocolate glaze. You can spot a perfect éclair by its smooth, evenly puffed shell that stays hollow inside, and a glossy glaze that doesn't crack. This guide walks you through the whole process — from the dough through the fillings and glaze to the most common mistakes and how to fix them.
Eclairs à la ladurée – irresistibly delicious pastries
Ladurée-style éclairs — a complete step-by-step recipe for homemade éclairs
The éclair is a French pastry made from choux dough, and its name literally means lightning bolt. In its recognisable form — elongated shape, creamy filling, glaze on top — it appeared in Parisian patisseries around the mid-19th century and is documented in writing from around 1861.
Mastering choux pastry is often linked to the pastry chef Marie-Antoine Carême (1784–1833), who called these elongated filled pastries pain à la duchesse; historians say the name éclair itself only became standard later. Exactly where the name comes from isn't certain — one theory points to the glaze's shine resembling a flash of lightning, another to the pastry being eaten
Today the éclair comes in dozens of forms. In the United States, the classic vanilla-and-chocolate version reigns supreme, while in Japan matcha éclairs are a favourite. But the foundation stays the same everywhere: well-baked choux pastry and an honest, generous filling.
Choux pastry is built on a simple ratio: equal parts water and milk, plus butter, flour and eggs. The secret isn't in the ingredients but in two steps — cooking out (drying) the flour on the stove, and gradually working in the eggs, which lift the dough with steam in the oven. No baking powder, no yeast; it rises purely on its own moisture.
125 ml water
125 ml milk
100 g butter
a pinch of salt
1 tbsp sugar (for sweet versions)
150 g plain flour
4 medium eggs
Water makes the dough crispier, while milk adds colour and a finer crumb — using both together is a good compromise. Never add eggs by count alone: 4 is just a guide, since it depends on how much moisture evaporates from the dough while cooking. Go by texture (see below), not the clock.
The liquid base. In a saucepan, heat the water, milk, butter, salt and sugar until the butter melts and the mixture just starts to gently simmer. Don't let it boil for long, or water will evaporate and throw off the ratio.
Add the flour. Take the pan off the heat, tip in all the flour at once, and beat vigorously with a wooden spoon into a smooth, lump-free ball.
Cook out the dough. Return the pan to low heat and keep stirring for 2–3 minutes, until the dough pulls away from the sides and a thin film forms on the bottom. This drives off excess moisture — a crucial step so the dough can later absorb the eggs.
Let it cool. Transfer the dough to a bowl and stir for a bit so it cools to around 60°C (just warm to the touch). Hot dough would cook the eggs on contact.
Beat in the eggs. Add them one at a time, mixing each in thoroughly before adding the next. Stop as soon as the dough reaches the right consistency (see below) — you may not need the whole last egg.
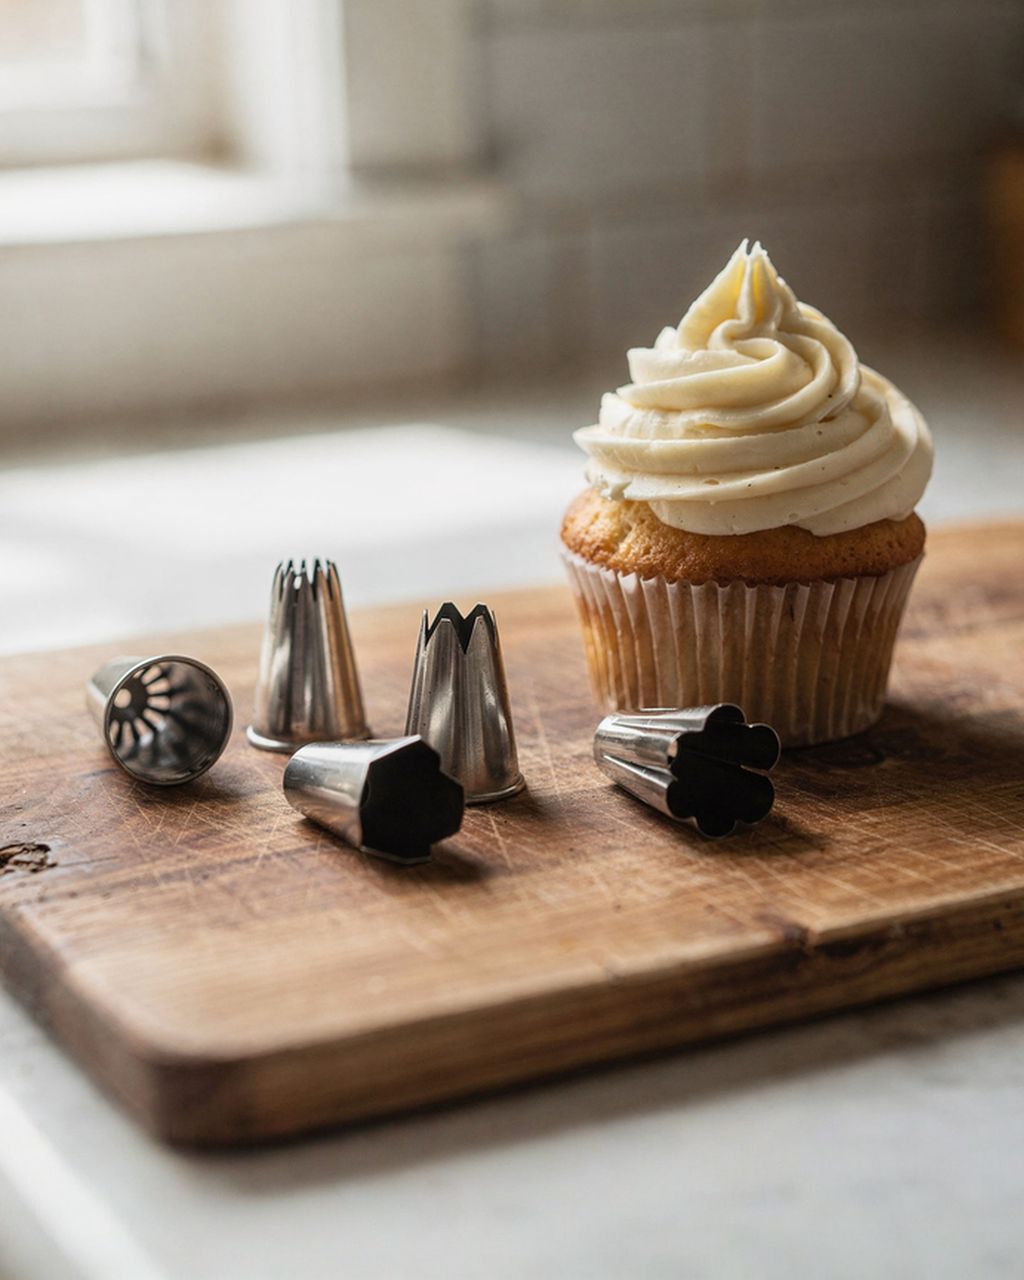
Pipe and bake. Fill a piping bag fitted with a plain or star nozzle (about 12–15 mm), pipe 12–13 cm strips onto a lined tray, and bake in a preheated oven until golden, roughly 25–35 minutes. Don't open the oven door while baking.
Properly made choux dough is glossy and, when you lift the spoon out, falls slowly in the shape of a V (the so-called ribbon stage). If it slides off quickly, it's too thin; if it doesn't fall at all, it's too thick — beat in a little more whisked egg.
So why does it rise at all? The water in the dough turns to steam in the oven and puffs up the shell, while the egg and flour form a sturdy wall around the hollow cavity. That's exactly why cooking out the dough matters so much: drier dough can absorb more egg, and the more egg (and therefore water) it holds, the more steam and the greater the rise. Under-cooked dough stays heavy and flat.
A couple of pastry-chef tricks: brush the surface of piped éclairs lightly with beaten egg and run a fork over it so they split evenly as they bake. For a perfectly smooth, bakery-style finish, pipe a thin layer of craquelin (a crisp buttery topping) on top before baking.
Three tried-and-true fillings work beautifully in éclairs: classic vanilla pastry cream (crème pâtissière), rich chocolate cream, and a modern mascarpone coffee cream. Whichever you choose, it should hold its shape well so it doesn't turn the shell soggy — that's why éclairs are filled just before serving.
Pastry cream is the classic éclair filling: a thick, custard-like cream made from egg yolks, milk, sugar and starch, flavoured with real vanilla. The trick is to cook it until properly thick, then cool it with cling film pressed directly onto the surface so it doesn't form a skin. You'll find the full method and tricks in our guide to perfect crème pâtissière pastry cream.
Tip: cornflour gives the cream a cleaner flavour and lighter texture than plain flour.
The easiest way to make a chocolate filling is as a ganache: pour hot cream over good-quality dark chocolate (at least 60–70% cocoa) in roughly a 1:1 ratio, let it melt, then cool. Once chilled, whip it briefly into a whipped cream that holds its shape beautifully. The higher the cocoa content, the less sugar you'll need.
For the more adventurous, there's a coffee filling: strong espresso or lungo, mellowed with mascarpone and whipped cream. Mascarpone lends it silkiness, and the coffee's bitterness balances the sweet dough. Always let the coffee cool completely before folding it into the cream — adding it warm will curdle the whipped cream. Deepen the flavour with a pinch of instant coffee or a splash of coffee liqueur if you like.
A glossy glaze all comes down to tempering the chocolate — a controlled heating-and-cooling process that stabilises the cocoa butter. For dark chocolate, it works like this:
heat it to 45°C to melt all the crystals,
cool it to 27–28°C so stable crystals can form,
then gently rewarm to 31–32°C ready for dipping.
Properly tempered glaze is glossy, snaps when it sets, and doesn't leave fingerprints all over the surface. Use good dark chocolate with at least 70% cocoa — milk and white chocolate temper at lower temperatures and are trickier to work with.
If you're not in the mood for tempering, stir a teaspoon of coconut oil into melted chocolate: it adds shine and makes spreading easier, though the result won't be as stable. We cover other options — from classic fondant to mirror glaze — in our article on the best chocolate glazes for éclairs.
Éclairs are filled from underneath through three small holes, using a piping bag fitted with a narrow nozzle (about 5 mm), so the cream spreads evenly along the whole length. Here's how:
Fill the piping bag with chilled cream and seal it well.
Using a skewer, poke three small holes into the underside of each éclair — one at each end and one in the middle.
Insert the nozzle into a hole and gently squeeze until you feel the éclair fill up; you'll also notice it get heavier in your hand.
For decorating, the classic move is dipping the top in tempered chocolate. From there, you can get creative:
classic — glaze sprinkled with chopped almonds or hazelnuts,
modern — colourful sprinkles, chocolate pearls, or a two-tone glaze,
luxurious — edible gold or silver leaf for special occasions,
a fresh touch — fresh raspberries or strawberries to cut through the sweetness.

Most éclair mishaps come down to three causes: the wrong dough consistency, an unsuitable oven temperature, or opening the oven door too soon. Here are the most common problems and their fixes:
Dough cracks and bakes unevenly — the dough is too thick or the oven's too hot. Beat in the eggs gradually until you reach the ribbon stage, and keep the oven temperature steady.
Flat, unpuffed éclairs — not enough egg, under-cooked dough, or opening the oven too early. Don't open the door for at least the first 20 minutes.
Sticky surface after baking — the inside of the dough stayed too moist. Once baked, leave the éclairs in the oven with the door slightly ajar for another 5–10 minutes to finish drying out.
If the surface cracks and your éclairs come out crooked, the usual culprits are dough consistency or oven temperature. Beat in the eggs gradually until you reach a glossy ribbon stage, and even out the surface before baking with a light brushing of egg and a few strokes of a fork. A reliable trick is starting in a hotter oven (around 200°C), then turning it down to 180°C once the tray goes in. If the dough still cracks, place a small dish of water in the oven — the extra steam helps it puff up evenly.
Flat éclairs happen when the dough doesn't have enough egg, hasn't been cooked out properly, or when the oven is opened too soon and the steam escapes. Use room-temperature eggs and mix until glossy. Don't open the oven door for at least the first 20 minutes — that's exactly when the dough is rising, and any drop in temperature will cause it to collapse.
If the surface stays sticky even once cooled, the inside of the dough wasn't dried out enough. Once baked, turn off the oven, prop the door open slightly, and leave the éclairs for another 5–10 minutes to finish drying. This lets the hollow cavity inside set properly, giving the shell the strength to hold both filling and glaze.
Filled éclairs keep in the fridge for about 24 hours; they're best on the day you make them. The moisture from the cream gradually softens the shell, so they lose their crispness over time. Store them in a sealed container so they don't pick up fridge odours, and ideally fill them just before serving.
Yes — the best approach is to freeze the empty baked shells, which keep for up to a month. Let them thaw before filling, then warm them briefly (3–5 minutes) in a 160°C oven to crisp back up. Baked choux dough itself doesn't freeze well as a finished pastry, but piped raw éclairs can be frozen and baked straight from the freezer.
Éclairs are hollow on purpose — the water in the dough turns to steam in the oven, which puffs up the shell and creates an empty cavity inside for the filling. That's exactly why choux dough isn't made with baking powder; it rises purely from its own moisture. If it stayed solid inside, that would be a mistake, not the goal.
You can, though a piping bag with a nozzle gives the neatest shape. As a substitute, use a sturdy zip-top bag with a corner snipped off, or carefully shape the dough with two spoons. Aim for an even thickness along the whole length so the éclairs bake evenly.
Most often it's because the dough wasn't dried out enough during cooking, or because it was filled too far ahead with a cream that's too moist. Let éclairs finish drying out in a slightly open oven after baking, and fill them just before serving. A thin layer of melted chocolate brushed on the inside also helps, acting as a barrier against moisture.
One recipe worth heating the oven for, one tip, and one deal from the shop. Nothing else.