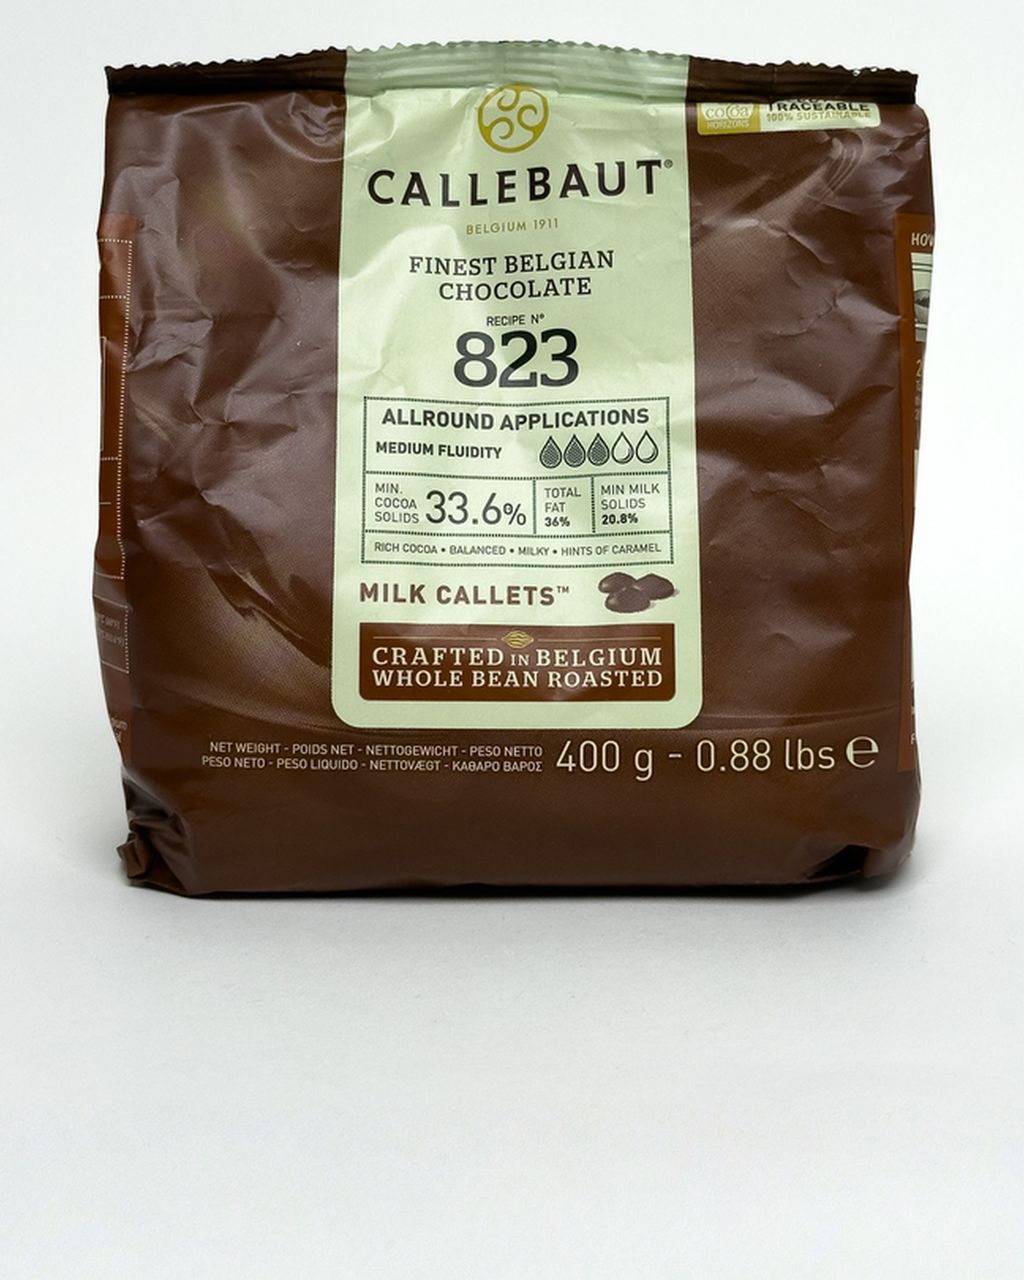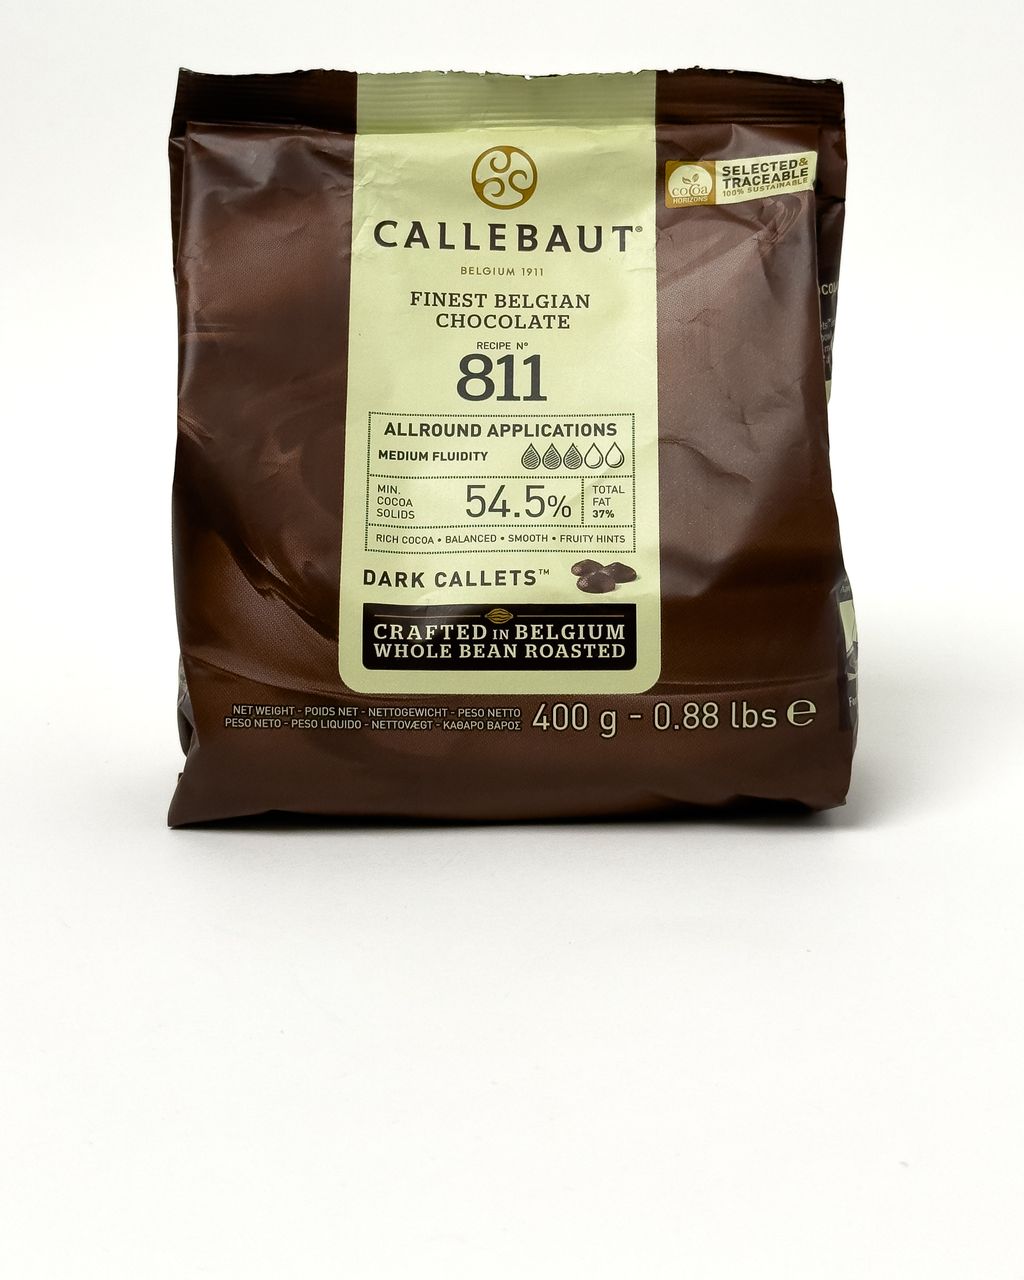
Callebaut Dark Chocolate Callets (811) 400g
Chocolate Balloon Bowls: How to Make Them Without Cracking
Updated Oct 8, 2026
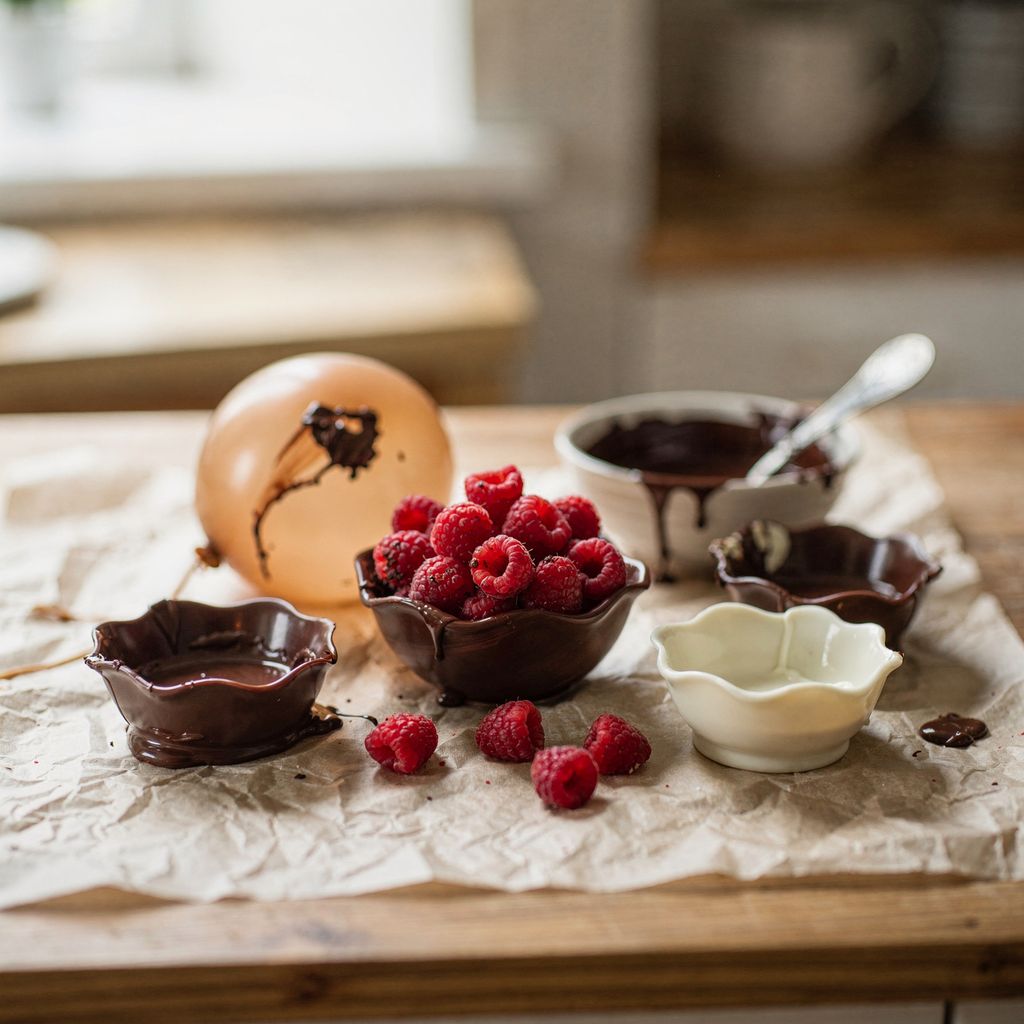
To make chocolate balloon bowls, dip a small inflated balloon into chocolate cooled to around 30°C (86°F), let it set, then slowly deflate the balloon. The whole process takes about an hour, most of which is just waiting. What really matters is the chocolate's temperature, the size of the balloon, and how you take it out at the end. Here's everything you need to know so your bowls don't crack, melt in your hand, or have the balloon pop right in the pot.
For 6 bowls you'll need 400g chocolate, 6 small balloons, baking paper, and a deep, narrow bowl for dipping. A thermometer and oil-based food colouring are optional.
Chocolate: 400g. Each bowl uses up 40–60g, but your dipping container needs enough depth (at least 4–5cm) so the balloon dips in evenly. Don't throw away the leftover chocolate — let it set on paper and use it next time.
Balloons: small ones, ideally water balloons or party balloons, blown up to a diameter of 10–12cm. A bigger balloon gives you a bigger, thinner, and more fragile bowl.
Baking paper to line a tray or board that fits in your fridge.
A thermometer (optional) — not essential, but it will save you most of the failed attempts.
Oil-based colouring for chocolate (optional), if you want coloured bowls.
You've got three real options here: tempered couverture, simply melted couverture, or compound chocolate (candy melts). The best choice is couverture — a confectionery chocolate with a higher cocoa butter content. That makes it more fluid, gives you a thinner shell, and once tempered, it holds its shape even at room temperature. Here's how the three options compare:
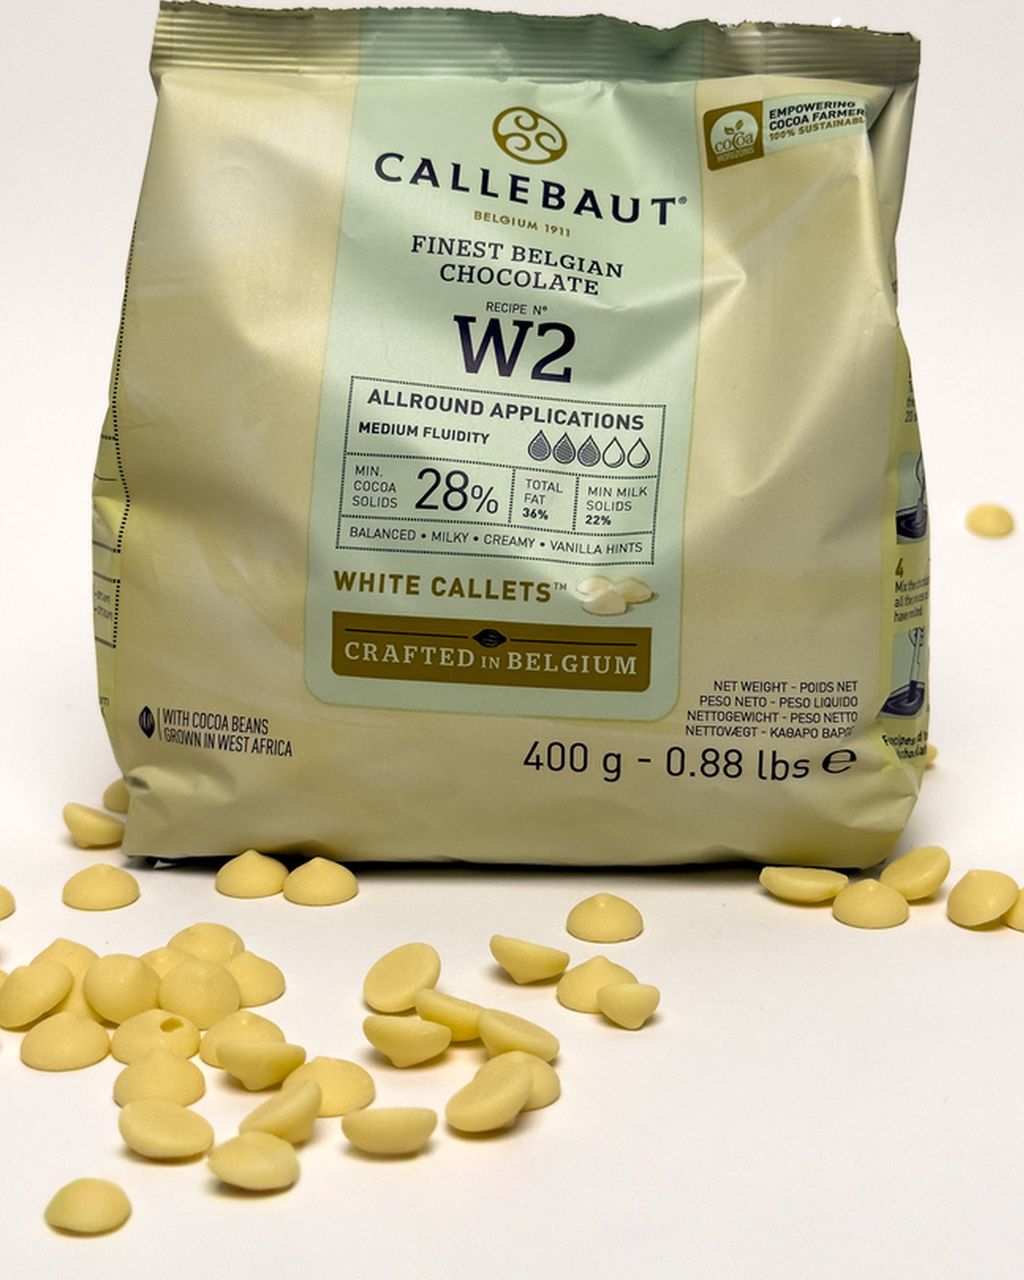
Tempered couverture — glossy, with a good snap, firm at room temperature. The most work, but the best result. Callebaut's dark 811, milk 823, or white W2 callets work well for bowls — the callets melt evenly so there's no chopping involved. Check out our guide on how to temper chocolate for a perfect shine for the method.
Melted couverture (untempered) — this works, but the bowl only sets firm in the fridge, goes soft in your hand, and often turns grey by the next day. Fine for quick bowls you'll eat right away.
Compound chocolate (cocoa coating) — note this isn't technically chocolate. Vegetable fat replaces the cocoa butter, so by law it can't be labelled chocolate. You don't need to temper it and it sets on its own, making it the easiest route for bowls made with kids. The flavour falls short of couverture, though, and it has a waxy stick to the roof of your mouth. We don't sell it, but it's a legitimate option if you'd rather skip the temperature fuss.
Plain bar chocolate from the shop works too, just thicker, so the bowl comes out heavier and less glossy. You'll find the full range of couvertures under baking and praline chocolate.
Dip the balloon into chocolate at around 30–32°C (86–90°F) for dark, and 28–30°C (82–86°F) for milk and white. Chocolate that's too warm will heat the balloon until it pops; chocolate that's too cold turns thick and gives you a rough-looking bowl.
If you temper your chocolate, you'll land in these temperatures automatically. According to Callebaut, the working temperatures are roughly:
Dark 811: 31–32°C (88–90°F)
Milk 823: 29–30°C (84–86°F)
White W2: 28–29°C (82–84°F)
The easiest home tempering method is the seeding method: melt two-thirds of the chocolate to 45–50°C/113–122°F (white and milk only to 40–45°C/104–113°F), stir in the remaining third of callets, and keep stirring until the temperature drops to the working value. To test: dab a bit of chocolate onto a knife — properly tempered chocolate sets glossy within 3–5 minutes at room temperature.
No thermometer? The chocolate should feel barely warm on your lip — cooler than your body temperature.
Making chocolate balloon bowls takes nine steps: blow up the balloons, wash and dry them, dip the balloon, let it drip off, let the first layer set, dip a second time, sit it on a freshly poured chocolate disc, let it set, and deflate the balloon. Here's the detailed version:
Blow up the balloons to 10–12cm and tie them off. Don't overinflate — stretched rubber pops more easily when it meets heat.
Wash the balloons and dry them thoroughly. Any manufacturing dust or talc left on the surface will transfer into the chocolate, and even a drop of water can seize it.
Hold the balloon by the knot and dip it straight down, 5–6cm deep. For a wavy edge, tilt it and dip four times around in different directions, rotating slightly each time.
Let the excess chocolate drip off for 10–20 seconds over the bowl.
Let the first layer set — hold the balloon by the knot until the chocolate turns matte and stops being sticky (3–5 minutes for tempered chocolate), or rest it carefully on baking paper for that time.
For a sturdier bowl, dip the balloon a second time and let it drip off again. Two layers are almost essential for large or filled bowls.
Use a spoon to make a 4–5cm chocolate disc on the baking paper and sit the balloon on it right away, while it's still wet. This forms the base so the bowl stands flat. Don't make all the discs ahead of time — tempered chocolate sets within 3–5 minutes and the balloon won't stick to it anymore. Hold it gently until the balloon stands on its own.
Let it set: 20–30 minutes at room temperature for tempered chocolate, 15–20 minutes in the fridge for untempered.
Deflate the balloon slowly — we explain exactly how to keep the bowl intact just below.
Don't pop the balloon — deflate it slowly: snip it with scissors just below the knot, hold the opening with your finger, and let the air out gradually. The rubber will peel away from the walls on its own, leaving the bowl intact.
A sudden pop is the most common reason bowls crack — the rubber jerks and tears off the thin edge.
If the rubber is sticking, leave the bowl in the fridge for another 10 minutes. As it sets, the chocolate shrinks and pulls away from the balloon on its own.
Pull out any rubber bits stuck at the bottom with tweezers or carefully with your fingers.
Handle the bowl as little as possible with bare hands — the warmth from your palms leaves marks on the glossy chocolate. A cool hand or gloves will help.
A chocolate balloon bowl most often goes wrong in one of four ways: the balloon pops inside the chocolate, the bowl cracks when you remove the balloon, the bowl goes soft and grey, or the chocolate seizes.
The balloon popped in the chocolate — the chocolate was warmer than 33°C (91°F), or the balloon was overinflated.
The bowl cracked when you removed the balloon — a wall that's too thin (dip it twice), or the balloon was deflated too quickly.
The bowl goes soft in your hand and looks dull or streaked grey — the chocolate wasn't tempered. The fat crystallised into an unstable form as it set. Tempering fixes this, or just keep the bowls in the fridge and take them out right before serving.
The chocolate seized into a lumpy mass — water got into it (a wet balloon, steam, or gel colouring). You can't save it for bowls at this point, but it's still fine to use in a batter — try it in a simple chocolate cake, or stir it into warm milk for hot chocolate.
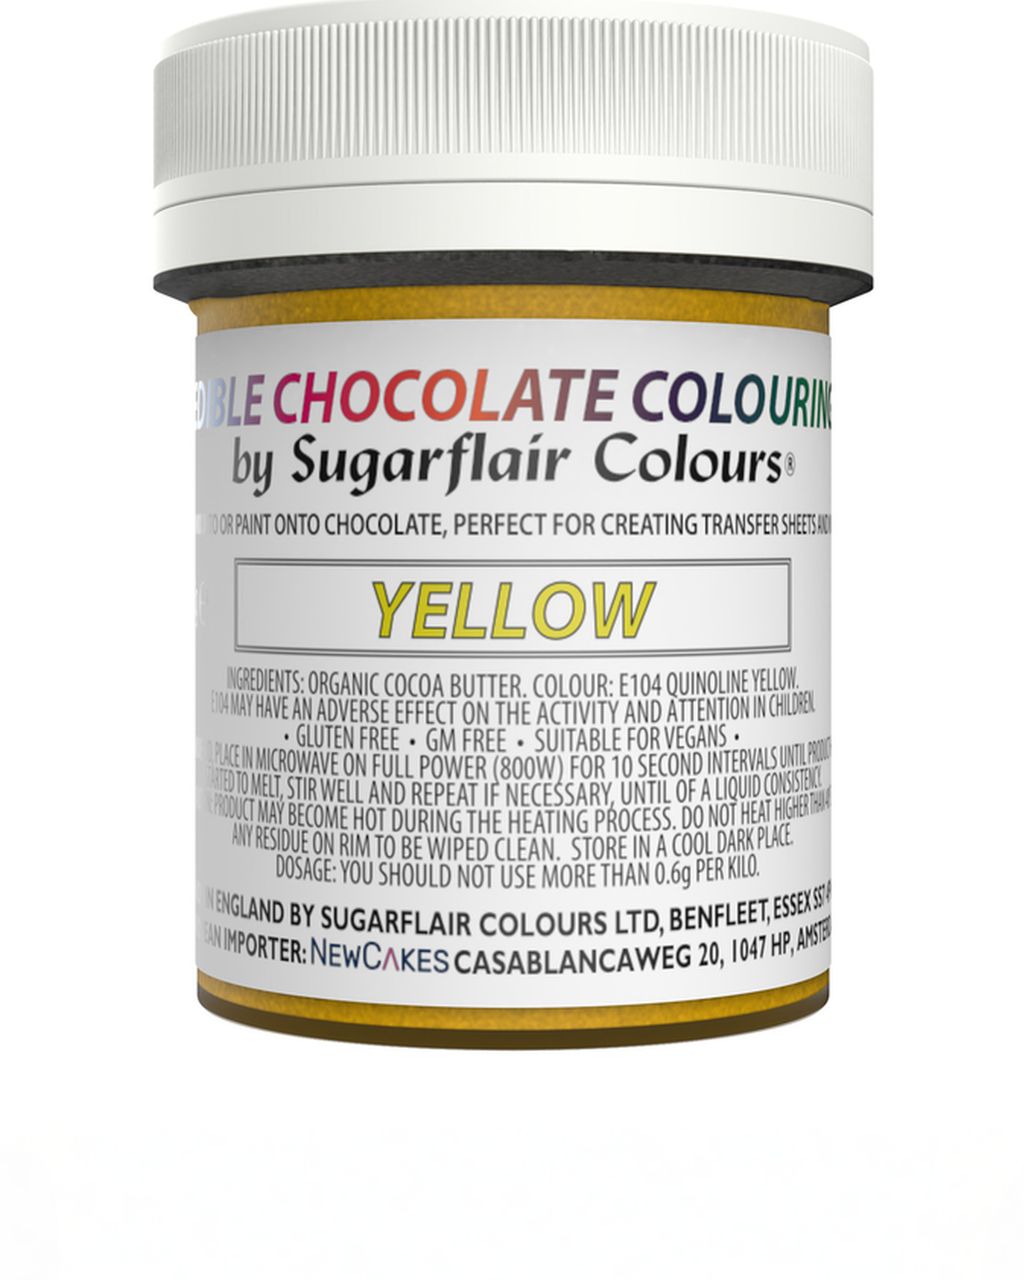
Only colour white chocolate with oil-based colouring or fat-soluble powder colouring — gel or liquid colouring contains water and will seize the chocolate. Add Sugarflair oil colour drop by drop to already-tempered white chocolate and mix well; a deeper shade needs more colour, but start small.
For an eye-catching effect, drizzle a spoonful of a different-coloured chocolate over the dipped balloon just before it sets, or dip just the edge of the balloon into coloured chocolate. For more on why gel colouring doesn't work with chocolate, see our article on food colouring: gel, powder, and chocolate-specific colours.
Chocolate bowls call for a filling that's cold and not too wet: mousse, cream, ice cream, fresh fruit. A warm or runny filling will melt or soak through the bowl.
Chocolate mousse — a classic that holds its shape. Try our chocolate mousse recipe.
Mascarpone cream — like the one from our mini tiramisu with blackberries and Earl Grey, skip the sponge and spoon it straight into the bowl.
Ice cream or sorbet — fill right before serving.
Fresh fruit with whipped cream — raspberries, blueberries, mango. Pat the fruit dry so the juice doesn't soak the base.
Add the filling no more than an hour before serving, and keep the bowls chilled until then.
If you'd rather skip balloons, or simply can't use them, a silicone muffin tin, paper cupcake liners, or an upturned bowl covered in plastic wrap will work just as well.
Silicone moulds — brush two layers of chocolate over the inside, let it set, then peel the mould away from the bowl. The shape comes out regular and there's no latex involved.
Paper cupcake liners — same method, just peel the paper off carefully once set. These give you small, bite-sized bowls.
Upturned bowl with plastic wrap — spread the chocolate over the outside of the wrap, let it set, then lift the bowl off and peel away the wrap. Great for a large serving dish.
A similar technique, using chocolate for honeycomb shapes, is used in our recipe for white chocolate wasp nests with mango and passion fruit.
Empty bowls made from properly tempered chocolate keep for 2–3 weeks stored somewhere dry and cool (15–18°C/59–64°F), so you can easily make them a few days ahead. Untempered bowls should go in a sealed container in the fridge and be used within a few days. Once filled, eat the bowls the same day.
Transport the bowls empty, each one nestled in a paper cupcake liner or scrunched-up baking paper inside a sturdy box, and fill them only once you've arrived. Keep the box out of direct sun and away from a hot car — tempered chocolate starts to soften around 28°C (82°F). Carry untempered bowls in a cool bag.
No, you can't reuse the balloon from a chocolate bowl — you snip it below the knot to deflate it, so it can't be reinflated and tied again. Plan on one fresh balloon per bowl, and buy a few extra in case any pop.
Yes, chocolate balloon bowls are a popular activity to do with kids — just make sure the chocolate has cooled to the right working temperature (around 30–32°C/86–90°F for dark, 28–30°C/82–86°F for milk and white) and leave the balloon-deflating step to an adult. Compound chocolate is easiest for kids since it doesn't need tempering.
One recipe worth heating the oven for, one tip, and one deal from the shop. Nothing else.