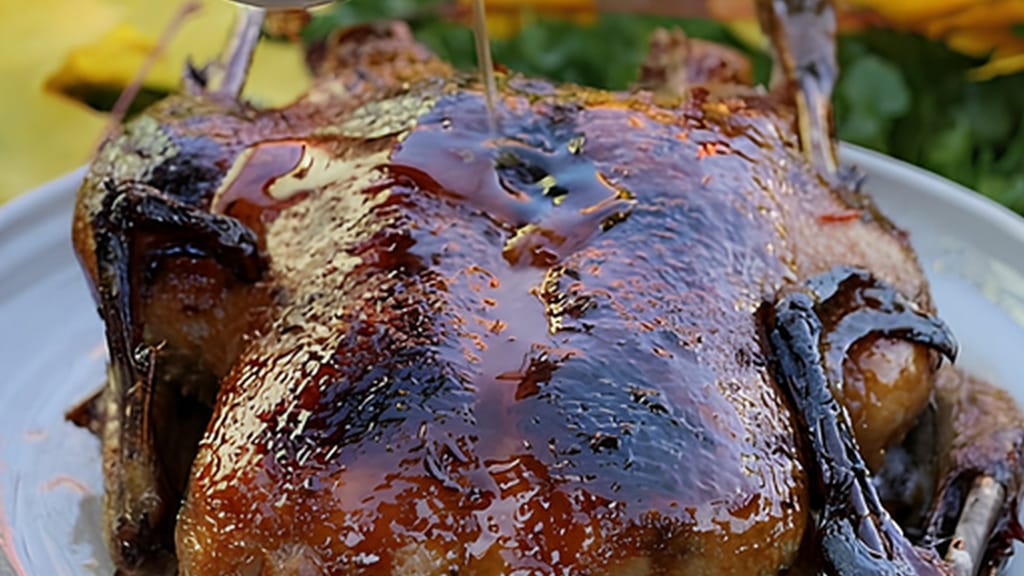
Slow-roasted honey duck – juicy and crispy
What to Brush on Goose for Crispy Skin
Updated Sep 17, 2026
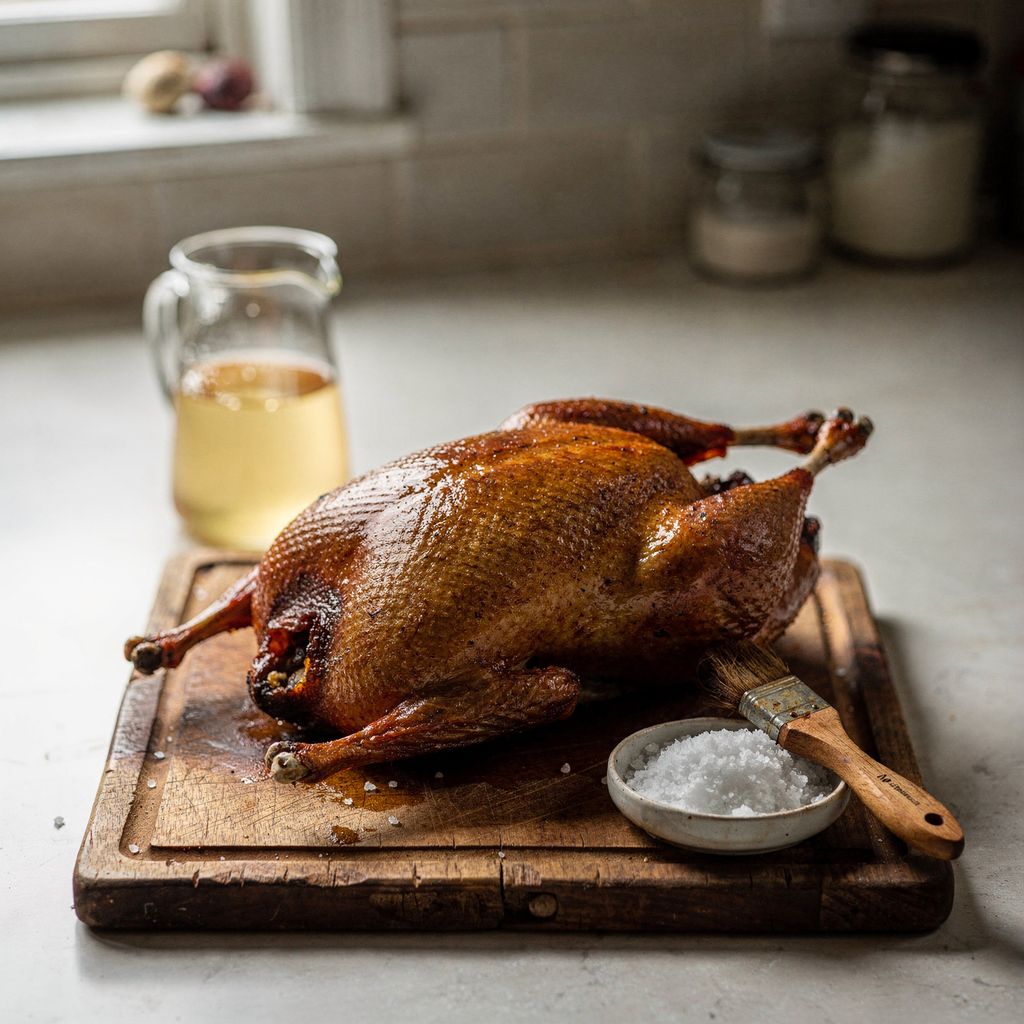
Crispy goose skin comes from dryness: rub it a day ahead with a 3:1 mix of salt and baking powder, baste it with rendered goose fat during roasting, and only right at the very end — the last 10 to 15 minutes — brush on honey, vodka, or beer. Nothing else. Crispy skin doesn't come from what you put on the goose, but from what manages to evaporate off it. Most of the things people traditionally slather on a goose right at the start actually keep the skin damp and kill any chance of crisping.
Only brush the goose with four things: salt mixed with baking powder a day ahead, rendered goose fat during roasting, and honey, vodka, or beer in the last 10 to 15 minutes. Each one has its own window:
Salt — 10g per kilo of goose, 24 to 48 hours ahead. It draws water out of the skin and seasons the meat all the way through.
Baking powder — mixed with salt in a 1:3 ratio. It raises the pH of the skin, so it browns faster and at a lower temperature.
Rendered goose fat — the only thing worth brushing on during roasting. It's pure fat with no water in it.
Honey, vodka, or beer — only in the final 10 to 15 minutes, for colour, shine, and flavour.
Caraway belongs with goose flavour-wise, but it has no effect on crispiness — just sprinkle it in with the salt and don't overthink it as a technique. What matters more than the ingredients themselves is the order you use them in: anything watery applied earlier than the final quarter-hour will dampen the skin and cost you the crunch.
Skin only starts to crisp once it's almost completely free of water. As long as moisture is still evaporating from the surface, the skin stays below 100°C (212°F) — and at that temperature it simply can't brown or firm up, it just steams. Only once it's dry does the surface temperature climb higher, the Maillard reaction kicks in, and the skin tightens into a brittle, shatter-crisp layer.
The other half of the job is rendering out the fat. A goose has a thick layer of fat under the skin, and it has to get out — as the collagen in the skin turns to gelatine, channels open up that let the fat drain away. What's left is a thin, dry skin that shatters when you bite it. If the fat stays trapped under the skin, you end up with a rubbery, greasy surface, no matter how nicely browned it looks.
That's the whole logic behind basting: anything you put on the goose counts as extra water, unless it's pure fat or alcohol. That's why salt goes on the day before (it draws water out) and honey goes on right at the end (it adds water, but by then that no longer matters, since all that's left to do is add colour).
For a 4kg (9lb) goose, mix together 40g salt, 13g baking powder, and a tablespoon of whole caraway seeds — that's the 3:1 ratio plus seasoning. Rub the mixture into the skin all over, especially into the folds around the legs and wings where moisture tends to collect. Inside the cavity, use salt only.
Then set the goose breast-up on a rack over a tray and leave it uncovered in the fridge for 24 to 48 hours. Uncovered is the key word: the cold circulating air in the fridge works like a dehydrator, and by the next day the skin will have turned into something between parchment and paper. If you wrap it in foil, the water drawn out has nowhere to go, and the salting will actually work against you.
If your goose is in a wet brine, the same principle applies, with one extra step: take it out, pat it thoroughly dry with paper towels, and let it dry out overnight in the fridge just the same. A wet brine flavours the meat, but leaves the skin waterlogged — without a drying stage afterwards, it won't turn crispy.
Baking powder is alkaline and pushes the skin's pH upward — and that does two things at once. First, it loosens the proteins in the skin, so they tighten up more during roasting and squeeze out the remaining water. Second, it lowers the temperature at which the Maillard reaction kicks in, so the goose browns sooner and more evenly, even when roasted slowly at a low temperature.
There's a bonus in texture too: the baking powder reacts with moisture in the skin and forms microscopic bubbles. That increases the surface area, so the result crackles more aggressively rather than just going hard.
Stick to the ratio — anything more than 1 part to 3 parts salt and you'll start to taste it.
Only apply honey, vodka, or beer in the last 10 to 15 minutes of roasting, once the skin is already brown and dry. Not before — and each one solves a different problem:
Honey gives a dark colour, shine, and caramel flavour. Mix a tablespoon of honey with a tablespoon of rendered fat or hot water so it spreads thinly. But the sugars in honey start caramelising around 110°C (230°F) and turn bitter above roughly 150°C (300°F) — honey brushed on an hour early means a bitter, blackened goose, not a crispy one. In the final stretch at 200°C (400°F) it's a matter of minutes, so keep it to a thin layer and keep the goose in sight.
Vodka or another neutral spirit is a trick for pure crispiness without adding colour. Alcohol evaporates faster than water, so it carries off the last traces of surface moisture with it and leaves nothing behind.
Beer is a Czech classic and works well for flavour and colour thanks to its residual sugar and malt. But it's mostly water — only brush it on right at the end, and only in a thin layer, with a pastry brush, not by pouring it on.
The rule that applies to all of them: brush on a thin layer and put the goose straight back into a hot oven. A thin layer evaporates before it has a chance to soften the skin. A pool of liquid in the bottom of the roasting pan never helps the skin.
Don't brush the goose with butter, oil at the start, pan drippings, or a wet marinade, milk, or stock — all of these put water back onto the skin. Here's why, specifically:
Butter. It's roughly 16% water and contains milk proteins that will burn during the long roast before the goose is even done. A goose has plenty of its own fat — save the butter for the gravy.
Oil at the start. Does nothing useful. Skin isn't dough — it doesn't need fat added from outside to brown, it needs its own fat drawn out.
Basting or pouring pan drippings over the skin. The most common myth of all. Drippings are a mix of fat and juices, and those juices are water — every basting resets the skin back to square one and softens it right back up. If you want to baste, use pure fat that's been poured off, not the drippings straight from the pan.
A wet marinade, milk, or stock before roasting.All of these add water exactly where you've spent the whole process trying to remove it. Build flavour with salt, caraway, and stuffing on the inside, not with a wet coating on the outside.
Crispy skin comes down to five steps: prick the skin over the fatty areas, roast slowly at 120–150°C (250–300°F) for roughly 3.5 to 4 hours, pour off the rendered fat periodically, check that the thigh reaches 82–85°C (180–185°F), and finally crank the heat up to 200–220°C (400–425°F) for 10 to 15 minutes. In detail:
Prick the skin. Use the tip of a knife or a fork, held at an angle, almost flat against the skin, over the fatty areas around the legs, wings, and sides of the breast. The goal is to open a path for the fat, not to stab the meat — go too deep into the muscle and the juices will run out.
Roast slowly at 120–150°C (250–300°F). A long, gentle roast gives the fat time to render out and the collagen time to soften. For a 4kg (9lb) goose, plan on roughly 3.5 to 4 hours.
Pour off the rendered fat. Feel free to do this two or three times during roasting. The goose shouldn't be sitting in its own fat — the underside would end up steaming rather than roasting. You can baste with the poured-off fat, and save the rest in a jar — it keeps for months and makes the best roast potatoes.
Check the internal temperature. At the thickest part of the thigh, you're aiming for 82–85°C (180–185°F) — at that point the collagen has broken down into gelatine and the meat pulls away from the bone.
Finally, crank the heat up to 200–220°C (400–425°F) for 10 to 15 minutes. This is where the crisping actually happens, and it's exactly when the honey, vodka, or beer basting comes in. Don't take your eyes off the goose — it moves fast.
Yes, the same method works for duck, just with shorter times — 8 to 10g of salt per kilo, one night of drying in the fridge, and 2 to 2.5 hours of roasting. Duck is smaller and has a thinner fat layer, so everything happens faster. Keep the final high-heat blast shorter, around 10 minutes, or the breast skin will go from crispy to burnt.
The same logic applies to duck breast on its own too: salt it, let it dry out, render the fat out of the skin slowly, and let it go golden right at the end.
Slow-roasted honey duck – juicy and crispy
Slow-roasted duck with honey — crispy skin, honey added only at the end, exactly following this same logic
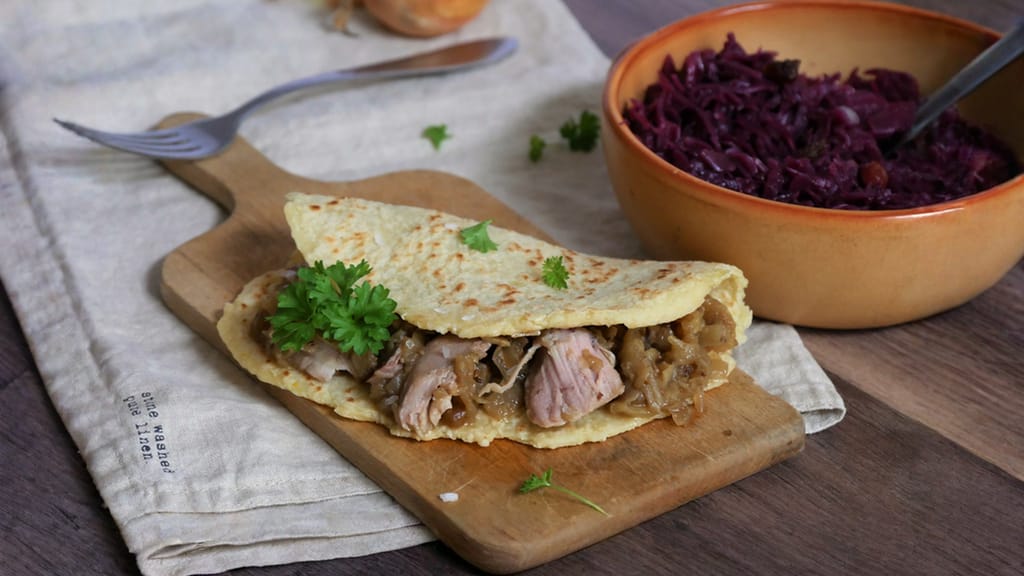
Goose breast on apples with potato lokše
Duck breast with apples and potato pancakes — crispy-skinned goose flavour when you don't want to roast a whole bird
Crispy roast goose pairs perfectly with sweet-and-sour braised red cabbage and potato pancakes (lokše). You can even make the pancakes using the goose fat you poured off during roasting.
Reheat goose leftovers starting from the skin: briefly crisp up the sliced pieces, skin-side, in an oven at 220°C (430°F) — never in the microwave. For more ideas, check out our article on what to do with leftover roast goose and duck.
Pouring boiling water over it tightens and stretches the skin, so it dries faster and the fat renders out more easily during roasting — but only if you then let the goose dry out properly afterwards. The method is: scald, pat completely dry, salt, and leave uncovered in the fridge for 24 hours. If you scald the goose and shove it straight in the oven, all you've added is water, and the skin will turn tough. For goose it's an optional extra step; for Peking duck it's the whole basis of the technique.
Pat the goose dry with paper towels right into every fold, salt it, and leave it uncovered in the fridge for at least 4 hours — even that makes a real difference. If you don't even have that, set it on a rack and let a fan blow on it for 20 minutes at room temperature, or run a hairdryer on the cold setting over the skin. Then roast a bit longer during the final high-heat stage, but keep an eye on the colour.
No, as long as you rest the goose uncovered on a rack, not wrapped in foil on a board. Foil traps steam, which condenses on the skin, and within ten minutes your crispy skin turns into a damp rag. A goose is large and holds heat well, so 20 to 30 minutes resting uncovered on a rack won't hurt it, and the meat will stop falling apart when you carve it.
Take the goose out of the roasting pan, pour off all the fat, and put it back into an oven heated to 220°C (430°F) for 10 to 15 minutes — in most cases the problem is that it was sitting in its own juices. If the skin is also pale, brush it thinly with honey mixed with a little fat. If the meat is already done by then, cover just the breast with foil and leave the back and legs uncovered.
Yes, but only in parts — a whole goose won't fit in an air fryer. Legs and breasts work brilliantly in one: salted and dried, roast skin-side down for 25 to 30 minutes at 180°C (350°F), then finish skin-side up for 15 minutes at 200°C (400°F). On a grill, cook indirectly with a drip tray under the meat to catch the fat, otherwise you're risking a fire — goose fat drips a lot.
Season the cavity lightly, roughly a teaspoon of salt for a 4kg (9lb) goose, and add caraway seeds — don't put baking powder inside, that's for the skin only. If you're stuffing the goose with apples or plums, go easier on the salt inside, as the stuffing will pull back the flavour. Salt inside the cavity reaches the meat far more slowly than the salt on the skin, so the main seasoning always happens from the outside.
One recipe worth heating the oven for, one tip, and one deal from the shop. Nothing else.