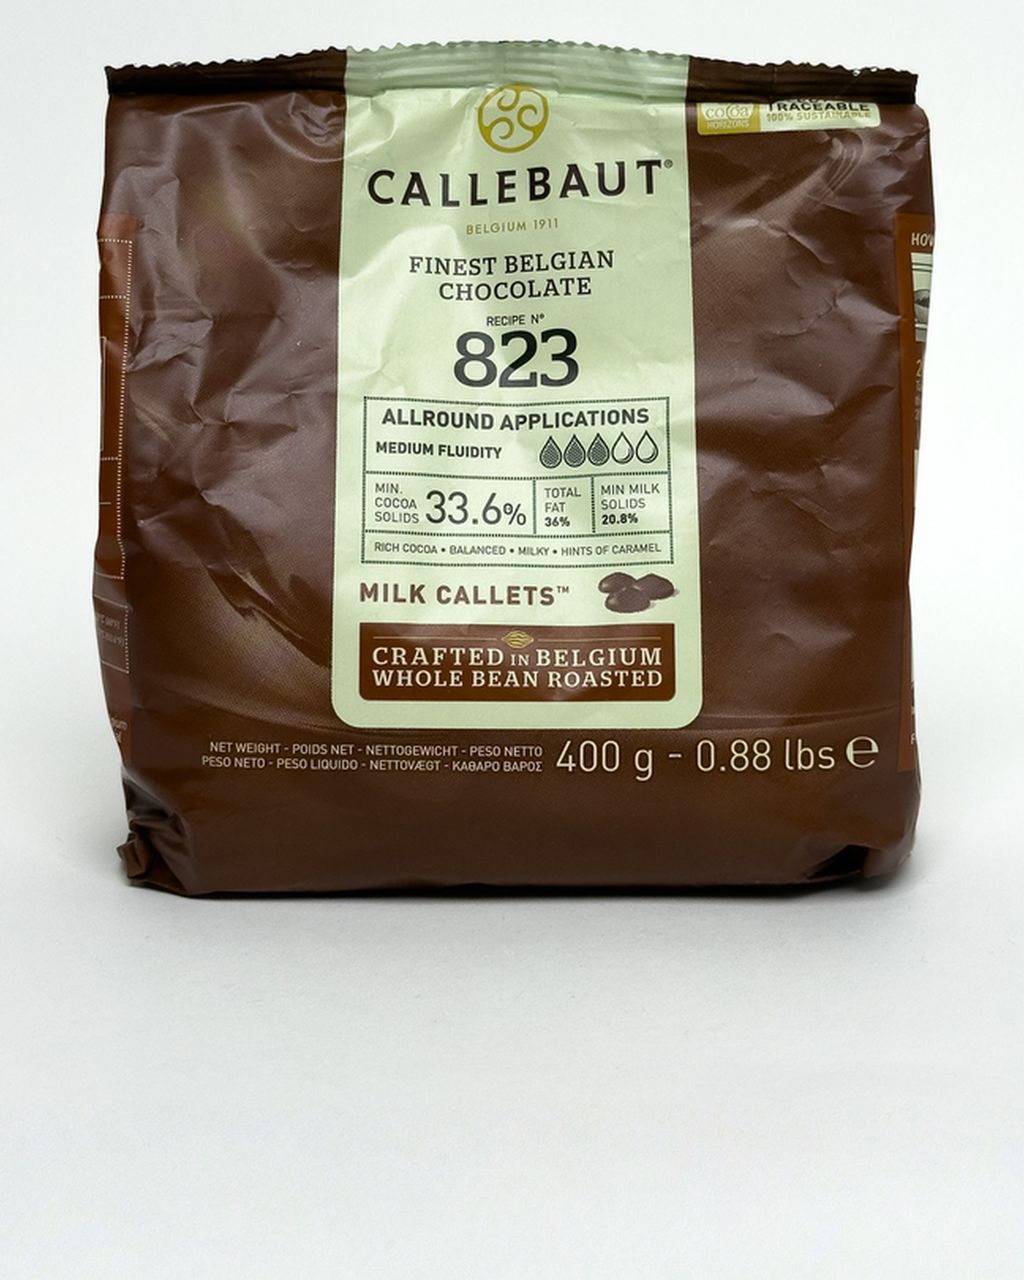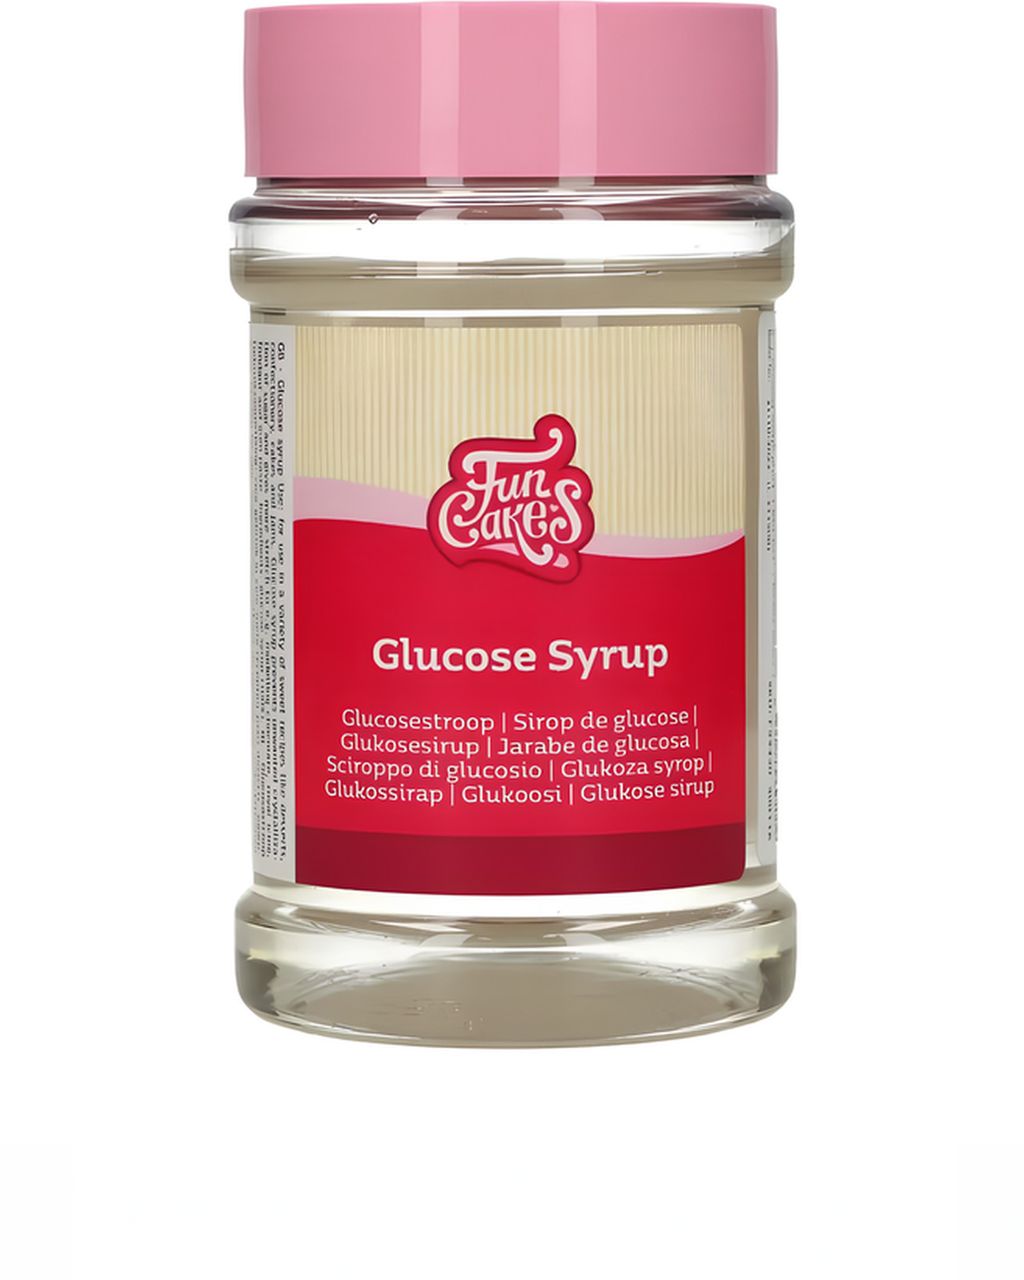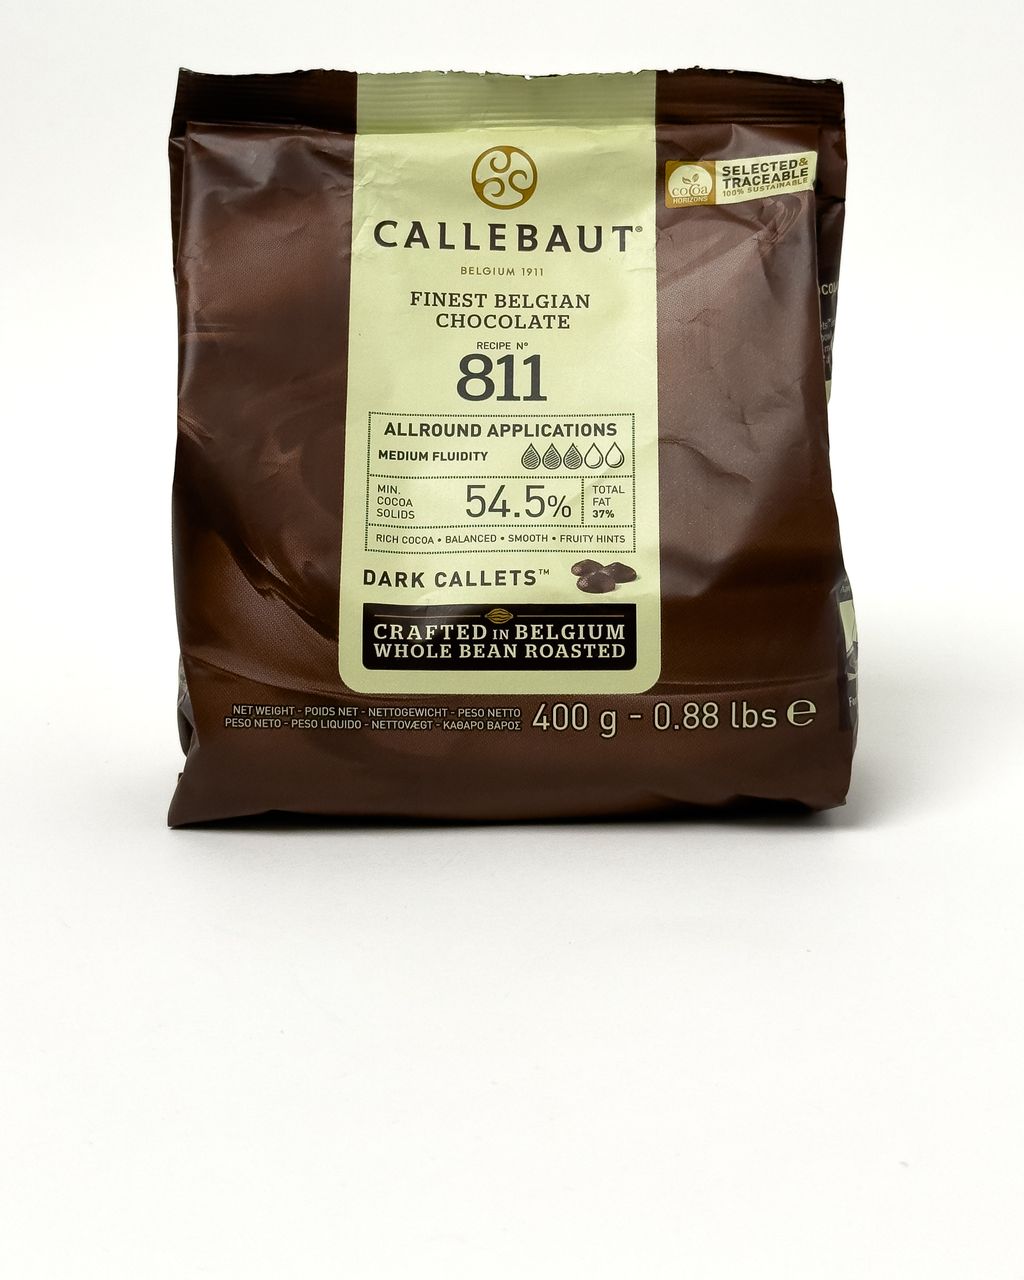
Callebaut Dark Chocolate Callets (811) 400g
Sliceable Chocolate Glaze: How to Make It Cut Cleanly Without Cracking
Updated Oct 15, 2026
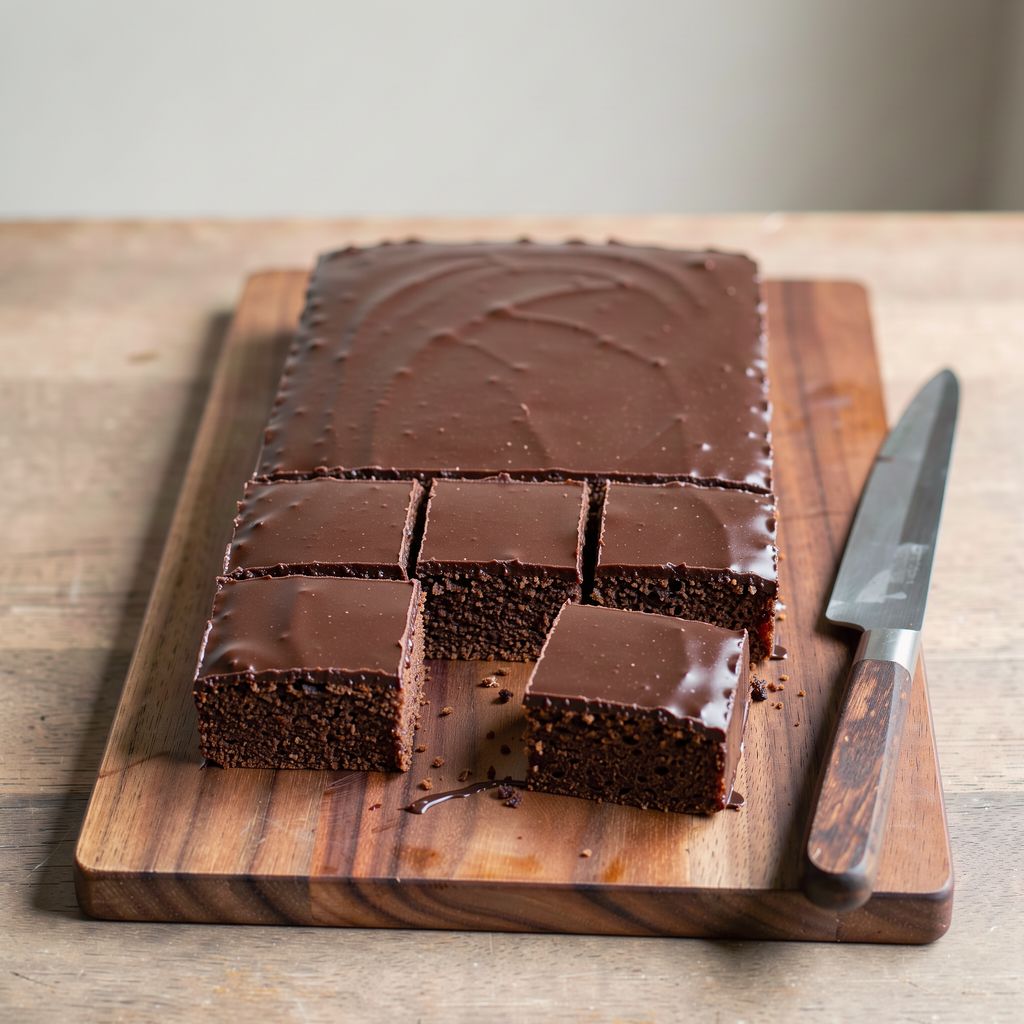
A sliceable chocolate glaze is chocolate softened with fat, cream or glucose so it holds its shape once set but doesn't shatter under the knife. The most reliable ratios are 100 g chocolate to 20 g oil, or a sliceable ganache of 100 g dark chocolate, 70 g cream and 10 g glucose syrup. Plain melted chocolate sets into a hard, brittle shell, and it cracks into shards when you cut bars or a cake. Below you'll find why that happens, three tried-and-tested ratios, the right pouring temperature, and how to cut so every piece has a straight, clean edge.
It cracks because the cocoa butter in chocolate sets into a firm, brittle crystalline structure. On a hard chocolate bar that's what you want (it's why chocolate "snaps"), but on a soft cake base it's a problem: the knife presses on a thin shell, the shell has nowhere to bend, and it shatters.
Three things make the brittleness worse:
Cold. Glaze straight from the fridge is harder and more brittle than at room temperature.
A thick layer. The thicker the shell, the bigger the pieces that break off.
A soft base. A fluffy sponge or cream filling gives under the pressure of the knife, but the glaze doesn't.
The fix is always the same: add something to the chocolate that disrupts the structure of the cocoa butter and makes it more flexible. That can be another fat that stays soft at room temperature (oil, butter), or water in the form of cream (which gives you ganache), or glucose syrup, which keeps the glaze pliable and glossy.
There are three ways to make a sliceable chocolate glaze:
Chocolate with oil or coconut oil: the fastest, a thin glossy layer, ideal for sheet cakes and bars.
Sliceable ganache with cream and glucose: the smoothest flavor and texture, ideal for cakes.
Cocoa glaze made with butter, cocoa and sugar: Grandma's classic with no chocolate, inexpensive but more matte.
All three cut cleanly. They differ mainly in flavor, shine and how long they take to set.
For every 100 g dark chocolate, add 15–20 g neutral oil or 20–25 g coconut oil. Butter works too, but you need more of it (30–40 g), because it contains about 16% water and less fat.
Melt the chocolate over a water bath or in the microwave in 20–30 second bursts, stirring between each one.
Stir the fat into the still-warm chocolate until the mixture is smooth and glossy.
Pour at 32–35 °C (90–95 °F). A warmer glaze runs down the sides, while a cooler one drags and leaves spatula marks.
The advantage: the glaze doesn't need to be tempered. The added fat throws off the crystallization of the cocoa butter enough that the glaze sets slowly and stays flexible, so no hard shell forms. It's the best choice for a sheet-pan gingerbread cake, marokánky with chocolate glaze or a quick poppy seed cake with chocolate glaze.
Sliceable ganache is chocolate melted into hot cream in a ratio that sets into a soft but cuttable layer. For a cake glaze, these ratios have proven reliable:
Dark chocolate (50–60%): 100 g chocolate, 70 g cream with 33% fat, 10 g glucose syrup
Milk chocolate (30–35%): 100 g chocolate, 45 g cream, 8 g glucose syrup
Bring the cream and glucose just to a boil, pour it over chopped chocolate or chocolate callets, leave it for 1 minute, then stir with a spatula from the center outward until you have a glossy emulsion. Don't whisk, or you'll create bubbles. Pour at 32–35 °C (90–95 °F).
The glucose syrup does two things here: it prevents the sugar from crystallizing, so the ganache stays smooth even after several days, and it adds flexibility and shine. 5–10% of the weight of the chocolate is enough; more makes the glaze sticky. The ganache is set when you can touch it lightly without it sticking to your finger, usually after 30–60 minutes at room temperature.
The article glucose in ganache explains why glucose helps ganache so much and when to reach for invert sugar instead. You'll find more ratios for fillings and creams in the overview chocolate ganache: ratios and uses.
The classic Czech cocoa glaze is essentially a cooked fondant-style icing: 100 g sugar, 40 ml milk, 20 g cocoa and 50 g butter. Boil the sugar, milk and cocoa for 2–3 minutes into a thick syrup, take it off the heat, stir in the butter and pour it on while it's still warm.
It cuts well because it sets into a soft, slightly crystalline layer with no hard shell. In return you get a less chocolatey flavor, a matte surface and a sweeter result. It's a good fit when you don't have chocolate at home or when you want the traditional taste of sheet-pan cakes and bars.
Dark chocolate gives a firmer, more pronounced glaze, while milk chocolate gives a softer, sweeter one. Milk fat softens cocoa butter, so milk chocolate needs less added fat or cream. If you add the same amount as you would to dark chocolate, the glaze stays gummy.
Dark chocolate at around 55% is the most versatile. Callebaut 811, for example, has 54.5% cocoa and 36.6% fat according to the manufacturer, with medium fluidity. It works in ganache and in oil-based glaze, and it won't overpower the cake in flavor. Darker chocolates (70%+) set harder and absorb more liquid, so for the same amount they need 10–20% more cream.
Milk chocolate at around 33% suits kids' cakes and pairs well with nuts. Callebaut 823 has 33.6% cocoa solids and a caramel note. With oil, use more like 10–15 g per 100 g of chocolate.
White chocolate is the softest of all. For a sliceable glaze, use only half the cream you'd use with dark chocolate (roughly 100 g : 35 g) and expect a longer setting time.
You'll find chocolate, glucose and other glaze ingredients together in our selection of glazes and icings.
Pour the glaze at 32–35 °C (90–95 °F) onto a base at room temperature, aiming for a layer 2–3 mm thick.
Glaze temperature: check it with a thermometer, or dab a little glaze on your lip. It should feel only lukewarm. Above 40 °C (104 °F) it's too thin and runs off; below 30 °C (86 °F) it starts to set in the spatula.
Base temperature: a base straight from the fridge chills the glaze instantly, so it sets unevenly and moisture can condense on the surface. Take it out 30 minutes ahead.
Thickness: 2–3 mm cuts best. A thinner layer is see-through, and a thicker one gets pushed and broken off under the knife.
Amount: for a 30 × 40 cm baking sheet, count on roughly 250–300 g of finished glaze; for the top of a cake 20–22 cm across, about 100 g, or 180–220 g if you're covering the sides too.
Pour the glaze into the middle and spread it with a long spatula in a few strokes. The less you work it, the glossier it will be. Before it sets, tap the pan on the counter so the bubbles rise to the surface.
Cut with a sharp knife that's been warmed in hot water and dried, and on a sheet cake, score the glaze while it's still semi-set.
Score it in advance. After 15–25 minutes at room temperature, when the glaze is no longer mirror-shiny but isn't sticky yet, lightly mark the cuts with a knife. The layer will then break exactly where you want it to.
Warm the knife. Dip the blade in hot water, wipe it dry and cut in one smooth stroke. Warm and wipe it again before every further cut.
Cut at room temperature. Let bars or a cake from the fridge rest for 15–20 minutes so the glaze softens a little.
Slice, don't press. Move the knife in a forward-and-back sawing motion, not straight down with pressure. Pressure squashes the base and peels off the glaze.
Store-bought cake (cocoa) glaze in a bar cuts well and needs no tempering, but it tastes far less chocolatey than real chocolate. Instead of cocoa butter it usually contains hydrogenated vegetable fat (often palm kernel or coconut), which is why it sets quickly, doesn't crack and isn't bothered by temperature swings. On the tongue, though, it melts more slowly and can taste slightly waxy.
Honestly: if you need glaze for a hundred cookies and flavor isn't your priority, cake glaze does the job. For a cake or bars where the glaze is seen and tasted, real chocolate softened with oil or cream wins. It's almost as practical and a class above in flavor.
Sliceable chocolate glaze is not mirror glaze. That one is made from gelatin, glucose and condensed milk, and gives frozen desserts their shine. The article mirror glaze: how to get a perfect shine explains the difference. For an overview of all glazes with ratios, see types of glazes for cookies and cakes.
Glaze made with chocolate and oil keeps on bars at room temperature for 3–4 days. Sliceable ganache made with cream belongs in the fridge because of the cream, and keeps for 4–5 days. Both can be frozen, cake base and all, for up to 2 months. Thaw slowly in the fridge, in a covered box, so condensation doesn't form on the glaze and leave blotches.
The best substitutes for glucose syrup are invert sugar or light honey, used in the same amount: 5–10% of the weight of the chocolate. Honey adds its own flavor, while invert sugar is neutral. Corn syrup works just like glucose. Without any syrup the ganache will still set, but it will be a little duller and may start to turn grainy after a few days.
Gray blotches are fat bloom: cocoa butter has risen to the surface and recrystallized because the chocolate set unevenly or went through a big temperature swing. It doesn't affect the flavor, only the look. You can prevent it by adding oil or cream, pouring at 32–35 °C (90–95 °F), and not moving the finished glaze back and forth between the fridge and the counter.
Rescue split ganache with a spoonful of warm cream (around 40 °C / 104 °F) and mix thoroughly, ideally with an immersion blender held at the bottom of the bowl so you don't whip in air. Ganache splits when the cream is too hot, the chocolate overheats above 50 °C (122 °F), or there's more fat than the emulsion can hold. A greasy layer on top is the same problem and is fixed the same way.
Yes: use dark chocolate with no milk and soften it with 15–20 g neutral oil or 20–25 g coconut oil per 100 g chocolate. For the ganache version, replace the cream with full-fat coconut milk in the same ratio. The glaze will be slightly softer, with a subtle coconut flavor.
One recipe worth heating the oven for, one tip, and one deal from the shop. Nothing else.