Want tips like this every Thursday?
One recipe worth heating the oven for, one tip, and one deal from the shop. Nothing else.
Pastel de Nata: The Authentic Recipe and Step-by-Step Technique

Updated Jul 18, 2026
Pastel de nata is a Portuguese custard tart made from crisp, laminated pastry filled with a lemon-and-cinnamon egg custard, baked at an extremely high temperature to get its signature caramelised top. You can absolutely pull this off at home if you nail three things: well-chilled, properly layered pastry, a custard made from real egg yolks and sugar syrup, and an oven cranked up to 250°C (480°F) or higher. In this guide we'll walk through every step — pastry, custard, baking and serving — and explain exactly why each one matters.
Pastel de nata is an egg custard tart that originated before the 18th century at the Jerónimos Monastery in Lisbon's Belém district. Monks at the time used egg whites to starch their habits and linens — and to avoid wasting the leftover yolks, they baked them into sweet little tarts. That's where the custard's deep yellow colour comes from.
When Portugal's monasteries were dissolved in 1834, the recipe made its way to a nearby bakery, which in 1837 became the Antiga Confeitaria de Belém. To this day it bakes the original under the name pastéis de Belém following a recipe that, according to the owners, is known only to a handful of pastry chefs from the so-called Oficina do Segredo — the "workshop of secrets". Everywhere else in the world, the same treat is baked as pastéis de nata.
From there the dessert spread across the globe, from Brazil to Macau and China, where local versions add their own twists. But wherever you try it, the foundation stays the same: crisp, layered pastry and a silky egg custard.
Authentic pastel de nata rests on two components: laminated pastry (flour, water, salt, plenty of butter) and an egg custard (yolks, sugar, milk, a touch of flour or starch, lemon zest and cinnamon). No vanilla as the main flavour — real Portuguese flavour comes from lemon and cinnamon.
Butter (82% fat): the foundation of flakiness and layering. Fresh, unsalted, high-fat butter holds its shape as you roll the layers and gives the pastry its flavour. Cheap, watery butter will simply "disappear" during baking.
Egg yolks, not whole eggs: a proper custard is made with yolks only, never whole eggs. They're what give the custard its colour, body and characteristic silkiness. For a standard batch, count on around 6 yolks.
Milk and a touch of flour/starch: full-fat milk thickened with a small amount of plain flour or cornflour holds the custard together so it doesn't split during baking.
Sugar for the syrup: granulated sugar is boiled with water into a syrup. It dissolves completely, leaving no gritty crystals in the custard.
Lemon zest and cinnamon: simmered in the syrup, these give the custard its unmistakable aroma. Use unwaxed lemon zest and whole cinnamon sticks, not ground cinnamon, which would cloud the custard.
What makes pastel de nata crisp is lamination — layering thin sheets of dough with butter, which turns to steam in the oven and puffs the pastry into delicate, flaky layers. Note this isn't classic puff pastry: Portuguese pastry is rolled into a log instead of being folded, then sliced into rounds and each one is pressed into the mould by hand.
Mix plain flour, cold water and a pinch of salt into a smooth dough and let it rest in the fridge for at least 30 minutes. Keeping it cold is essential — warm butter would cause the layers to merge together.
Roll the dough into a thin rectangle, spread softened (not melted) butter over two-thirds of it, and fold it like a letter. Turn it 90°, roll it out again and fold once more. Repeat this three times in total, chilling the dough between each fold.
Roll the finished dough tightly into a log from the long side, wrap it, and chill until firm. Then slice it into rounds about 1.5–2 cm thick.
Place each round into a tart mould and use your thumbs to press it up the sides and over the rim, working from the base outward. This is where the tart's signature spiral layers come from.
The key is to work quickly and keep everything cold. As soon as the butter starts to seep out and the dough gets sticky, pop it back in the fridge — a few minutes of chilling will save your layers.

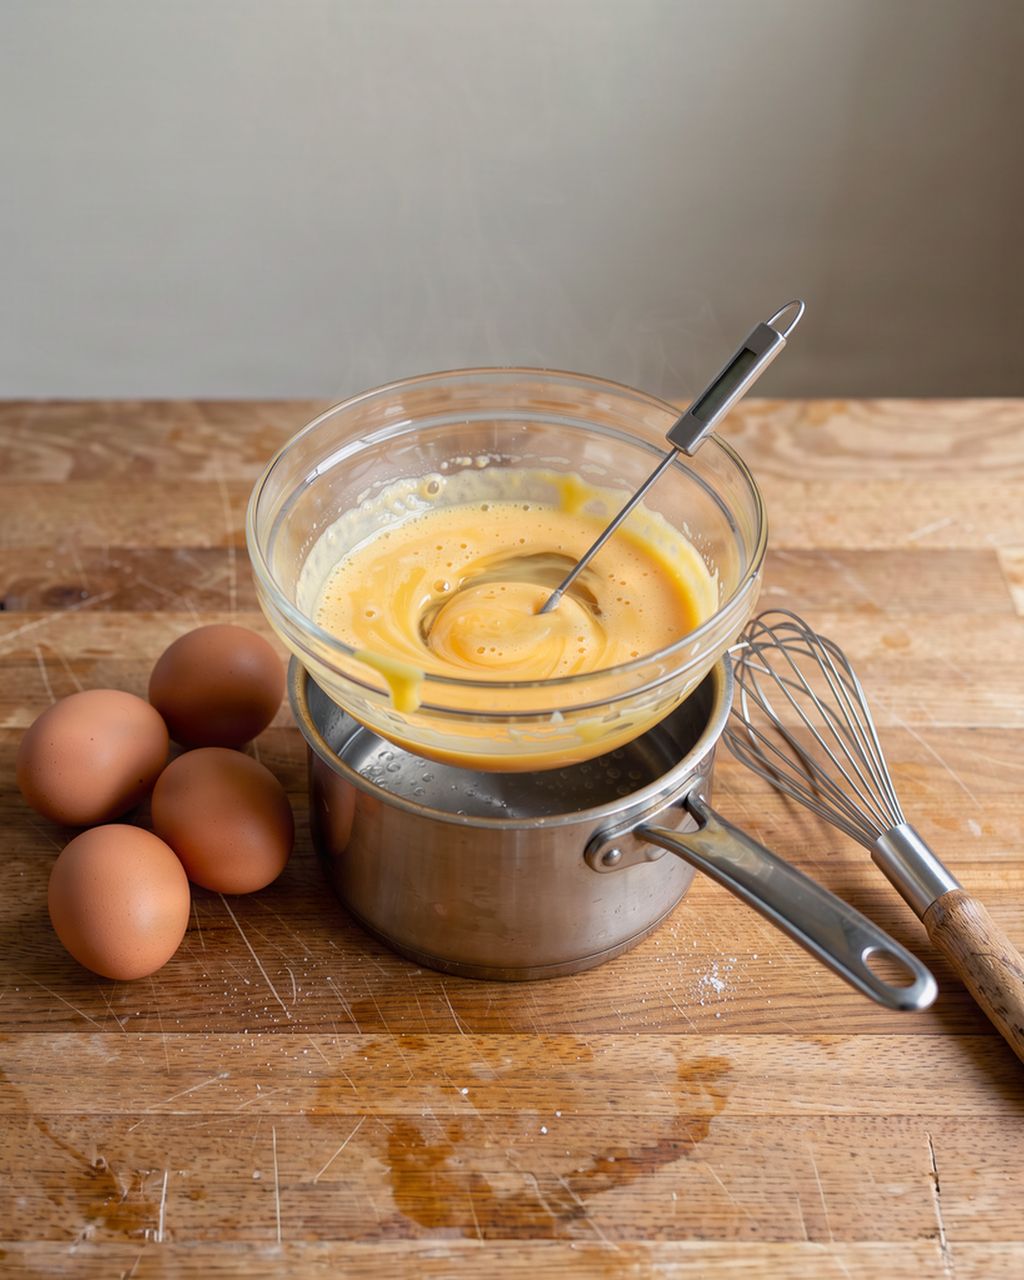
The secret to the custard is a hot sugar syrup, not cooking the eggs directly on the stove. This method is your insurance against curdling: the yolks are never heated directly, just combined with a hot — but not boiling — base.
Make the syrup: bring sugar, water, a strip of lemon zest and a whole cinnamon stick to the boil, then simmer without stirring to around 104°C (soft-ball stage). This temperature determines how the custard will ultimately set.
Thicken the milk: mix plain flour or cornflour into a little cold milk, add the rest of the milk, then heat while stirring constantly until it thickens.
Combine the two: strain the hot syrup (discarding the zest and cinnamon) into the thickened milk and stir. Let it cool for five minutes.
Whisk in the yolks: only now whisk in the egg yolks, one at a time. Strain the custard through a sieve for a perfectly smooth texture. It should be thinner than you'd expect — it will set further in the oven.
Pastel de nata is baked at a very high temperature — ideally 250 to 290°C (480–555°F) — so the custard's surface caramelises into dark spots while the pastry stays crisp. Home ovens that top out at 250°C are cutting it close; crank yours up as high as it goes and use the fan setting.
Fully preheat: both the oven and the baking tray need to be blazing hot before the moulds go in. Intense heat is what makes the pastry puff up and works quickly on the surface.
Bake short and hot: roughly 10–14 minutes. The tarts are done when the edges are golden, the pastry is crisp, and dark caramel-to-black spots have formed across the custard. That's not burning — it's the hallmark of a genuine pastel de nata.
Fan assistance helps: a fan oven distributes heat more evenly and encourages those characteristic spots to form. Bake on the highest shelf you can.
Every oven bakes differently: watch the colour, not just the timer. It's better to leave them in a minute longer for darker spots than to pull out a pale, underbaked top.

Pastel de nata is best served warm, freshly baked, and dusted with cinnamon and icing sugar. In Portugal it's traditionally paired with a shot of espresso (bica) or a glass of port — the bitterness of the coffee or the sweetness of the port beautifully balances the caramelised custard.
If you want to impress guests, you can give pastel de nata a modern twist: add a scoop of vanilla ice cream for a hot-cold contrast, fresh raspberries or strawberries, or garnish with edible flowers or a mint leaf. That said, they're at their best on the first day — by day two the pastry loses its crispness.
If you're in the mood for more Portuguese baking, check out traditional Portuguese queijada or traditional Portuguese biscuits.
The number one reason pastel de nata don't turn out right is an oven that isn't hot enough — without serious heat, the custard won't develop those dark spots and the pastry will stay pale and soggy. Here are a few other pitfalls:
Curdled custard: the base was too hot when the yolks were whisked in. Let it cool and strain it.
Soggy base: the pastry wasn't rolled thin enough, or the oven wasn't hot enough. Preheat the tray in advance and bake as high in the oven as possible.
Merged layers: the butter melted during lamination. Work quickly and chill the dough regularly.
Pale top: the oven never reached the required temperature. Bake at full blast, and don't be afraid to finish under the grill for the last minute or two.
Pastéis de Belém are the original tarts, baked exclusively at the Antiga Confeitaria de Belém bakery in Lisbon using a secret recipe, while pastel de nata (plural: pastéis de nata) is the generic name for the same dessert baked anywhere else. They taste very similar — the real difference lies in origin and the protected name.
Yes, using ready-made puff pastry is a common shortcut and gives a decent result, though not a fully authentic one. Roll it out, roll it up into a log, slice into rounds and press them into the moulds — this mimics the spiral layers of the real dough. Genuine Portuguese pastry, though, is less buttery-flaky and much crisper.
Pastel de nata are best on the day they're baked, while the pastry is still crisp. Keep them covered at room temperature until the next day, or in the fridge for up to three days; warm them briefly in the oven at 160°C (320°F) before serving so the pastry crisps up again. Only refrigerate them once fully cooled, or they'll turn soggy.
The authentic Portuguese filling is flavoured with lemon zest and cinnamon simmered into the sugar syrup, not vanilla — the vanilla note is a later simplification found outside Portugal. It's the lemon and cinnamon that give real pastel de nata its unmistakable aroma.
Yes, you can make both the pastry and the custard a day ahead and keep them separately in the fridge, then fill the moulds and bake just before serving. Unbaked, shaped tarts can also be frozen and baked straight from frozen with a few extra minutes; however, already-baked tarts don't freeze well — the pastry turns soggy once thawed.
One recipe worth heating the oven for, one tip, and one deal from the shop. Nothing else.