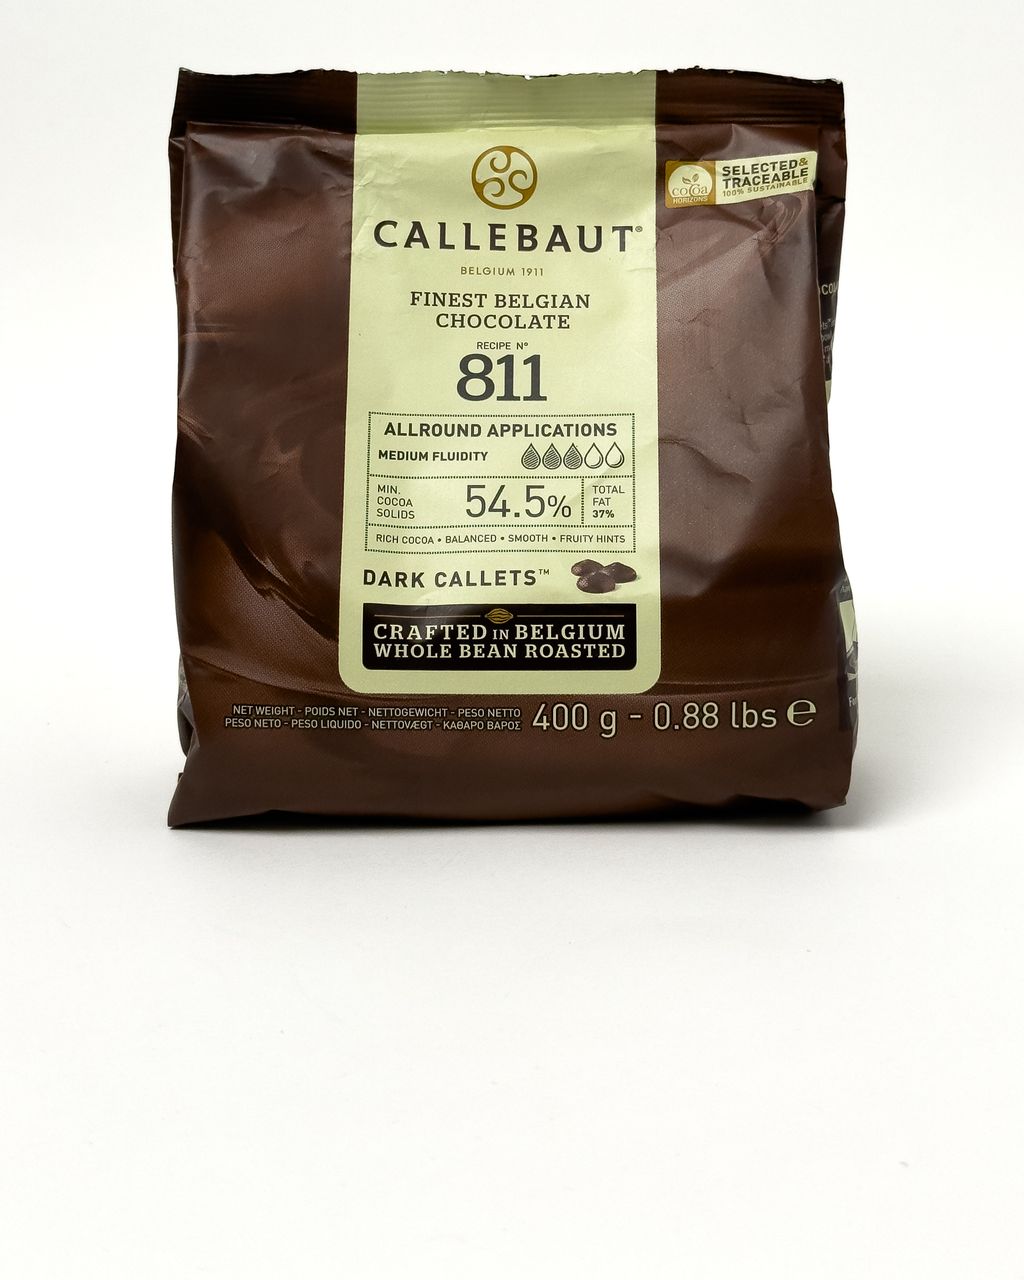
Callebaut Dark Chocolate Callets (811) 400g
Mint Chocolate Bark: How to Keep the White and Dark Layers Together
Updated Oct 15, 2026
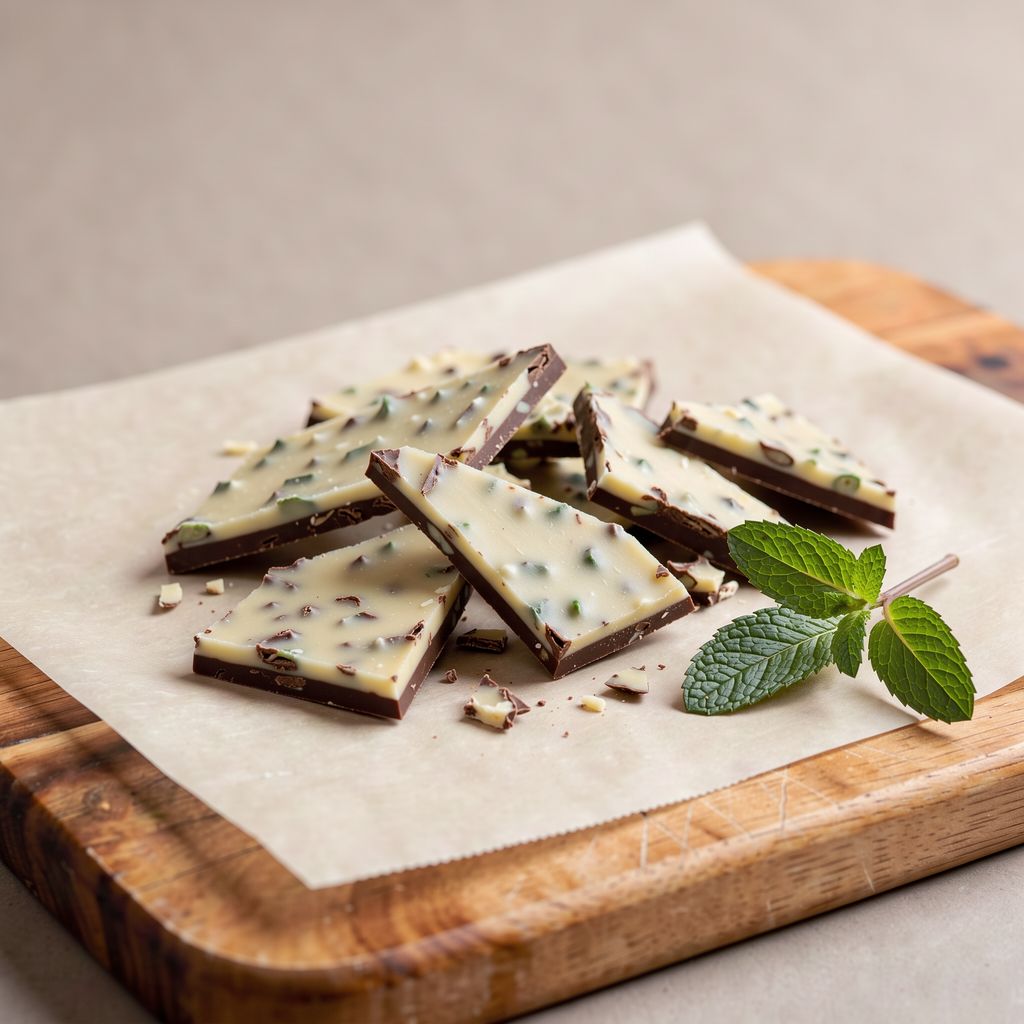
Mint chocolate bark is a thin slab made of two layers: dark chocolate on the bottom and minty white chocolate on top, which you break into rough, irregular pieces. To stop the layers from separating when you break it, pour the white chocolate on when the dark layer has turned matte but still feels slightly tacky to the touch. At 18–20 °C (64–68 °F) that's usually after 10–15 minutes. Below you'll find why layers separate, what temperatures to temper both chocolates to, what to use for flavouring so the chocolate doesn't seize, and how to break and store the bark.
Layers separate when you pour the second chocolate onto a bottom layer that has already set completely hard and cold. No bond forms between the layers, and when you break the bark, the white layer pops off like a lid. Usually three things are to blame:
Temperature shock. Warm chocolate poured onto a chilled layer sets faster from the bottom than from the top, and the two layers contract at different rates. This creates tension at the join.
A smooth, finished surface. Fully crystallised chocolate is glossy and smooth, and the cocoa butter in the new layer has nothing to "bite" into.
Two different fats. Cocoa coating (a substitute made with palm or palm kernel fat instead of cocoa butter) and real chocolate made with cocoa butter don't crystallise together, so the join between them stays weak. Make both layers from real chocolate or both from cocoa coating, never half and half.
The opposite mistake is just as common: if you pour the white chocolate too early or too hot, the bottom layer melts. Instead of two clean stripes, you end up with a greyish marble.
Pour the second layer when the dark bottom layer has turned matte but still feels slightly tacky to the touch. At a room temperature of 18–20 °C (64–68 °F) that's usually after 10–15 minutes, or 3–5 minutes in the fridge. Keep a close eye on it in the fridge, though, because it's easy to overshoot.
How to tell:
Look: the shine has gone and the surface is velvety matte all over, including at the edges.
Finger test at the edge: the chocolate doesn't run and leaves no smear on your finger, just a light fingerprint. If your finger sticks and drags, wait another 2–3 minutes. If the surface is hard and cold like a bar from the shop, you're too late.
Temperature of the white: the white chocolate must be at working temperature (28–29 °C / 82–84 °F for tempered W2), not hot. White chocolate above 32–33 °C (90–91 °F) will warm the bottom layer and the stripes will run together.
If you wait too long and the bottom layer sets completely, it can still be rescued. Roughen it lightly with a fork, or blow a hairdryer on its lowest setting over it for 5–10 seconds, just until the surface takes on a damp sheen. Then pour the white chocolate on straight away.
For mint bark that snaps cleanly and keeps its layers together, you need real chocolate made with cocoa butter, ideally couverture. It contains more cocoa butter, is thinner when melted and spreads into a thin, even layer. The options, compared honestly:
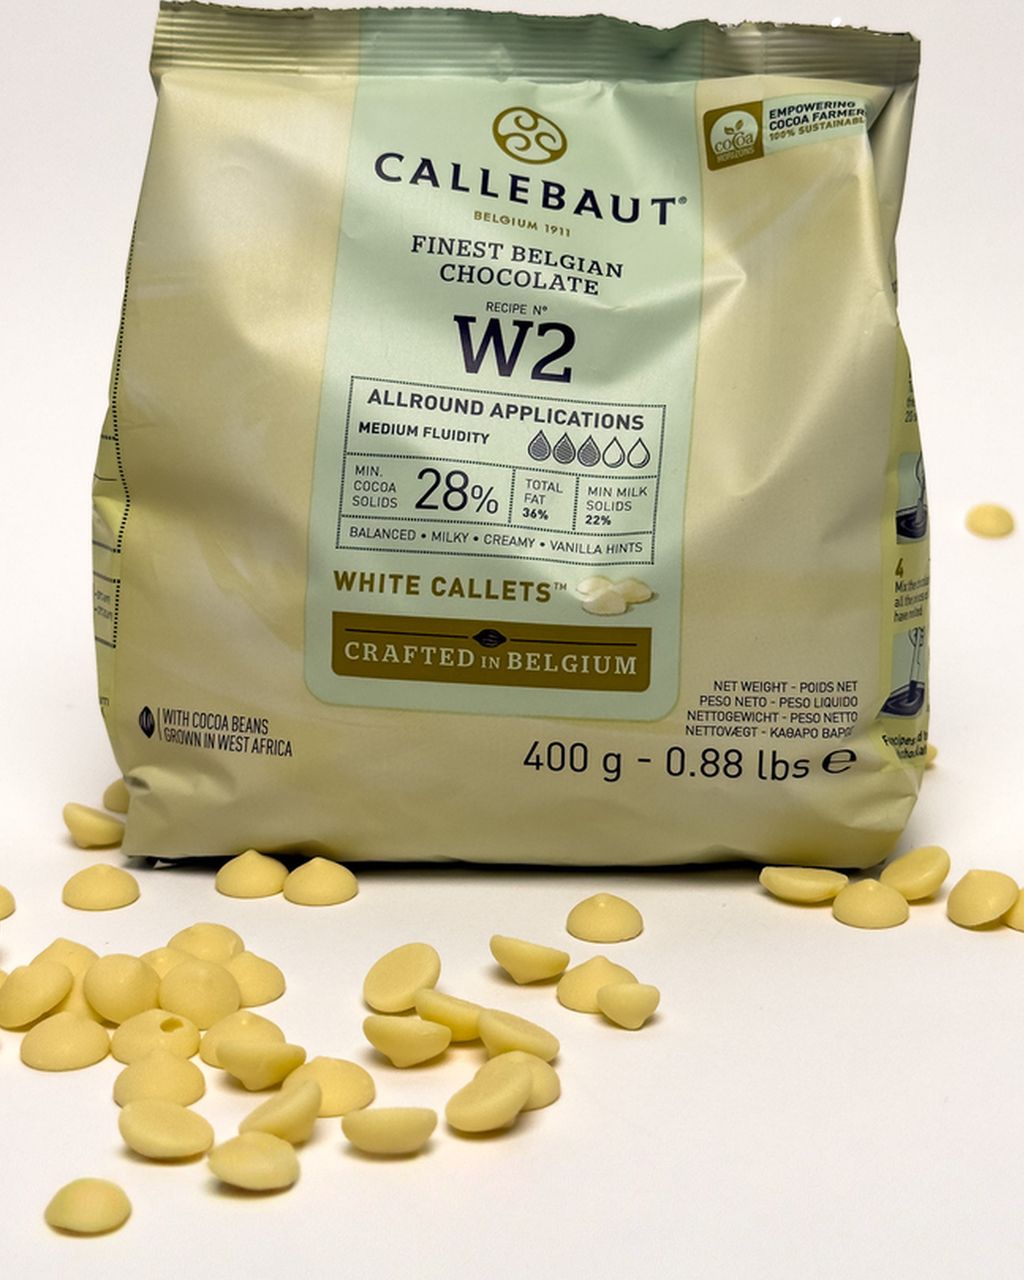
Couverture in drops (pistoles). The best choice. For the dark layer, Callebaut 811 dark (54.5% cocoa) works well. Its bitterness is balanced, so it doesn't overpower the mint, and it tempers easily. For the white layer, use Callebaut W2 white, which is milky and vanilla-flavoured rather than overly sweet. The drops melt evenly and also work as seed chocolate when tempering. You'll find more couvertures among the chocolates for baking and tempering.
Supermarket bar chocolate. This works if the ingredients list only cocoa butter and no other vegetable fat. It tends to be thicker, so the layer comes out heavier and is harder to spread. It's fine for a first batch.
Cocoa coating (substitute). It doesn't need tempering and always sets, but it tastes waxy and won't bond with real chocolate. If you want to use it, make both layers from it.
Milk instead of dark. This works; the bark is sweeter and milder. Milk chocolate has a lower working temperature (roughly 29–30 °C / 84–86 °F), so it behaves more like the white chocolate and the layers bond better.
For one bark on a 20 × 30 cm tray, allow roughly 250 g dark and 250 g white chocolate. Each layer will then be about 3 mm thick, which is a thickness that snaps rather than crumbles.
Temper the dark chocolate to a working temperature of 31–32 °C (88–90 °F) and the white to 28–29 °C (82–84 °F), each separately. Tempered bark is glossy, snaps cleanly, doesn't melt in your hand right away and keeps at room temperature. The full curves according to Callebaut:
Dark 811: melt to 45–50 °C (113–122 °F), cool to 27–28 °C (81–82 °F), work at 31–32 °C (88–90 °F).
White W2: melt to 40–45 °C (104–113 °F) at most (any higher and the milk component scorches and clumps), cool to 27 °C (81 °F), work at 28–29 °C (82–84 °F).
The easiest method at home is the seeding method:
Melt two thirds of the chocolate to the melting temperature, in a water bath or in the microwave in 20–30 second bursts, stirring after each one.
Stir in the remaining third of the drops. They cool the chocolate and introduce the right crystals.
Keep stirring until the chocolate falls to working temperature. Fish out any unmelted drops that are left.
Test: dip the tip of a knife into the chocolate and set it on a cool worktop. Tempered chocolate sets within 3–5 minutes, glossy and without streaks.
Plan it like this: temper and pour the dark chocolate, and while it sets to the tacky stage, temper the white. That way both layers are ready at exactly the right moment.
You can also make bark without tempering. You just melt the chocolate and let it set in the fridge. It's less glossy, softens quickly in your hand, grey streaks appear over time and you have to store it somewhere cool. That's fine for a quick bark to eat right away, but not for a gift. If your chocolate doesn't contain enough cocoa butter, or you're looking for a substitute, you'll find more in our article on what to replace cocoa butter with.
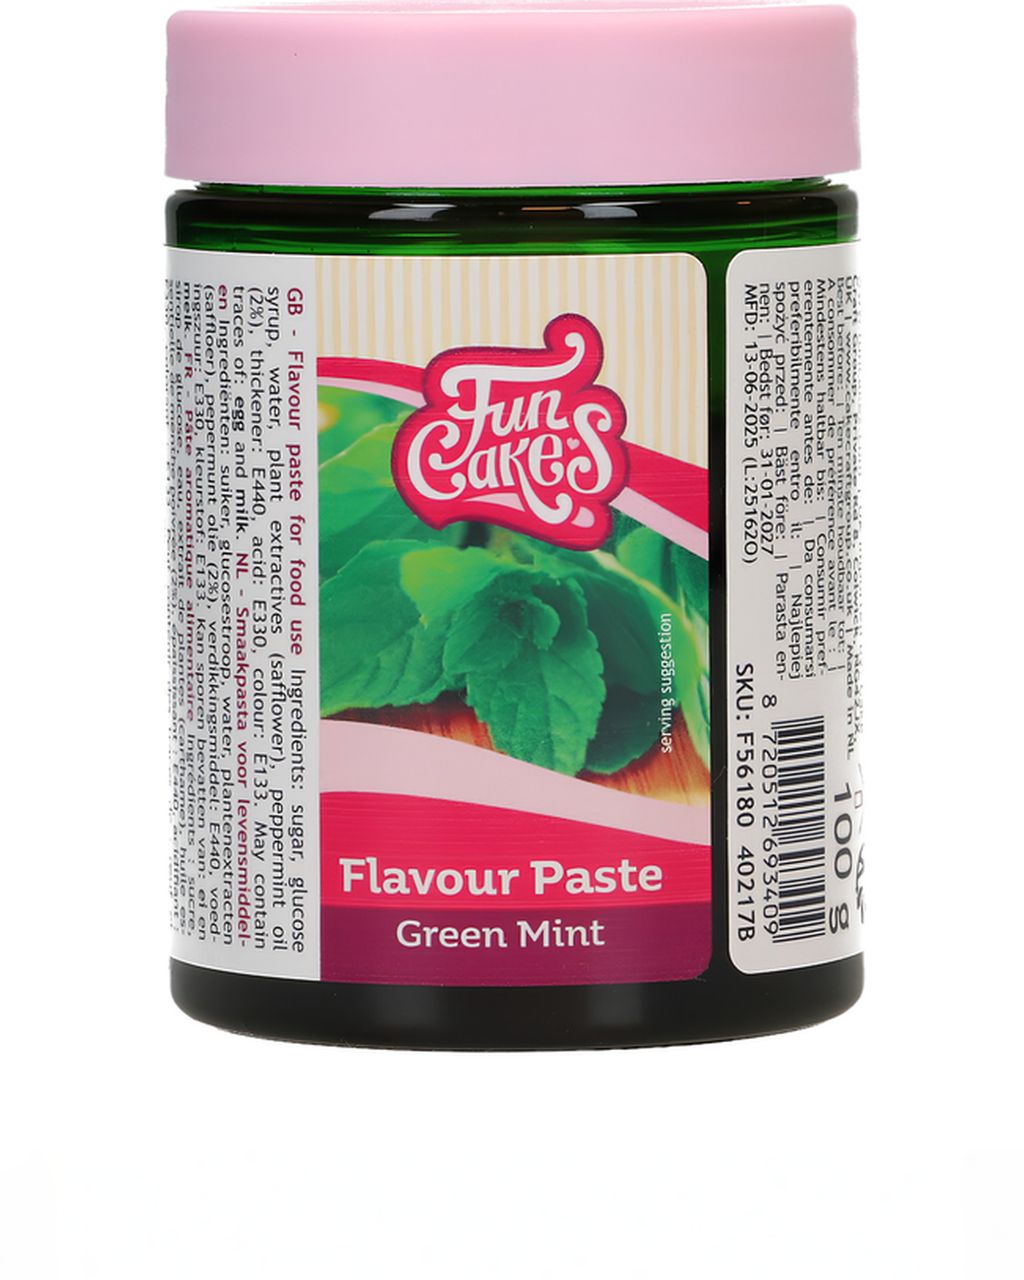
Only fat-soluble flavourings belong in pure melted chocolate. Even a few drops of water or a water-based flavouring will thicken the chocolate into a stiff, grainy mass, and there's no coming back from that. You have three options: oil-based mint flavouring for chocolate, crushed mint candies on top, or FunCakes mint paste, but only in ganache.
Mint oil or oil-based flavouring. The safest option for tempered chocolate. 2–4 drops per 250 g of white chocolate is enough; add it gradually, because mint oil is very strong. Buy one that is explicitly meant for food or chocolate.
Crushed mint candies on top. Sprinkle them over the white layer right after pouring so they stick. They add crunch and a strong mint flavour. Don't grind the candies to dust; pieces of 2–4 mm are enough. Store the bark somewhere dry, otherwise the sugar in the candies absorbs moisture and turns sticky.
FunCakes mint flavouring paste. It's water-based (sugar, glucose syrup, water, 2% mint oil and green colouring), so don't mix it into pure tempered chocolate. It belongs in ganache, where the water from the cream is welcome. That lets you make the soft mint-layer version below. It also tints the bark a gentle mint green.
Soft mint-layer version (like the familiar mint thins): mix 150 g melted W2 with 50 g hot cream (33% fat) and stir in 10–15 g of mint paste. Add more to taste; it's a flavouring, not a colouring. Spread the ganache between two layers of dark chocolate, or onto a dark layer, and leave it to set in the fridge for at least 2 hours. A bark like this can no longer be broken; cut it with a warmed knife. Because it contains cream, it belongs in the fridge and should be eaten within 1–2 weeks.
We cover in detail how to get mint into chocolate, including filled sweets, in the article mint sweets and chocolate mint candies. What makes white chocolate seize and how to melt it safely is covered in how to melt white chocolate without it seizing.
To make mint chocolate bark, spread tempered dark chocolate on a tray, wait 10–15 minutes until it turns matte, then pour minty white chocolate over the top. For a 20 × 30 cm tray or mould you need 250 g dark couverture, 250 g white couverture and mint flavouring as described in the previous section.
Line the tray with baking paper or acetate sheet. Stick the paper down at the corners with a dab of chocolate so it doesn't slide around. On acetate, the underside of the bark will be glossy.
Temper the dark chocolate, pour it out and spread it into an even layer about 3 mm thick. Tap the tray lightly on the worktop to bring up any air bubbles.
Meanwhile, temper the white chocolate and stir in the mint oil.
Wait for the tacky stage of the dark layer, meaning a matte surface and only a light fingerprint (10–15 minutes at 18–20 °C / 64–68 °F).
Pour the white chocolate into the centre and spread it from the centre outwards in one direction, quickly and without pressure. Don't press the spatula into the bottom layer.
Sprinkle on toppings straight away, while the white is still liquid: crushed mint candies, crushed cocoa nibs, or just a few drops of melted dark chocolate swirled into a marble with a skewer.
Leave to set at room temperature for at least 1 hour. Tempered bark doesn't need the fridge. Put untempered bark in the fridge for 20–30 minutes.
Break mint bark only when it is completely set and at room temperature. Chilled bark shatters into shards, and the layers pop apart more easily on impact. For irregular pieces, break it by hand or press the tip of a knife into it. For straight rectangles, use a large knife warmed in hot water and wiped dry. Reheat it before each cut.
Storage:
Tempered bark keeps for several weeks in an airtight tin at 15–18 °C (59–64 °F). Layer the pieces with baking paper and keep it away from strong smells, because chocolate picks them up.
Avoid the fridge. When you take the bark out, moisture condenses on it, sugar rises to the surface and white streaks remain. If it has to go in the fridge, let it warm up to room temperature in a closed tin before you open it.
The ganache version or the one with crushed candies keeps for a shorter time: ganache 1–2 weeks in the fridge, candies for as long as it stays dry and they don't start to go damp.
If you'd like to give the bark as a gift in the shape of neat slabs, with flowers or nuts and in pretty packaging, you'll find the method in the article homemade chocolate bars with edible flowers and nuts.
Don't put fresh mint straight into the chocolate. The leaves bring in water, which thickens the chocolate, and the bark then softens quickly and can go mouldy. Instead, you can infuse mint into hot cream (a handful of leaves per 50 ml, 20–30 minutes, then strain) and use that cream to make a mint ganache layer. A bark like that belongs in the fridge, though.
White chocolate turns thick and grainy when it overheats above 45 °C (113 °F) or when water gets into it. Even a single drop of water, steam from a water bath or a water-based flavouring is enough. Chocolate like this can no longer be tempered, but you can use it in ganache or in batter.
White or grey streaks on mint bark are bloom, which appears when the chocolate wasn't tempered or went through a temperature change. Fat bloom looks like greyish patches of cocoa butter that has risen to the surface; sugar bloom is a powdery white layer left when sugar gets damp in the fridge. The bark is still edible, it just doesn't look nice. Next time, temper it and store it at 15–18 °C (59–64 °F).
You can post tempered mint bark without ganache, as long as it won't sit somewhere warm on the way. In summer temperatures it softens, loses its shine, and streaks appear once it sets again. Wrap the pieces in a bag, layer them with baking paper and pack them in a sturdy box filled so nothing can move. In hot weather, it's better to hand it over in person. Don't post the ganache version at all; it belongs in the fridge.
A 20 × 30 cm tray makes roughly 500 g of mint bark, which is 4–5 gift bags of 100 g each. A 30 × 40 cm tray has twice the area, so use 500 g of dark and 500 g of white chocolate and you'll get around 1 kg, roughly 10 bags. Thinner layers (around 2 mm) give you more pieces, but they're more fragile and the layers separate more easily. Bark thicker than 5 mm, on the other hand, is hard to break.
One recipe worth heating the oven for, one tip, and one deal from the shop. Nothing else.