Simple chocolate cake
How to Make Chocolate at Home from Cocoa Butter: Ratios for Dark, Milk and White, Plus Tempering
Updated Nov 15, 2026
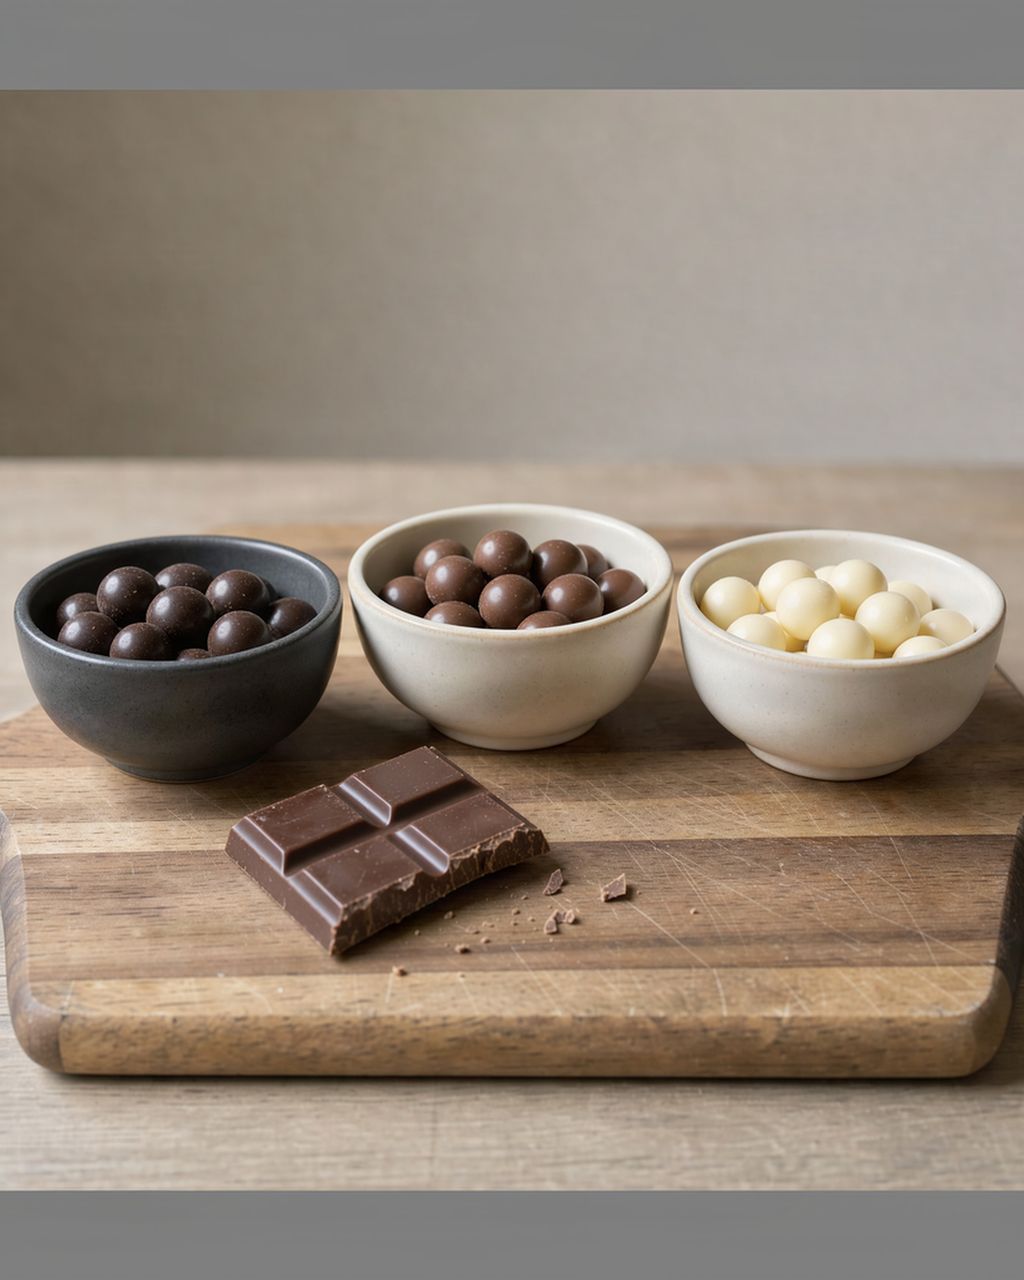
You can make chocolate at home with just three or four ingredients. For a 200 g (7 oz) dark bar, use 80 g cocoa butter, 60 g cocoa powder (or 80 g cocoa mass with only 60 g butter) and 60 g powdered sugar. For milk chocolate, use 60 g cocoa butter, 20 g cocoa mass, 50 g whole milk powder and 70 g powdered sugar. For white, use 70 g cocoa butter, 60 g whole milk powder and 70 g powdered sugar. Melt, blend, temper and pour into a mold. Below you'll find the method, the temperatures, and why homemade chocolate turns out a little grainier than store-bought – and how to shrink that difference as much as you can.
All three chocolates rest on the same base: cocoa butter gives structure and snap, sugar gives sweetness, cocoa mass or cocoa powder gives flavor and color, and milk powder gives milky richness. Only the proportions change.
Dark chocolate (about 70% cocoa)
with cocoa mass: 60 g cocoa butter + 80 g cocoa mass + 60 g powdered sugar
with cocoa powder: 80 g cocoa butter + 60 g cocoa powder + 60 g powdered sugar
Milk chocolate (about 40% cocoa)
with cocoa mass: 60 g cocoa butter + 20 g cocoa mass + 50 g whole milk powder + 70 g powdered sugar
with cocoa powder: 65 g cocoa butter + 15 g cocoa powder + 50 g whole milk powder + 70 g powdered sugar
White chocolate
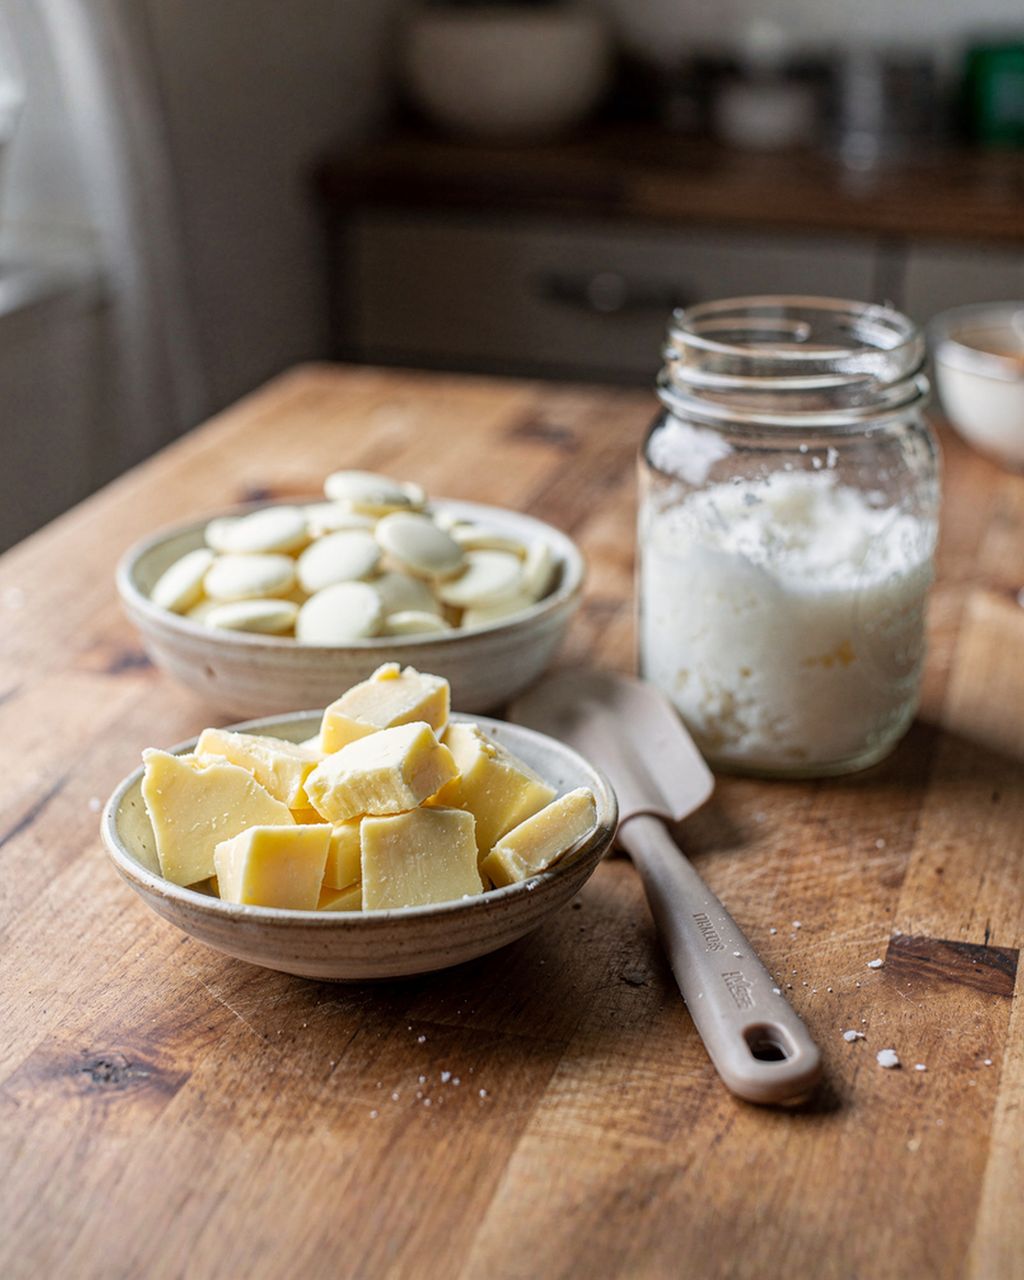
70 g cocoa butter + 60 g whole milk powder + 70 g powdered sugar, plus the seeds from a piece of vanilla bean if you like
Why the powder version needs more butter: cocoa mass is roughly half fat, cocoa powder only 20–22%, and reduced-fat cocoa 10–12%. You'll find the figure on the package. Make up the missing fat with butter, or the chocolate will turn out hard and chalky. Under European rules, white chocolate must contain at least 20% cocoa butter and 14% milk solids – our ratio, with 35% butter, is comfortably within that and, above all, pours well.
Adjust the sweetness to your taste by 10–20 g up or down, and make up the total weight with butter. What the percentages on the label mean and how to calculate them is covered in our article chocolate percentages and how to spot quality chocolate from the ingredients.
Seasonal baking plans, tested recipes and kitchen tricks that save you time. Unsubscribe in one click.
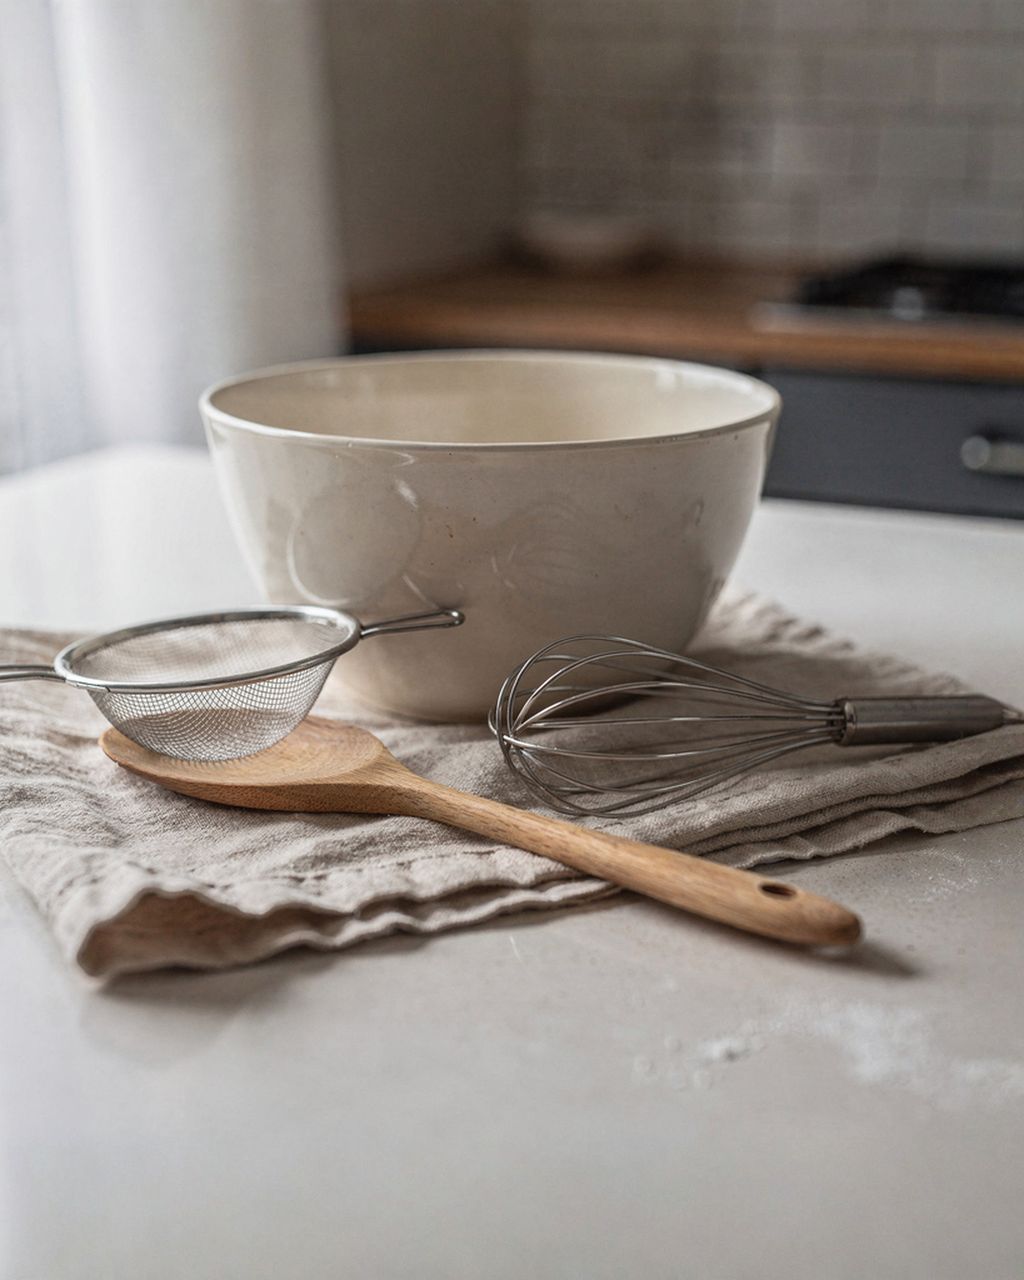
To make chocolate at home you need cocoa butter, cocoa mass or powder, powdered sugar, whole milk powder for milk and white chocolate, plus an instant-read probe thermometer, a blender and a mold.
Cocoa butter – non-deodorized smells of cocoa (dark, milk); deodorized is neutral (white, if you want a pure milky flavor).
Cocoa mass (cocoa paste, cocoa liquor) – plain ground beans with nothing added, for the fullest flavor. If you don't have it, a good cocoa powder will do; alkalized (Dutch-process) is smoother and darker.
Powdered sugar – as fine as possible. Granulated or crystal sugar won't break down in the fat and will crunch in your mouth.
Whole milk powder – for milk and white chocolate. Skim milk powder works, but the flavor is flatter.
Digital probe thermometer – without one, you're guessing at tempering.
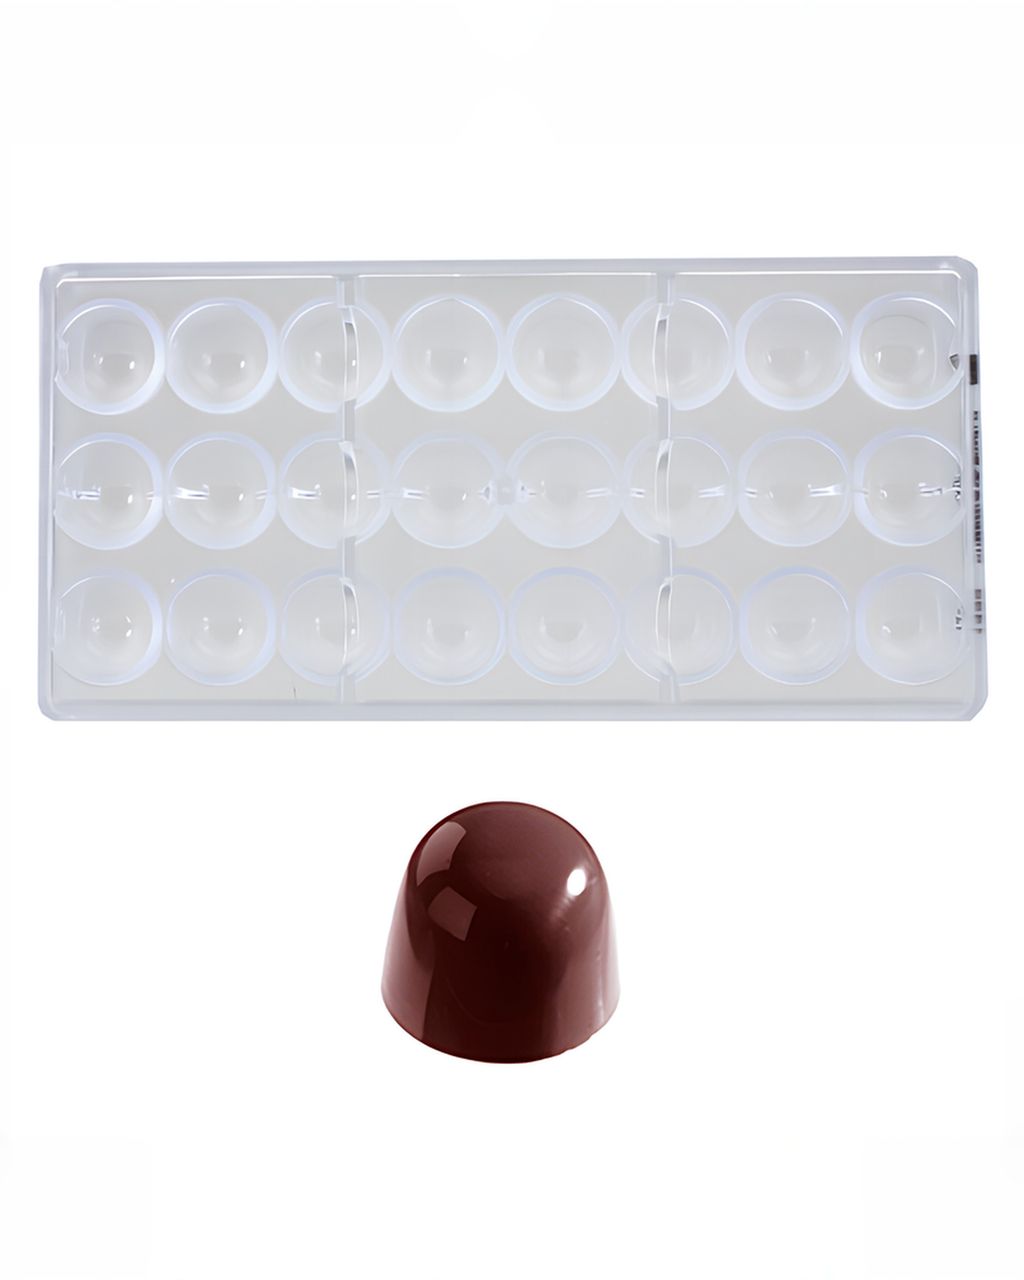
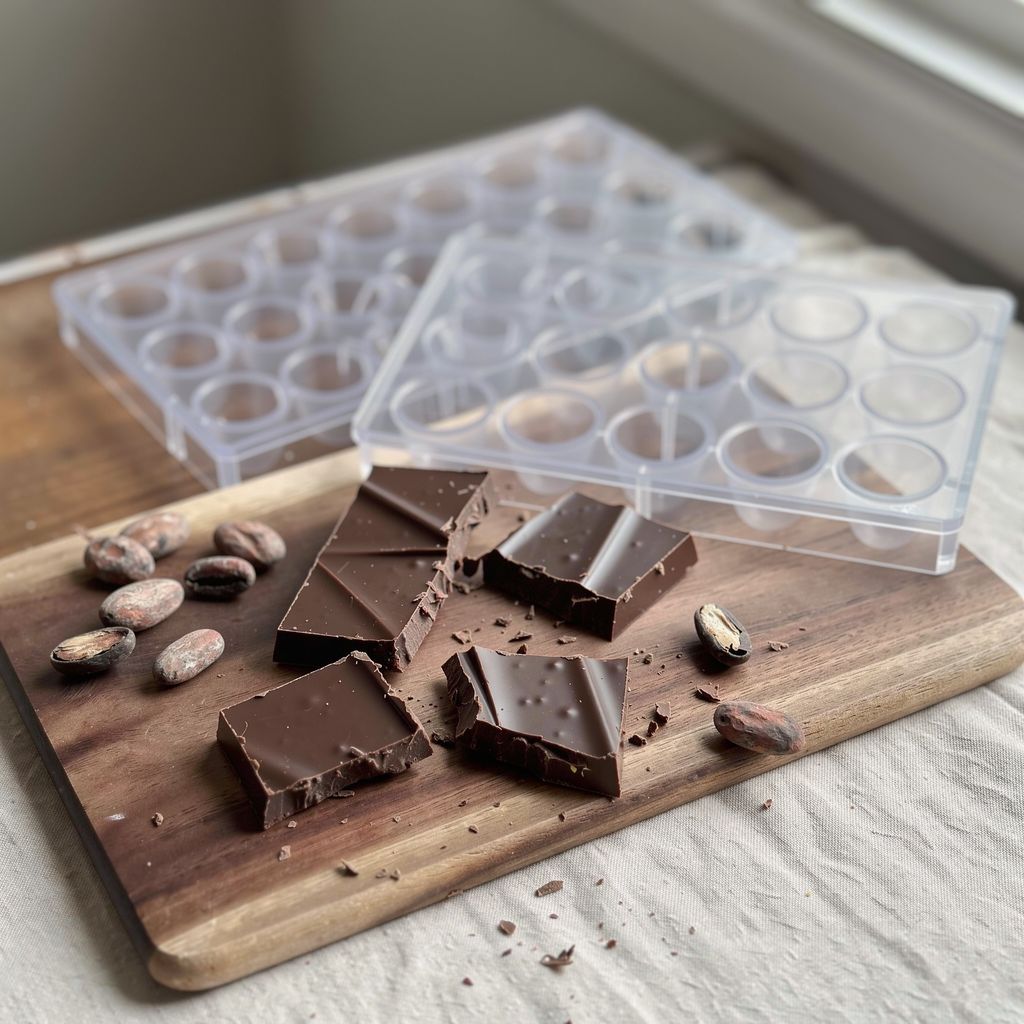
A powerful blender or chopper and a mold – silicone for bars, or polycarbonate if you want a pastry-shop shine.
Everything must be dry. One drop of water, steam from the pot or a wet spatula, and the chocolate seizes into a lumpy mass.
The method is the same for all three types: melt the fat, work in the dry ingredients as finely as you can, temper, pour.
Sift the dry ingredients. Sift the powdered sugar, cocoa powder and milk powder through a fine sieve. Even better, first blitz the sugar and milk powder on their own in a dry blender until powdery.
Melt the cocoa butter (and cocoa mass) over a water bath or in the microwave in 20-second bursts. For dark chocolate, bring the base to 45–50°C (113–122°F); for milk and white, only to 40–45°C (104–113°F) – milk scorches and clumps at higher temperatures.
Add the dry ingredients in batches and blend with an immersion or countertop blender for 3–5 minutes. Blending breaks up clumps and smooths the chocolate. Watch the temperature so it doesn't go over the upper limit.
Taste. This is your last chance to add sugar, a pinch of salt or vanilla.
Temper following the temperature curve below.
Pour into the mold, tap it on the countertop to release air bubbles, and let it set at room temperature, ideally 15–20°C (59–68°F). Use the fridge for 10–15 minutes at most, at the very end, or you risk a gray bloom.
Unmold once the chocolate loosens from the sides of the mold on its own – with tempered chocolate you can tell because it gives slightly and looks matte and separated from the mold.
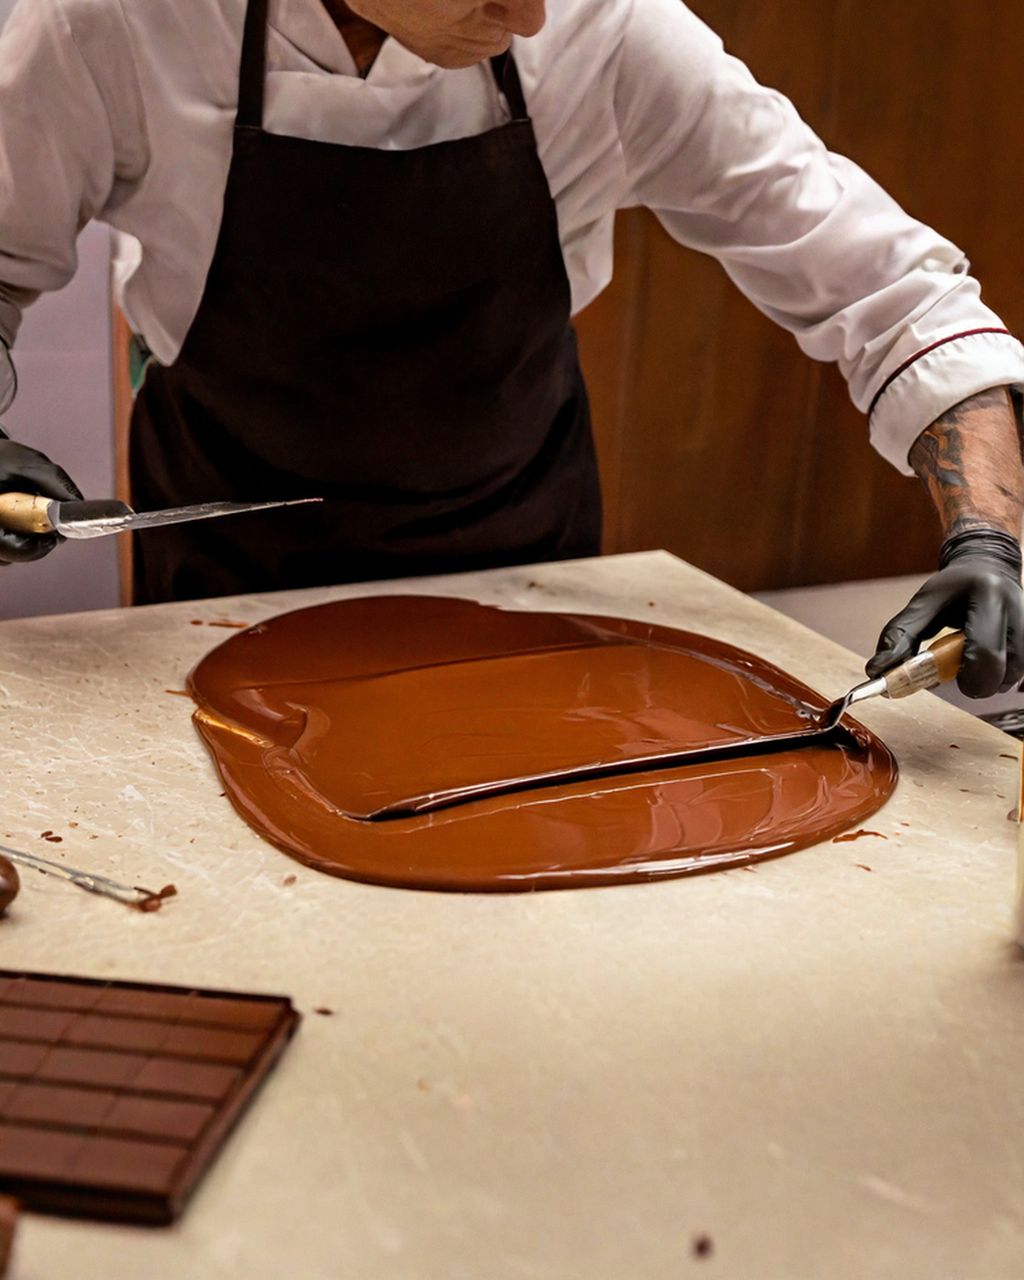
Tempering means heating the chocolate, cooling it and warming it slightly again along an exact curve, so the cocoa butter sets in a stable crystal form. The result: shine, a clean snap, and chocolate that doesn't melt in your fingers.
Temperatures (melt → cool → rewarm):
dark: 45–50°C → 27–28°C → 31–32°C (113–122°F → 81–82°F → 88–90°F)
milk: 40–45°C → 26–27°C → 29–30°C (104–113°F → 79–81°F → 84–86°F)
white: 40–45°C → 25–26°C → 28–29°C (104–113°F → 77–79°F → 82–84°F)
With homemade chocolate, the easiest way to cool the mass is to set the bowl in cold (not icy) water and keep stirring until you reach the lower temperature. Then briefly return it over steam, or give it a few seconds in the microwave, and rewarm to working temperature. Stirring matters as much as the temperatures – crystals form through movement.
Test: dip the tip of a knife or a strip of parchment paper and leave it at room temperature. Properly tempered chocolate sets within 3–5 minutes, glossy and without streaks. If it stays sticky or turns gray, repeat the curve from the start.
All the methods – tabling on marble, seeding, the microwave – and what to do when it won't work are in our complete guide to tempering chocolate for a perfect shine.
Homemade chocolate made from cocoa tends to be grainy because it's missing two industrial steps: fine grinding with conching, and the emulsifier lecithin. It's usually soft mainly because it isn't tempered properly.
Particle size. According to confectionery technologists, the tongue can detect particles above roughly 20–30 micrometers, and coarser chocolate feels sandy. A factory grinds sugar and cocoa in roller mills to below that threshold. A kitchen blender doesn't come close – powdered sugar has far larger particles.
Conching. In a conche, chocolate is stirred warm for hours or even days. The edges of the particles wear smooth, each one gets coated in fat, sharp volatile compounds evaporate and the flavor rounds out. At home you skip this step entirely.
Lecithin. Industrial chocolate contains around 0.3–0.5% of it. It lowers viscosity, so the chocolate flows and coats the particles better. Without it, homemade chocolate is thicker and feels drier in the mouth.
Tempering. Untempered cocoa butter sets in unstable crystals: the chocolate is soft, melts in your hand, doesn't snap and turns gray within a few days. Of these four, it's the only one you can get 100% right at home.
You can smooth out homemade chocolate in six steps: grind the sugar to a powder, use cocoa mass instead of powder, blend longer while warm, add lecithin, temper properly and let it age.
Grind the sugar to a powder. Run the powdered sugar through a dry blender or coffee grinder once more, ideally together with the milk powder. It's the biggest improvement you can make at home.
Reach for cocoa mass instead of powder. It's more finely ground and carries its own fat, so the result is creamier.
Blend longer and while warm. Five minutes in a powerful blender at 45°C (113°F) is a poor man's conching – but it works.
Add a pinch of lecithin. Sunflower lecithin at about 1 g per 200 g of chocolate thins it and makes it smoother.
Temper properly with a thermometer. That fully solves shine, snap and firmness.
Let it age. On the second or third day after pouring, the flavor is rounder than right after it sets.
You can make chocolate from cacao beans at home, but it's a project that takes several days, and without a stone grinder (melanger) you'll end up with a coarse, rustic mass.
In short: roast the beans (roughly 120–140°C / 250–285°F for 15–30 minutes, depending on size), remove the shells, crush them into cacao nibs and grind them with sugar in a melanger for 24–72 hours until smooth. Then temper just as above. In a blender, the nibs only turn into a dense paste – fine for a bar of rustic chocolate, but expect noticeable graininess.
If it's mainly the result you care about, stick with cocoa mass – that's exactly the step the manufacturer has already done for you.
Without cocoa butter you can't make real chocolate – it's the fat that gives chocolate its snap and its melt in the mouth just below body temperature. Coconut oil or butter will give you a tasty chocolate mass, but it melts at room temperature, can't be tempered and has to live in the fridge. What works in coatings and ganache, and where a substitute isn't worth it, we cover in the article what to use instead of cocoa butter.
Store homemade chocolate somewhere dry and dark, ideally at 15–18°C (59–64°F) and humidity below 55% (manufacturers generally give 12–20°C / 54–68°F). Dark chocolate keeps for several weeks up to a few months in these conditions; milk and white chocolate made with milk powder keep their best flavor for a shorter time – roughly up to a month.
Room temperature: a living room at 20–22°C (68–72°F) is fine, as long as the chocolate isn't next to a radiator or in the sun. Above 25°C (77°F) it starts to soften.
Fridge: better not. It sits around 4°C (39°F) and is humid, the cold dulls the aroma, and when you take the chocolate out, moisture condenses on the surface, dissolves the sugar and leaves a grayish-white sugar bloom once it dries. If you have to (summer, a hot apartment), wrap the chocolate airtight and let it warm up to room temperature for an hour before unwrapping.
Fat bloom – a greasy gray film – comes from temperature swings or poor tempering. The chocolate is still edible, it has just lost its looks; re-temper it.
Homemade chocolate contains no preservatives and no water, so it doesn't spoil the way baked goods do. But if you mix in anything with water – fresh fruit, cream or fruit purée – it belongs in the fridge and should be eaten within a few days. Nut butter has hardly any water, so it's a different story: the bar will be softer and the nuts go rancid over time, so it keeps for a shorter time than plain chocolate.
For pralines, coatings and decorations, store-bought couverture is better than homemade cocoa butter chocolate because it's thinner and more finely ground. Homemade chocolate is thicker than a mold expects, and graininess shows more in a thin shell than in a bar.
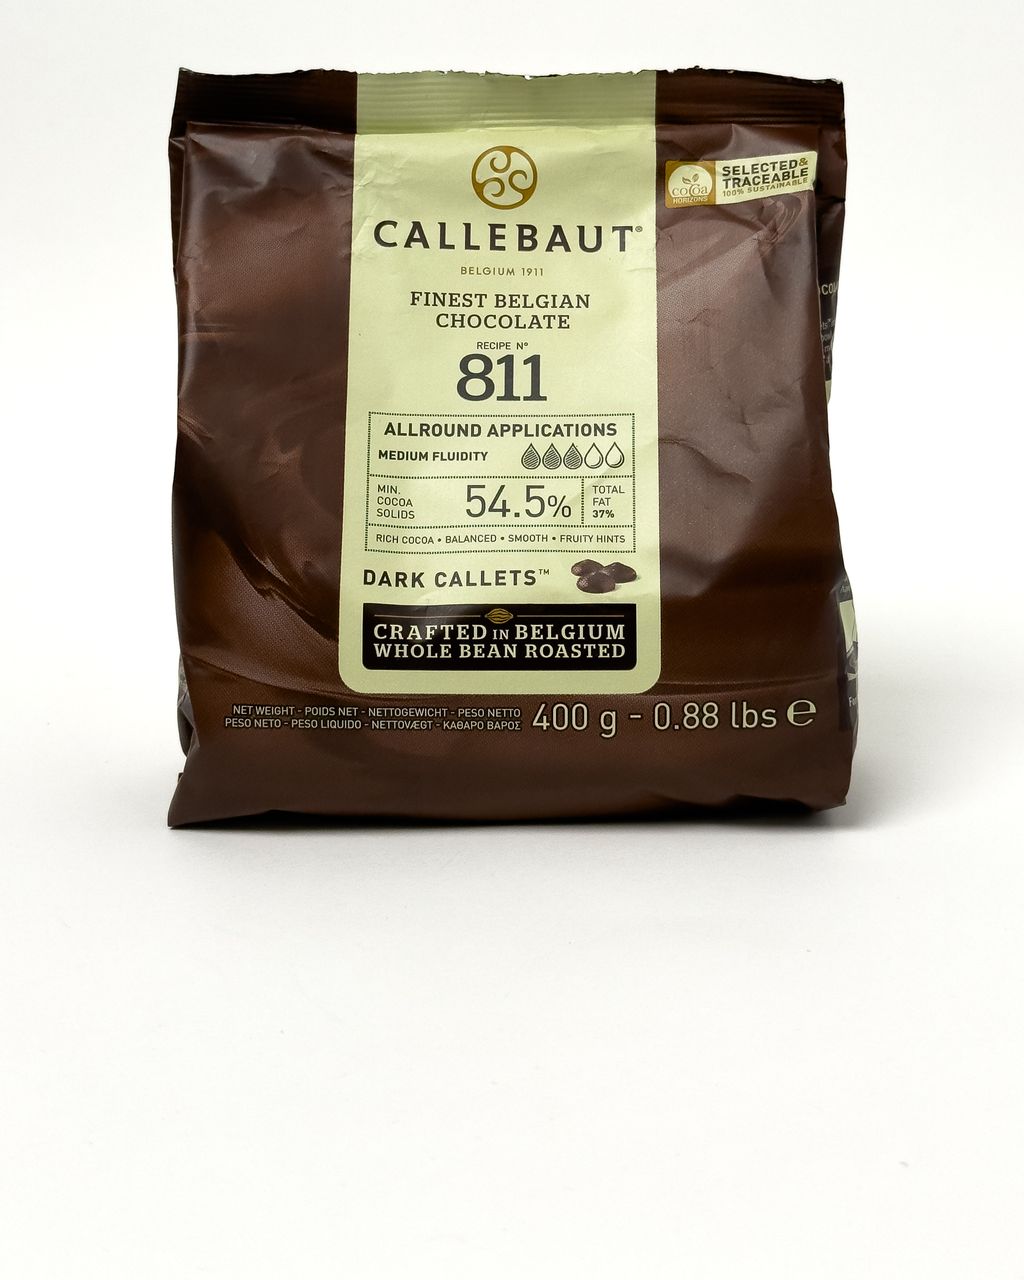
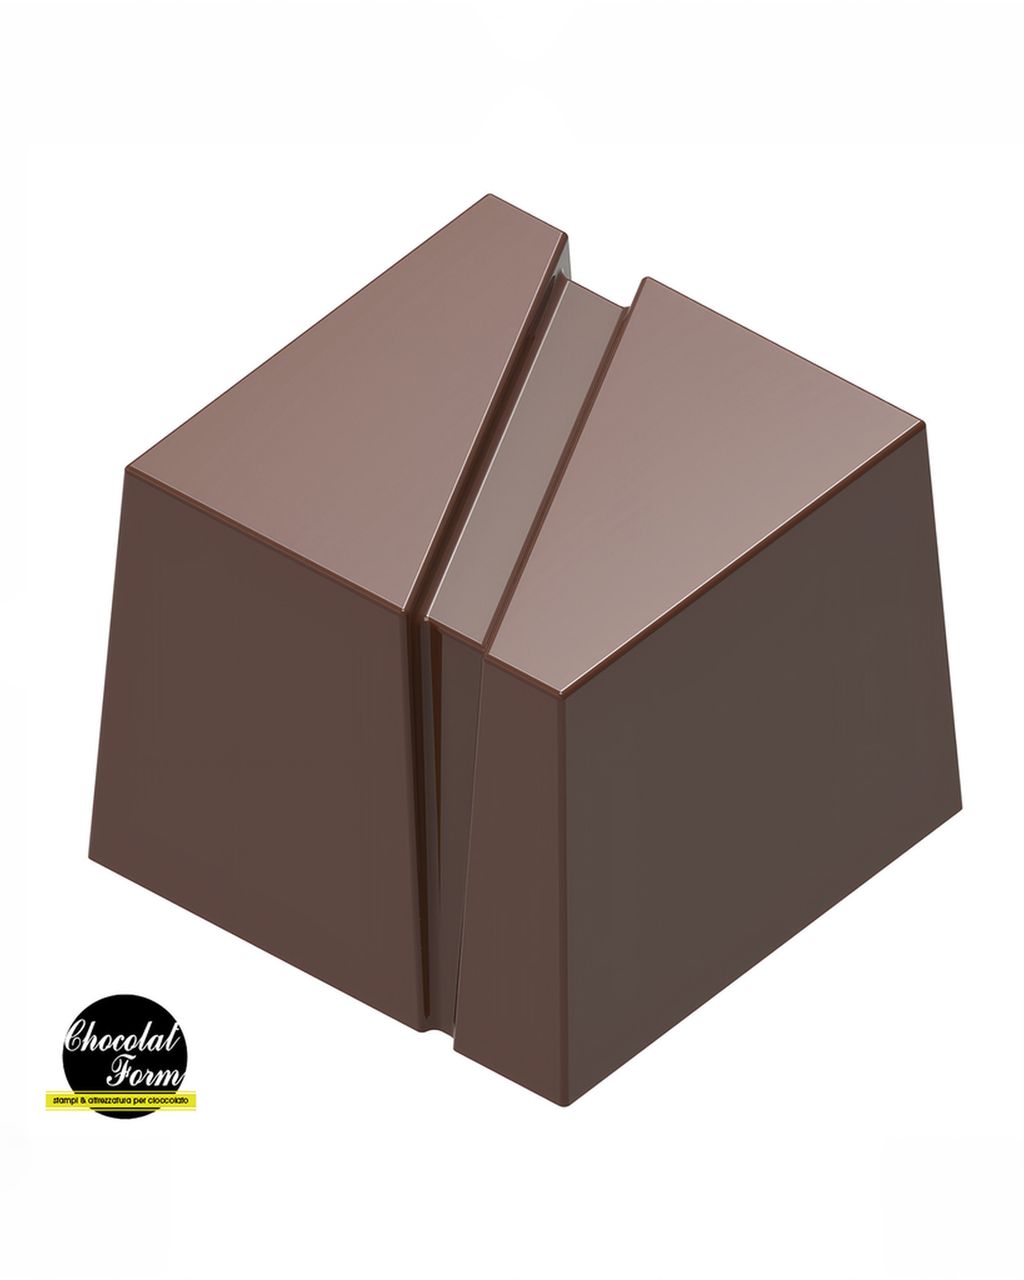
Couverture in callets is professional chocolate with a higher proportion of cocoa butter, finely ground and conched. A classic choice is Callebaut 811 dark chocolate callets with 54.5% cocoa: it flows well, tempers reliably, and the callets melt evenly, so you don't need to chop them. In a polycarbonate mold it makes glossy shells, and in a simple chocolate cake or chocolate mousse it has a clean flavor that isn't overly sweet.
Save your own chocolate for bars that you fill with nuts, dried fruit or salt – that's where it shines most.
Couverture and melted homemade chocolate work best in recipes where they don't need to be tempered – in cake batter and in airy mousse.
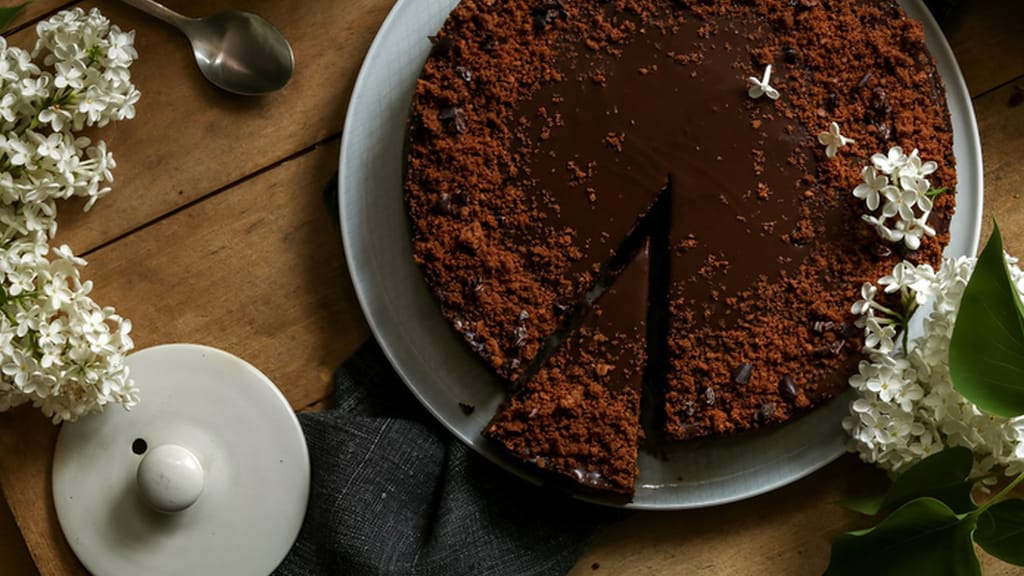
Simple chocolate cake
Simple chocolate cake made with couverture
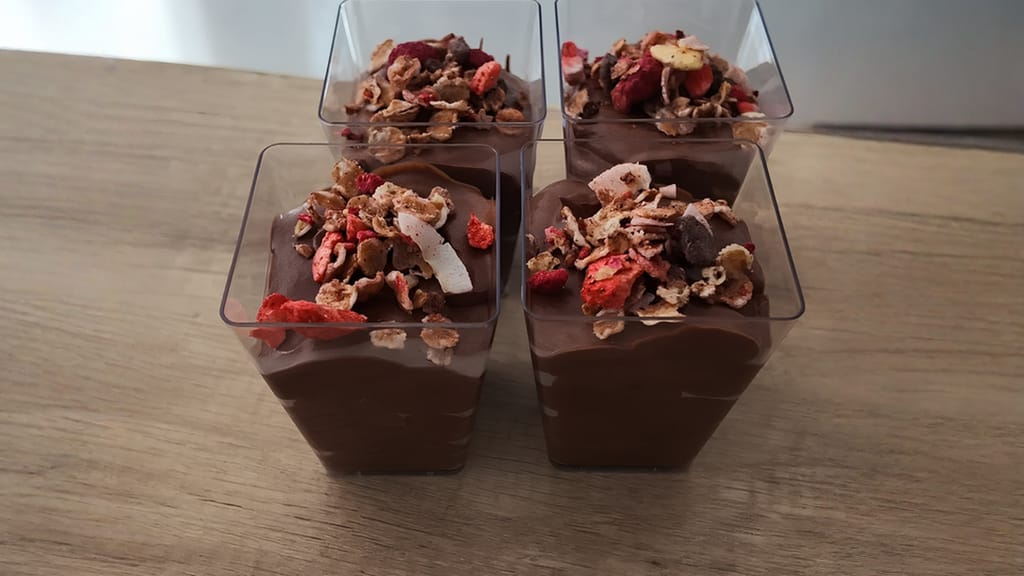
Chocolate mousse
Chocolate mousse from dark chocolate
Homemade chocolate seizes when water gets into it – a single drop from a wet spatula or steam from the water bath is enough. The sugar and cocoa soak up the water and clump together. You can't temper it after that, but you can rescue it by stirring in a little hot cream and using it as ganache or a cake glaze.
Don't use honey or syrup in homemade chocolate. They contain water, so the chocolate will seize or stay sticky. If you want a different sweetener, use a dry one – coconut sugar or erythritol – and grind it to a powder in a blender, just like powdered sugar.
Alkalized (Dutch-process) cocoa is better for homemade chocolate because it's smoother, less acidic and gives a darker color. Natural cocoa works too, but the chocolate will taste sharper and fruitier. Either way, choose a powder with no added sugar and the finest grind you can find.
Homemade chocolate made from cocoa butter usually isn't cheaper – good cocoa butter and cocoa mass cost about the same as a decent chocolate bar. It's worth making because you control the sweetness, the percentages and the filling, not because of the price.
Yes, you can melt homemade chocolate and use it in batter, cream or ganache just like store-bought. Tempering doesn't matter in baking, so pieces that have turned gray or didn't come out nicely are perfectly good for it.
One recipe worth heating the oven for, one tip, and one deal from the shop. Nothing else.