Why Are My Crepes Rubbery or Tearing? Causes and Fixes
How to Make Crepes Without a Crepe Pan: Which Pan, Heat and Swirl
Updated Nov 21, 2026
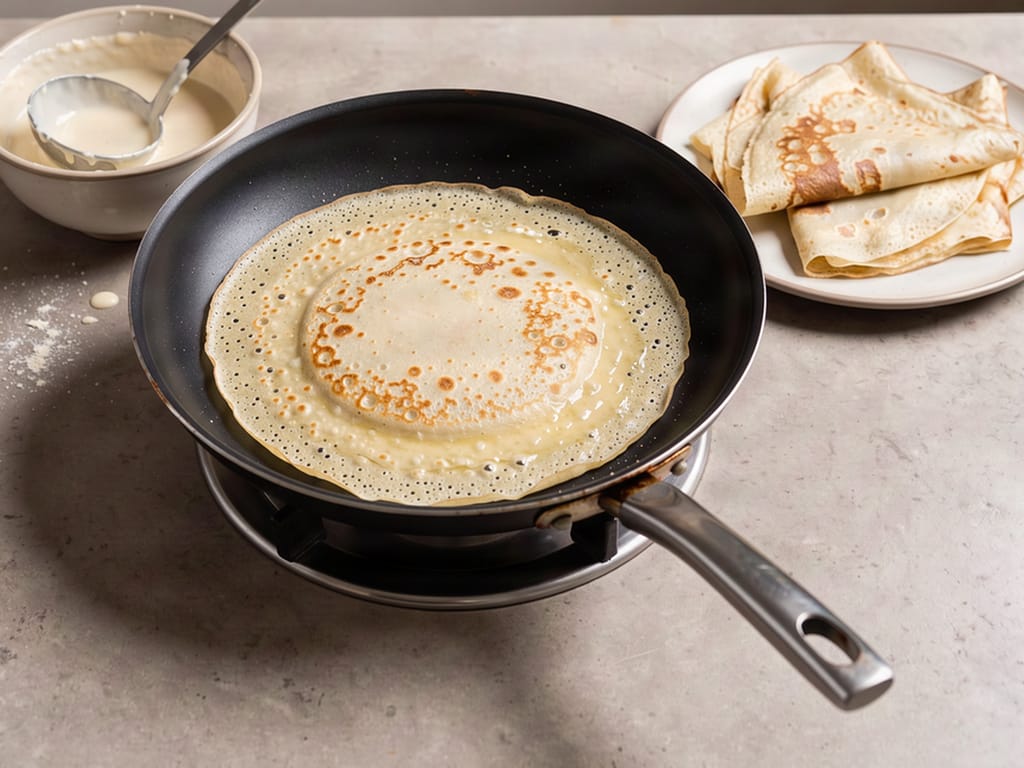
You can make good crepes without a crepe pan: a 20–25 cm (8–10 in) nonstick frying pan or a well-seasoned carbon steel or cast iron skillet works, as long as it is evenly hot, lightly greased and has fairly low sides. The skill is in the heat and the swirl, not the pan. Here is how to choose from what you already own, how hot to get it, how much batter to use and how to flip without a crepe spatula.
Look for a pan that is flat across the bottom, light enough to lift and tilt with one hand, and releases food well.
Nonstick frying pan, 20–25 cm (8–10 in): the best stand-in for most people. Easy release, easy to swirl, little fat needed. Avoid very high heat with nonstick, and follow the maker's heat guidance.
Carbon steel skillet: very close to a real French crepe pan, which is usually carbon steel anyway. It heats quickly and releases well once seasoned. Gives the crispest edges.
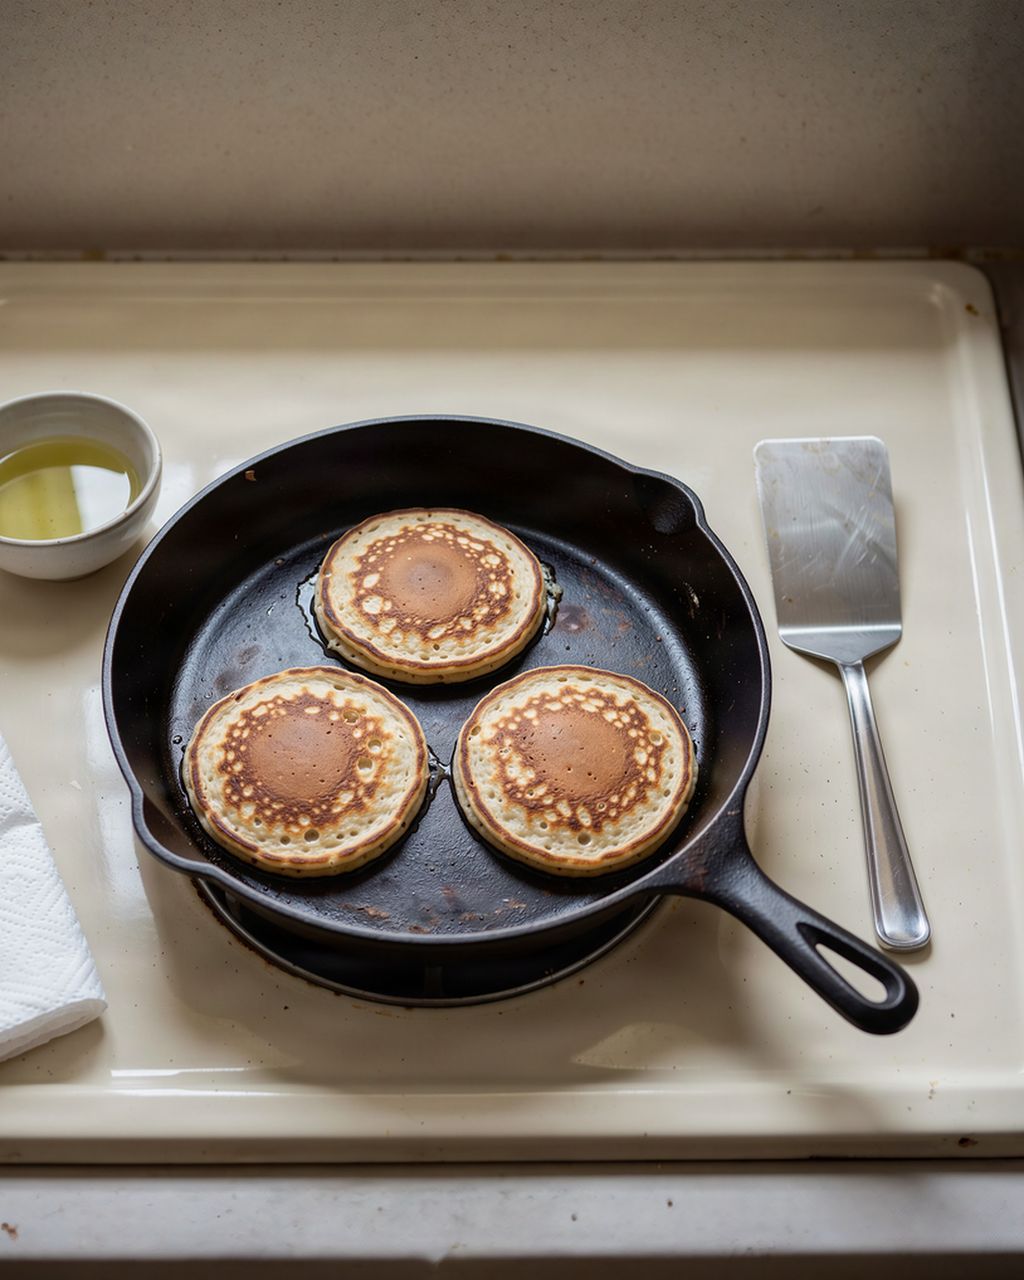
Cast iron skillet: holds heat beautifully and browns evenly, but it is heavy to swirl and slow to adjust. Pour, then tilt with two hands, or spread the batter with the back of a ladle.
Stainless steel frying pan: possible but sticky. Preheat it well and use more fat.
Electric griddle or flat plancha: good for large batches. Since you cannot tilt it, spread the batter in a circle with the back of a ladle or an offset spatula.
Pans with tall, steep sides make swirling and flipping harder. A shallow sauté pan or omelet pan is better than a deep skillet.
Seasonal baking plans, tested recipes and kitchen tricks that save you time. Unsubscribe in one click.
Crepes like steady medium to medium-high heat. Too low and they dry out before they brown, turning pale and leathery. Too hot and the batter sets the moment it lands, so it will not spread, and it scorches in spots.
How to tell the pan is ready:
Heat the empty pan for 2–3 minutes over medium heat, longer for cast iron.
Flick in a drop of water. It should sizzle and vanish within a couple of seconds.
Wipe a thin film of butter or neutral oil over the surface with folded kitchen paper.
The first crepe is your test. If it takes much longer than a minute to set, turn the heat up a notch. If it sets before you finish swirling or shows dark spots, turn it down. After that, keep the heat where it is and wipe the pan with the buttered paper every two or three crepes.
Use roughly this much batter per crepe:
20 cm (8 in) pan: about 45–60 ml (3–4 tablespoons)
25 cm (10 in) pan: about 60 ml (¼ US cup)
The swirl:
Hold the pan by the handle, lift it slightly off the heat and tilt it away from you.
Pour the batter into the upper side of the pan in one go.
Straight away, rotate your wrist so the batter runs around the pan in a circle until it covers the base.
Put the pan back on the heat.
If there are gaps, fill them with a few drops of batter. If there is a puddle left over, tip it back into the bowl; that crepe will be thinner and lacier. After a few, you will find the amount that suits your pan, and a measuring ladle helps you repeat it.
If the batter will not spread at all, it is probably too thick; whisk in a splash of milk. Crepe batter should pour like single cream (US light cream). If you are scaling a recipe up or down, the cups and spoons to grams calculator converts flour, sugar and butter between US cups, metric cups and grams.
Wait until the top looks matte and dry and the edges start to curl and turn golden, usually 45–90 seconds. Then:
Thin silicone or nylon spatula: slide it under the edge, lift and turn. Safe for nonstick.
Fingers: loosen an edge with the spatula, then lift it with your fingertips and turn it over. Many cooks do it this way, but the pan is hot, so go carefully.
Long knife or palette knife: works like a crepe spatula on carbon steel or cast iron; avoid it on nonstick, which it scratches.
Toss: possible with a light pan once the crepe slides freely, but it is optional.
The second side needs only 20–30 seconds and will brown in spots rather than evenly. Slide the crepe onto a plate and stack the next one on top. Stacking keeps them soft.
Crepe sticks: the pan was not hot enough before greasing, there is too little fat, or you tried to flip it too early. On stainless steel, preheat longer.
Thick, small crepes: the pan is too small for the amount of batter, or the batter is too thick.
Holes and bubbles: the pan is too hot, or the batter is thin enough to tear as it spreads. Lower the heat a little.
Pale and leathery: the heat is too low, so the crepe cooks for too long before browning.
Uneven brown patches: the burner heats a small ring; use a burner that matches the pan size and preheat longer.
Greasy, crispy edges: too much butter in the pan. Wipe it on, don't pour it.
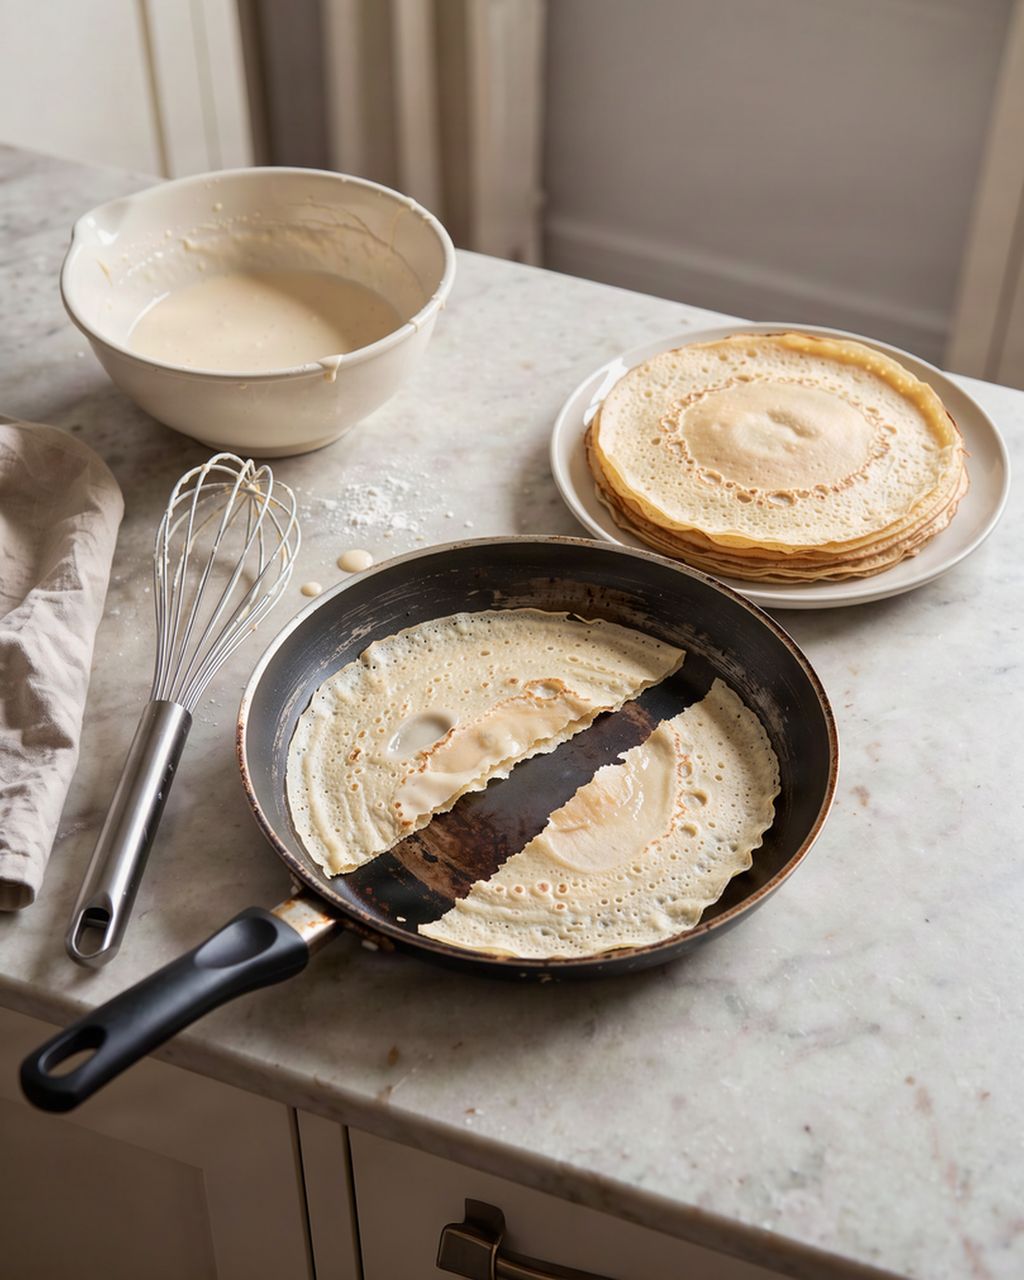
For crepes that turn out tough or keep tearing in any pan, the batter is usually the cause, not the pan. Use plain all-purpose flour rather than bread flour, and let the batter rest. For a buckwheat batter, which tears more easily because buckwheat contains no gluten of its own, see buckwheat flour. If you are cooking for someone with coeliac disease, use flour labelled gluten-free (including buckwheat flour, which is often milled alongside wheat), check that the recipe adds no wheat flour, and use a clean pan, spatula and bowl that have not just been used for wheat batter.
A few things in the cupboard are not worth trying for crepes.
Deep woks and saucepans: the curved or tall sides stop the batter from spreading flat.
Grill pans with ridges: the batter falls into the grooves.
Lívanečník (a Czech pan with round hollows for lívance, small thick pancakes): the hollows are no use for crepes.
Scratched, worn nonstick pans: they no longer release and the crepe tears.
If you make crepes often, a dedicated carbon steel crepe pan lasts for years with care, but it is a nice-to-have, not a need.
Yes. Any flat-bottomed frying pan about 20–25 cm (8–10 in) across with a nonstick or well-seasoned surface will do, and most home cooks use exactly that. A crepe pan only makes it easier because of its low sides and wide, flat base.
A light nonstick frying pan is the easiest for beginners because it releases well and is easy to tilt with one hand. A seasoned carbon steel pan gives crisper, lacier edges, and cast iron works too but is heavy to swirl.
Medium to medium-high. The pan is ready when a drop of water sizzles and evaporates within a couple of seconds, and a crepe should set in about a minute and lift easily at the edge.
About 45–60 ml (3–4 tablespoons) for a 20 cm (8 in) pan and about 60 ml (¼ US cup) for a 25 cm (10 in) pan. Pour it in one go and swirl at once.
You can, but they stick more easily. Heat the pan thoroughly before greasing, use a little more butter than in a nonstick pan and wait until the edges lift on their own before you try to turn the crepe.
The first crepe tests the pan: it is usually too hot or not hot enough, and the fat has not yet spread evenly. Adjust the heat after it, and the following crepes cook evenly.
One recipe worth heating the oven for, one tip, and one deal from the shop. Nothing else.