Cherry jam - basic recipe
Updated Aug 24, 2026
You choose canning jars and lids based on three things: the type of seal, the jar's neck diameter, and what you're actually putting inside. In most kitchens you'll come across three systems — twist-off with a screw-on metal lid, push-on flat lids (the "omnia" style), and the classic clip-top jar with a glass lid, rubber ring and metal clamp. Twist-off is the most versatile, push-on lids are the cheapest, and clip-top jars last the longest. Below you'll find which lid fits which jar neck, how many times you can safely reuse it, how to tell when it's had it, and how to prep your jars so the seal grabs on the first try.
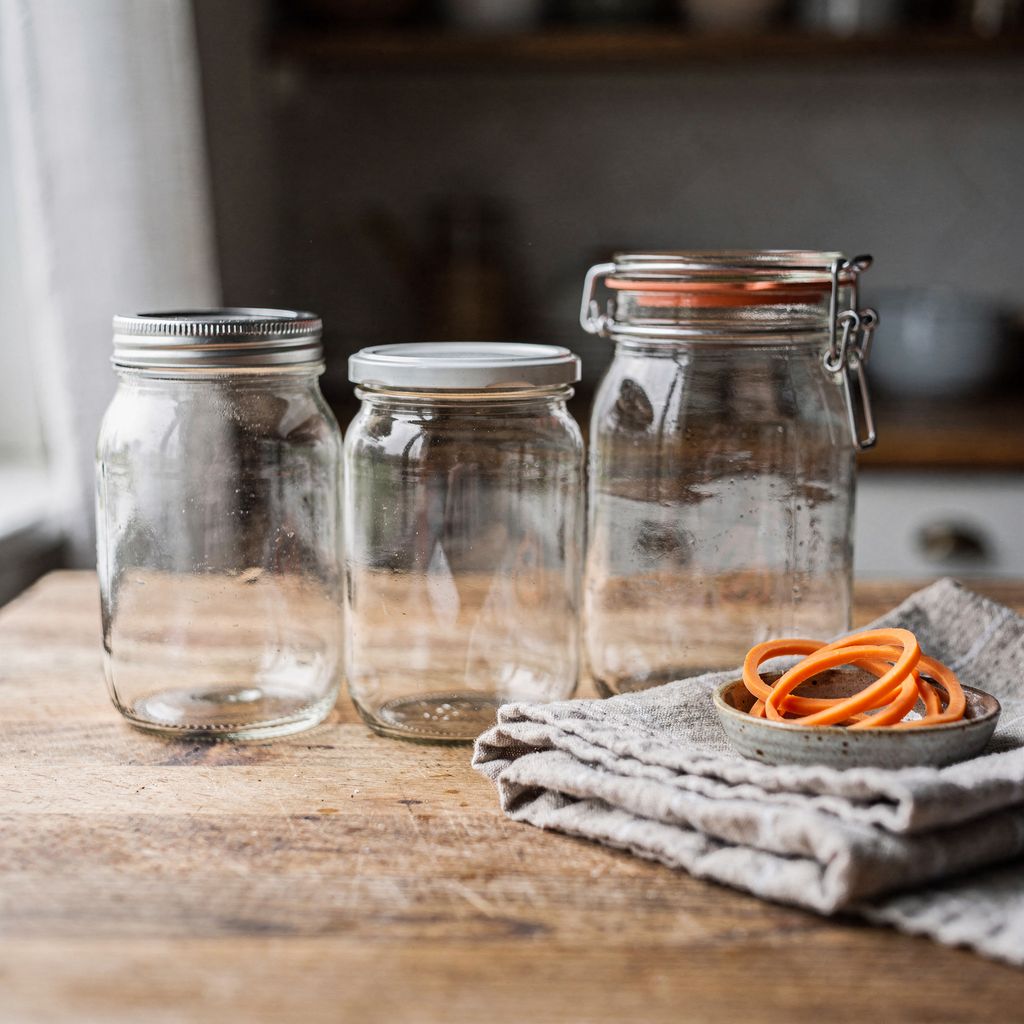
Three main types of canning jars are used here: twist-off with a screw-on metal lid, push-on (omnia) with a flat lid that's pressed and crimped into place, and clip-top jars with a glass lid, rubber ring and metal clamp. They differ in price, how long the seal lasts, and how easily you can tell whether the preserve has actually sealed.
None of them is objectively the best. What matters is what you're preserving and how often.
A twist-off lid is a screw-on metal cap with a white sealing compound (plastisol) lining the inside edge. When heated, the plastisol softens and presses into the jar's rim; as it cools, the vacuum pulls it tight.
Sizing: the letters TO followed by a number indicate the neck diameter in millimeters — commercially available from TO 33 up to TO 100. At home you'll most often use TO 66 (compotes, pickles) and TO 82 (the classic "seven" jar, 700–720 ml).
RTS vs. RSB: an RTS lid has a smooth top, while an RSB lid has a small pressed disc in the center. That disc pops inward once sealed and bulges outward if the contents spoil — so you get an at-a-glance check.
Deep vs. shallow: deep lids have a taller skirt and fit better on jars with a taller neck. A shallow lid simply won't tighten down over a tall neck.
The upside is obvious: jars from store-bought pickles or compote are twist-off, so you get a free supply. The downside: the thread can bend and the lid can rust.
A push-on lid is a flat metal lid with a rubber edge that gets pressed onto the rim and crimped — it doesn't screw on. You'll need a jar-sealing tool (a crimping key) to close it properly; without one you won't get it tight.
It comes in two standard home sizes: 68mm and 83mm.
It's the cheapest of all the systems, which pays off when you're preserving large batches of compote.
There's no indicator disc, so you have to check the seal by hand — once cooled, the lid shouldn't click or flex when you press on it.
Push-on lids are the least forgiving of the three. If you crimp one crookedly or only press it halfway on, the vacuum won't form and you won't find out until a week later.
Clip-top jars (the WECK, Fido type and their clones) have a glass lid, a replaceable rubber ring, and a metal clamp or bail. The system was patented in 1892 by chemist Rudolf Rempel; after his death the patent was bought in 1895 by merchant Johann Weck, who founded J. Weck u. Co. with Georg van Eyck in 1900. The design has barely changed since.
The glass doesn't wear out. The only consumable part is the rubber ring, which you buy separately — over time this works out cheaper than buying new metal lids every year.
Checking the seal is unambiguous: once the jar has cooled, remove the clamp and lift the jar by the glass lid alone. Does it hold? It sealed. Does it fall off? It didn't.
The rubber ring hates the dishwasher. Always take it off before washing, or it will harden and crack.
It's also great for fermented vegetables — gases from fermentation can lift the seal just enough to escape without the jar bursting.
The trade-off is the upfront cost, plus you have to keep an eye on the rubber rings. An old, worn ring will ruin your preserve just as reliably as a punctured metal lid.
You choose a lid based on two things: the neck diameter and how aggressive the filling is. Quick guide:
Jams, preserves, pestos, spreads → small twist-off, TO 53 or TO 66. Thick contents don't need a big jar, and smaller portions get eaten up faster.
Compotes and fruit in syrup → TO 82 or 83mm push-on. The classic "seven" jar is built for exactly this.
Pickles, vegetables in vinegar brine, relishes → twist-off with corrosion-resistant lacquer and plastisol rated for acidic brines. A cheap, ordinary lid will rust from the inside within a few months of contact with vinegar.
Meat, pâtés, thick sauces → thick-walled jars and lids rated for pressure canning (RSB type, sterilizing at 121–131°C). Meat and pâtés are low-acid — they belong in a pressure canner, not a water bath or the oven. Always follow a tested recipe with the correct pressure and time.
Fermented vegetables → a clip-top jar with a rubber ring, or a lid with a fermentation valve. Not a tightly sealed twist-off.
Color-coding lids (white for fruit, red for meat) is basically obsolete these days — modern sealing compounds handle both, so the color doesn't mean anything anymore.
Manufacturers list canning lids as single-use. In practice, at home, a twist-off lid can handle two to three seasons if it comes off each time without a single nick or scratch — but that's a compromise, not a recommendation.
By type:
Twist-off: officially single-use, realistically 2–3 cycles for acidic or sweetened fillings, as long as the plastisol stayed smooth and the lid was never pried open with a lever. For meat, mushrooms and low-acid vegetables, always use a new lid — it's not worth the risk even once. Sort through your lids every year and toss any that look doubtful.
Push-on: essentially single-use — crimping permanently deforms the edge to match one specific jar neck. Some variants are explicitly labeled "reusable," and those can be used more than once.
Clip-top: both the jar and the glass lid can last for years, even decades. Plan on one to two seasons for the rubber ring and replace it sooner rather than waiting for a spoiled batch to force your hand.
A rule that actually works: the longer you plan to store something, the more reason to use a fresh lid. For jam you'll eat by Christmas, a reused lid is fine. For meat or compotes meant to last until next summer, it isn't.
You can spot a damaged lid by compromised sealing compound, a deformed edge, or rust on the inside; a damaged rubber ring by hardening, loss of stretch, and cracking when bent. Always check before filling, not after.
Reject a twist-off lid if it has:
a nick, groove or dent anywhere in the white sealing ring around the edge
rust or dark stains on the inside (typically from vinegar brines)
a bent, wavy, or lever-pried-up edge
a center disc that stayed popped inward after opening and never returned to its original shape
For push-on lids there's just one strict rule: any deformation of the crimped edge means it goes in the bin.
You can test a rubber ring in five seconds — fold it in half. A healthy ring bends smoothly and springs right back into shape. Bin it if:
fine white cracks or tiny splits appear at the fold
it's hardened and resists bending
it stays stretched out and doesn't return to its original diameter
it feels sticky or unusually glossy on the surface
And don't forget the jar itself: a chipped or cracked rim means the jar is done for — no lid, not even a brand new one, will seal against that. Check the rim against the light and run a finger gently along it.
Go by thickness: the thicker the contents, the smaller the jar — dense mixtures don't heat through evenly in a large jar.
150–250 ml → jams, preserves, pestos, chili sauces and sharp condiments. The most versatile size for home use.
350–500 ml → spreads, sauces, honey, small batches of compote, portions for two.
700–720 ml → the classic "seven." Compotes, pickles, vegetables in brine, ratatouille-style mixes.
1 liter and up → fermented sauerkraut, big batches. Note: sterilizing takes longer, since the center of a large jar needs more time to heat through.
A practical tip that's easy to overlook: buy jars in as few neck sizes as possible. If everything you own is TO 82, you only ever need to buy one type of lid and never have to guess what fits what.
Cherry jam - basic recipe
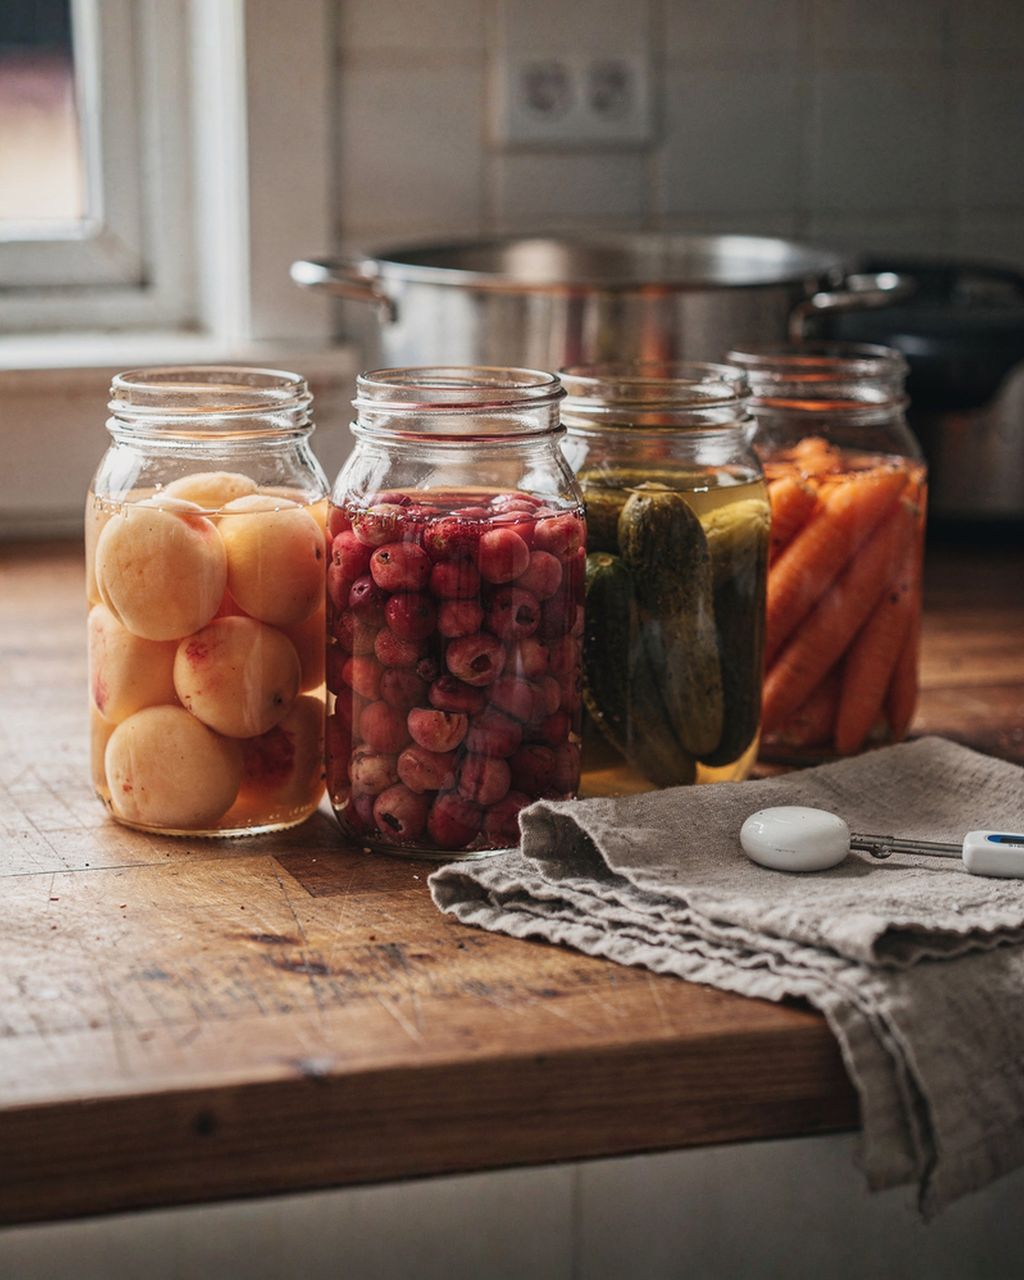
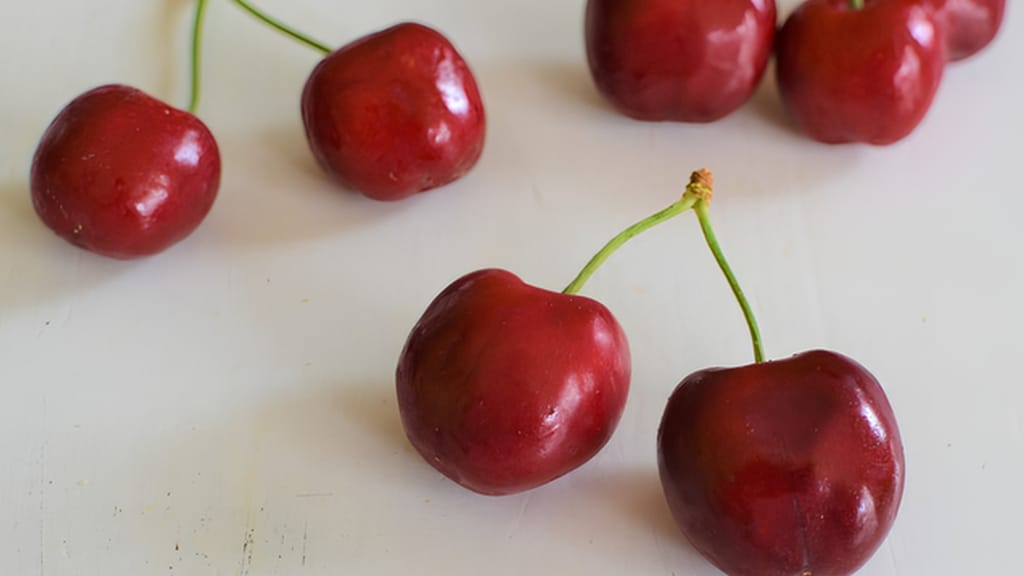
Cherry jam — a typical filling for small 150–250 ml jars

Chilli marmalade
Chili jam in small jars with a lid rated for acidic contents
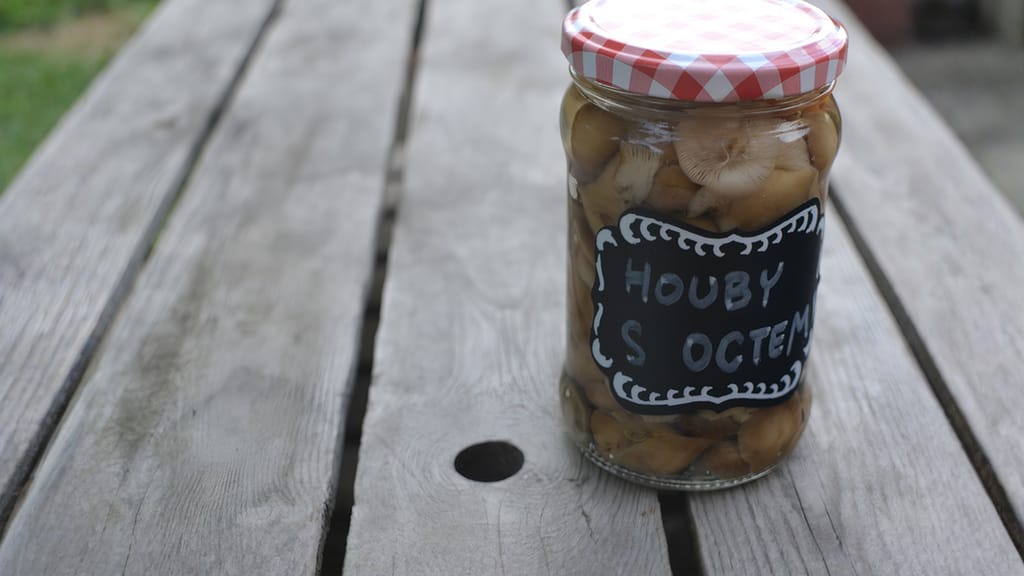
Pickled mushrooms in vinegar
Pickled mushrooms in vinegar — this calls for a "seven" jar and a good-quality twist-off lid
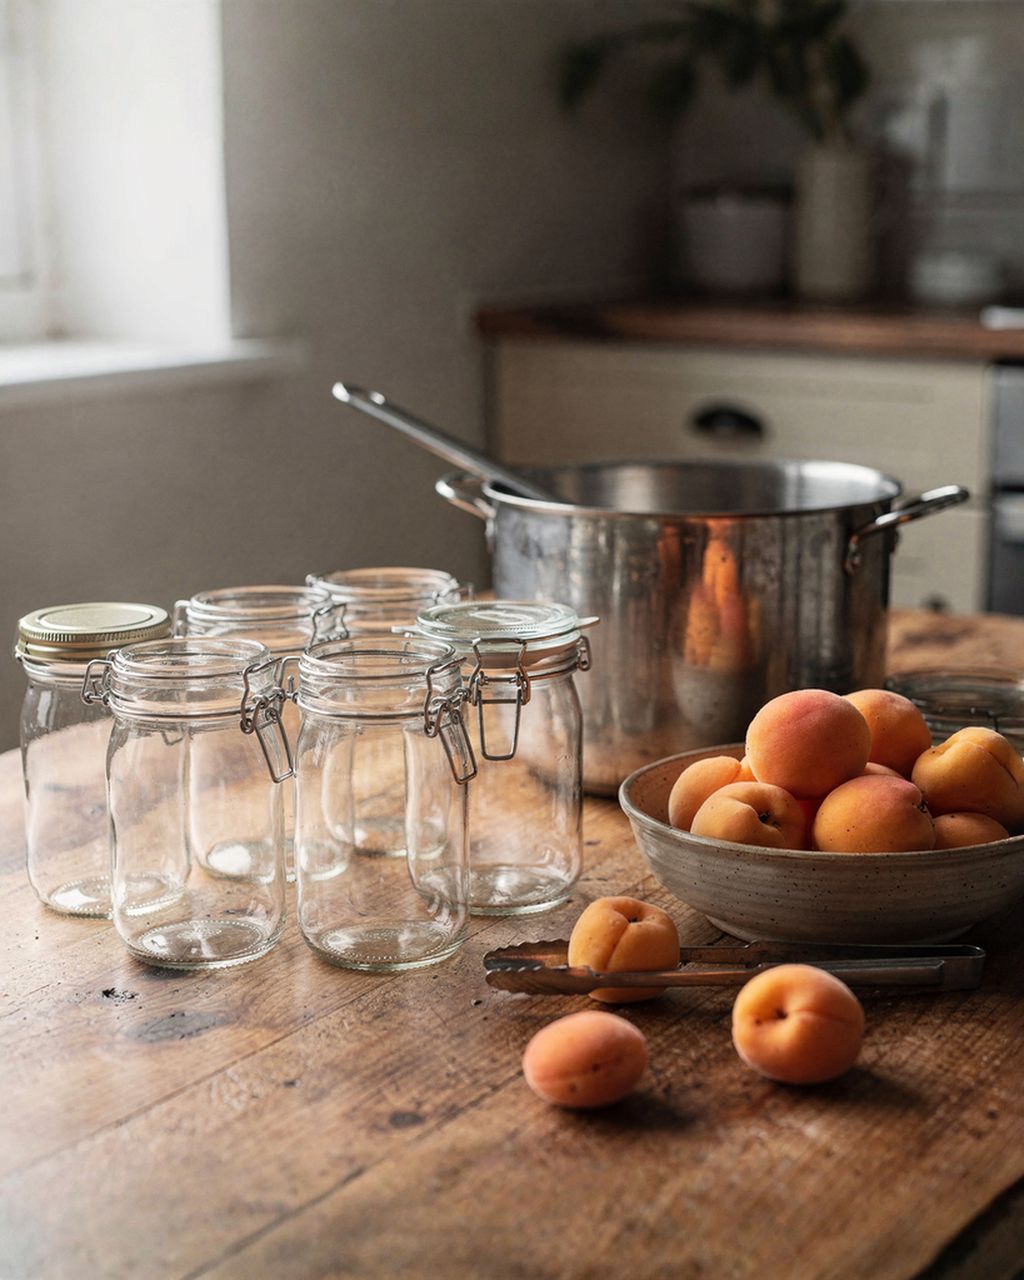
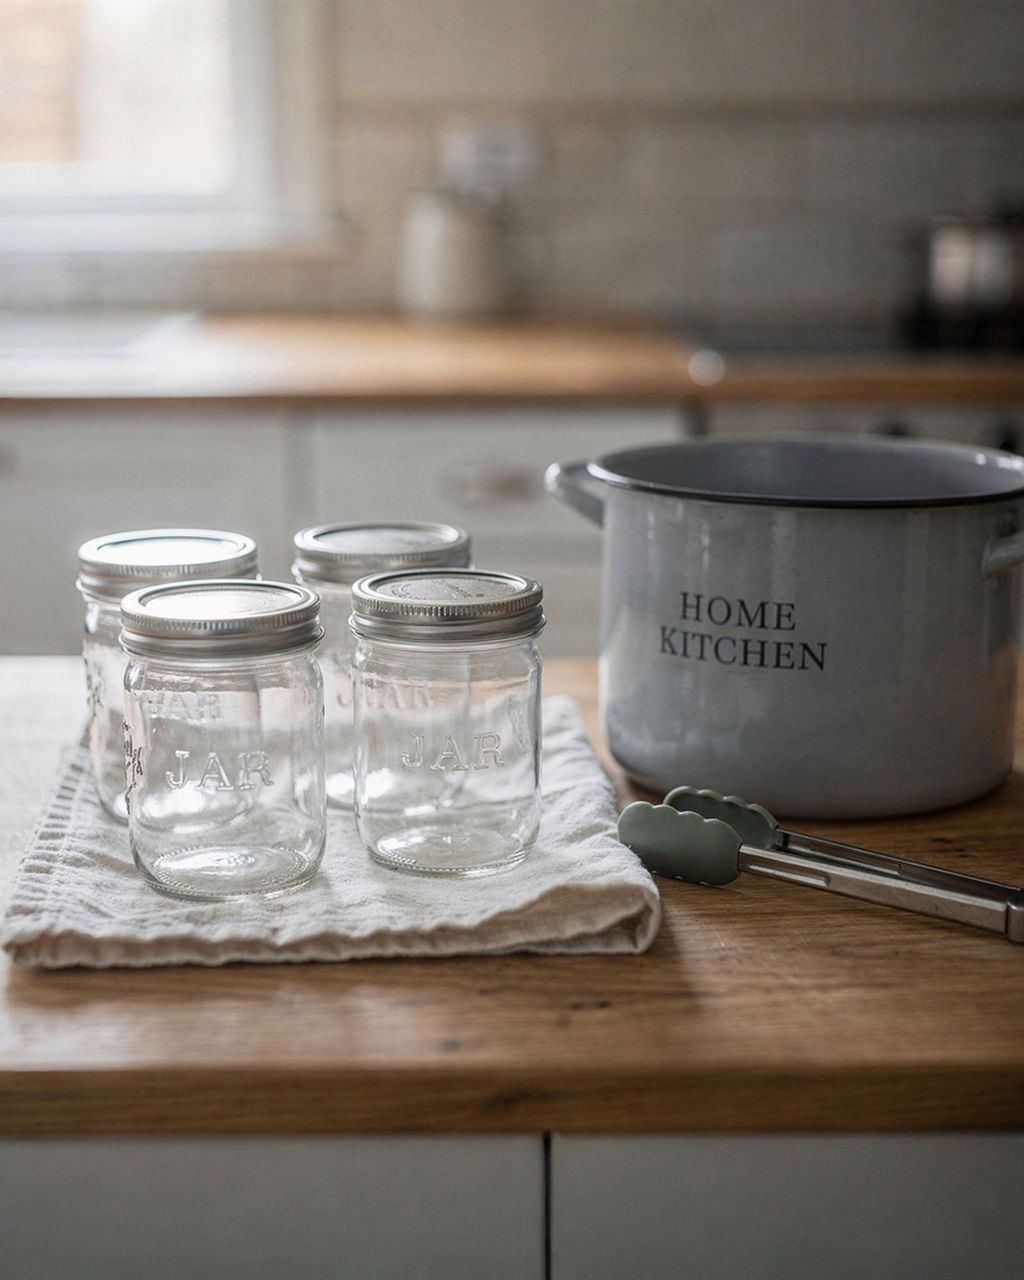
Before filling, wash jars in hot soapy water, sterilize them, and fill them while still hot. Lids are sterilized separately, and differently from the glass. Step by step:
Check the rim against the light. A chipped edge or a hairline crack means the jar is out.
Wash in hot water with dish soap and a bottle brush, then rinse thoroughly. Alternative: run them through the dishwasher on the hottest cycle, no rinse aid.
Sterilize the glass. The most reliable method is boiling the jars in water for 10 minutes (timed from when it reaches a boil). Alternative: run them through a hot dishwasher cycle and use them right away. The oven is commonly used too, but dry heat can make glass more prone to cracking — if you do use it, only take jars out right as you're about to fill them, and never set them on a cold surface.
Never put lids in the oven. The plastisol and rubber would simply melt. Just soak them in hot water for 2–3 minutes — softened sealing material seats better anyway.
Hot filling into a hot jar. Cold glass plus boiling preserve equals a crack. Keep jars on a baking tray or in the oven after sterilizing, and only take them out right when you're ready to fill.
Leave the right amount of headspace. For jams and preserves, leave about 0.5–1 cm; for compotes and vegetables in brine, about 1–1.5 cm. For meat and other low-acid fillings processed in a pressure canner, leave 2.5–3 cm so the contents have room to expand as they heat. A jar filled right to the brim won't form a vacuum.
Wipe the rim. Use a clean cloth dipped in vinegar, going all the way around. A single drop of jam on the rim is enough to stop the lid from sealing — this is the single most common reason lids fail to seal.
Tighten firmly, but don't overdo it. Screw a twist-off lid down until it stops, then quit. An overtightened lid deforms the thread and seals worse, not better.
Check the seal only after the jar has fully cooled, typically 12–24 hours later — checking any earlier won't tell you anything yet.
Twist-off: the center of the lid should be pulled inward and shouldn't click when you press it with a finger. If it flexes up and down under your finger, the vacuum didn't form.
Push-on: same test — the lid should be rigid and show no movement at all.
Clip-top: remove the clamp and carefully lift the jar by the glass lid alone. Does it hold? You're done.
Don't throw out jars that didn't seal. Put them in the fridge and use them within a few days, or reprocess them with a new lid.
Yes — commercial twist-off jars work fine for home canning and they're free, but toss the original lid and buy a new one. The glass is built to withstand repeated sterilizing; the plastisol lining in the lid isn't. It's already been pressed into shape against that particular rim once, and it may not seal properly a second time. Before using the jar, check the rim against the light and measure the diameter so you buy the correct lid size.
No, push-on lids don't fit twist-off jars — the two systems aren't interchangeable. A twist-off jar has a threaded neck that the lid screws onto, while a push-on jar has a smooth rim that the flat lid is pressed down onto and crimped in place. Even the diameters don't match: push-on lids come in 68mm and 83mm, while twist-off sizes are labeled TO 33 through TO 100. Always measure the outer diameter of the neck before buying lids.
Jars crack during canning almost always because of thermal shock — too big a gap between the temperature of the glass and the temperature of the filling or water. Never pour boiling preserves into a cold jar, and never plunge a hot jar into cold water. Line the bottom of your canning pot with a tea towel or a rack so the glass isn't sitting directly on the base, and let jars cool down gradually afterward, away from drafts. The other common culprit is a hairline crack in the glass that went unnoticed before you started.
Store canned jars somewhere dark, dry and at a steady temperature of roughly 10–18°C (50–65°F) — a pantry or cellar is ideal. Light breaks down both color and vitamins, temperature swings stress the seal, and damp conditions rust metal lids. Under these conditions, fruit compotes and jams generally hold their quality for about one to two years, and pickled vegetables similarly. Label jars with the date before storing them, and always check that the lid is still pulled in tight before opening.
No, the rubber rings on clip-top jars don't need boiling — just dip them in hot water for a few minutes right before fitting them on, so the softened rubber seats properly against the ground glass rim. Long boiling actually damages the rubber: it dries it out and speeds up hardening. Never put the rings in the dishwasher either — the combination of high heat and harsh detergent wrecks them fast. After use, rinse them in lukewarm water, let them dry, and store them separately rather than left stretched over the jar.
One recipe worth heating the oven for, one tip, and one deal from the shop. Nothing else.