Pickled mushrooms in vinegar
Canning for Beginners: The Complete Guide to Your First Jar
Updated Aug 24, 2026
Canning rests on one simple principle: heat kills off the microorganisms inside the jar, and as it cools, a vacuum forms under the lid that seals it shut. That's really all there is to it — which is exactly why you can nail it on your very first try. This guide walks you through everything from scratch: what to buy, why jars need sterilizing, which foods you can safely can at home and which you absolutely can't, and what your first batch looks like step by step.
Canning relies on two things happening one after the other: heat destroys the yeasts, molds, and bacteria in the jar, and as it cools, a vacuum forms under the lid that keeps out air and any new microbes. Neither step works without the other — sterilized contents without a vacuum seal will just get recolonized, and a vacuum over undercooked contents simply locks in whatever's already multiplying inside.
What's actually happening in the pot:
As it heats up, the contents and the air inside the jar expand. The extra pressure pushes surplus air and steam out past the lid — that's the faint hissing you sometimes hear. The jar effectively vents itself.
As it cools, the steam inside condenses back into water, shrinking to a fraction of its original volume. What's left inside is a pressure noticeably lower than outside.
Atmospheric pressure (roughly one bar, or about 10 tons per square meter) then pushes the lid inward from the outside and holds it there. That audible pop you sometimes hear as the jar cools is the center of the lid flexing downward.
That's exactly why sterilizing jars beforehand is essential, even though everything gets boiled anyway: canning itself is just a brief pasteurization, not a full sterilization like an autoclave. If you tip in fruit alongside thousands of mold spores sitting on the dusty bottom of a jar, the temperature that would easily handle fresh fruit alone might not be enough for that much extra starting contamination.
And that's also why the vacuum seal isn't cosmetic — it's a test. If the lid doesn't seal, the jar isn't sealed, and the contents will spoil no matter how good they look. There are only four reasons a vacuum fails to form, and all of them are fixable: syrup or brine on the rim, an overtightened lid, worn-out sealing gasket, or too little water in the pot so the top layer of jars never heats through properly. The section on common mistakes further down covers each one.
Your first batch only needs six things: clean jars, undamaged lids, a pot tall enough, a cloth for the bottom of the pot, tongs, and a thermometer. No special canning kettle, no pressure cooker, no fancy gadgets required.
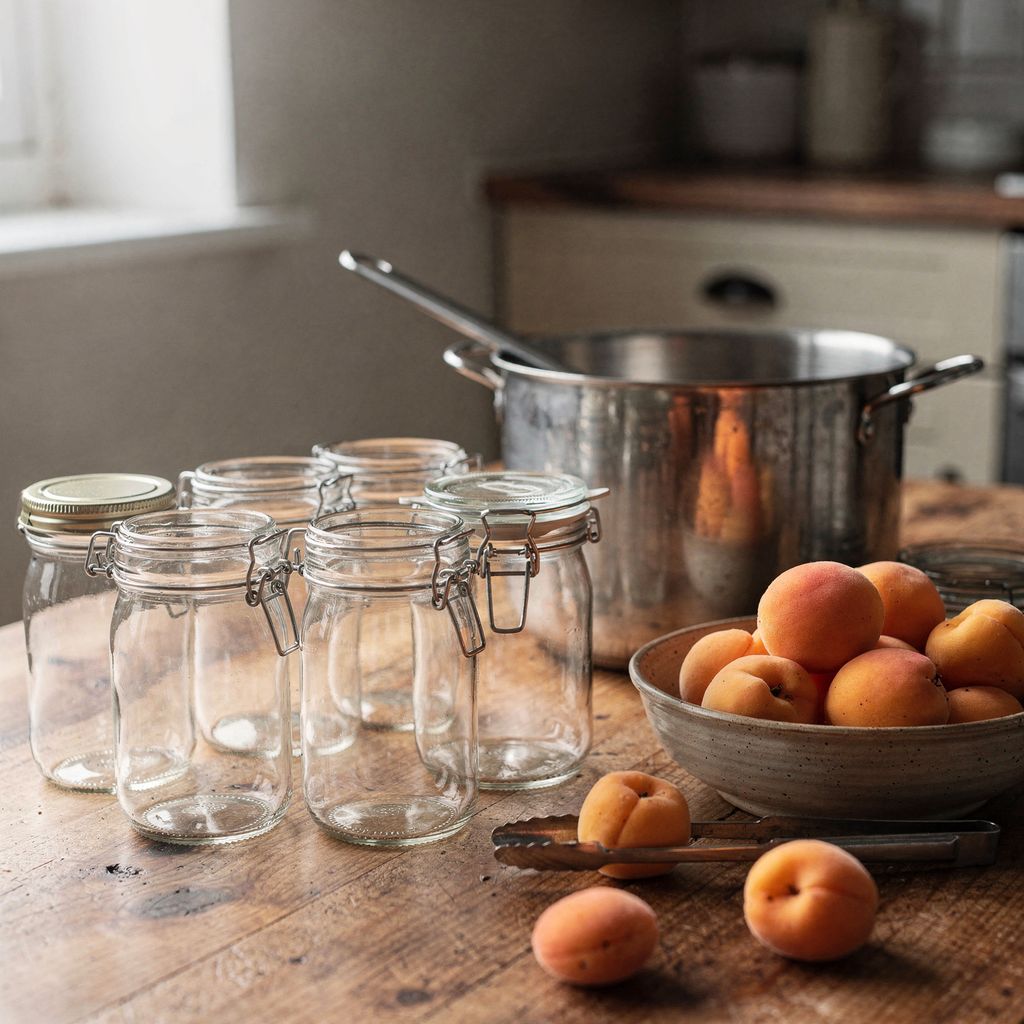
Jars — twist-off, clip-top with a rubber ring, or Weck-style. Run a finger around the rim: any nick, chip, or crack means the jar's out. That's exactly where the seal sits, and a gap as small as a tenth of a millimeter is enough to stop the vacuum from forming.
Lids — the cheapest part of the whole setup, and also the most common reason things go wrong. The sealing compound inside needs to be flexible, unbroken, and free of any deep groove left by a previous use.
A tall pot — water needs to sit 1–1.5 inches (2–3 cm) above the lids. A shallow pot is the number one reason the top layer of jars doesn't heat through properly.
A cloth or rack for the bottom — jars can't touch the bottom of the pot directly. That's where the heat is most intense, and the glass will crack.
Jar tongs — you can't pick up a near-boiling jar bare-handed, and regular kitchen tongs will let it slip.
A thermometer — "on low heat for about twenty minutes or so" is a guess, not a method. A cheap thermometer will save your entire canning season.
Nice to have, but not essential: a wide-mouth funnel (keeps the jar rim clean), a ladle with a spout, and a measuring jug for brine.
Stovetop pot, oven, or dishwasher? A water bath in a pot on the stove is the most reliable method, and the only one where you're genuinely in control of the temperature — water conducts heat far better than air, and a thermometer gives you an exact reading. An oven heats with dry air unevenly, with the top and bottom shelves sometimes differing by tens of degrees, and jars are more likely to crack. A dishwasher is fine for washing and pre-warming empty jars, but not for the actual canning process — it can't hold the necessary temperature for long enough. If you're just starting out, stick with a pot on the stove.
The dividing line that matters is pH 4.6. Foods below this value are acidic and can be safely canned in a hot water bath; foods above it are low-acid, and home water-bath canning simply won't preserve them safely. This is the one rule in this entire guide that isn't about taste or texture — it's about health.
The reason is a bacterium called Clostridium botulinum. Its spores are completely ordinary — they live in soil and turn up on the surface of nearly every fruit and vegetable. Out in the open air, they're harmless. The trouble starts when three conditions line up, which a sealed jar satisfies to the letter: an oxygen-free environment, low acidity, and room temperature. Once that happens, the spores germinate and start producing botulinum toxin, one of the most potent poisons known.
And here's the crucial part: the spores survive boiling. Water boils at 212°F (100°C) and won't get hotter than that at normal pressure — and the spores shrug that off easily. According to food-safety authorities, it takes temperatures above about 240°F (116°C), commonly cited as 250°F (121°C), to reliably kill them, and you only reach that in a pressure canner. In an acidic environment below pH 4.6, though, the spores simply can't multiply at all, so all you need to kill off there are yeasts and molds — and a hot water bath handles that just fine.
Acidic foods with a pH below 4.6 can be safely canned at home in a plain pot of hot water: fruit and fruit compotes, jams and preserves, rhubarb, anything pickled in vinegar, and fruit syrups. Specifically:
Fruit and compotes — strawberries, apricots, plums, cherries, apples, pears, currants
Jams, preserves, fruit butter, and jellies — the fruit's natural acidity plus a high sugar content
Rhubarb — one of the most acidic things you'll find in the garden, at roughly pH 3.1–3.4
Anything pickled in vinegar — cucumbers, peppers, onions, mushrooms, vegetables in a sweet-and-sour brine
Fruit syrups and juices
One exception that people often overlook: tomatoes. They're a borderline case — depending on variety, ripeness, and growing season, their pH sits anywhere between roughly 4.3 and 4.9, straddling both sides of the 4.6 threshold, and there's no way to tell by taste. That holds true across both old and modern varieties, which is why every tomato gets a splash of added acid, regardless of variety or color.
How to do it: for a pint jar, add 1 tablespoon of bottled lemon juice (it has a fixed, standardized acidity, unlike freshly squeezed) or 2 tablespoons of vinegar that's at least 5% acidity; double that for a quart jar. You'll barely notice it in the taste, but it makes all the difference for safety.
Above pH 4.6 falls almost everything that isn't fruit or vinegar-pickled: meat, poultry and fish, mushrooms without a brine, legumes, root and starchy vegetables, and ready-made dishes. You can't safely can these at home, because in a low-acid, oxygen-free environment, Clostridium botulinum spores can germinate — and boiling in a water bath won't kill them; that takes a pressure canner above 240°F (116°C), which home kitchens don't have. Specifically, this includes:
Meat, poultry, pâtés, stews, canned meat
Fish
Mushrooms without vinegar — around pH 6, well within the danger zone
Legumes — beans, peas, lentils
Corn, carrots, potatoes, squash, beets, asparagus
Ready-made meals, soups, stocks, and sauces
Pesto and garlic in oil — oil creates a perfectly oxygen-free environment
There are three legitimate ways to deal with low-acid foods: freeze them, acidify them with vinegar enough to bring them below pH 4.6 (that's exactly how pickled mushrooms and sweet-and-sour vegetables came about), or leave it to industrial producers, who have proper sterilizing autoclaves.
You can safely can acidic fruit, jams, fruit syrups, and vegetables in vinegar at home; never can meat, fish, legumes, corn, potatoes, or ready-made meals. Between those two extremes sit ingredients that are technically safe but not worth the effort — hence this practical, color-coded list:
Green — start here. Compotes made from firmer fruit (apricots, plums, pears, apples), jams and preserves, fruit syrups, pickled cucumbers, sweet-and-sour vegetables, chutney. Acidic, forgiving of small mistakes, and worth the effort.
Amber — vinegar only, and stick to the recipe. Mushrooms, peppers, onions, acidified tomatoes, vegetable mixes. These work great, but here the brine is a safety measure, not a flavor choice — stick to the recipe's ratio and don't dilute it further (roughly 1:2 with water for 8% vinegar).
Red — don't do it. Meat, fish, legumes, corn, potatoes, soups, ready-made meals, pesto, dairy, eggs. Either they're unsafe, or they'll just fall apart.
Not worth the effort. Leafy greens turn grey and shrivel to nothing, cucumber salads made from big cucumbers turn watery, bananas and avocados brown, potatoes turn to mush. Enjoy these fresh instead.
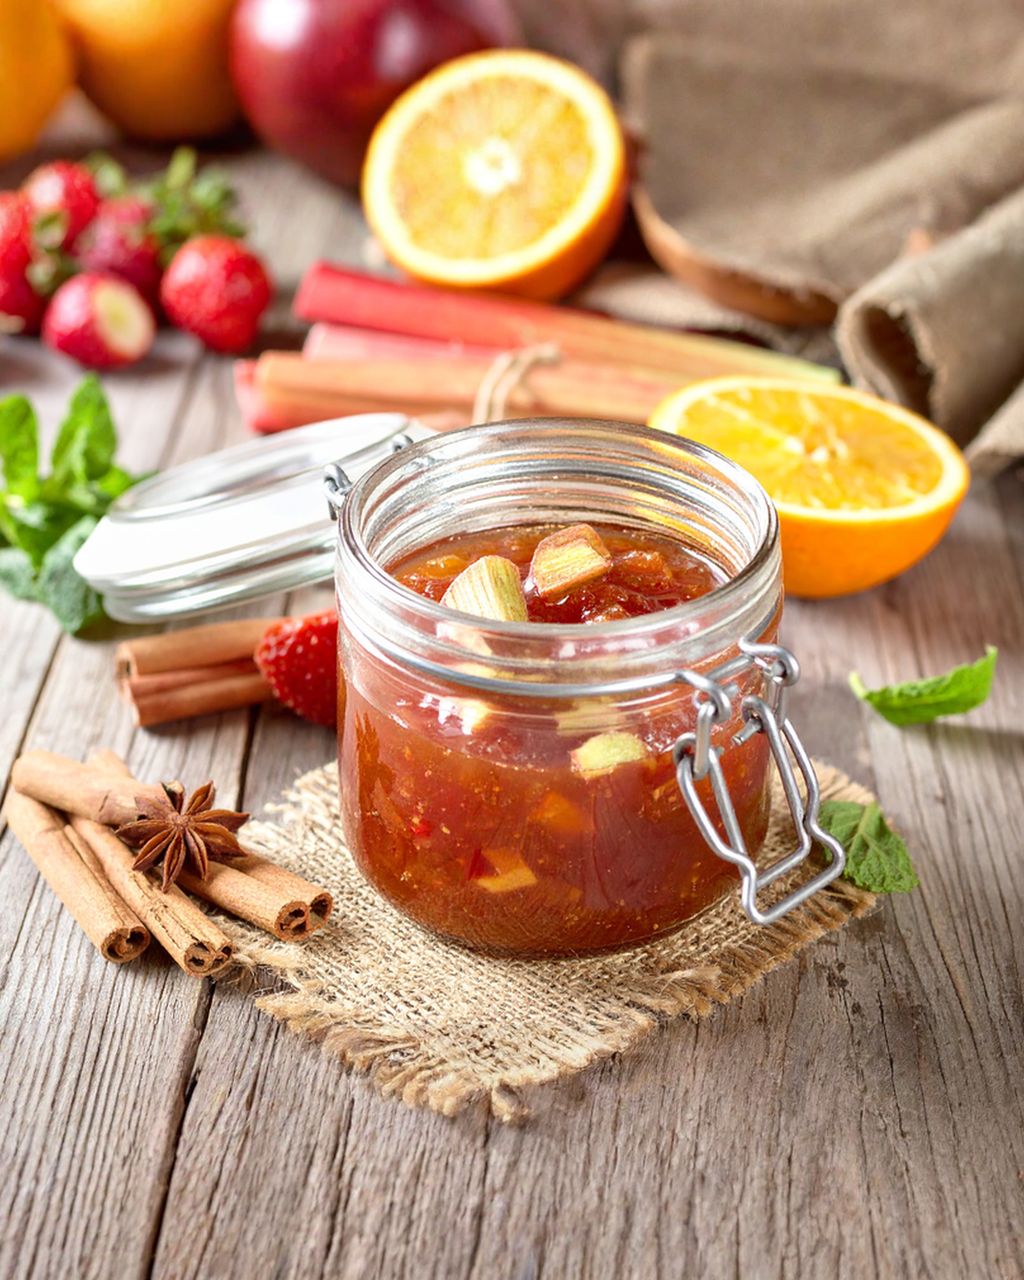
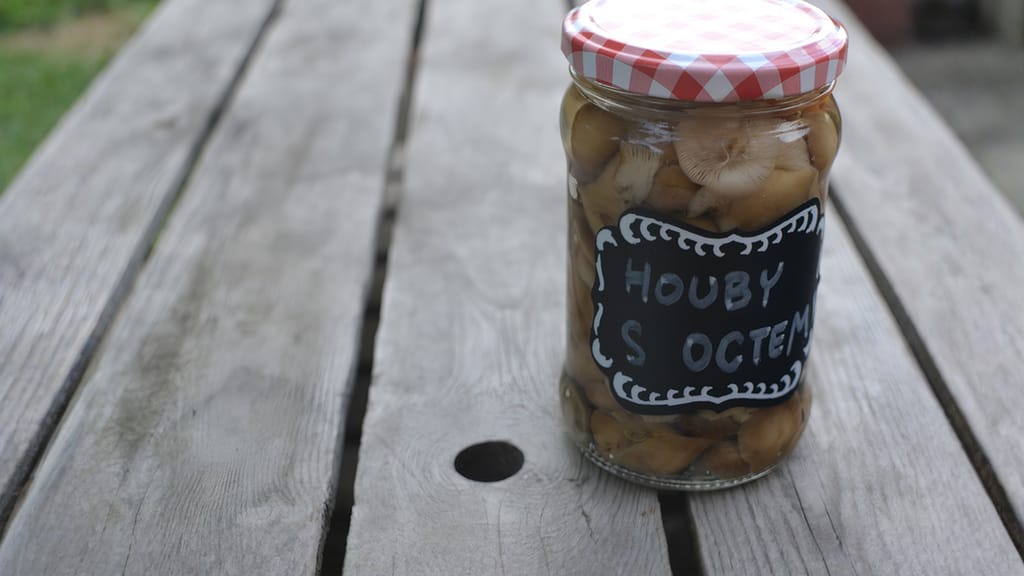
Pickled mushrooms in vinegar
Pickled mushrooms in vinegar — a textbook example of an acidified preserve, where the brine is what makes it safe
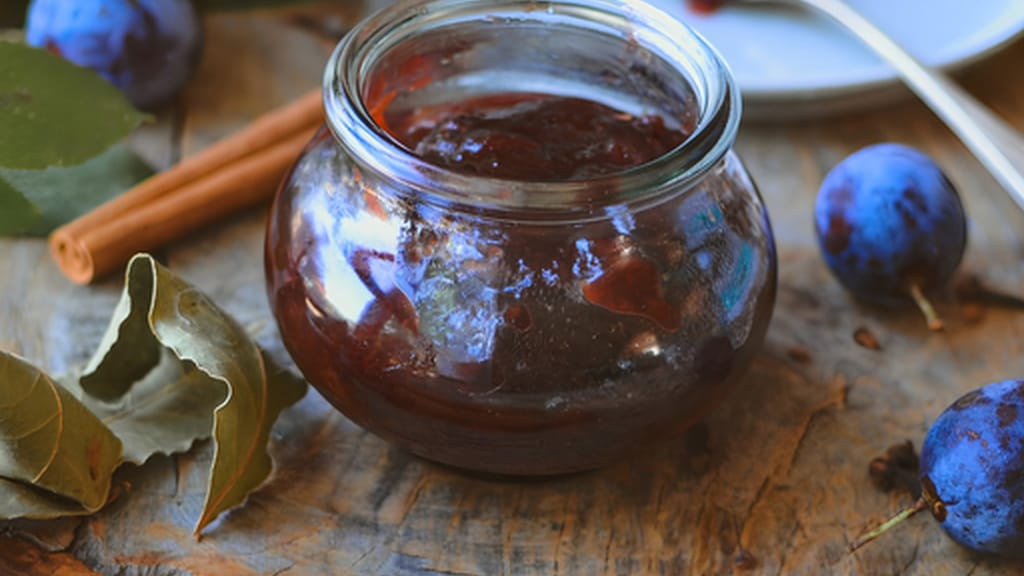
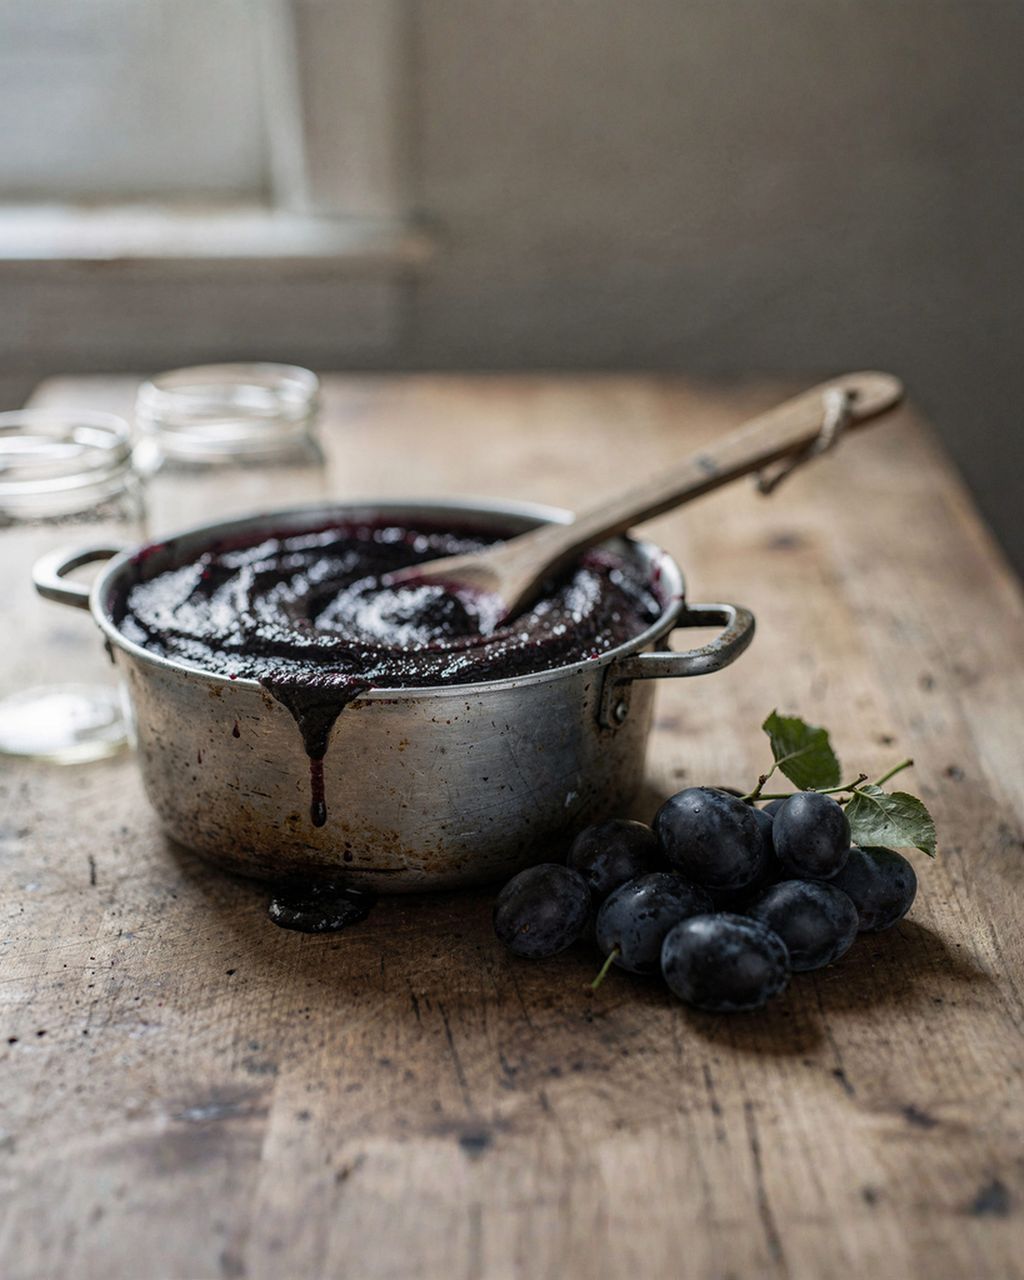
Harvest your plums, skip the slivovitz, and make chutney instead
Plum chutney — acidic, sweet, and forgiving, a great pick for your second canning season
Start with a fruit compote or jam. They're acidic enough to forgive a small mistake, and you'll be done in a couple of hours. There are nine steps: check jars and lids → wash and sterilize → fill while hot → leave a 1–2 cm gap → wipe the rim → close just until it resists → set into the pot on a cloth → heat to the target temperature and hold it → let it cool undisturbed. Now, in detail:
Check your jars and lids. Run a finger around the rim of each jar — any nick means it's out. Check the lid's seal: it needs to be flexible, unbroken, and free of any deep groove.
Wash and sterilize. Wash the jars in hot, soapy water, rinse thoroughly, then sterilize: boil them for 10 minutes in boiling water, or steam them for 10 minutes. Don't sterilize jars in the oven — the heat is uneven and glass cracks more easily. Don't put the lids in the oven and don't boil them either — dry heat and prolonged boiling both damage the sealing compound, and the lid won't seal properly afterward. Just rinse them in hot water around 175°F (80°C) and let them drain.
Fill while hot. Hot contents into a hot jar. Cold filling into a hot jar (or the reverse) causes thermal shock and cracks the glass.
Leave headspace under the lid. Leave 1–2 cm (roughly ½–¾ inch) of free space. An overfilled jar will boil over as it heats, greasing up the rim and stopping the lid from sealing. Too little space also means too little steam to build a vacuum.
Wipe the rim. Run a clean cloth dampened with hot water around the entire rim and threads. A single drop of syrup on the glass is enough to stop the lid from sealing.
Close it, but don't force it. Tighten a twist-off lid with your fingers just until it resists — that's enough. An overtightened lid can't vent steam as it heats, and without venting, there's no vacuum.
Set the jars in the pot. Line the bottom with a cloth or rack; jars shouldn't touch the bottom or each other. Cover with lukewarm water 1–1.5 inches above the lids — not cold, not boiling.
Heat and hold the temperature. Soft fruit needs 185°F (85°C) for 20 minutes; firmer fruit like pears and apples needs 195°F (90°C) for 25–30 minutes. Pickled cucumbers need a full 30 minutes at 185°F (85°C) — don't push the temperature higher: less time isn't enough and risks spoilage, while above 185°F the cucumbers turn soft. Start timing once the water reaches the target temperature, not from when you turn on the stove. That's the detail people skip most often in the whole process.
Let it cool undisturbed. Ideally right in the pot with the heat off, or lift the jars out and set them on a cloth away from any draft. A sudden chill on a cold countertop means a cracked bottom.
After 12 to 24 hours, check the seal. Then label each jar with the contents and date, and store them somewhere dark and cool.
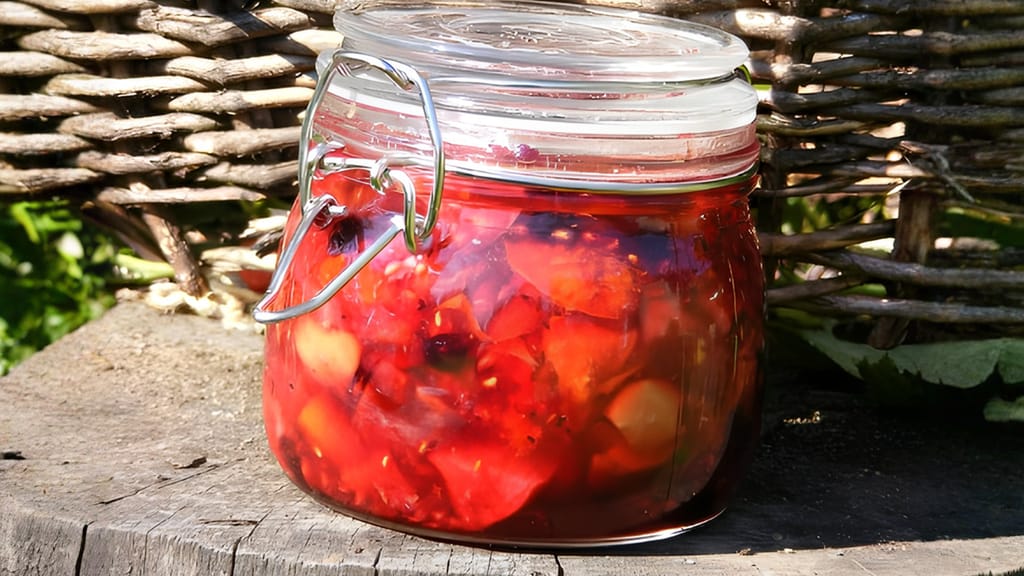
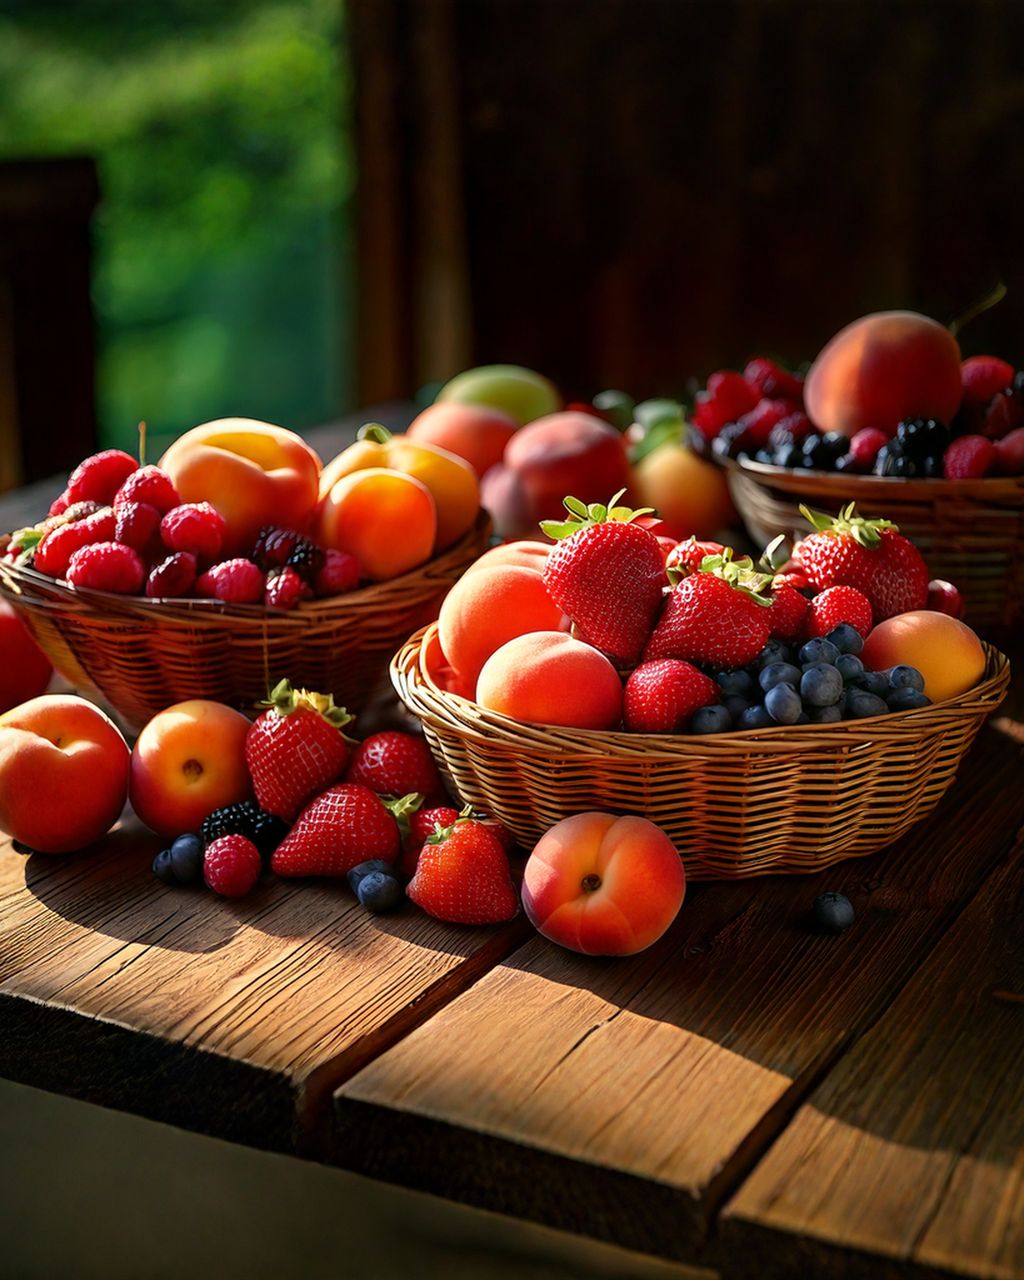
Summer fruit in a jar
Summer fruit in a jar — the ideal first canning project for absolute beginners
Most failed batches come down to seven mistakes: a dirty jar rim, an overtightened lid, a worn-out lid, an overfilled jar, guessing the temperature, too short a processing time, and tasting with a used spoon.
A dirty rim. A drop of syrup or brine on the threads becomes a channel the vacuum can leak through once under pressure. Wipe the rim every single time, even when it looks clean.
An overtightened lid. Counterintuitive, but true: the tighter you go, the worse it gets. The jar needs to vent as it heats, and an overtightened lid won't let it.
A reused, worn-out lid. The sealing compound stiffens after a few uses and keeps a groove from the previous rim. Lids are the cheapest part of the whole process — don't skimp on them.
An overfilled jar. Without a 1–2 cm gap, the contents boil over as they heat and grease exactly the surface that needs to seal.
Guessing the temperature. "Almost boiling" could mean 172°F or 205°F (78°C or 96°C). The lower end isn't enough, and the higher end turns fruit to mush. Buy a thermometer.
Too short a processing time. Timing starts once the target temperature is reached. If you start the clock when you turn on the stove instead, you'll roughly halve the actual processing time.
Tasting with a used spoon. Only touch the finished preserve with clean, boiled utensils. Saliva carries enzymes and bacteria that kick-start fermentation faster than almost anything else.
And one extra mistake almost everyone makes the first time around: don't make twenty jars of the same thing your first season. Make five, wait a month, open one, and taste it. Only scale up after that.
You can check the vacuum seal two ways. First: the center of the lid should be curved inward, and pressing it with a finger shouldn't produce any click or give. Second: tap the center of the lid with a spoon. A sealed jar rings clear and high-pitched; an unsealed one sounds dull. And opening it should produce a distinct pop.
Don't throw out jars that didn't seal. Put them in the fridge and eat the contents within a few days, or reprocess them with a fresh lid — within 24 hours of the first attempt, while the contents are still fine.
Store finished preserves somewhere dark and cool, ideally below about 64°F (18°C). Light breaks down both pigments and vitamins, and a warm spot over a radiator can cut shelf life in half. Label each jar with the contents and date — eight months from now you won't be able to tell apricots from peaches, and you definitely won't remember when you made them.
And what to watch for when opening a jar: a bulging or springy lid, bubbles rising through the contents, a fermented or musty smell, brine seeping around the threads, or any growth on the surface. Any one of these means the jar has to go — don't try to save it by reboiling, and definitely don't taste it.
Acidic preserves with a proper vacuum seal will keep for 12 to 24 months if stored somewhere dark and below about 64°F (18°C). Fruit compotes and jams hold their best flavor and color for roughly a year — after that they're still safe, but the color fades and the taste flattens out. If your pantry sits above a radiator or gets direct light, cut that time in half. Once opened, jars belong in the fridge: eat compote within a week, and high-sugar jam within a month.
Yes, no problem with compotes — sugar isn't what preserves them; heat and the fruit's natural acidity do that job. You can cover the fruit in plain water or a light syrup and can it exactly the same way; it'll just turn out softer and paler, since sugar is what firms up the tissue and holds the color. Jam is a different story: above roughly 60% sugar, it binds free water and stops mold from growing. So sugar-free or lower-sugar jams won't keep as long and need to go into the fridge soon after opening.
Replace the rubber sealing rings on clip-top jars every season, even if they look untouched — rubber ages, stiffens, and loses its stretch whether you use it or not. Before filling, stretch the ring between your fingers: it should spring right back into shape, with no cracking, stickiness, or a pale flattened mark left over from the last rim it sat against. Store rings away from light and heat, not stretched around a jar, where they'll deform permanently. Replacement rings cost pennies each, so this really isn't the place to cut corners.
A safe brine needs at least roughly 2.5% acetic acid — that's 5% vinegar diluted with water 1:1, or 8% vinegar diluted 1:2. I wouldn't go weaker than that unless a recipe specifically calls for it, since the brine is the one thing here pulling the vegetable's pH below 4.6. Working out the strength is easy: take the percentage on the bottle and divide by the total number of parts in the mix (8% vinegar at a 1:2 ratio = three parts total = 2.7%). Apple cider, wine, or balsamic vinegar all work, but they're almost always lower in acidity, so dilute them less — or not at all.
The most common cause is anti-caking agents in table salt or very hard water — both create a harmless white haze that eventually settles to the bottom. Starch from the fruit or vegetables, or finely chopped contents, can also cloud a jar. What's actually risky is cloudiness paired with rising bubbles, a sour or fermented smell, or a bulging lid — that's fermentation, and the jar needs to go. If you're ever unsure, the rule of thumb is: cloudiness alone is fine, but cloudiness plus any other symptom means toss it.
One recipe worth heating the oven for, one tip, and one deal from the shop. Nothing else.