At a glance
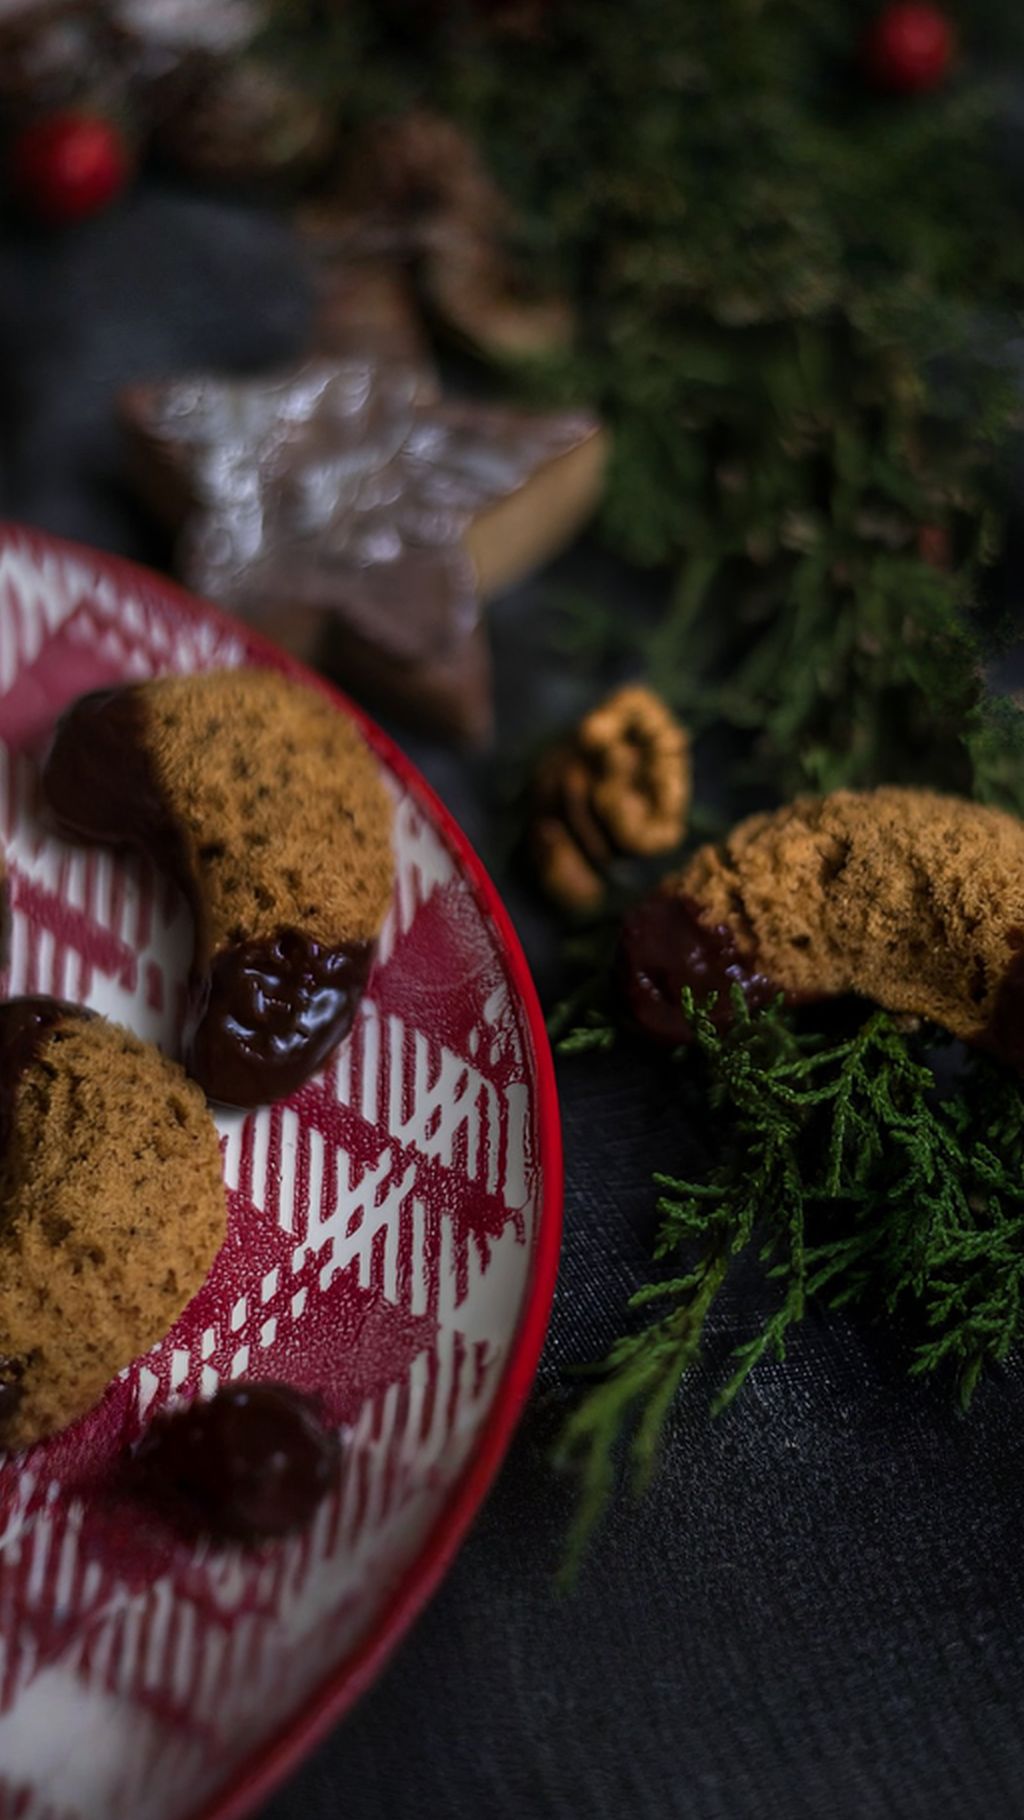
You're making these magical walnut crescents that puff up while baking and turn beautifully hollow inside—the key is not overfilling the molds and being gentle with the oven door. The dough needs an overnight rest, so plan ahead, but the actual hands-on time is quick, and finishing with a chocolate dip makes them absolutely irresistible.
1/7
Making the dough
Mix all the ingredients together, including the melted butter and ground walnuts. Knead well until everything comes together.
For this step
0/52/7
Shaping the dough into a ball
Shape the dough into a ball, wrap it in plastic wrap, and place it in the fridge. Let it rest overnight until the next day.
3/7
Chilling and taking out the dough
The next day, take the dough out of the fridge 1 hour before you start baking.
How it went
Nobody has tried this recipe yet
Be the first to say how it went.
Anyone can answer, without signing in or buying. Answers aren't verified. The percentage is the share of “Worked out” answers, shown from 5 answers.
Tips from the Yumsto kitchen
Why the crescents are hollow
A thin layer of dough pressed against the walls of the mold puffs up in the oven, lifted by baking powder and kept tender by the nut fat. Because the mold isn't full, the dough has room to rise and a hollow forms inside. The crust sets before it can collapse, as long as you keep the oven door shut.
Working with the molds
Press in a really thin, even layer; thicker spots stay solid. Don't grease the molds, as the recipe says; the butter in the dough is enough. Tap them out while still warm and wipe the molds dry between batches. Tins from the same set bake for the same time, so don't mix sizes on one baking sheet.
When something goes wrong
Not hollow: the mold was overfilled or the dough too warm. They collapsed: the oven was opened while baking. They won't come out: they cooled in the mold, put them back in the warm oven for a minute. The dough crumbles: it is still cold, leave it at room temperature longer.
Variations
Swap the walnuts for hazelnuts for a sweeter taste. Dip the edges in white chocolate instead of dark. Taste a walnut before grinding; stale walnuts turn bitter and overpower everything.
Storage
Let the chocolate set completely, then store the crescents in a tin. Put paper between layers, as they are fragile. In a cool room they keep for about two weeks. You can make the dough a day ahead; the recipe already includes a night in the fridge.
Common questions
Which molds do I need?
Thin metal crescent-shaped molds, made like tartlet molds. Silicone ones don't suit tapping out while warm.
Why take the dough out an hour ahead?
Cold dough crumbles and can't be pressed thin. After an hour it is pliable but still cool.
Do I have to dip them in chocolate?
No, they taste great on their own. Chocolate does firm up the edges, so they break less.
Why add butter to the chocolate?
It makes the chocolate more fluid, easier to dip in, and less brittle once set.
Want a recipe like this every Thursday?
One recipe worth heating the oven for, and one tip that saves you time. Nothing else.