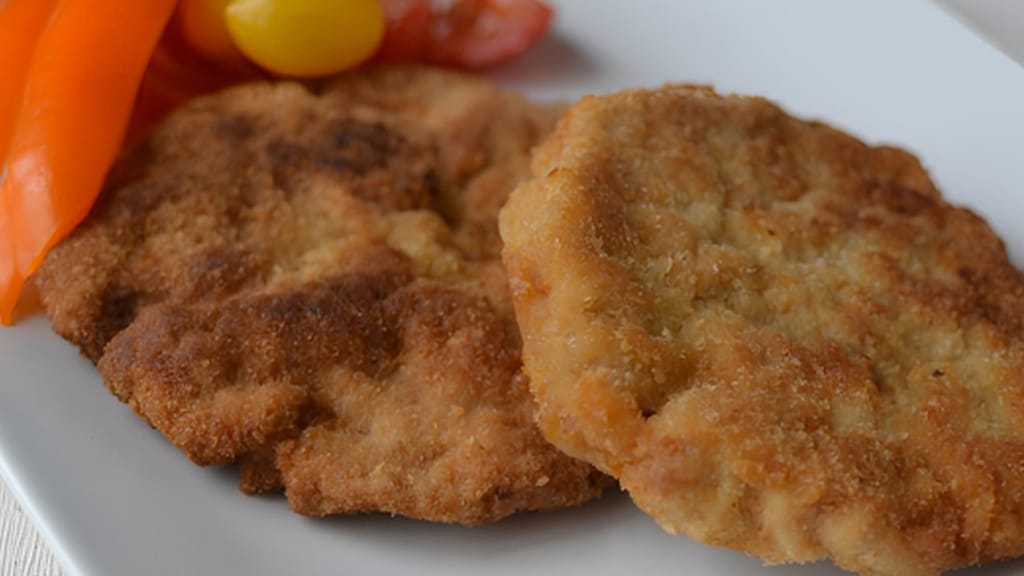
Dutch-style pork schnitzel
Three-Step Breading, Done Right: How to Get a Crust That Actually Stays Put

Updated Jul 19, 2026
Three-step breading (or the classic "flour, egg, breadcrumbs" method) means coating in three layers — plain flour, beaten egg and breadcrumbs — and it's this exact order that gives you a crust that won't fall off in the pan. It looks simple, but every detail shows in the result: how dry the meat is, how thick each layer is, and how hot the oil is. We'll walk through the whole process step by step, from picking the right ingredients to coating, frying, and even baking it crisp without any oil at all. Whether it's your first time at the stove or your hundredth.
Three-step breading is the classic coating technique built from three layers, always in the same fixed order: plain flour, beaten egg, and breadcrumbs. Each layer has its own job — which is exactly why you can't swap the order.
Flour dries out the moist surface of the meat and gives the egg something to grip.
Egg acts as the glue between the flour and the breadcrumbs.
Breadcrumbs crisp up into a golden crust as they fry — that golden colour and nutty flavour come from the Maillard reaction, the browning of starches and proteins that kicks in above roughly 140°C.
Three-step breading isn't just for cutlets. You can coat fish, cheese and vegetables just as well — courgette, aubergine or cauliflower, for example.
The quality of the crust is decided long before the pan gets hot — it starts with your choice of flour, eggs and breadcrumbs. Here's what to reach for, and why.
Plain all-purpose flour works best — it forms a thin, even film that the egg can grip. It needs to be dry and lump-free. Want to experiment? Cornflour gives the crust a slightly sweet note and a golden colour, while rice flour adds extra crunch. Either way, keep it to a thin layer — shake off the excess, or the coating will turn soggy after frying.
The egg is what keeps the breadcrumbs stuck to the meat, so beat it thoroughly — whites and yolks fully combined, until smooth. A spoonful of milk or cream mixed into the egg makes the coating softer and helps it cover evenly; a pinch of salt in the egg itself tastes better than salting the crust afterwards. As a rough guide, use about 2 eggs for every 3–4 slices.
Classic breadcrumbs made from slightly stale white bread are the tried-and-true choice. Panko, Japanese breadcrumbs made from crustless bread, have coarser flakes — they give a lighter, crispier crust and, according to chefs, soak up less oil. For a twist, try crushed cornflakes, ground nuts or sesame seeds. Feel free to season your breadcrumbs too: grated Parmesan, sweet paprika, dried garlic or herbs all work well.
Set out three shallow plates in order — flour, then egg, then breadcrumbs — and work with a "dry hand, wet hand" system: use one hand for the flour and breadcrumbs, and the other for dipping into the egg, so you don't end up with sticky fingers.
Prep the meat. Pat the slices dry, bash them out to about 0.5–1 cm thick, and season both sides with salt. A dry surface is essential — the coating won't stick to damp meat.
Flour. Coat the slice on both sides and shake off any excess.
Egg. Dip it in the beaten egg so it's fully covered, then let the excess drip off.
Breadcrumbs. Press it into the breadcrumbs, pressing gently on both sides so the layer bonds. Don't press too hard, though.
Let the breaded pieces rest in the fridge for 15–20 minutes — this helps the layers bond together so the crust holds up better when fried.
Dutch-style pork schnitzel
Dutch schnitzel: three-step breading in action, with cheese and ham inside
Fry breaded cutlets at 170–180°C. No thermometer? Test it with a cube of white bread — it should turn golden within 60 seconds. Oil that's too cold soaks into the coating and leaves it greasy; oil that's too hot will scorch the surface before the meat inside is properly cooked.
Thin chicken or pork slices: about 3–5 minutes per side.
Thicker cuts: up to 8 minutes per side.
Fry in a single layer and don't crowd the pan — otherwise the oil temperature drops and the coating soaks up too much fat.
Set the cooked pieces on a wire rack, and only put paper towel underneath the rack, not directly beneath the cutlets. On a rack, the crust stays crisp all the way round; set straight on paper towel, the bottom will steam and go soft.
Three-step breading works for far more than just cutlets:
Cutlets/schnitzels — pork, chicken or turkey; the Wiener schnitzel, made from veal, is the original that started it all (its history goes back to the Austro-Hungarian Empire).
Fried cheese — breaded Edam or Camembert-style cheese, or Italian-born mozzarella sticks.
Chicken nuggets — made from pieces of breast meat, a sure hit with kids; they originated in American fast food.
Vegetables — courgette, aubergine, cauliflower or mushrooms.
With vegetables, there's one extra step: salt them and let them sit for a few minutes to release their water, then pat dry — otherwise they'll go soft under the coating and the crust will peel away.
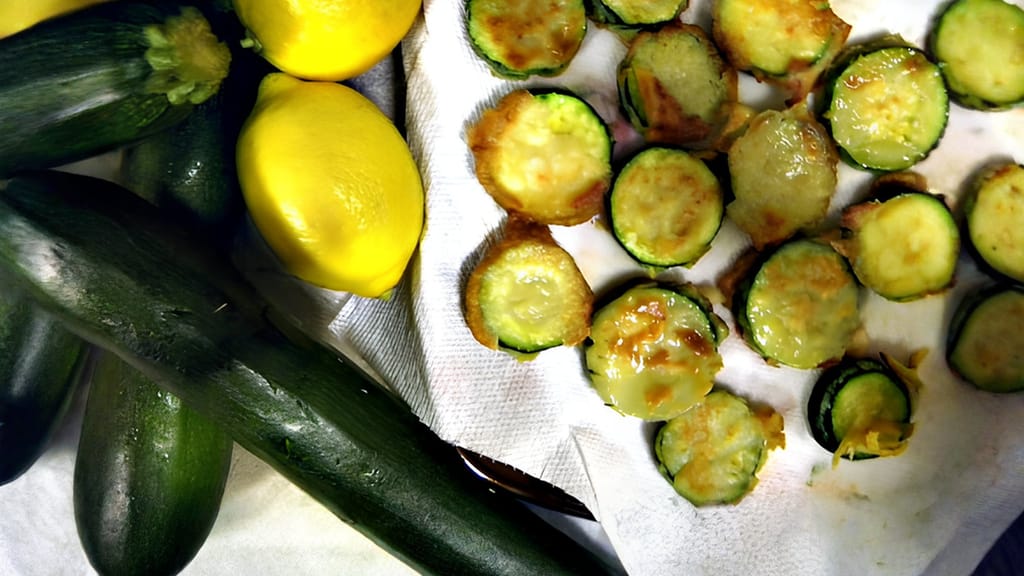
Fried zucchini with an italian twist
Breaded fried courgette — crispy veg you can eat with your hands
You can get a crispy crust without a full pan of oil, too. Heat the oven to 200°C, lay the breaded pieces on baking paper and spritz them with oil spray — the coating needs a little fat to turn golden. In an air fryer, 180–200°C and a few drops of oil is enough; the circulating hot air gives a surface much like frying does.
For baking, coarser breadcrumbs or cornflour-based coatings work best — they hold up better and brown more easily. If you're watching your fat intake, try wholemeal flour (more fibre) or almond flour (fewer carbs) — the crust will still turn out crisp. Take this as a cooking tip rather than a nutritional recommendation.
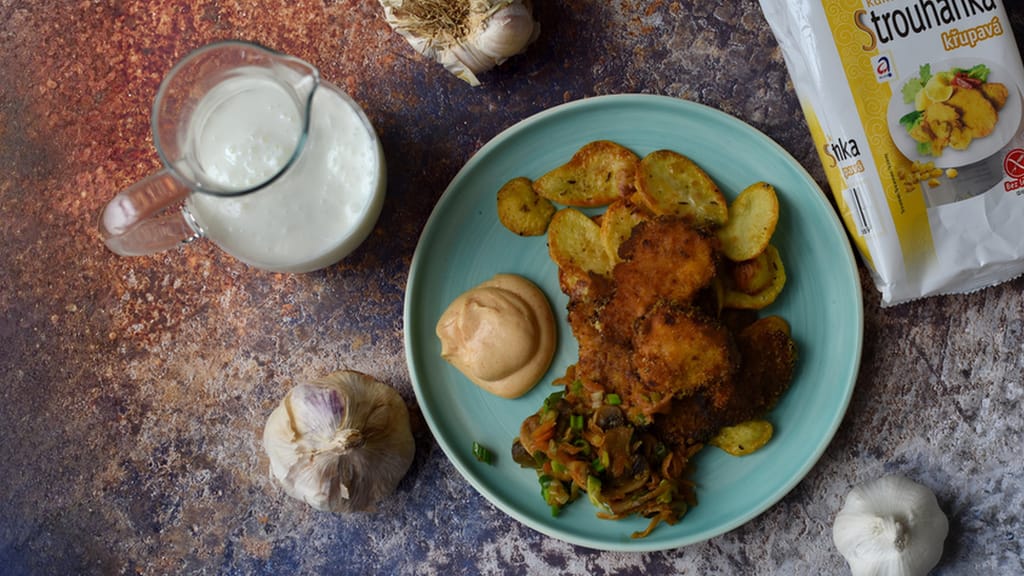
Baked crispy cutlets in cornmeal breading
Baked crispy cutlets in cornmeal breadcrumbs — three-step breading without frying
Yes — breaded cutlets keep in the fridge, covered, for about a day. A short rest in the cold actually helps the layers bond, so the crust holds up better when fried. Just don't fry them ice-cold straight from the fridge; let them sit out a few minutes so the meat cooks through evenly.
Freeze breaded cutlets individually on a tray first, then transfer them to a bag once solid so they don't stick together. They'll keep for about 2–3 months and can be fried straight from frozen — just add a few extra minutes and use a slightly gentler heat so they cook through in the middle.
Swap the egg for a thicker plant-based milk mixed with a spoonful of flour or starch to make a sticky paste. A thin mustard or a flax "egg" (a tablespoon of ground flaxseed plus 3 tablespoons of water) works too. The breadcrumbs won't cling quite as well, so press them on firmly.
For gluten-free breading, use rice flour, cornflour or a gluten-free blend, and finish with gluten-free breadcrumbs or crushed corn flakes. The method stays exactly the same — rice flour is especially good at giving an extra-crisp crust.
Go for an oil with a high smoke point and neutral flavour — rapeseed, sunflower or refined vegetable oil all work well. Extra virgin olive oil and butter aren't suited to high heat since they burn easily, but clarified butter (ghee) is a good option.
One recipe worth heating the oven for, one tip, and one deal from the shop. Nothing else.