Red beet and orange carpaccio

Updated Jul 19, 2026
Minimalist plating means serving less, but with intention – one main element, a couple of accents, and plenty of open space around them. It's not about austerity; it's about letting a quality ingredient shine instead of getting lost under garnishes. The style draws on Japanese aesthetics, and today you'll find it on plates at top restaurants as well as at home. In this article you'll learn the principles behind it: how to work with negative space, colour and texture contrast, which dishware to choose, and how to build a dish step by step.
Minimalist plating is a way of serving food where only what serves a purpose stays on the plate – the main ingredient, one or two accents, clear contrast, and plenty of open space around them. It's not austerity, it's intent: letting a quality ingredient shine instead of disappearing under garnishes.
The style has roots in Japanese aesthetics – in the traditional kaiseki course sequence, in the philosophy of wabi-sabi (the beauty of simplicity and imperfection), and in the concept of ma, the beauty of empty space. From there, minimalism flowed into Nordic and fine-dining cuisine, and today you'll commonly see it on plates at home too.
The basic idea is simple: quality over quantity. Fewer ingredients means each one has to be genuinely excellent – and as a bonus, you get less waste and gentler cooking.
Minimalist plating rests on five principles: one hero on the plate, negative space, colour contrast, texture contrast, and one bold accent to finish. Master these and you can build a beautiful plate out of almost anything.
One hero. Choose one main ingredient to dominate the plate – a piece of meat, a fish, a roasted vegetable. Everything else just supports it.
Negative space. Leave roughly a third of the plate empty; chefs recommend covering no more than two-thirds of the surface with food. Empty space isn't waste – it's the frame that draws the eye to the food.
Colour contrast. Place light and dark tones, or complementary colours, side by side (beetroot and goat's cheese, carrot and its green tops). Stick to two or three colours so the plate doesn't look chaotic.
Texture contrast. Pair smooth with crunchy – a silky purée with toasted nuts, a cream with a crumble. Contrast delights both the eye and the palate.
One accent. Finish with one bold detail: a drop of olive oil, a few herb leaves, a pinch of coarse salt. One, not five.
It also helps to use the rule of thirds borrowed from photography: mentally divide the plate into a nine-square grid and place the main element on one of the intersecting lines, not dead centre. Arrange the accents in odd numbers (three dots of sauce, not four) – the eye prefers it that way.
Colour and texture contrast is what turns an ordinary plate into an eye-catching one. We always taste the first bite with our eyes first, so give them something to admire.
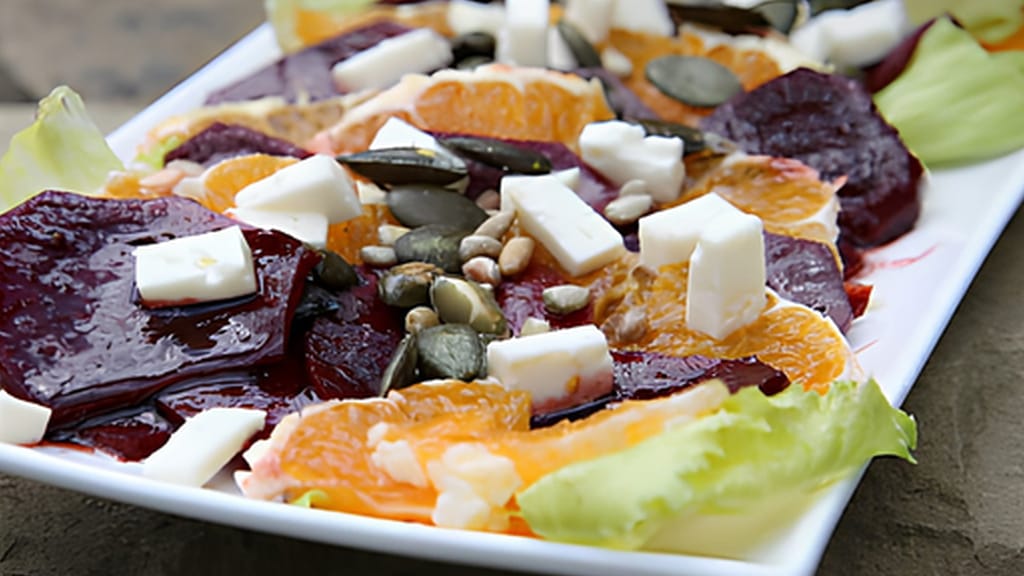
The strongest effect comes from contrasting light and dark, or pairing complementary colours. A pale, creamy dessert pops next to a dark chocolate crumble or a forest-fruit sauce; earthy red beetroot looks stunning beside white goat's cheese. Keep your palette to two or three colours – any more and the plate starts to look busy.

Red beet and orange carpaccio
Beetroot and orange carpaccio – a textbook example of minimalist plating
Put two different textures side by side and a dish instantly comes alive. A classic move is a silky purée with crunchy toasted nuts, or a creamy panna cotta with a crisp crumble and fresh fruit. A smooth surface also catches the light, making it look even more delicate next to something rougher.
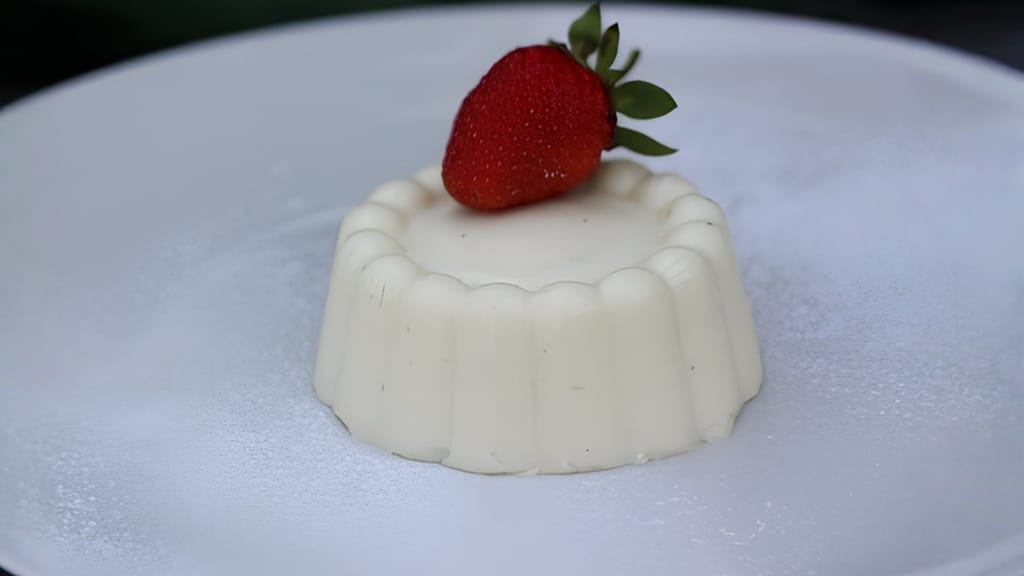
Panna cotta
Panna cotta – the contrast of silky cream and a crunchy crumble on one plate
Pick ingredients not just for flavour, but for colour, shape, and size too. A yellow pepper brightens up a salad; red beetroot adds depth to a soup. Play with shapes as well – round cucumber slices pair nicely with cubes of cheese. The bolder the shape, the fewer pieces you need.
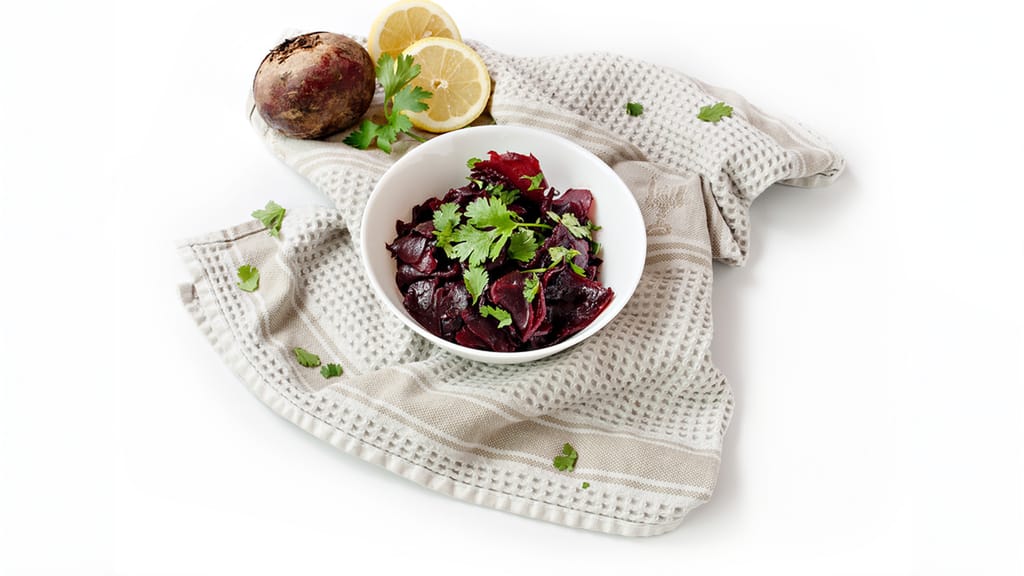
Roasted beetroot salad
Roasted beetroot salad – a colourful, textured base for a minimalist plate
The most versatile choice is a large, matte white plate with a wide rim – it gives food room to breathe and lets colours stand out. White porcelain is a safe bet: clean lines, no distractions. For something earthier, reach for matte stoneware or a wooden board – a matte surface contrasts nicely with glossy sauces and textures.
Think about shape and size too. Round plates create a natural centre point, while square or angular plates give a more modern, structured look. The main rule: the plate should be larger than the portion so there's open space left around the food. Too small a plate crowds the composition; too large a plate dilutes it. Avoid patterned plates – a decorated rim will compete with a simple arrangement.

The process has five steps: plan your components, set the focal point using the rule of thirds, lay down your base, arrange the main ingredient with accents in odd numbers, then finish with one accent.
Plan your components. Before you even start cooking, choose your hero and pair it with one soft element and one crunchy one. You don't need more.
Set the focal point. Place the main ingredient on an intersection of an imagined rule-of-thirds grid, not in the centre. Leave open space in front of it.
Lay down the base. Spread the sauce or purée into a swoosh with a spoon, or dot it in a few spots. A spoon or a snipped-corner sandwich bag is all you need for clean dots and lines – a squeeze bottle isn't essential.swoosh
Arrange the main ingredient and accents. Build upward and use odd numbers; a small stainless steel ring mould helps create a clean portion.
Add the accent and clean up the plate. Drizzle on oil, sprinkle coarse salt, add a herb – then wipe any smudges off the rim with a paper towel. A clean rim does half the work.
Serve on a warmed plate (a cold one chills food fast) and arrange everything at the last minute so the main ingredient doesn't sit around.
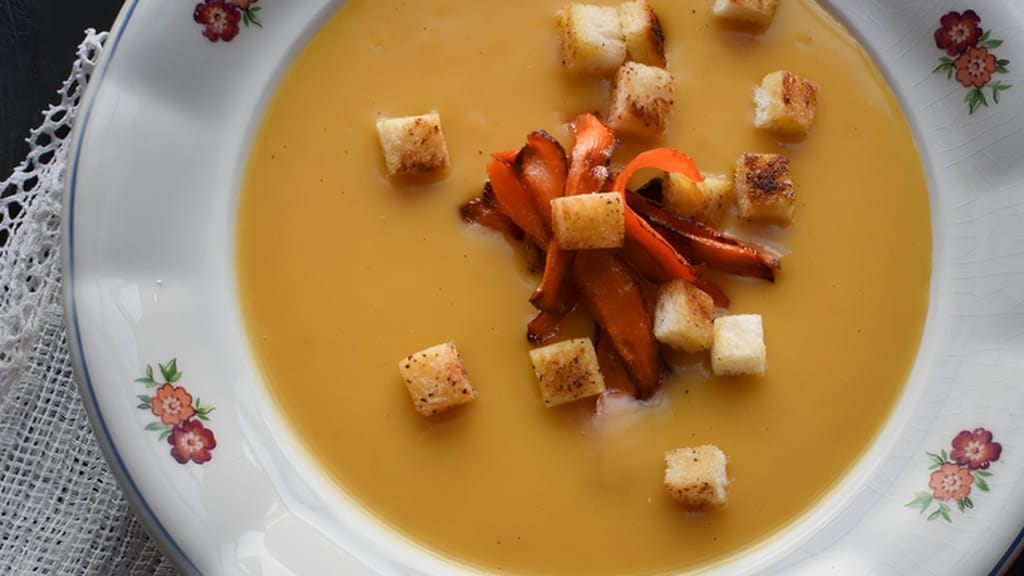
Thick creamy roasted carrot soup
Thick, creamy roasted carrot soup – the perfect canvas for a sauce swoosh and a drop of oil
Three chefs best showcase minimalism on the plate: René Redzepi (Noma, Copenhagen), Massimo Bottura (Osteria Francescana, Modena), and Kyle Connaughton (SingleThread, California). Each takes a different route – through fermentation, classic technique, or seasonality – but they share one principle: a handful of excellent ingredients and plenty of space around them.
At Noma in Copenhagen, René Redzepi builds dishes from a minimum of ingredients and a maximum of flavour, often using fermented and local produce. His plates are deliberately restrained and served on rough ceramics that highlight the natural character of the ingredients.
Massimo Bottura demonstrates minimalism through classic Italian cooking – take his cacio e pepe, made from just three ingredients: pecorino, black pepper, and pasta. He focuses on presenting each component's texture cleanly. Fewer ingredients here doesn't mean less work – it means more attention to each one.
At SingleThread in California, Kyle Connaughton builds on seasonality and local ingredients. He serves grilled aubergine with a sesame oil and lemon sauce on white porcelain, letting both colour and texture stand out. The principle stays the same: a handful of excellent ingredients and plenty of space.
Minimalist plating isn't about putting less food on the plate – it's about arranging it thoughtfully: one hero, negative space, colour and texture contrast, and one accent to finish. Try it next time: pick one excellent ingredient, give it room, and see the difference. And if plating has caught your interest, check out our tips on plating desserts like a Parisian pâtisserie.
A few basics will do: a spoon for saucing swooshes, a squeeze bag (or a snipped-corner sandwich bag) for dots, a small stainless steel ring mould for clean portions, and tweezers (or the tip of a knife) for arranging tiny elements. You don't need professional kit – a warmed plate and a clean rim make the biggest difference.
Serve on a pre-warmed plate and arrange everything at the very last moment. Warm plates in the oven at 50–60°C, or rinse them with hot water and dry them; place the main hot component on the plate last, and add cold finishing touches (herbs, oil) right at the end.
A drop of good olive oil, a few fresh herb leaves (parsley, dill, basil), coarse salt, edible flowers, or a thin slice of radish can all stand in for microgreens. The goal is one strong accent, not a pile of garnishes.
Yes. Even dishes like beef in cream sauce or goulash can be served more restrained – a smaller portion, a clean rim, a swoosh of sauce instead of drowning the whole plate, and one accent on top. The 'one hero and space around it' principle works for hearty dishes too.
Minimalist plating isn't about going hungry – it's about how the components are sized and arranged, not how much food there is. Go ahead and plate a normal portion, just arrange it thoughtfully and leave room around it; a quality main ingredient and side will satisfy you, not an overloaded plate.
One recipe worth heating the oven for, one tip, and one deal from the shop. Nothing else.